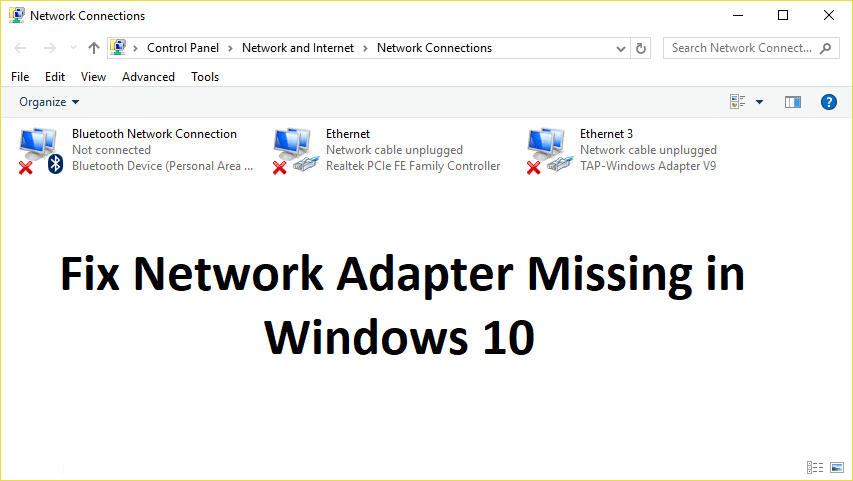
If you don’t see Wireless Adapter under Network Connections neither there is a Network adapter tab under device manager then it seems like your Network Adapter is missing or not detected on your Windows 10 which is a serious issue because you won’t be able to access the Internet until the issue is resolved. In short, when you click on the Wireless icon on the system tray there won’t be any device listed in order to connect to the Internet and if you open Device Manager then you won’t see the Network Adapter tab.
These are the reasons behind the Network Adapter missing issue:
- Network adapter missing in Device manager
- No Network Adapters showing in Device Manager
- Network Adapter Not Detected
- Network Adapter Not Found Windows 10
- No Network Adapter In Device Manager
The main cause of this issue seems to be outdated, incompatible or corrupted Network Adapter drivers. If you have recently upgraded from previous versions of Windows then it’s possible that the old drivers will not work with the new Windows and hence the issue. So without wasting any time let’s see how to actually Fix Network Adapter Missing in Windows 10 issue with the below-listed troubleshooting steps.
Note: Just make sure to uninstall any VPN software on your PC before continuing.
Los netwerkadapter ontbreek in Windows 10
Maak seker dat jy 'n herstelpunt skep vir ingeval iets verkeerd gaan.
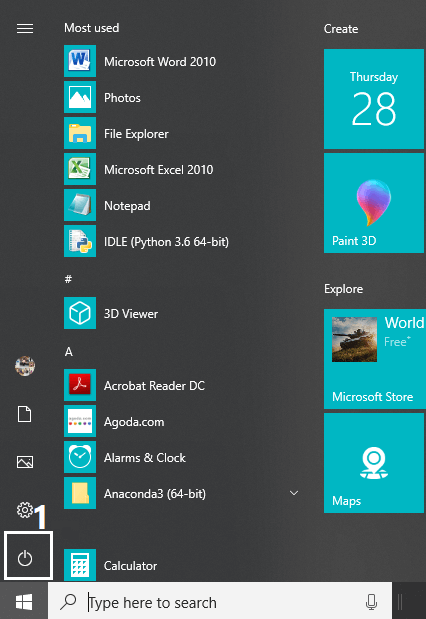
Method 1: Reboot your Computer
Most of us know about this very basic trick. Rebooting your computer can sometimes fix any software conflict by giving it a fresh start. So if you are someone who would rather put their computer on sleep, restarting your computer is a good idea.
1. Klik op die start menu en klik dan op die Krag knoppie beskikbaar in die onderste linkerhoek.
2. Klik dan op die herlaai opsie en jou rekenaar sal self herbegin.
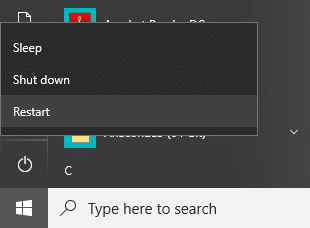
Nadat die rekenaar weer begin het, kyk of jou probleem opgelos is of nie.
Method 2: Flush DNS and Reset Winsock Components
1. Open elevated Command Prompt.
2. Now type the following command and press Enter after each one:
ipconfig / release
ipconfig / flushdns
ipconfig / renew

3. Again open Command Prompt and type the following command one by one and hit enter after each one:
ipconfig /flushdns
nbtstat –r
netsh int ip reset
netsh winsock reset
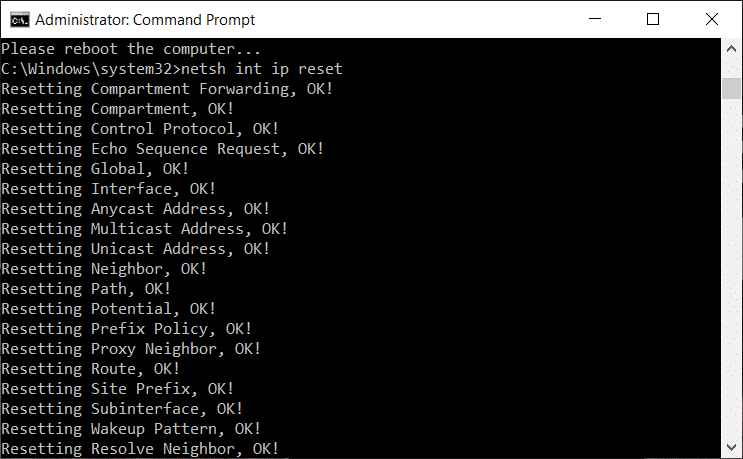
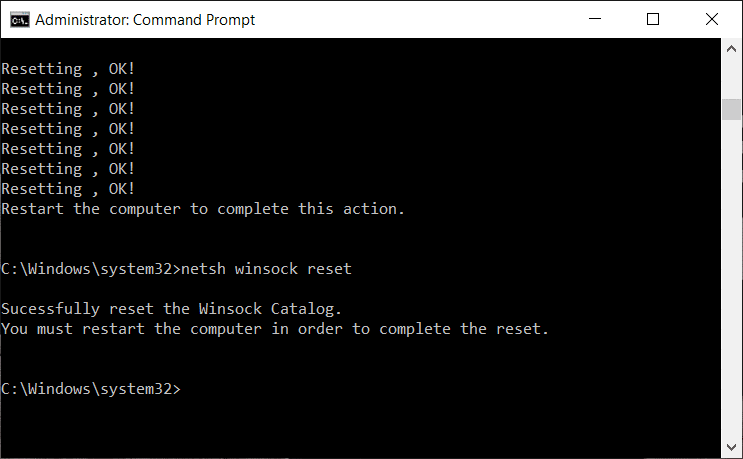
4. Reboot to apply changes. Flushing DNS seems to Fix Network Adapter Driver Issues on Windows 10.
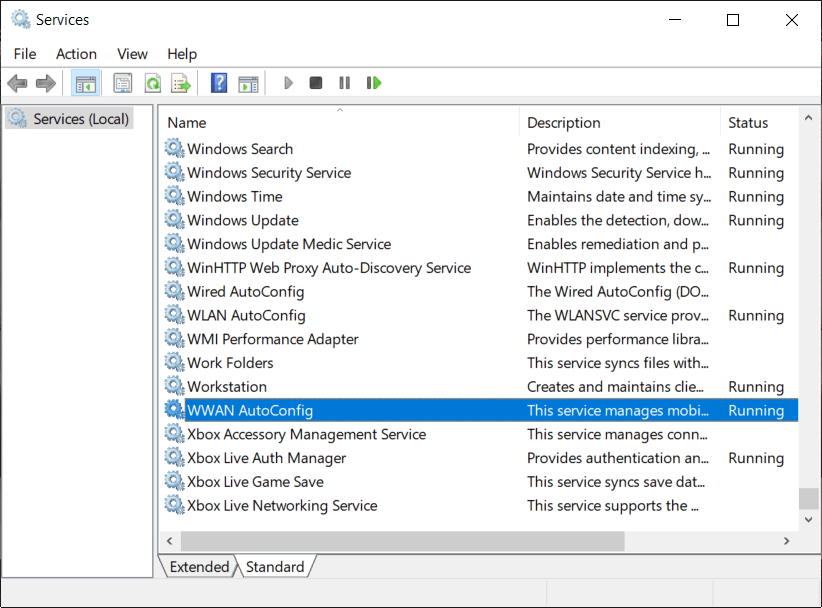
Method 3: Run WWAN AutoConfig Service
1. Druk Windows-sleutel + R en tik dan services.msc en druk Enter.

2. Vind WWAN AutoConfig Service in the list (press W to reach to the end of the list quickly).
3. Dubbelklik op WWAN AutoConfig Service.
4. If the service is already running then click on Stop, then from the Startup type drop-down select Outomatiese.
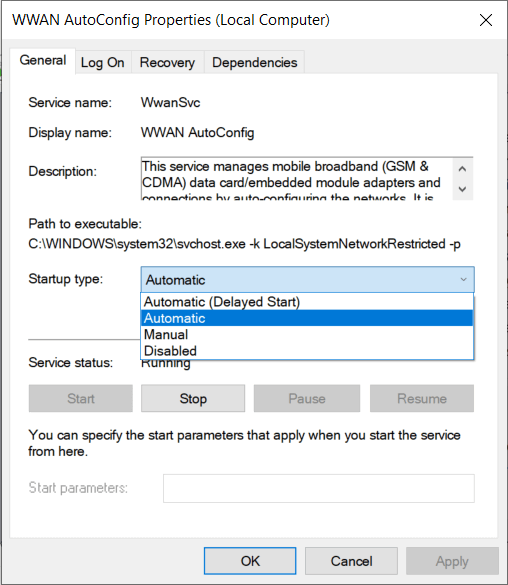
5. Click Apply followed by OK.
6. Regsklik op die WWAN AutoConfig Service en kies Begin.
Metode 4: Dateer netwerkadapterbestuurders op
1. Press Windows key + R and type “devmgmt.msc” in Run dialogue box to open toestelbestuurder.

2. Brei uit Netwerkadapters, klik dan met die rechtermuisknop op jou Wi-Fi kontroleerder (byvoorbeeld Broadcom of Intel) en kies Dateer bestuurdersagteware op.

3. Kies nou “Search for automatically for updated driver software".
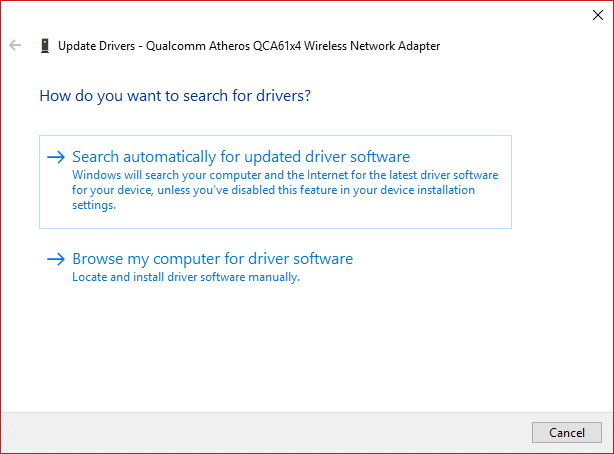
4. Nou Windows will automatically search for the Network driver update and if new update is found, it will automatically download and install it.
5. Once finished, close everything and reboot your PC.
6. If you’re still facing the Network Adapter Missing in Windows 10 issue, then again right-click on your WiFi controller and select Dateer bestuurder op in Toestelbestuurder.
7. Now, in the Update Driver Software Windows, select “Blaai deur my rekenaar vir bestuurder sagteware."

8. Kies nou “Laat ek kies uit 'n lys van beskikbare drywers op my rekenaar."

9. Probeer om update drivers from the listed versions (make sure to checkmark compatible hardware).
10. If the above didn’t work then go to die vervaardiger se webwerf bestuurders op te dateer.

11. Download and install the latest driver from the manufacturer’s website then restart your PC.
Method 5: Uninstall Network Adapter Drivers
1. Druk Windows-sleutel + R en tik dan “devmgmt.msc” en druk Enter om Toestelbestuurder oop te maak.
2. Brei Netwerkadapters uit en vind jou netwerk adapter naam.
3. Maak seker jy teken die adapternaam aan net as iets verkeerd gaan.
4. Right-click on your network adapter and uninstall it.

5. It will ask for confirmation kies Ja.
6. Restart your PC and Windows will automatically install the network adapter drivers again.
7. If the drivers are not installed automatically then again open the Device Manager.
8. From the Device Manager menu, click on Aksie klik dan op "Skandeer vir hardeware veranderings".

Metode 6: Maak seker dat Windows op datum is
1. Press Windows Sleutel + I to open Settings then click on Opdatering en sekuriteit.
![]()
2. From the left-hand side, menu click on Windows Update.
3. Klik nou op die “Kyk vir opdaterings”-knoppie om te kyk vir enige beskikbare opdaterings.

4. If any updates are pending then click on Laai af en installeer opdaterings.

5. Once the updates are downloaded, install them and your Windows will become up-to-date.
6. After the updates are installed reboot your PC to save changes.
Metode 7: Begin netwerkadapter-probleemoplosser
1. Druk Windows-sleutel + I om Instellings oop te maak en klik dan op Opdatering en sekuriteit.
![]()
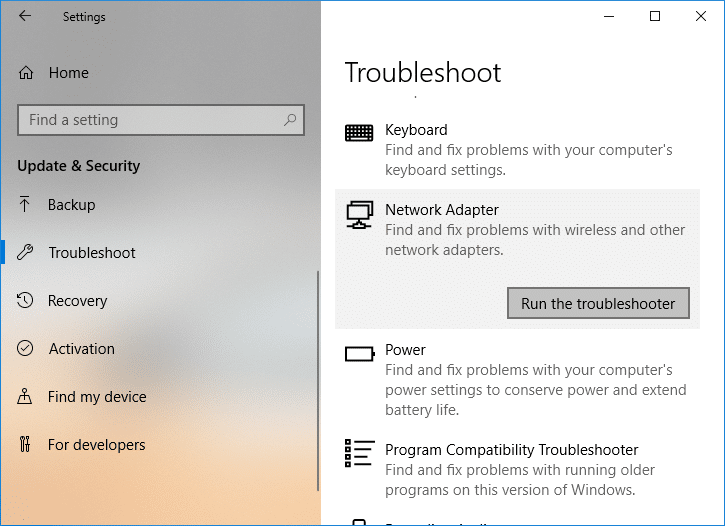
2. From the left-hand menu select Op te los.
3. Under Troubleshoot click on Internet verbindings En klik dan Begin die probleemoplosser.

4. Volg verdere instruksies op die skerm om die probleemoplosser uit te voer.
5. If the above didn’t fix the issue then from the Troubleshoot window, click on Network Adapter en klik dan op Begin die probleemoplosser.
5. Herlaai jou rekenaar om veranderinge te stoor en te kyk of jy dit kan doen fix the Network Adapter Missing issue.
Metode 8: Installeer Intel PROSet/draadlose sagteware
Soms word die probleem veroorsaak as gevolg van verouderde Intel PROSet-sagteware, dus dit lyk asof dit opgedateer word fix Network Adapter Missing in Windows 10 issue. daarom, gaan hier en laai die nuutste weergawe van PROSet/Wireless Software af en installeer dit. Dit is 'n derdeparty-sagteware wat jou WiFi-verbinding bestuur in plaas van Windows en as PROset/Wireless Software verouderd is, kan dit bestuurdersprobleem veroorsaak in Draadlose netwerkadapter. Hence, read How to Update Network Adapter Drivers on Windows 10.
Metode 9: Stel netwerkverbinding terug
1. Druk Windows-sleutel + I om Instellings oop te maak en klik dan op Netwerk en internet.

2. From the left-hand menu select status.
3. Now scroll down and click on Netwerkterugstelling op die bodem.

4. Klik weer op “Herstel nou” under Network reset section.

5. This will successfully reset your network adapter and once it is complete the system will be restarted.
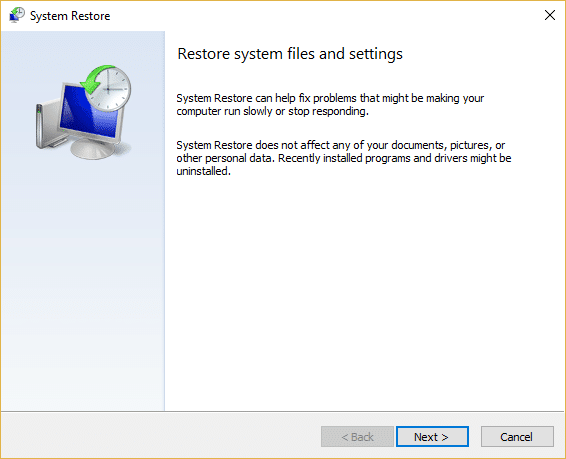
Metode 10: Voer 'n stelselherstel uit
System Restore always works in resolving the error, therefore System Restore can definitely help you in fixing this error. So without wasting any time run system restore in order to resolve Network Adapter Missing issue.
Method 11: Using elevated Command Prompt
1. Druk Windows-sleutel + X en kies dan Command Prompt (Admin).

2. Tik die volgende opdrag in cmd en druk Enter:
netcfg –s n
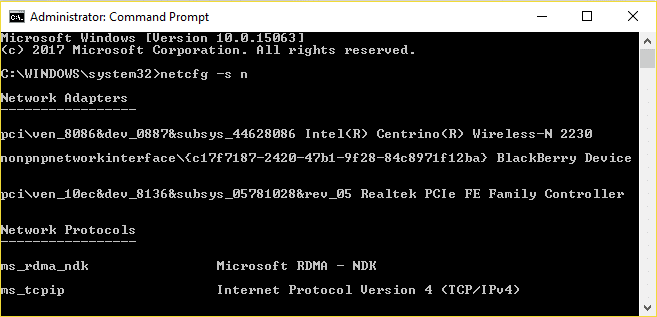
3. This will display a list of networking protocols and in that list find DNI_DNE.
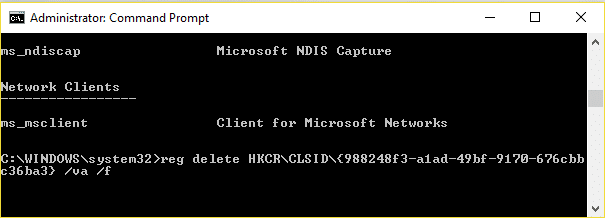
4. If DNI_DNE is listed then type the following command into cmd:
reg verwyder HKCRCLSID {988248f3-a1ad-49bf-9170-676cbbc36ba3} / va / f
netcfg -v -u dag_dag
5. If you don’t see DNI_DNE listed then only run the command netcfg -v -u dni_dne.
6. Now if you receive the error 0x80004002 after trying to run the above command then you need to delete the above key manually.
7. Druk Windows-sleutel + R en tik dan regedit en druk Enter.

8. Navigate to the following Registry Key:
HKEY_CLASSES_ROOTCLSID{988248f3-a1ad-49bf-9170-676cbbc36ba3}
9. Delete this key and then again type netcfg -v -u dag_dag command in cmd.
10. Herlaai jou rekenaar om veranderinge te stoor.
Aanbeveel vir jou:
Dit is dit wat jy suksesvol het Los netwerkadapter ontbreek in Windows 10 maar as jy nog enige vrae oor hierdie pos het, vra dit dan gerus in die kommentaarafdeling.

