Fix External Hard Drive Not Showing Up or Recognized: External hard drives are very useful when you want to increase storage space. They enable you to store data at a place other than your computer’s primary storage and that too at a relatively lower cost. They are easy to use. But, sometimes it may occur that even after connecting your external hard drive to your computer, it doesn’t show up or get recognized. There can be various reasons for your external hard drive not showing up like dead USB ports or driver issues. If your computer fails to detect your external hard drive, here’s what you need to do.
Before you move on to the following methods, you must first ensure that your drive’s power switch is on (if it exists). The lights on the device will indicate that. While most of the external drives are powered over የ USB itself, some may have a separate power cable. In such a case, you must ensure that the power cable is working fine. If it isn’t working, the power cable or your power outlet may be damaged. If you have checked all of this and your drive doesn’t show up, continue following the given steps.
Fix External Hard Drive Not Showing Up or Recognized
የሆነ ችግር ከተፈጠረ ልክ የመልሶ ማግኛ ነጥብ መፍጠርዎን ያረጋግጡ።
Method 1 – Try Using a Different USB Port Or Computer
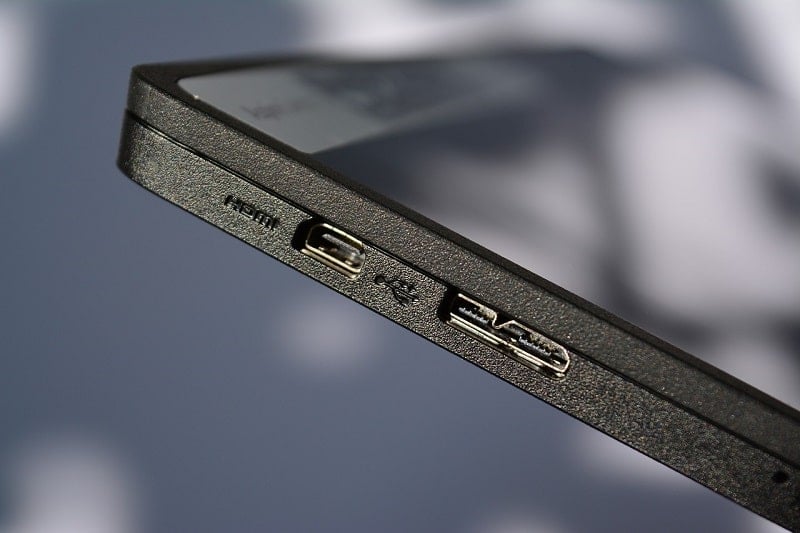
Try inserting your hard drive in some other USB port to check if there’s an issue with the USB port itself. If your external hard drive shows up on inserting it in another USB port, then your previous USB port may be dead.
Also, try inserting your hard drive on some other computer. If it doesn’t show up on the other computer as well, there may be a problem with the hard drive. It may even be completely dead and you might need to replace it. This way you will know where exactly the problem lies.
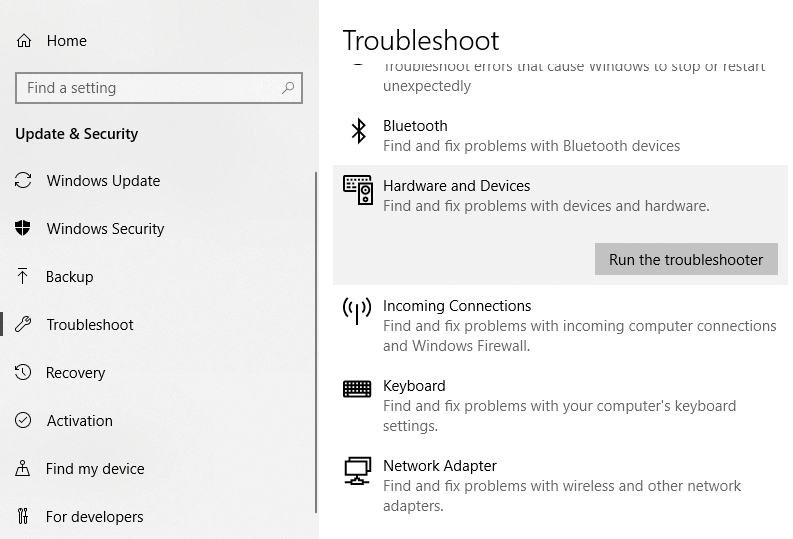
Method 2 – Run Hardware and Devices Troubleshooter
The Windows inbuilt troubleshooter may handle this for you by checking and fixing any hardware or USB related issues, so this one is the foremost step. To let Windows troubleshoot this problem,
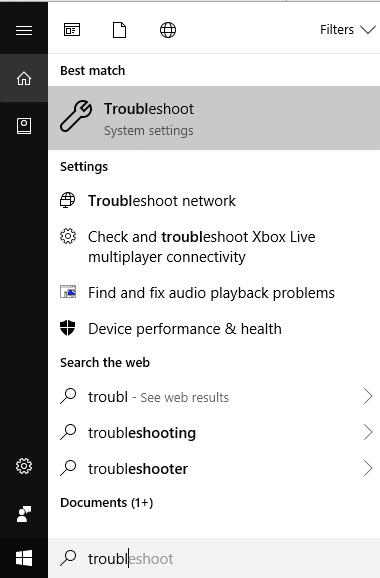
1. ፈልግ መላ ፈልግ in the Windows search field and then click on it. Alternatively, you can access it in the Settings.
2.Scroll down to ‘ሃርድዌር እና መሳሪያዎች' እና በላዩ ላይ ጠቅ ያድርጉ።
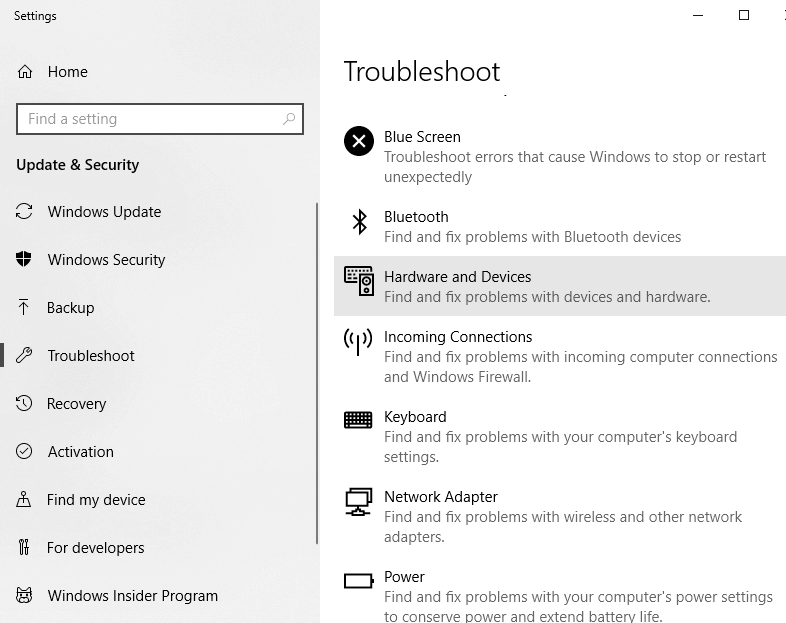
3. ን ጠቅ ያድርጉመላ መፈለጊያውን አሂድ’ under Hardware and Devices.
Method 3 – Enable the External Drive If It Isn’t Already
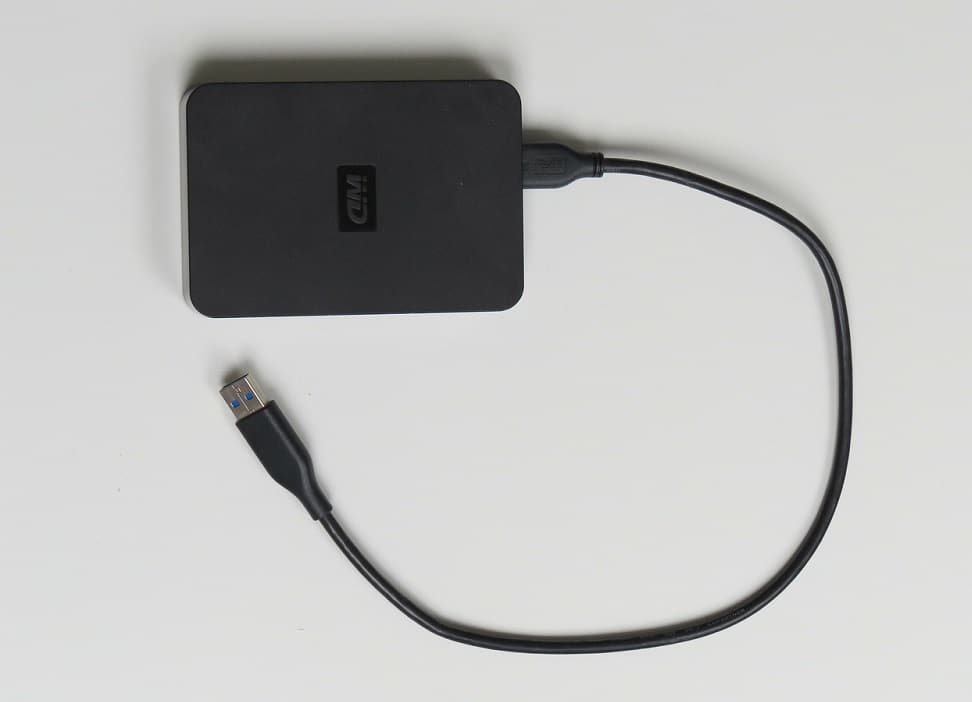
If your external hard drive like WD My Passport Ultra is not showing up or recognized then it may be caused because it is disabled on your computer. You should ensure that your hard drive is enabled by:
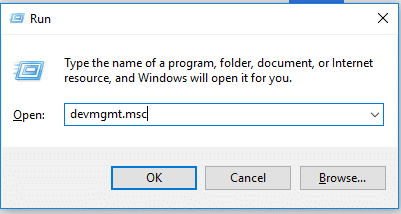
1. ይጫኑ የዊንዶውስ ቁልፍ + R ለመክፈት ሩጫ.
2. ዓይነት 'devmgmt.msc’ and click on OK.
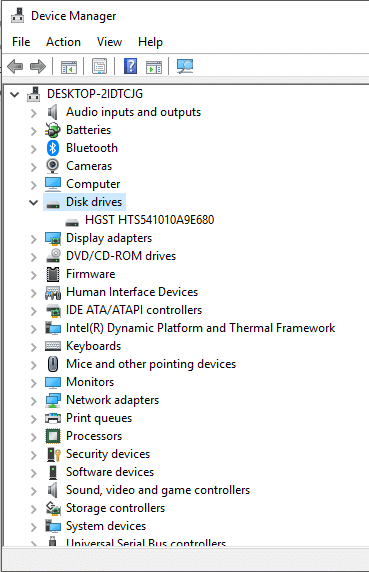
3.In the device management window, double click on the type of your external hard drive. It may be located under ‘ዲስክ አንፃፊዎች'ወይም'Universal serial bus controllers'.
4.Double-click on your external hard drive to open its ንብረቶች.
5.Now, if you see the ‘መሣሪያን አሰናክል’ button, then it means the hard disk is already enabled.
6.But if you see ‘መሣሪያ አንቃ’ button, then make sure to click on it in order to enable the external hard drive.
Method 4 – Update External Hard Drive Drivers
የ ከሆነ drivers for hard drives are outdated or missing, it can lead to the external hard drive not showing up or recognized. Therefore, you must make sure that the drivers are updated. You can update the drivers manually by searching for the latest version online and downloading them to your computer. For this, you need to gather the required knowledge.
1. ይጫኑ የዊንዶውስ ቁልፍ + R ከዚያም ተይብ devmgmt.msc እና የመሣሪያ አስተዳዳሪን ለመክፈት አስገባ።

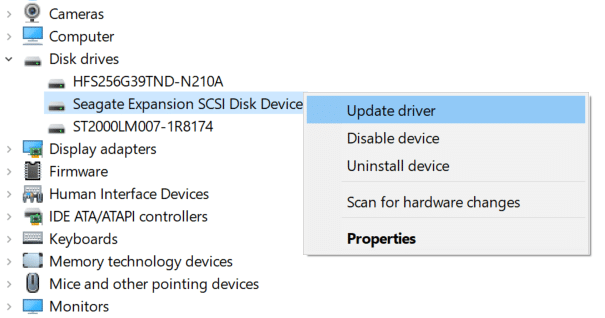
2. ዘርጋ ዲስክ አንጻፊዎች or ሁለንተናዊ ተከታታይ አውቶቡስ መቆጣጠሪያዎች.
3.Now right-click on your External hard drive and select ነጂውን አዘምን።
4.Choose the option “ለዘመነ የሶፍትዌር ሶፍትዌር በራስ-ሰር ይፈልጉ".
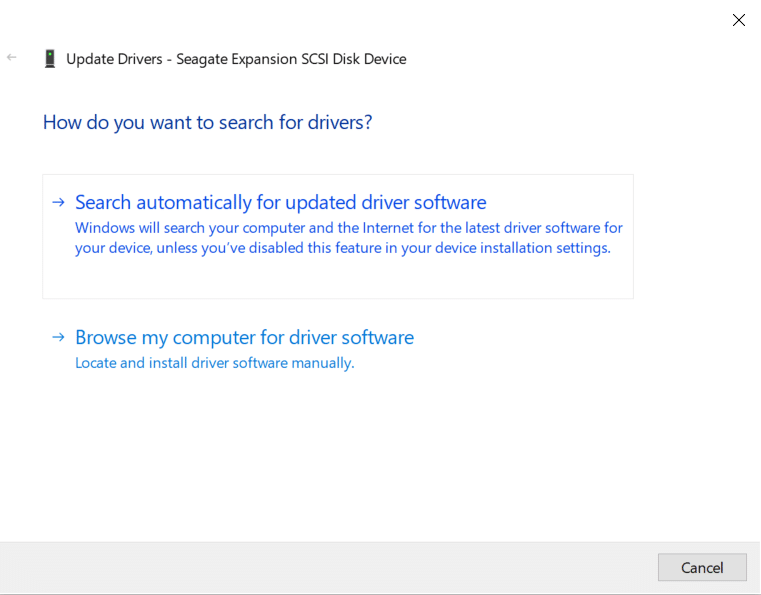
5.This will automatically look for and install the updated driver of the hardware from the internet.
6.If the above steps were helpful in fixing the issue then very good, if not then continue.
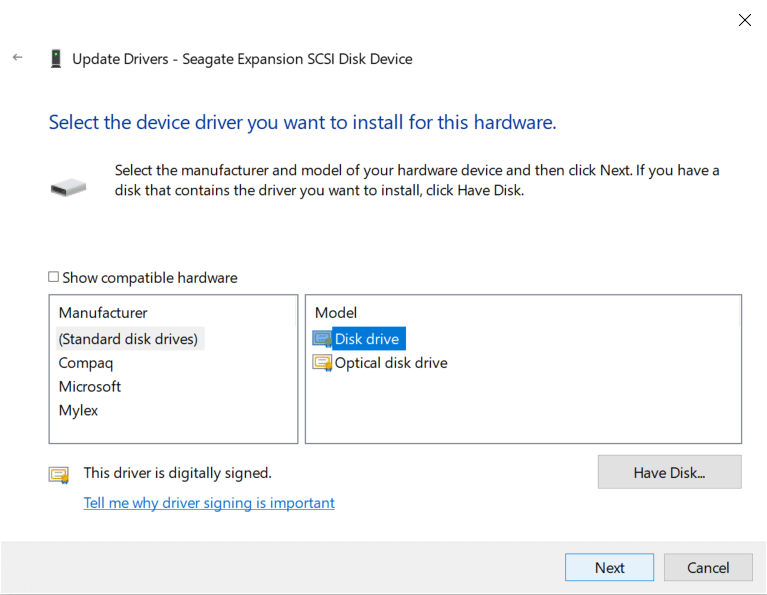
7.Again right-click on your external hard drive and select “ሾፌር ያዘምኑ” but this time on the next screen select “ለሞተሩ ሶፍትዌር የእኔን ኮምፒተር ይፈልጉ."

8. አሁን ይምረጡ "ከኮምፒዩተርዎ መኪና ዝርዝር ውስጥ መምረጥ እችላለሁ. "

9. በመጨረሻ ፣ የቅርብ ጊዜውን አሽከርካሪ ይምረጡ ከዝርዝሩ ውስጥ ጠቅ ያድርጉና ጠቅ ያድርጉ ቀጣይ.
10.Let the above process finish and restart your PC to save changes.
Method 5 – Create Partitions for your External Drive
If you are connecting your hard drive for the first time, then it is possible that it does not show up because it doesn’t have any partitions. For a previously used hard drive too, partition issues may cause it to not be detected. To partition your drive,
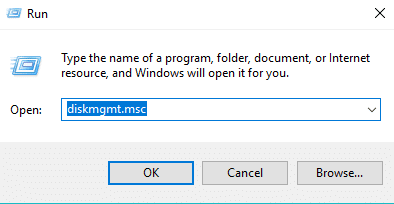
1. ይጫኑ የዊንዶውስ ቁልፍ + R ሩጫ ለመክፈት.
2. ዓይነት 'diskmgmt.msc’ and click on OK.
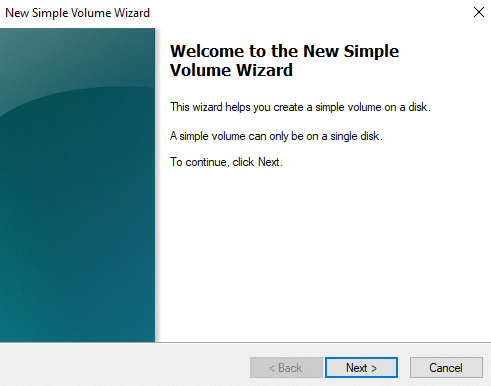
3.In the disk management window, right-click on the hard drive and select ‘አዲስ ቀላል መጠን'.
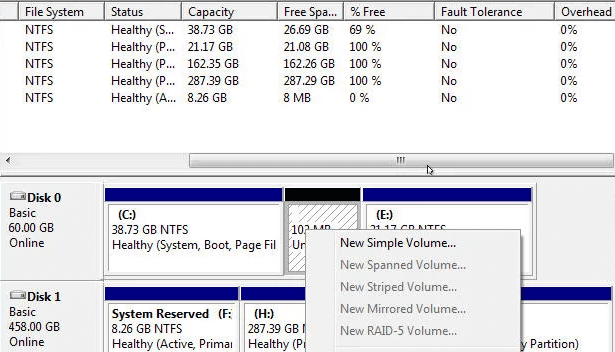
4.To complete the process follow this guide.
5.Restart your computer and check if you’re able to fix external hard drive not showing up or recognized issue.
Method 6 – Set Or Change the Drive Letter
Once your drive is correctly partitioned, you must assign a drive letter in order to detect your external hard drive. For this,
1. ይጫኑ የዊንዶውስ ቁልፍ + R ሩጫ ለመክፈት.
2. ዓይነት 'diskmgmt.msc’ and click on OK.
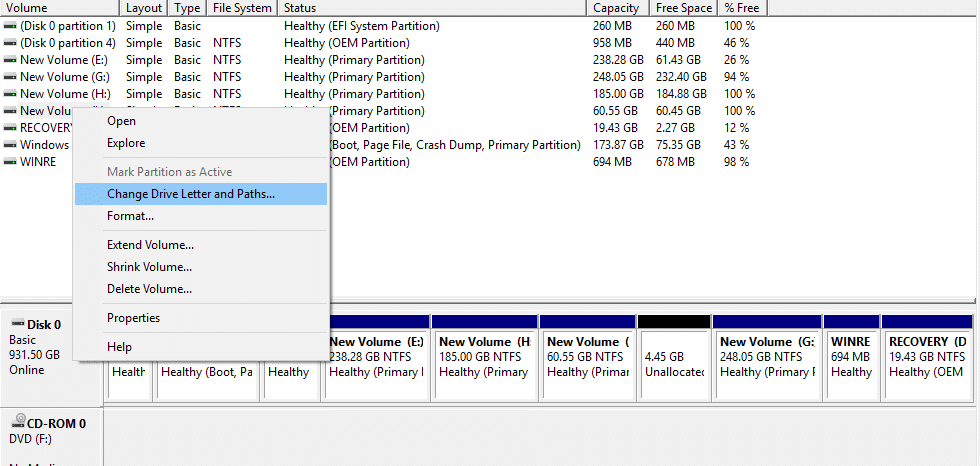
3.In the Disk Management window, በቀኝ ጠቅታ on the drive that you want to assign a drive letter.
4. ን ጠቅ ያድርጉChange drive letters and paths'.
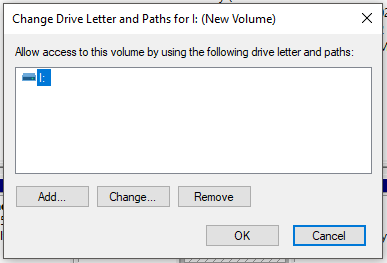
5.If your drive doesn’t have a drive letter already, click on ‘አክል’. Otherwise, click on ‘ለዉጥ’ to change the drive letter.
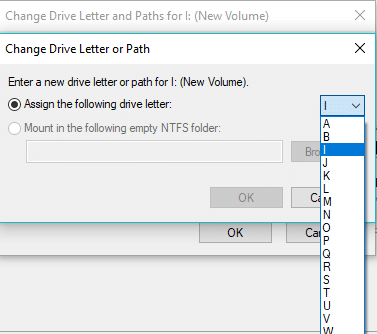
6. ምረጥየሚከተለው የአደፍ ደብዳቤ ይስጡ’ radio button.
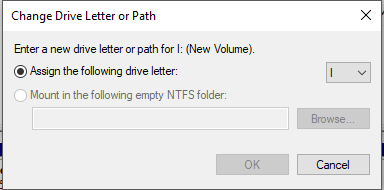
7.Choose a new letter you want to assign from the drop-down menu and click on Ok.
8.Disconnect and re-insert your external hard drive and check if your external hard drive is now recognized or not.
Method 7 – Format the External Hard Drive
If your drive is partitioned and still does not show up, it may be because it was partitioned or formatted earlier using a different file system or OS and the Windows can’t understand it. To format the drive,
1.Press Windows key + R to open Run then type 'diskmgmt.msc’ እና ኢትን ጠቅ ያድርጉ.
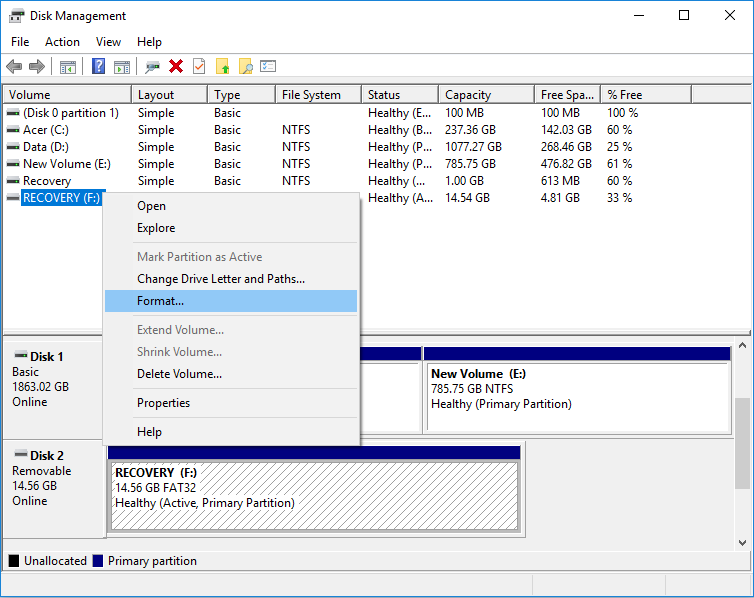
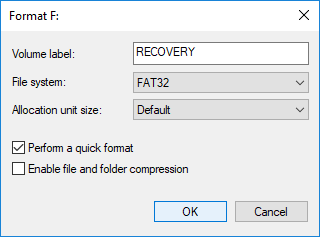
2.In the disk management window, right-click on the hard drive and select ‘ቅርጸት'.
ማስታወሻ: This will erase all the contents of the drive. You may need to back up your files using the system which the drive was partitioned in.
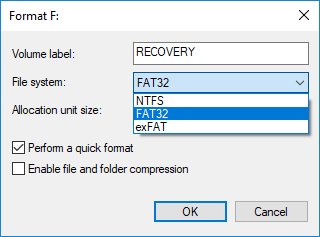
3.Type any name which you want to give your drive under Volume label field.
4.Select the file systems from FAT, FAT32, exFAT, NTFS, or ReFS, according to your use.
5.Now from የማደሻ መለኪያ መጠን (Cluster size) drop-down make sure to select Default.
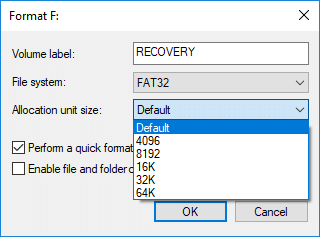
6.Check or uncheck “ፈጣን ቅርፀት ያከናውኑ” options depending on whether you want to do a quick format or full format.
7.Next, check or uncheck “Enable file and folder compression” option according to your preference.
8.Finally, review all your choices and then click OK እና እንደገና ጠቅ ያድርጉ OK ድርጊቶችዎን ለማረጋገጥ.
9.Once the Format is complete, you can close Disk Management.
ይህ በእርግጠኝነት አለበት። fix external hard drive not showing up issue, but if for some reason you’re stuck then follow the next method.
Method 8 – Disable USB Selective Suspend Setting
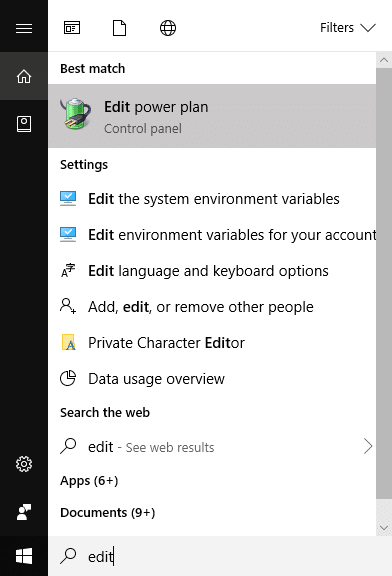
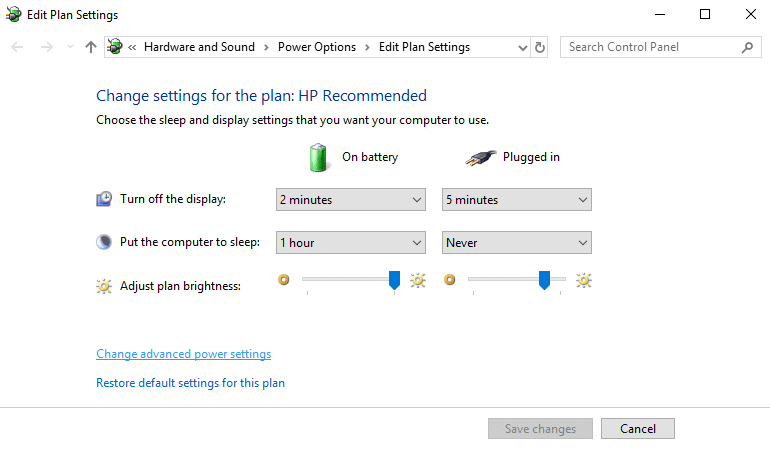
1.Search for ‘የኃይል ዕቅድ ያርትዑ’ in the search field located on your taskbar and open it.
2. ን ጠቅ ያድርጉየላቁ የኃይል ቅንብሮችን ይቀይሩ'.
3.Under USB settings, disable ‘USB selective suspend setting'.
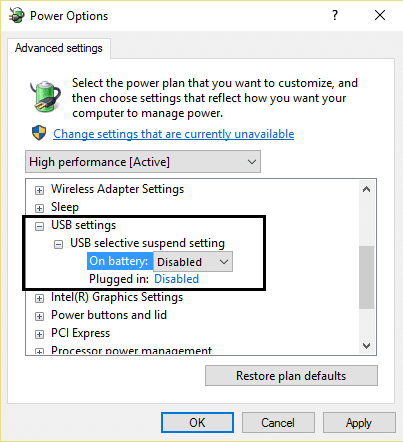
4.Click OK followed by Apply to save changes.
5.Reinsert your hard drive and this time it will show up without any issue.
የሚመከር:
ይህ ጽሑፍ ጠቃሚ እንደነበረ ተስፋ አደርጋለሁ እና አሁን በቀላሉ ይችላሉ። Fix External Hard Drive Not Showing Up or Recognized, ግን ይህንን ትምህርት በተመለከተ አሁንም ጥያቄዎች ካሉዎት በአስተያየቱ ክፍል ውስጥ እነሱን ለመጠየቅ ነፃነት ይሰማዎ።
![MSVCR120.dll በዊንዶውስ 10 ውስጥ ጠፍቷል [የተፈታ]](https://lbsite.org/wp-content/uploads/2023/02/Fix-MSVCR120.dll-is-missing-in-Windows-10.png "MSVCR120.dll በዊንዶውስ 10 ውስጥ ጠፍቷል [የተፈታ]")
![Windows Store Error Code 0x8000ffff [SOLVED]](https://lbsite.org/wp-content/uploads/2023/01/1675194729_Fix-Windows-Store-Error-Code-0x8000ffff.png "Windows Store Error Code 0x8000ffff [SOLVED]")