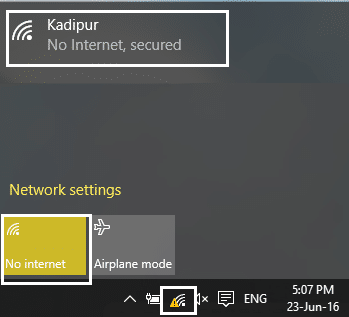
If a WiFi network has the ‘limited connectivity’ sign next to it, it means that you’re connected to the network but do not have access to the internet. The main reason for this issue is that the DHCP server is not responding. And when the DHCP server doesn’t respond the computer automatically assigns an IP address to itself because the DHCP server was unable to assign the IP address. Hence the ‘Limited or No connectivity’ error.
Fix limited access or no connectivity WiFi issues
Method 1: Run Network troubleshooter
1. በ ላይ በቀኝ ጠቅ ያድርጉ የአውታረ መረብ አዶ at the taskbar and click on ችግሮችን መፍታት.
![]()
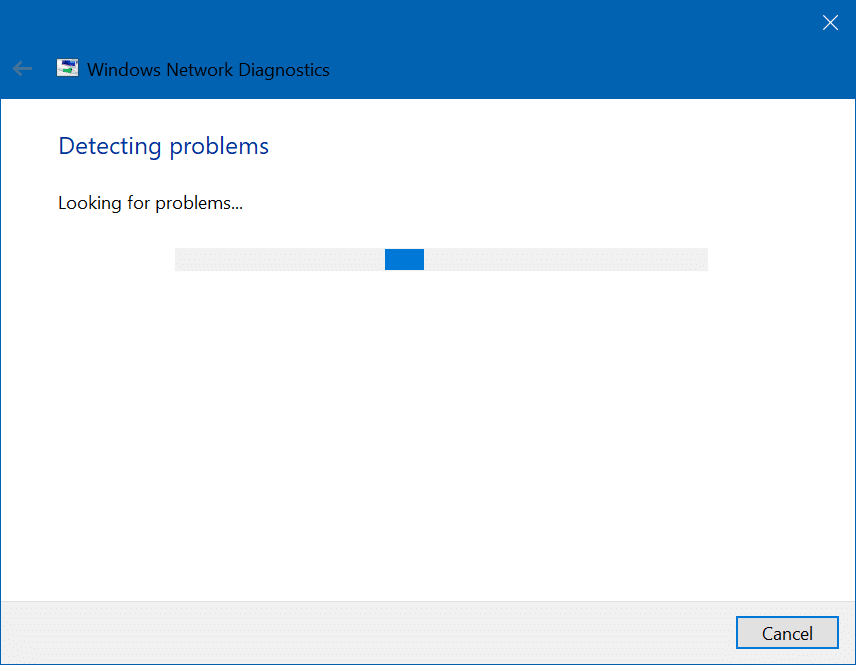
2. The Network Diagnostics window will open. Follow the on-screen instructions to run the Troubleshooter.
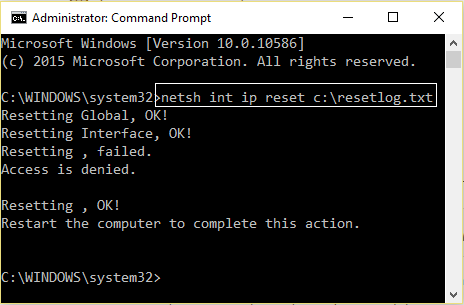
ዘዴ 2: TCP / IP ን ዳግም ያስጀምሩ
1. Right-click on the Windows button and select “Command Prompt(Admin).”

2. የሚከተለውን ትዕዛዝ ይተይቡ: netsh int ip reset c:resetlog.txt
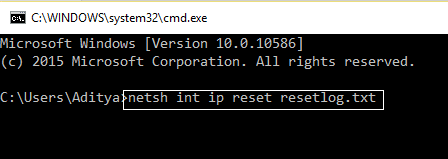
3. If you don’t want to specify the directory path then use this command: netsh int ip reset resetlog.txt
4. ፒሲውን እንደገና ያስነሱ.
Method 3: Change Bitdefender firewall settings (Or your Antivirus Firewall)
1. Open Settings of Bitdefender Internet Security and choose ፋየርዎል
2. “ላይ ጠቅ ያድርጉየላቁ ቅንብሮች"አዝራር.
3. እርግጠኛ ይሁኑ "የበይነመረብ ግንኙነት ማጋራትን አንቃ” ተረጋግጧል።
ማስታወሻ: If you don’t have the above setting then disable “Block Internet Connection Sharing” instead of above.
4. Click the OK button to save changes.
5. And if it doesn’t work try disabling your Antivirus Firewall and enabling Windows Firewall.
For maximum people changing firewall settings fixes the limited access or no connectivity WiFi problem, but if it didn’t work for you don’t lose hope we still have a long way to go, so follow the next method.
Method 4: Change adapter settings
1. Open the Bitdefender, then select Protection module እና ጠቅ ያድርጉ Firewall feature.
2. Make sure the Firewall is turned ON and then go to the Adapters tab and perform the following changes:
Set Network type to "Home/Office"
Set Stealth Mode to "Off"
Set Generic to "On"
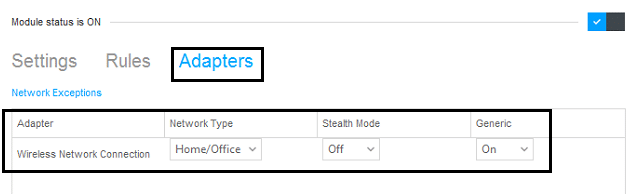
3. Restart your PC to apply these changes.
Method 5: Wake up your Wi-Fi Adapter
1. በቀኝ ጠቅታ on the network icon in the notification area and select ክፈት Network & Internet Settings.

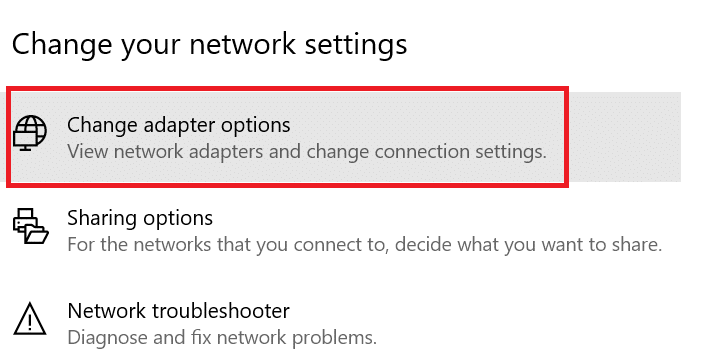
2. በታች የአውታረ መረብ ቅንብሮችዎን ይለውጡላይ ጠቅ ያድርጉ Change Adapter Options.
3. በእርስዎ ላይ ጠቅ ያድርጉ የ WiFi አውታረ መረብ እና ይምረጡ ንብረቶች.
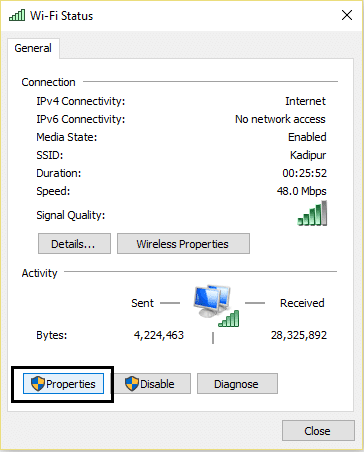
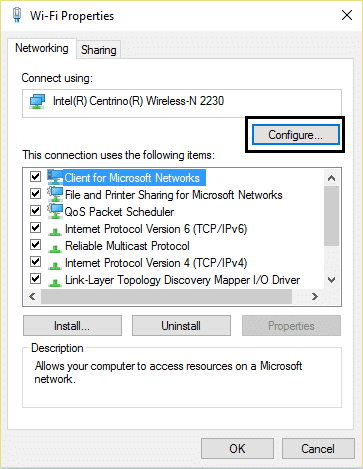
4. Now in የ WiFi ባህሪያት ላይ ጠቅ ያድርጉ አዋቅር
5. Go to the Power Management tab and uncheck “ሃይልን ለመቆጠብ ኮምፒዩተሩ ይህን መሳሪያ እንዲያጠፋ ይፍቀዱለት።"
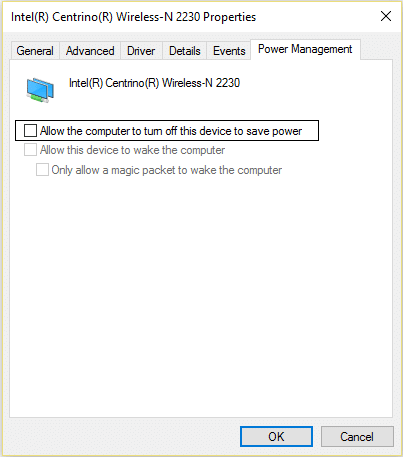
6. ኮምፒተርዎን ዳግም ያስጀምሩ.
ዘዴ 6፡ ጎግል ዲ ኤን ኤስ ተጠቀም
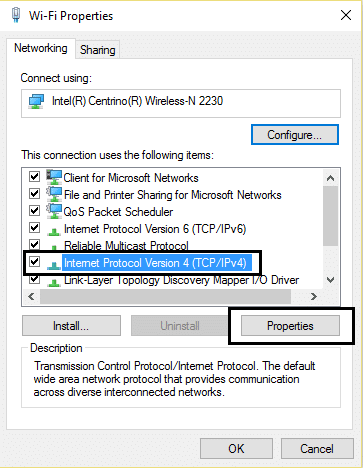
1. Again go to your Wi-Fi properties.
2. አሁን ይምረጡ የበይነመረብ ፕሮቶኮል ስሪት 4 (TCP / IPv4) እና ጠቅ ያድርጉ ንብረቶች.
3. Check the box saying “የሚከተሉትን DNS አገልጋይ አድራሻዎች ተጠቀም” and enter the following:
የተመረጠ የዲ ኤን ኤስ አገልጋይ: 8.8.8.8
ተለዋጭ የዲ ኤን ኤስ አገልጋይ: 8.8.4.4
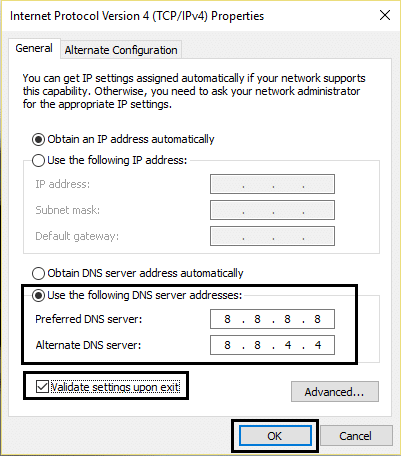
4. Click OK to save, then click close and እንደገና ጀምር የእርስዎ ፒሲ።
Method 7: Reset TCP/IP Auto-tuning
1. Right-click on the Windows key and select “የትእዛዝ ጥያቄ (አስተዳዳሪ)።"
2. Type the following commands:
netsh int tcp set heuristics disabled
netsh int tcp set global autotuninglevel=disabled
netsh int tcp set global rss=enabled
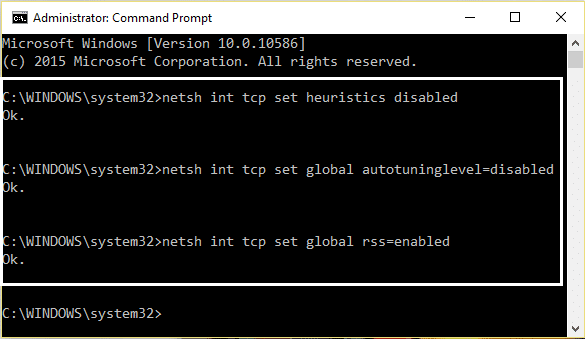
3. ኮምፒተርዎን ዳግም ያስጀምሩ.
Method 8: Enable Download over metered connections
1. ላይ ጠቅ ያድርጉ የዊንዶውስ ቁልፍ እና ይምረጡ ቅንብሮች.
2. Now in settings click on አውታረ መረብ እና በይነመረብ.

3. Here you will see የላቁ አማራጮች, ላይ ጠቅ ያድርጉ.
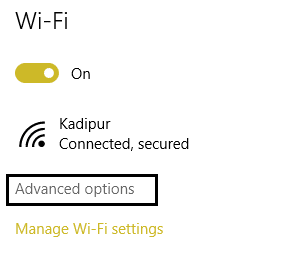
4. Make sure your Metered connection is set to በርቷል
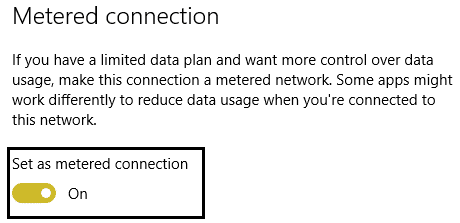
5. ዳግም አስነሳ ለውጦችን ለመተግበር.
Yeah, I admit, this is a stupid step but hey for some people it worked out so why not try it and who knows your limited access or no connectivity WiFi issues may be fixed.
Method 9: Set Roaming Aggressiveness to Maximum
1. በቀኝ ጠቅታ on the network icon in the notification area and select ክፈት Network & Internet Settings.
2. በታች የአውታረ መረብ ቅንብሮችዎን ይለውጡላይ ጠቅ ያድርጉ Change Adapter Options.
3. አሁን የእርስዎን ይምረጡ ዋይፋይ እና ጠቅ ያድርጉ ንብረቶች.
4. Inside Wi-Fi properties click on አዋቅር
5. ዳስስ የላቀ ትር እና ያግኙት የዝውውር ጠበኛነት ቅንብር.
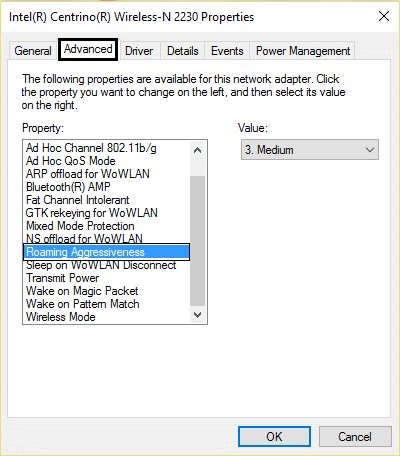
6. Change the value from Medium to Highest እና እሺ የሚለውን ጠቅ ያድርጉ.
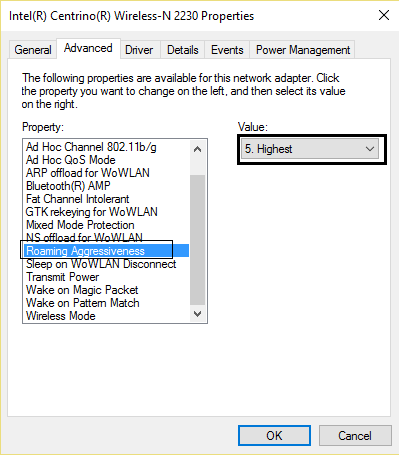
7. ዳግም አስነሳ ለውጦችን ለመተግበር.
ዘዴ 10: አሽከርካሪዎችን ያዘምኑ
1. የዊንዶውስ ቁልፍ + R ተጫን እና "" ብለው ይተይቡ.devmgmt.msc” in Run dialogue box to open the እቃ አስተዳደር.

2. ዘርጋ የአውታረ መረብ ማስተካከያዎች፣ ከዚያ በቀኝ መዳፊት ቁልፍዎ ላይ ጠቅ ያድርጉ የ Wi-Fi መቆጣጠሪያ(ለምሳሌ Broadcom ወይም Intel) እና ይምረጡ ነጂዎችን ያዘምኑ።

3. In the Update Driver Software Windows, select “ለሞተሩ ሶፍትዌር የእኔን ኮምፒተር ይፈልጉ."

4. አሁን ይምረጡ "በኮምፒተርዬ ላይ ካሉ የመሣሪያ ነጂዎች ዝርዝር ውስጥ እንድመርጥ።"

5. ሞክር ከተዘረዘሩት ስሪቶች ነጂዎችን አዘምን.
6. If the above didn’t work then go to the የአምራች ድር ጣቢያ ነጂዎችን ለማዘመን; https://downloadcenter.intel.com/
7. ዳግም አስነሳ ለውጦችን ለመተግበር.
በተጨማሪም ሊወዱት ይችላሉ:
I hope by now any one of the methods must have worked for you to fix limited access or no connectivity WiFi issues. If you still have any queries regarding this guide please feel free to ask them in the comments.
![[SOLVED] keyboard has stopped working on Windows 10](https://lbsite.org/wp-content/uploads/2023/01/Solved-keyboard-has-stopped-working-on-Windows-10.png "[SOLVED] keyboard has stopped working on Windows 10")
