The autofill feature is an important part of the Outlook program. AutoComplete allows you to enter an entire email while composing a message with just one email initial. This feature helps you save time and gives you quick access to emails. However, sometimes users may experience Outlook AutoComplete not working issue; this issue can be caused for various reasons, such as an outdated Office version or bugs with the Outlook program. In this guide, we will discuss methods to resolve Outlook Address AutoComplete not working issue on your Outlook.

How to Fix Outlook AutoComplete Not Working Correctly
There can be various reasons for Outlook Autofill email address not working on your Outlook account; some of the most common reasons are mentioned here.
- If you have disabled AutoComplete in Outlook, you won’t be able to use this feature.
- Bugs and glitches with the Outlook program can also cause this issue.
- Issues with a user profile can also cause AutoComplete feature not working issue.
- Corrupt Outlook Add-ins can also cause this issue.
- Corrupt Outlook data PST files can also cause this issue with Outlook.
- Outdated or corrupt Microsoft Office updates can also cause this issue.
- A corrupt RoamCache folder can also cause this issue with Outlook.
Following are the troubleshooting methods to solve this problem.
Method 1: Enable AutoComplete in Outlook
If you have not enabled the AutoComplete feature in Outlook, you will not be able to use this feature. You will have to manually enable AutoComplete to resolve this Outlook address AutoComplete not working issue. You can follow these simple steps to enable AutoComplete in Outlook.
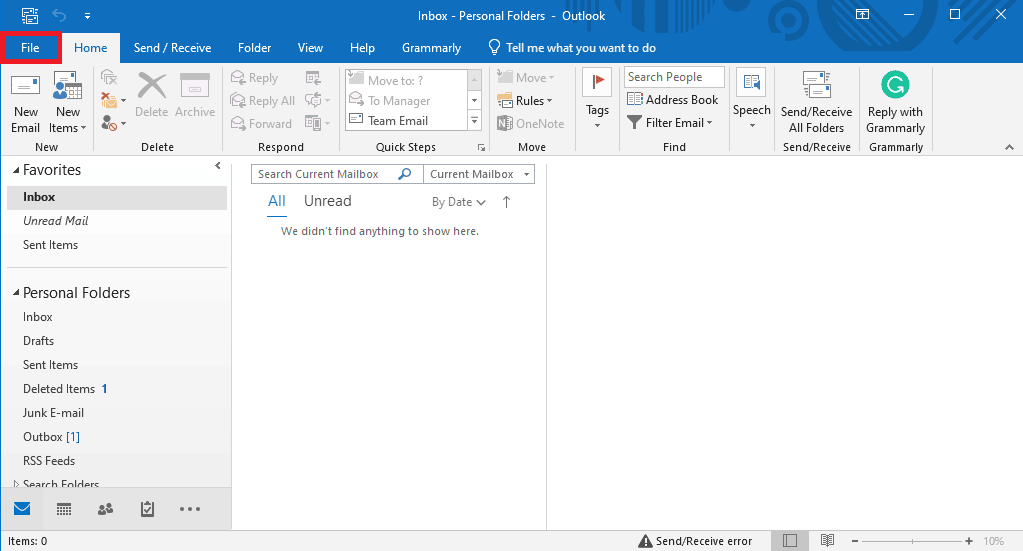
1. ክፈት Outlook, እና ወደ ይሂዱ ፋይል from the top-left side of the window.
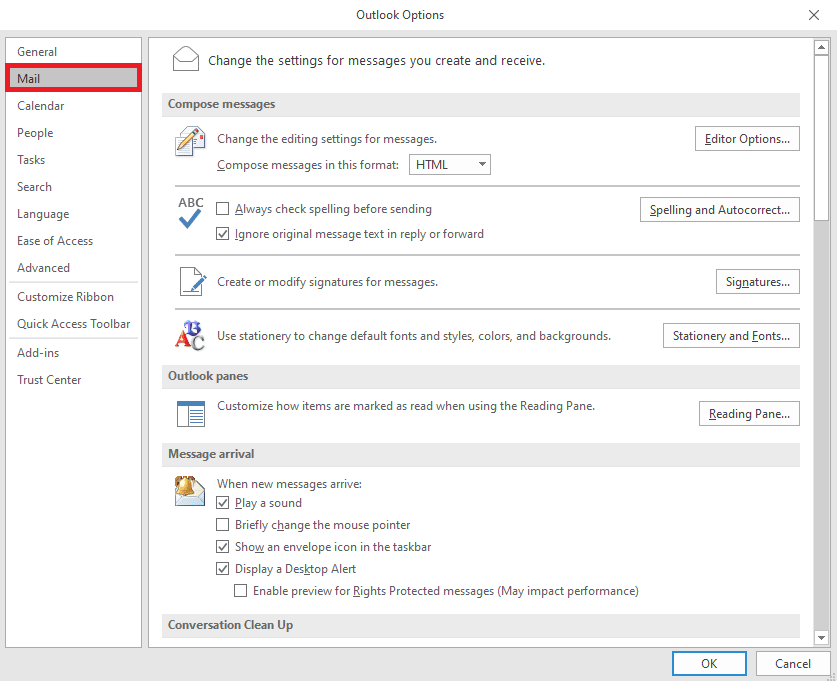
2. Here, from the left-side panel, click on አማራጮች.

3. ወደ ሂድ ፖስታ ትር.
4. Scroll down here, and locate መልዕክቶችን ይላኩ አማራጮች.
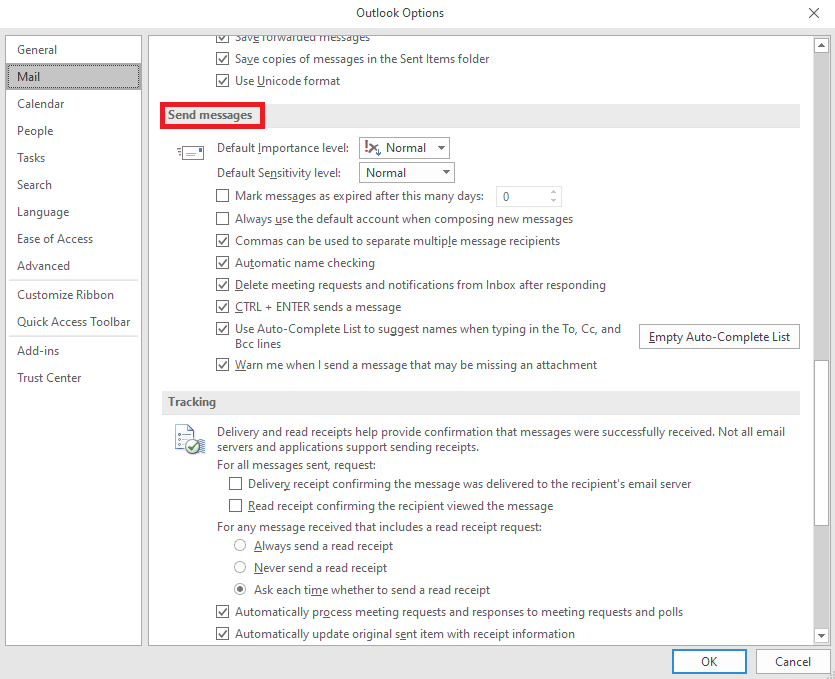
5. እዚህ, ይመልከቱ Use Auto-Complete List to suggest names when typing in the To, Cc, and Bcc lines.
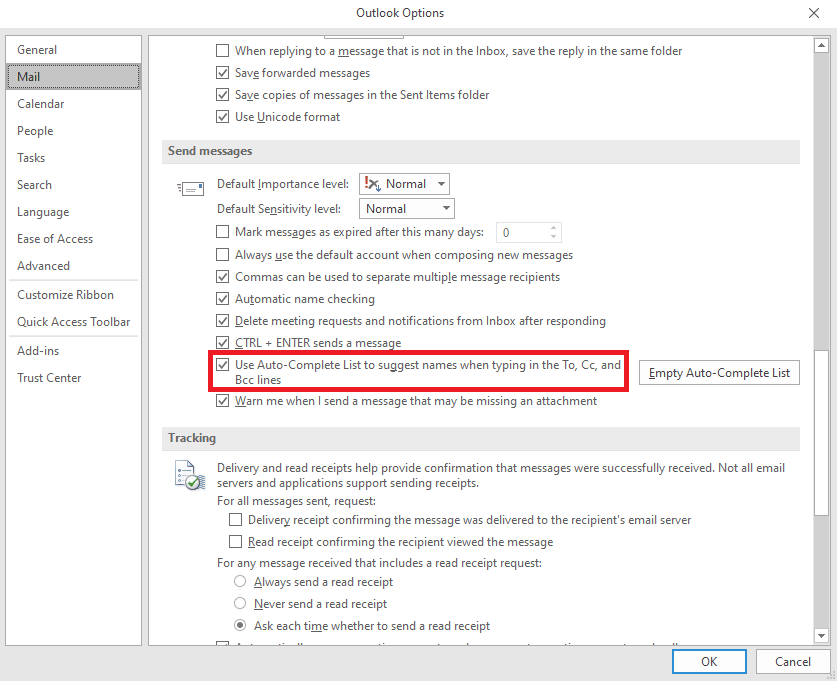
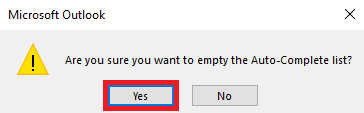
6. If you find this option already checked, click on the ባዶ ራስ-አጠናቅቅ ዝርዝር.
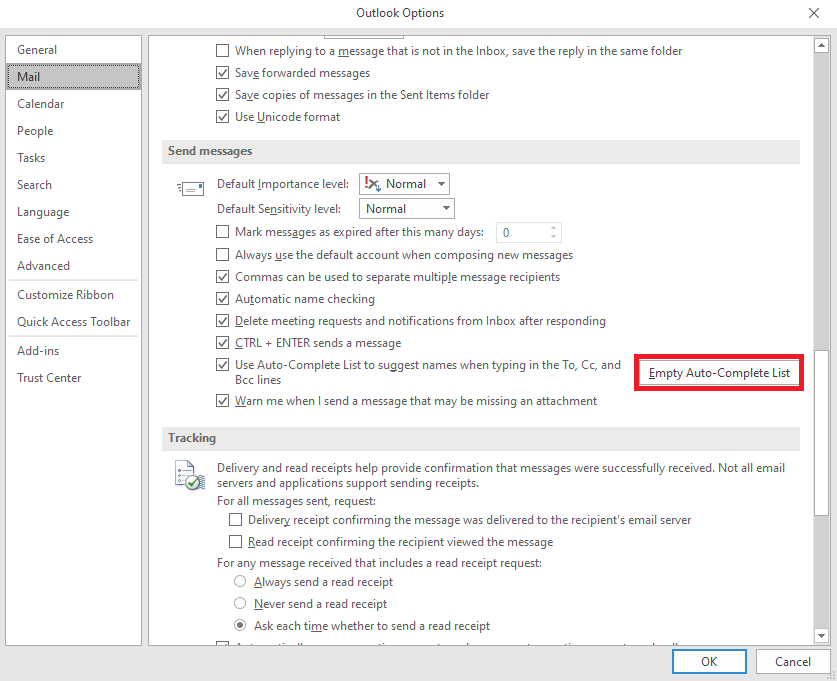
7. ጠቅታ አዎ እርምጃውን ለማረጋገጥ.
ዘዴ 2፡ Outlook ን ደህንነቱ በተጠበቀ ሁኔታ ያሂዱ
Running programs in safe mode can help you avoid various issues. You can use safe mode to make the troubleshooting process easier and avoid hardware issues. You can follow these simple steps to run Outlook in safe mode to resolve Outlook autocomplete not working issue.
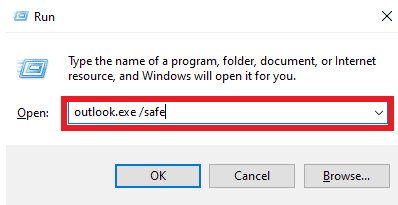
1. ይጫኑ የዊንዶውስ + R ቁልፎች መክፈት Run dialog box.
2. In the Run dialog box, type Outlook.exe/safe እና ይጫኑ ቁልፍ አስገባ.
እንዲሁም ይህን አንብብ: በዊንዶውስ 10 ላይ ከአገልጋይ ጋር ለመገናኘት በመሞከር ላይ Outlookን ያስተካክሉ
Method 3: Run Outlook with Different Profile
Make sure the Outlook issue is happening only in your Outlook program and not on the entire system. You can try to log in to Outlook with a different profile. You can also add a different account on Outlook.
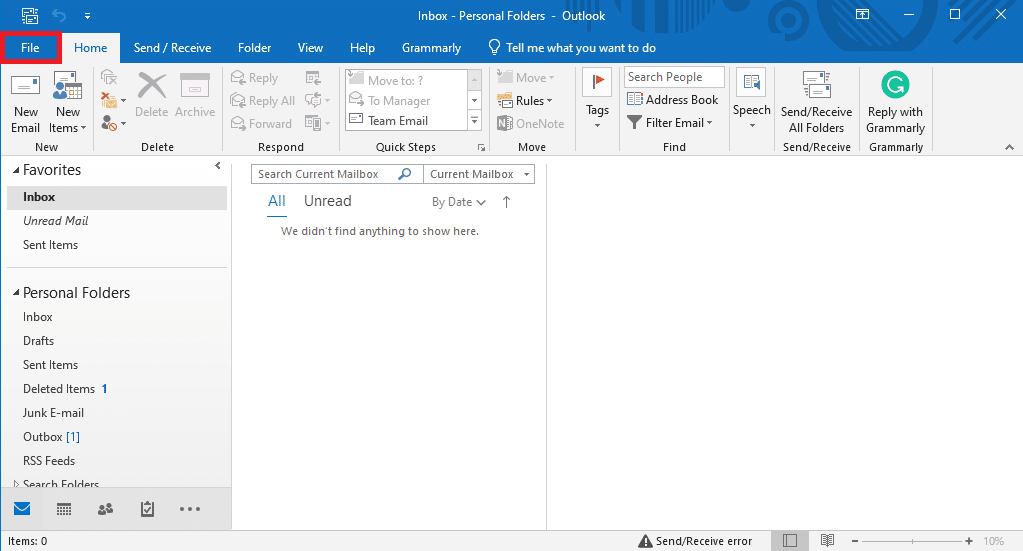
1. ክፈት Outlook on your computer, and click on ፋይል.
2. በውስጡ የመለያ መረጃ page, locate and click on መለያ አክል
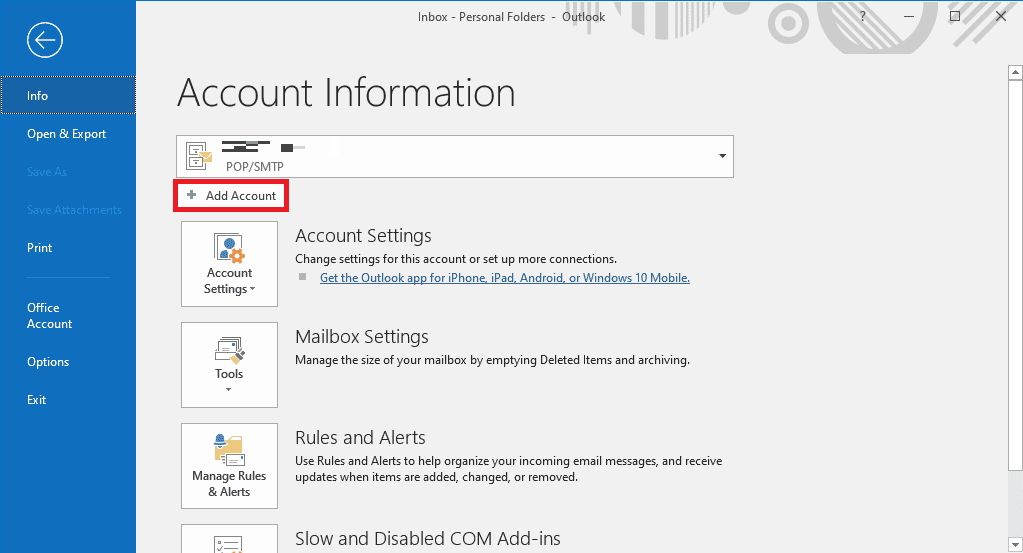
3. ይግቡ የመግቢያ ምስክርነቶች for a different account.
ዘዴ 4፡ Outlook Add-Insን ያሰናክሉ።
Sometimes, the issue can be caused by an Outlook Add-in. Ad-ins can be very useful and help you organize your Outlook application. However, if Outlook Add-ins get corrupt for some reason, you may experience various issues, such as AutoComplete not working on Outlook. To resolve these issues, you can try to disable Outlook Add-ins. You can follow these simple steps to disable Outlook Add-ins.
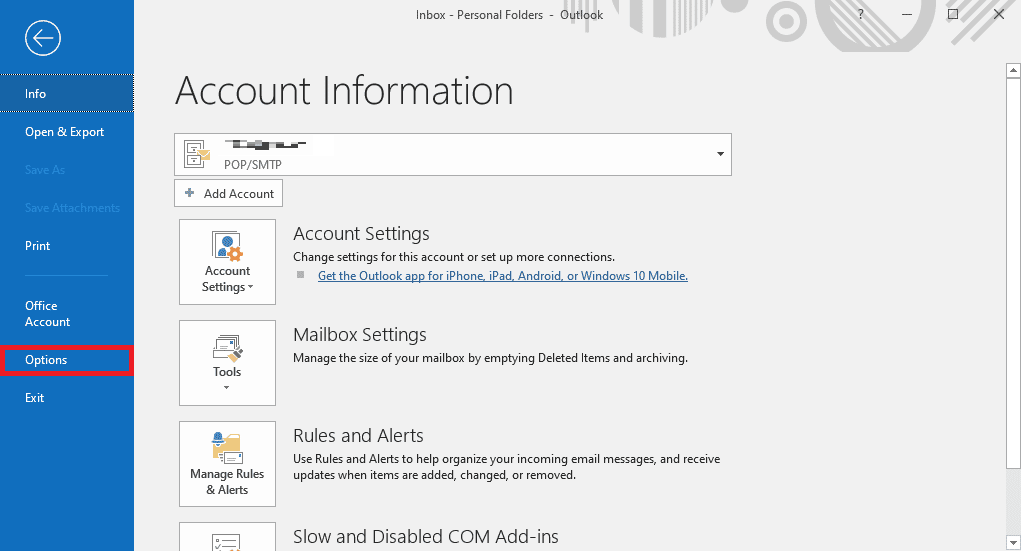
1. ክፈት Outlook on your computer and navigate to ፋይል.

2. Here, from the left-side panel, click on አማራጮች.
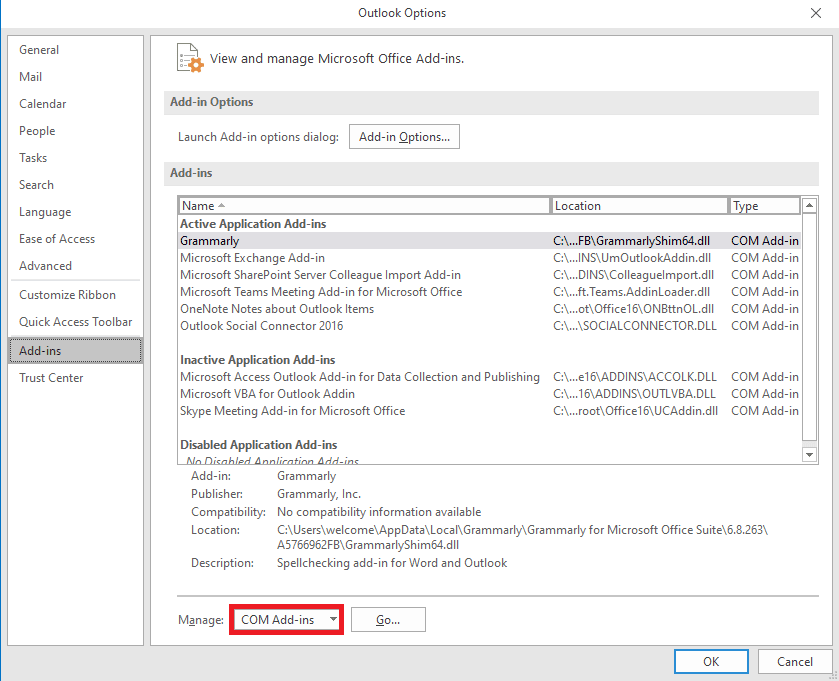
3. Now, locate and navigate to ተጨማሪዎች.

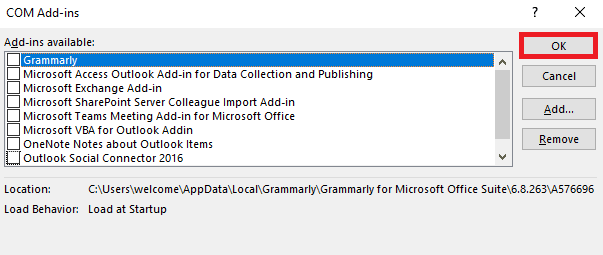
4. እዚህ, ያግኙት ያቀናብሩ ተቆልቋይ እና ምረጥ ኮም ተጨማሪዎች.
5. አሁን, ጠቅ ያድርጉ Go.
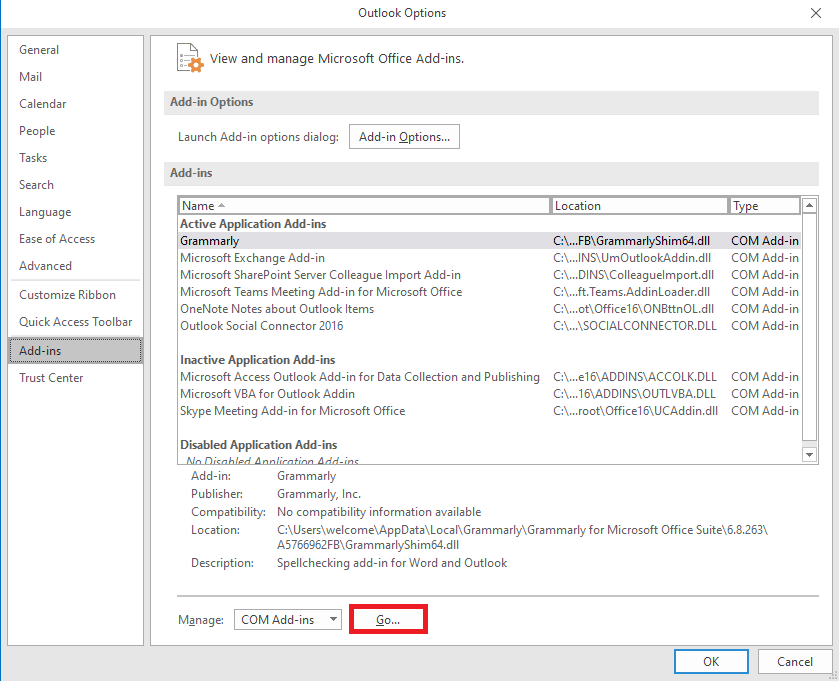
6. እዚህ፣ አታመልክት all the Add-ins and then click OK.
Method 5: Repair Outlook Data PST File
PST, or Personal Table Storage, files store Outlook emails; if this file is corrupt or causing issues, you may experience Outlook address AutoComplete not working error. You can use the Inbox repair tool to help you figure out a solution for this issue. Follow these simple steps to execute this method.
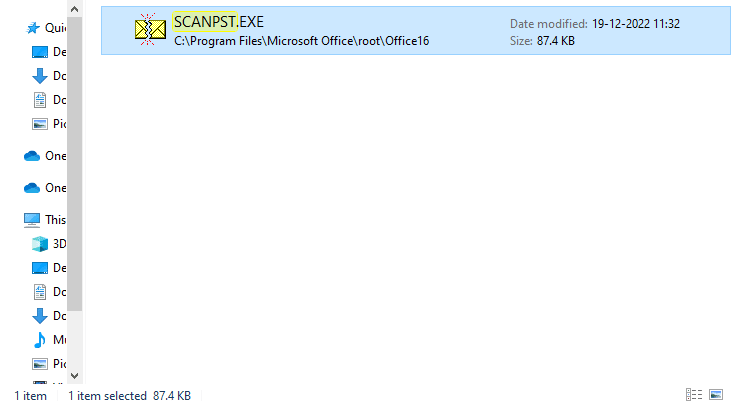
1. ይክፈቱ በ Outlook አቃፊ በርቷል ፋይል አሳሽ.
C: የፕሮግራም ፋይሎች MicrosoftMicrosoftWorkWorkOffice16
2. ላይ ጠቅ ያድርጉ ስካንፕስ ፋይል.
3. አሁን, ይምረጡ ያስሱ option to locate the file you wish to scan.
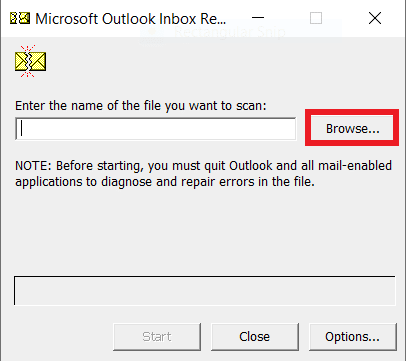
4. In the new dialog box, click on መጀመሪያ.
5. በመጨረሻም ጠቅ ያድርጉ ጥገና to fix all the PST file issues.
If this method does not fix Outlook autocomplete not working issue, move on to the next method.
እንዲሁም ይህን አንብብ: በ Outlook 365 ውስጥ የተሰረዘ ረቂቅን እንዴት መልሶ ማግኘት እንደሚቻል
ዘዴ 6 ማይክሮሶፍት ኦፊስን ያዘምኑ
If the Microsoft Office program is experiencing bugs and glitches, updating it can help you fix the issues. An outdated Microsoft Office can make your Outlook vulnerable to bugs and other application issues. Therefore, manually updating Office is a great way to fix not just the AutoComplete issues but also other underlying issues with the Microsoft Office package. You can follow these simple steps to update Microsoft Office from the Microsoft Outlook program.
1. ክፈት Outlook on your computer and navigate to ፋይሎች.

2. From the left-side panel, click on the የቢሮ መለያ.
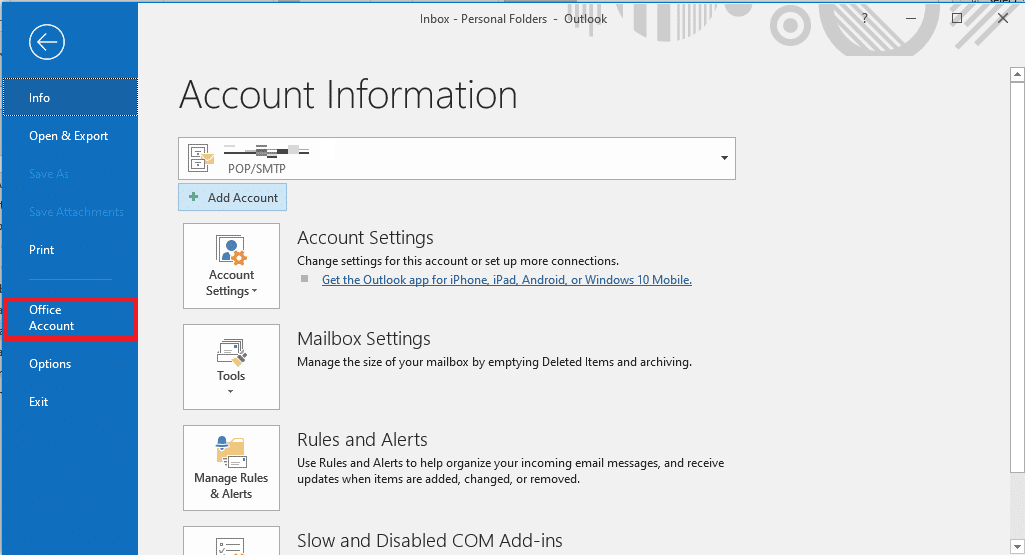
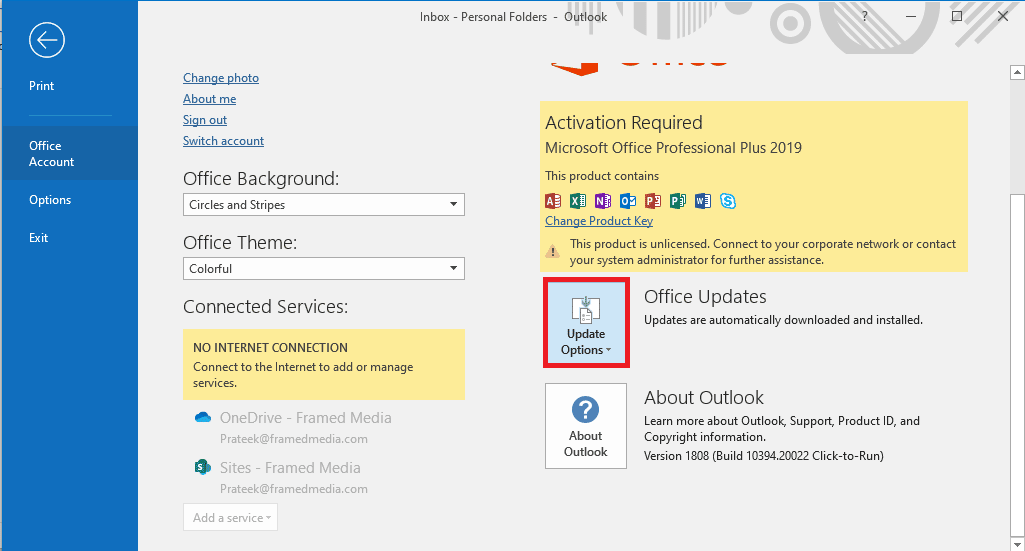
3. Here, locate ቢሮ ዝማኔዎች.
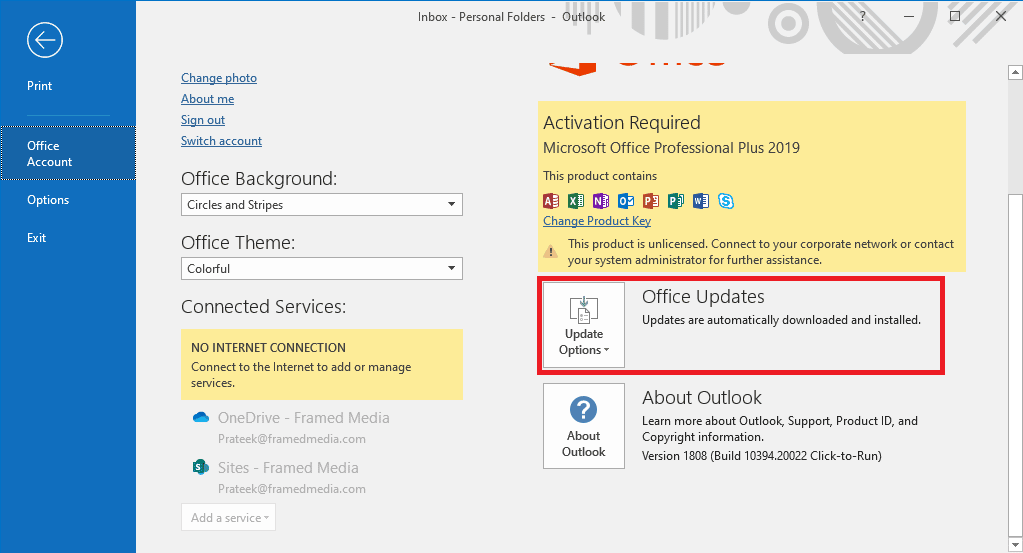
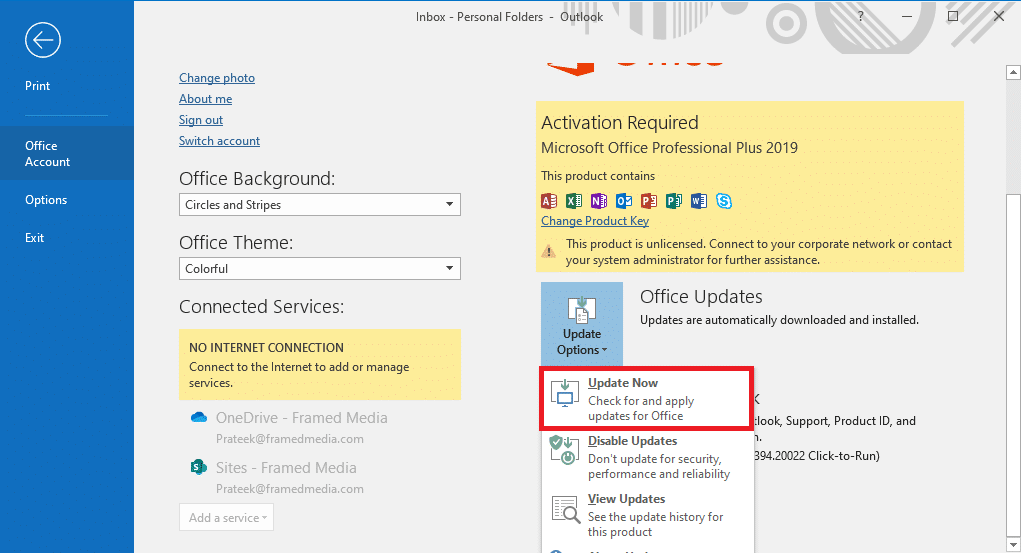
4. አሁን, በ ላይ ጠቅ ያድርጉ አማራጮችን አዘምን ዝቅ በል.
5. በመጨረሻም ጠቅ ያድርጉ አሁን አዘምን.
If this method does not fix Outlook Autofill email address not working issue, move on to the next method.
Method 7: Rename RoamCache Folder
If you have enabled the AutoComplete feature but still have the issue, it can be due to a corrupt RoamCache folder. You can fix this issue by resetting the AutoComplete folder. You will only need to rename the RoamCache folder in the directory. You can rename the RoamCache folder for both, a home email account and a Microsoft Exchange server account.
Option I: Rename RoamCache Folder for Home Email Account
You can follow these simple steps to rename the RoamCache folder in a home email account.
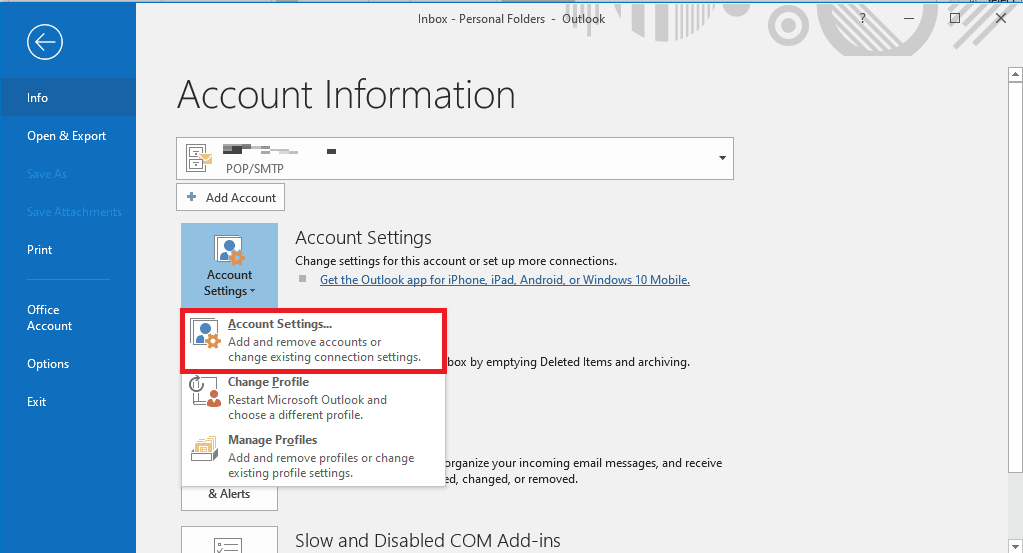
1. ክፈት Outlook on your computer and navigate to ፋይል.

2. አሁን, በ ላይ ጠቅ ያድርጉ መለያ ማደራጃ drop-down and then select መለያ ማደራጃ.

3. Here, select your Home Email Account.
4. ገጠመ the Outlook program.
5. ይጫኑ Windows + E keys ለመክፈት ፋይል አሳሽ.
6. ወደሚከተለው ቦታ ይሂዱ ዱካ.
%LOCALAPPDATA%MicrosoftOutlook

7. እዚህ, ያግኙት RoamCache አቃፊ.

8. Rename this folder with a new name.
እንዲሁም ይህን አንብብ: የማይክሮሶፍት ልውውጥ አስተዳዳሪህን አስተካክል ይህን የ Outlook ስሪት አግዶታል።
Option II: Rename RoamCache Folder for Microsoft Exchange Server Account
You can follow these simple steps to rename the RoamCache folder in a Microsoft Exchange server account to solve Outlook address AutoComplete not working issue.
1. ክፈት Outlook on your computer and navigate to ፋይል.

2. አሁን, በ ላይ ጠቅ ያድርጉ መለያ ማደራጃ drop-down and then select መለያ ማደራጃ.
3. Here, select your Microsoft Exchange Server Account.
4. አሁን, ጠቅ አድርግ ቀይር.
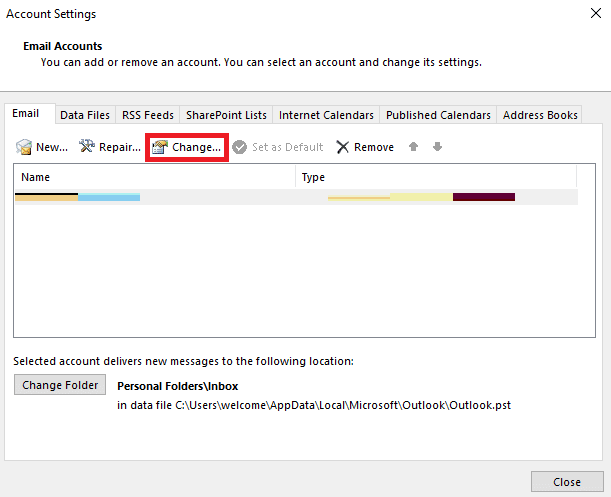
5. እዚህ, ላይ ጠቅ ያድርጉ ተጨማሪ ቅንብሮች.
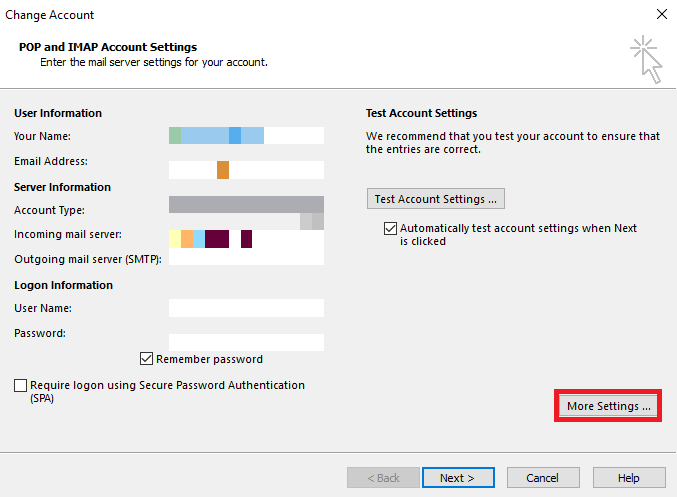
6. ወደ ሂድ የላቀ ትር.
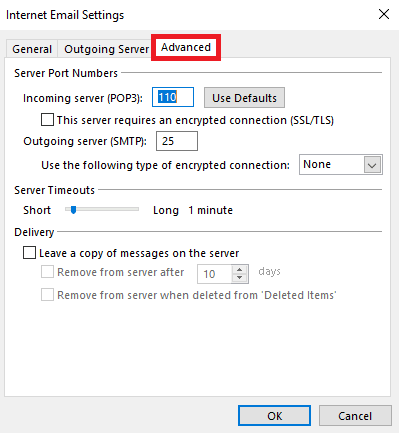
7. Unselect the የተሸጎጠ የልውውጥ ሁኔታን ይጠቀሙ ሳጥን እና ይምረጡ ቀጣይ.
8. በመጨረሻም ጠቅ ያድርጉ ጪረሰ.
9. ዝጋ Outlook ፕሮግራም ነው.
10. ይጫኑ Windows + E keys በተመሳሳይ ጊዜ ለመክፈት ፋይል አሳሽ.
11. በውስጡ ፋይል አሳሽ, navigate to the following location ዱካ.
%LOCALAPPDATA%MicrosoftOutlook
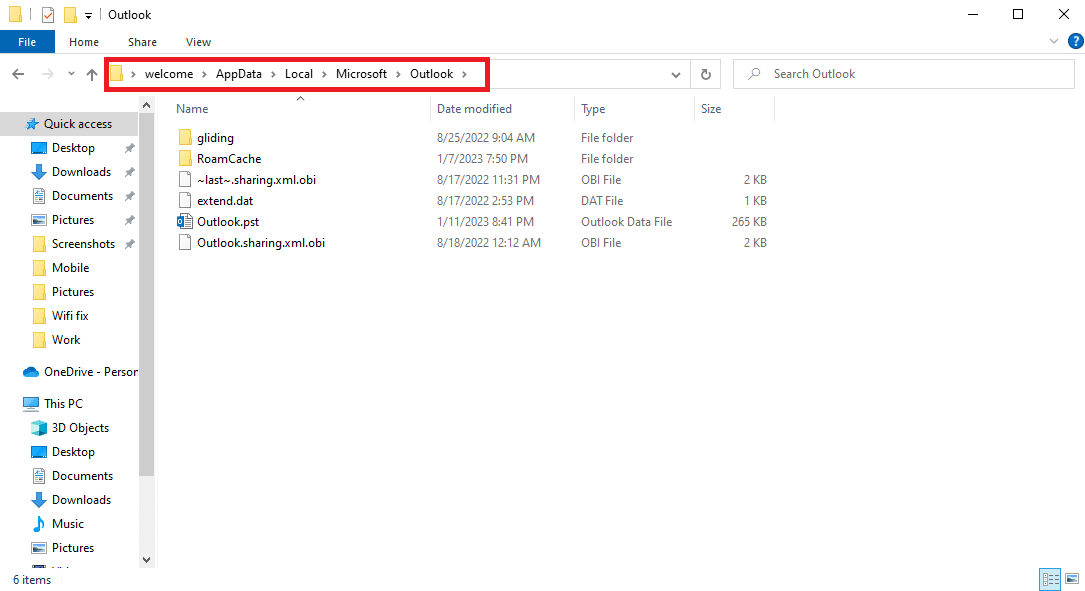
12. እዚህ, ያግኙት RoamCache አቃፊ.
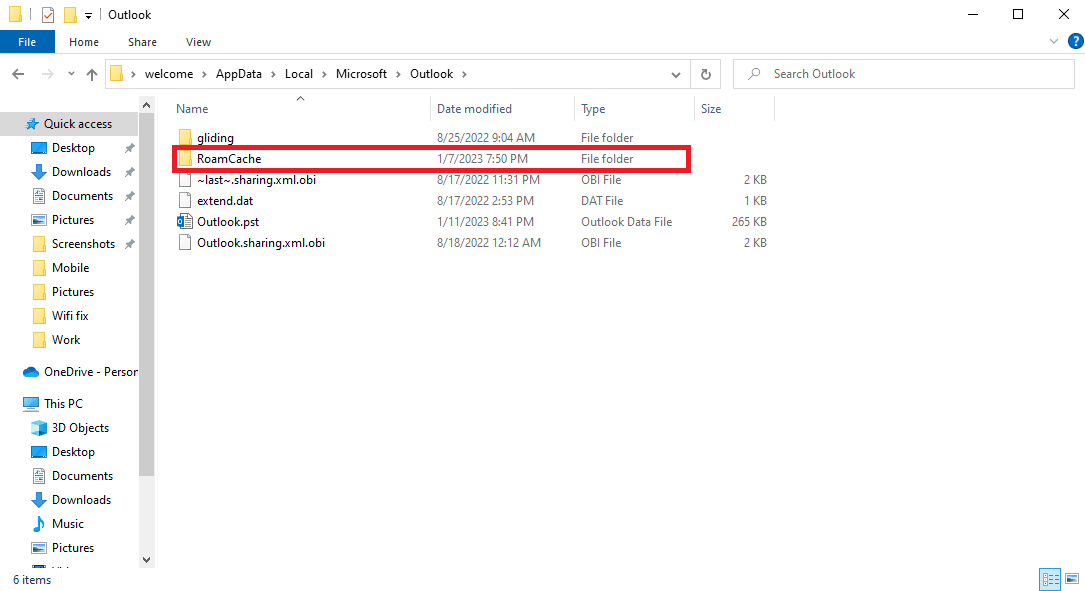
13. Rename this folder to old_RoamCache.
14. አሁን ፣ ይክፈቱ Outlook program and follow the steps mentioned above to navigate to the የተሸጎጠ የልውውጥ ሁኔታን ይጠቀሙ አማራጭ.
15. ይመልከቱ Use Cached Exchange Mode.
16. በመጨረሻም የ Outlook መተግበሪያን እንደገና ያስጀምሩ.
የሚመከር:
ይህ መመሪያ ለእርስዎ ጠቃሚ እንደነበረ እና እርስዎ ማስተካከል እንደቻሉ ተስፋ እናደርጋለን Outlook AutoComplete not working ርዕሰ ጉዳይ. የትኛው ዘዴ ለእርስዎ እንደሰራ ያሳውቁን። ለእኛ ማንኛውም ጥቆማዎች ወይም ጥያቄዎች ካሉዎት እባክዎን በአስተያየቱ ክፍል ውስጥ ያሳውቁን።

