Windows 10 offers various customizable sleep setting options, so your PC sleeps exactly the way you want. For example, you can set your PC to sleep after a predefined time period has elapsed. You can even make your PC fall asleep when you close your laptop’s lid.
In this guide, we’ll take a look at some of the Windows 10 sleep settings that you can tweak on your PC.
Choose the Idle Duration After Which Your PC Sleeps
When you configure sleep settings for your PC, the first option to define is how long your PC should be in idle mode to enter sleep mode. You can choose different options for both when your machine is plugged into a power source and when your machine is running on battery.
- فتح الإعدادات app on your PC by pressing Windows + I مفاتيح في نفس الوقت.
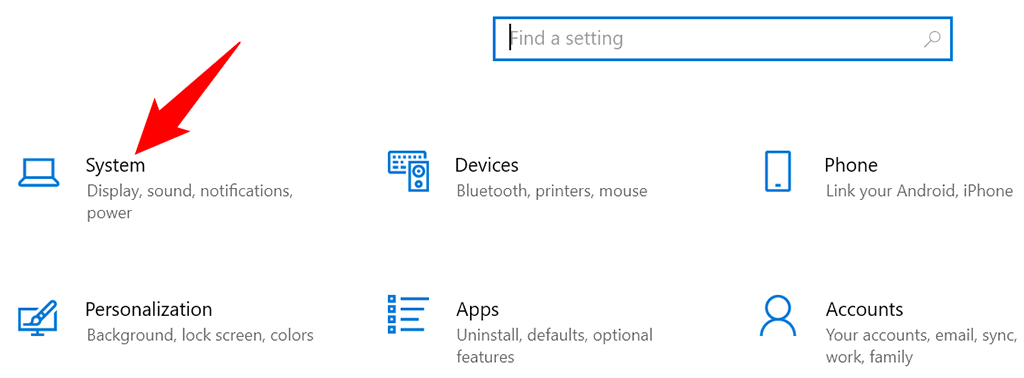
- أختار System على شاشة الإعدادات.
- اختار القوة والنوم من الشريط الجانبي على اليسار.
- Define when your PC goes to sleep in the النوم section on the right. Select an option from both drop-down menus depending on when your PC should enter sleep mode.
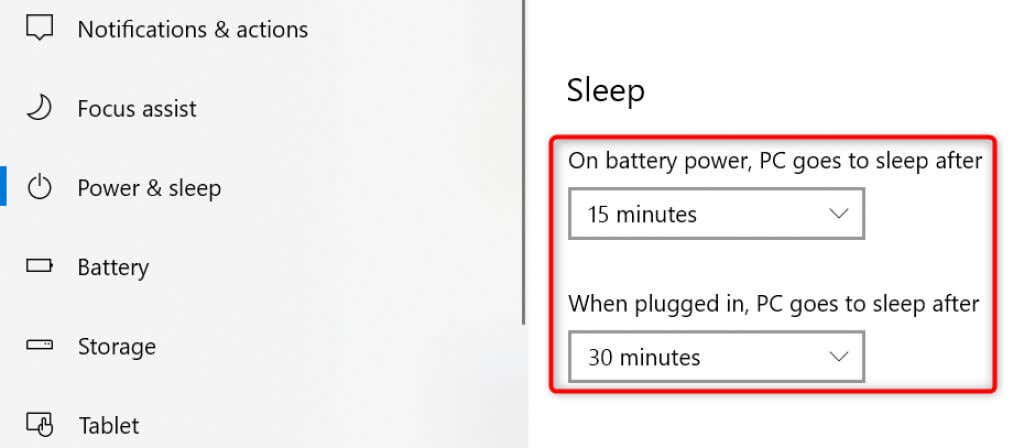
If you don’t want your PC to ever enter sleep mode, choose أبدا from both drop-down menus. This way, your PC never goes into sleep mode and always remains awake.
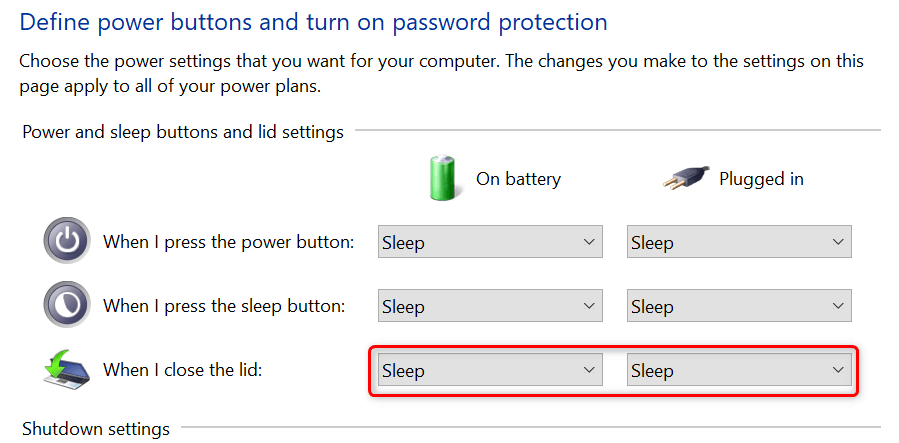
Put Your Laptop to Sleep When You Close the Lid
Windows 10 offers a sleep setting where you can put your laptop to sleep when you close the laptop’s lid. This is a handy and time-saving tip if you manually put your laptop to sleep mode while closing the lid.
- فتح الإعدادات app on your PC by pressing Windows + I.
- التوجه الى System > القوة والنوم في تطبيق الإعدادات.
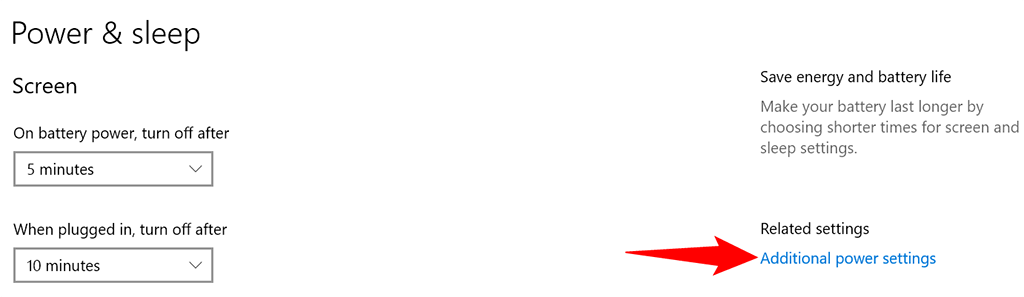
- اختار إعدادات الطاقة إضافية from the sidebar on the right.
- أختار اختيار ما إغلاق الغطاء لا من الشريط الجانبي الأيسر.

- أختار النوم من كليهما على البطارية و في صوم drop-down menus for the عندما أغلق الغطاء الخيار.
- أختار حفظ التغييرات at the bottom of the window to save your settings.
Prevent Your Mouse From Waking Up Your PC From Sleep
By default, Windows 10 allows your mouse or trackpad’s movement to bring your PC out of sleep mode. If you don’t want this to happen, turn off an option for your mouse in your PC’s Device Manager tool.
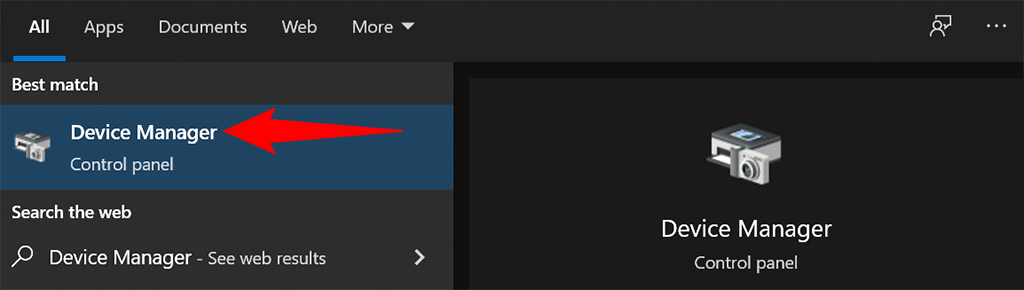
- فتح آبدأ القائمة ، ابحث عن مدير الجهازوحدد مدير الجهاز في نتائج البحث.
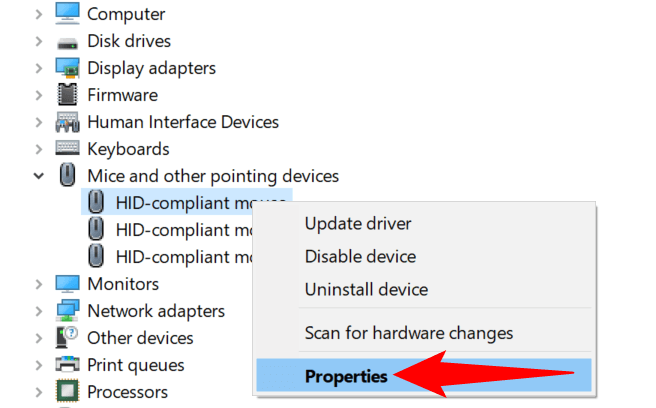
- توسيع الفئران وأجهزة التأشير الأخرى section in Device Manager.
- Right-click your mouse in the device list and select عقارات من القائمة.
- وصول إلى إدارة الطاقة علامة التبويب في نافذة الخصائص.
- تعطيل اسمح لهذا الجهاز بتنشيط جهاز الكمبيوتر اختيار. ثم حدد OK في الجزء السفلي.
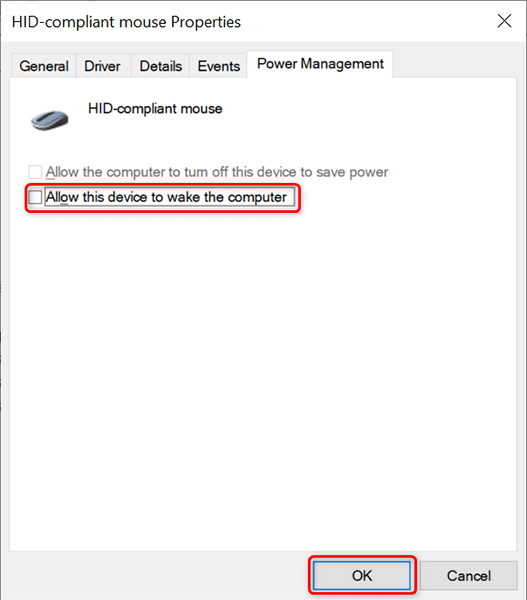
From now on, when your PC is in sleep mode and you move your cursor, your PC will remain in sleep and won’t come out of sleep mode.
Disable Hybrid Sleep Setting to Prevent Issues
Hybrid sleep in Windows 10 is the combination of sleep and hibernation modes. This combination sometimes creates various issues on your system. To prevent that from happening, it’s worth toggling off this option on your computer.
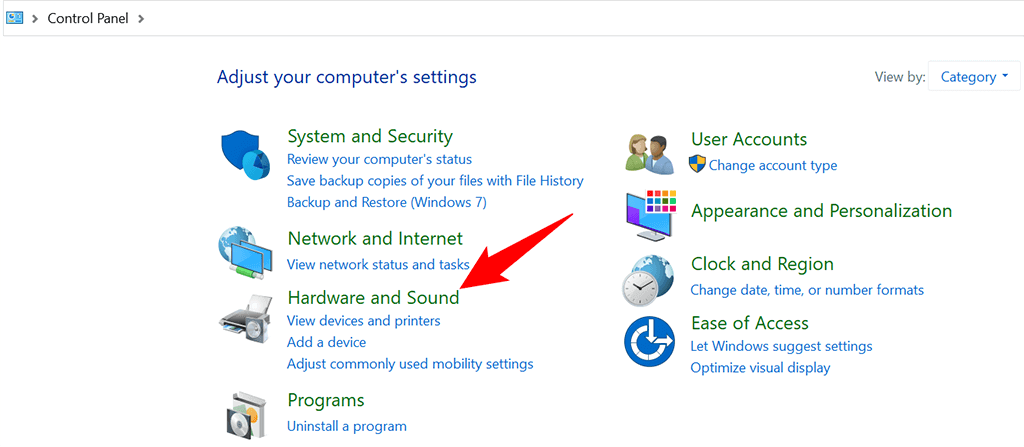
- افتح لوحة التحكم على جهاز الكمبيوتر الخاص بك. The easiest way to do this is to open the آبدأ القائمة ، ابحث عن لوحة التحكم، وحدد هذا الخيار في نتائج البحث.
- اختار الأجهزة والصوت في نافذة لوحة التحكم.
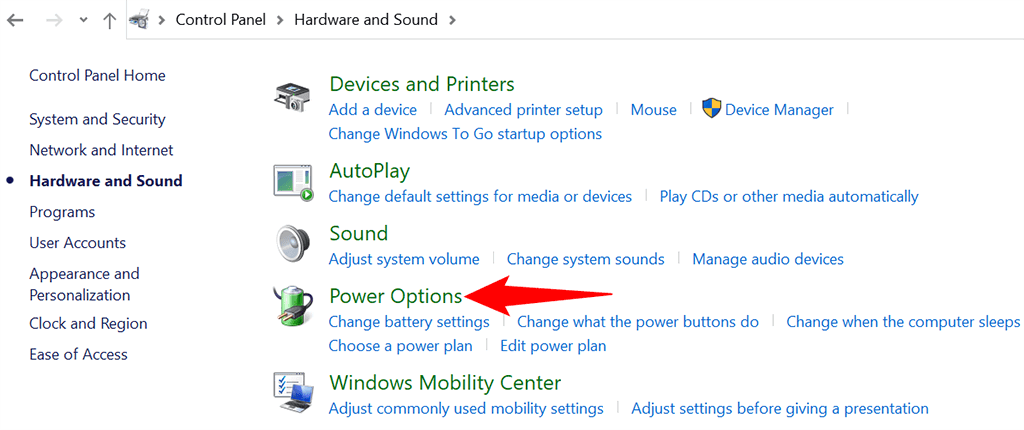
- أختار خيارات الطاقة على الشاشة التالية.
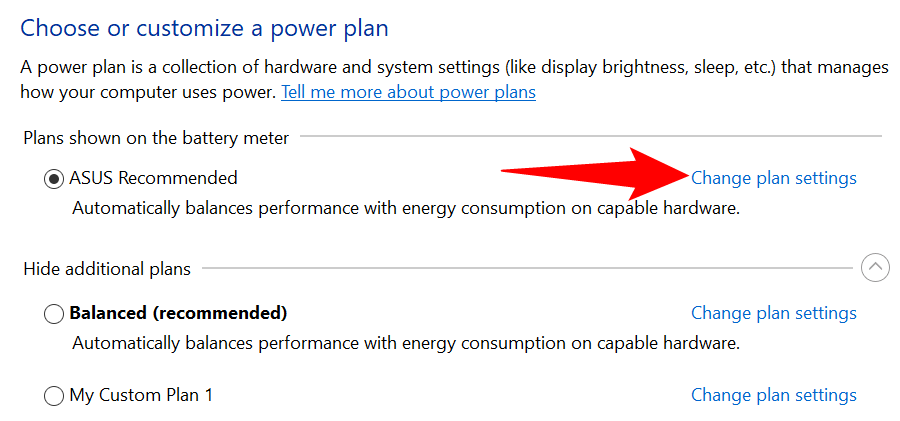
- Find your active power plan and select تغيير إعدادات الخطة next to your plan.
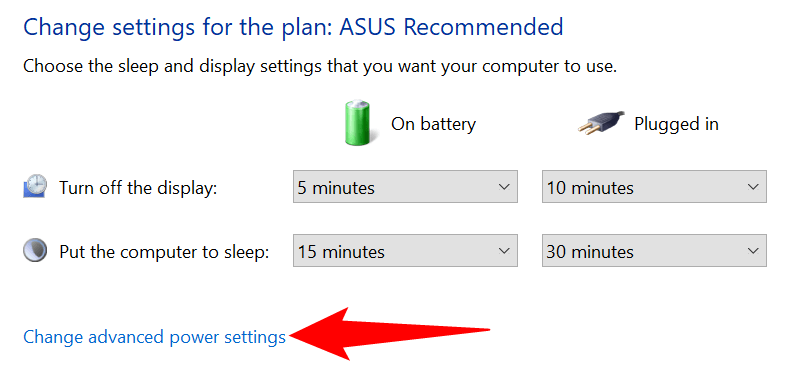
- أختار تغيير إعدادات الطاقة المتقدمة.
- توسيع النوم الخيار على خيارات الطاقة نافذة.
- وسع سماح السكون المختلط واختر خصم على حد سواء على البطارية و في صوم خيارات.
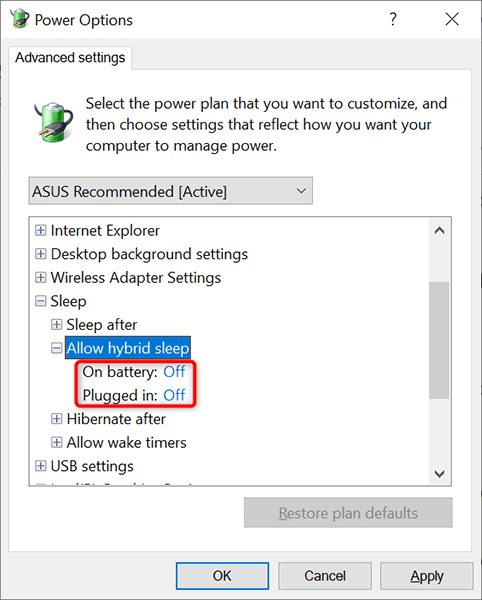
- أختار التقديم تليها OK في أسفل النافذة.
Change Your Power Plan to Apply Different Windows 10 Sleep Settings
Each power plan on your Windows 10 PC carries different sleep settings. If you want to quickly apply a specific set of power and sleep settings to your PC, change your power plan to the one that has the sleep settings you want.
لنفعل ذلك:
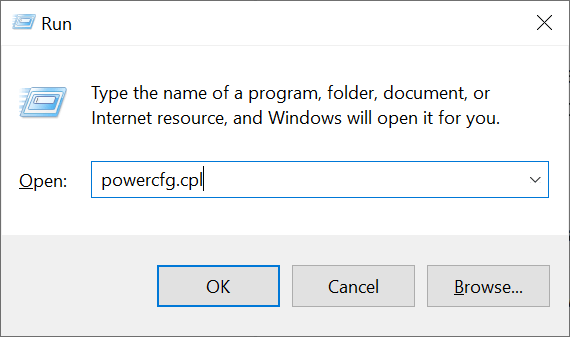
- صحافة Windows + R مفاتيح لفتح يجري مربع.
- اكتب ما يلي في يجري مربع والصحافة أدخل: powercfg.cpl
- You’ll see the power plans available on your PC. Select the radio button beside the plan that you’d like to activate.
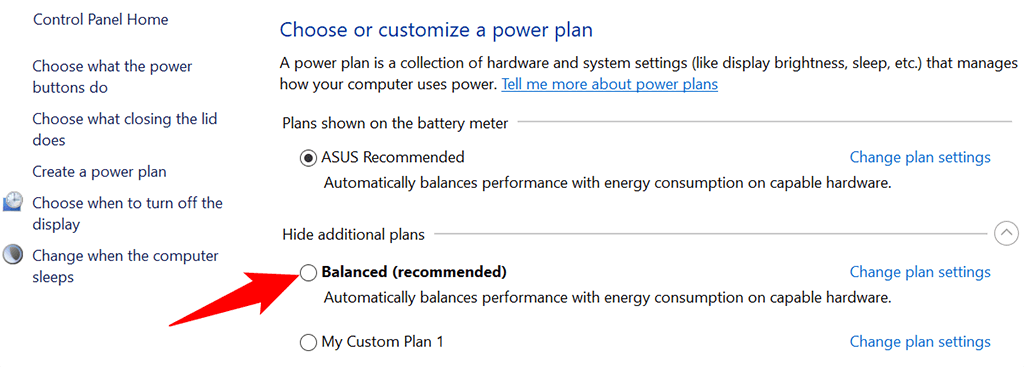
Your PC now uses both power and sleep settings from your selected power plan. If a plan doesn’t meet your needs, you can quickly and easily switch to another plan whenever you want.
Create a Power Plan With Custom Sleep Settings
If the Windows 10 sleep settings you need are not available in the default power plan, you can create your own custom power plan. You can copy the settings from an existing plan, tweak them to your requirements, and make a custom plan of yours.
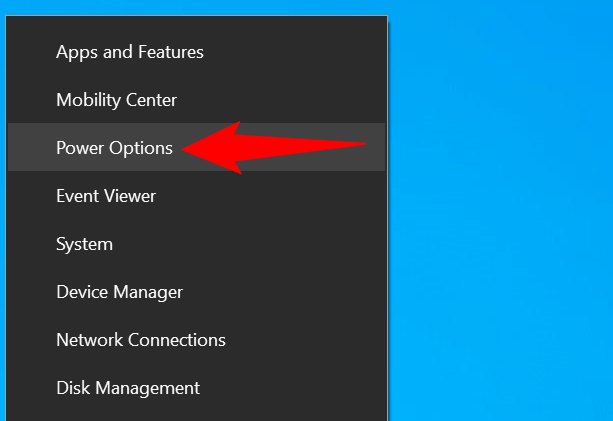
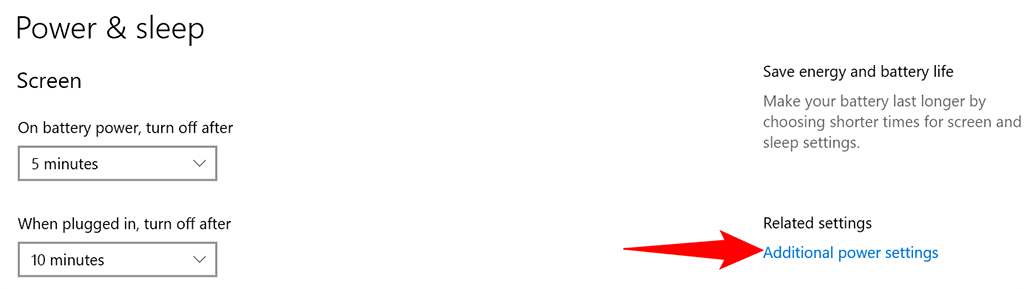
- انقر بزر الماوس الأيمن فوق آبدأ القائمة واختيار خيارات الطاقة.
- أختار إعدادات الطاقة إضافية من الشريط الجانبي الأيمن.
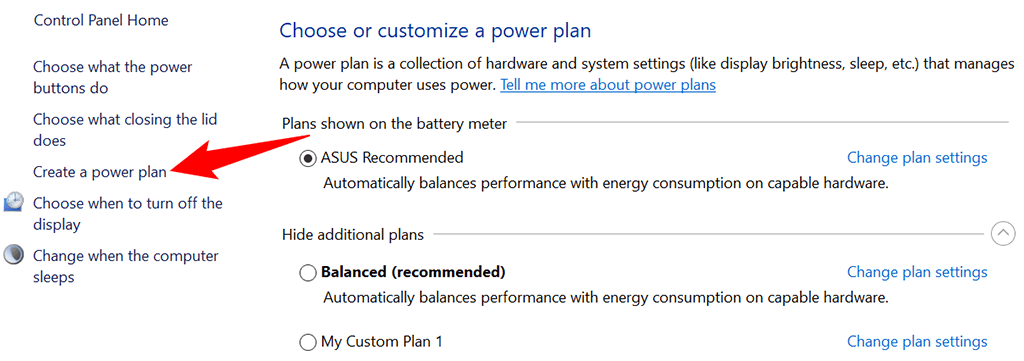
- اختار إنشاء خطة طاقة from the options in the left sidebar.
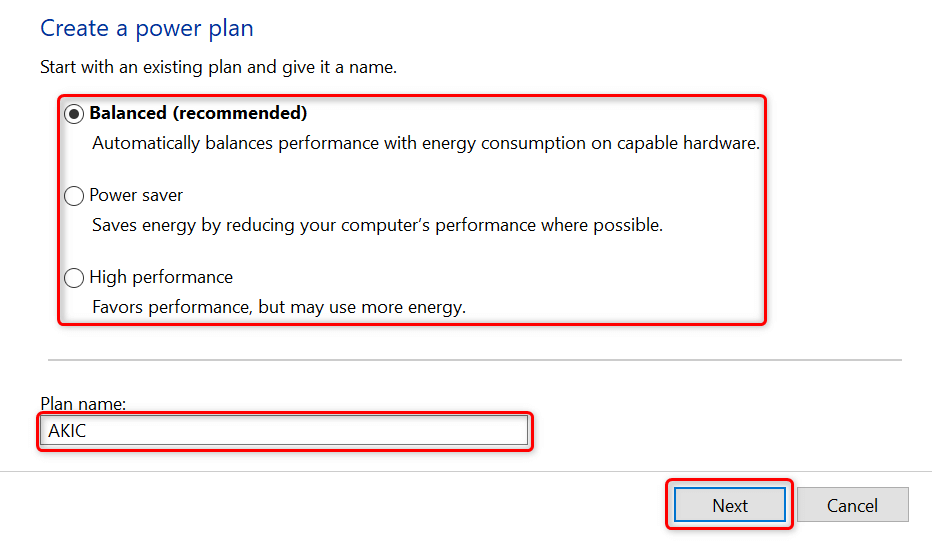
- Select an existing plan to copy settings from, type a name for your new power plan, and choose التالى.
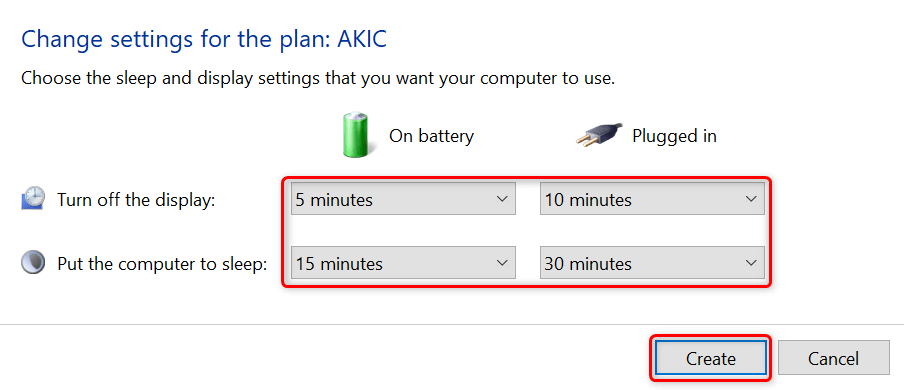
- تحديد عرض قبالة and sleep settings, and then select إنشاء.
- You’ll now see your newly created power plan on your screen. This plan is now in use and is the default power plan for your PC.
- To change your power plan’s advanced options, select تغيير إعدادات الخطة > تغيير إعدادات الطاقة المتقدمة.
Customize Your Windows 10 PC’s Sleep Patterns to Your Liking
Windows 10 comes with appropriate sleep settings enabled, but these don’t always match a user’s requirements. Luckily, you can customize these sleep settings to your own specifications and make the sleep feature function exactly the way you want.
وإذا كان لديك Windows 10 PC still won’t sleep, there are ways to fix that issue.

