If you have 2 in 1 Windows device such as Tablets, you would be familiar with the importance of the screen rotation feature. Users report that the screen rotation feature has stopped working & the Screen Rotation Lock option is greyed out. If you’re facing this issue, then don’t worry as this is just a setting issue which means it can be easily fixed. This guide will walk you through the steps to fix rotation lock greyed out in Windows 10.
Here are issues which can be resolved using this guide:
- Rotation lock missing
- Auto Rotate not working
- Rotation lock greyed out.
- Screen rotation not working
Fix Rotation Lock greyed out in Windows 10
Bir şey səhv olarsa, bərpa nöqtəsi yaratdığınızdan əmin olun.
Method – 1: Enable Portrait Mode
One of the methods to fix this problem is to rotate your screen in portrait mode. Once you rotate it to portrait mode, most probably your rotation lock would start working, i.e. clickable again. In case your device is not rotating into portrait mode automatically, try to do it manually.
1. Basın Windows Key + I to open Settings then click on the Sistem icon.

2. Make sure to select Göstərmək sol menyudan.
3. tapın Orientation section where you need to choose portret açılan menudan.
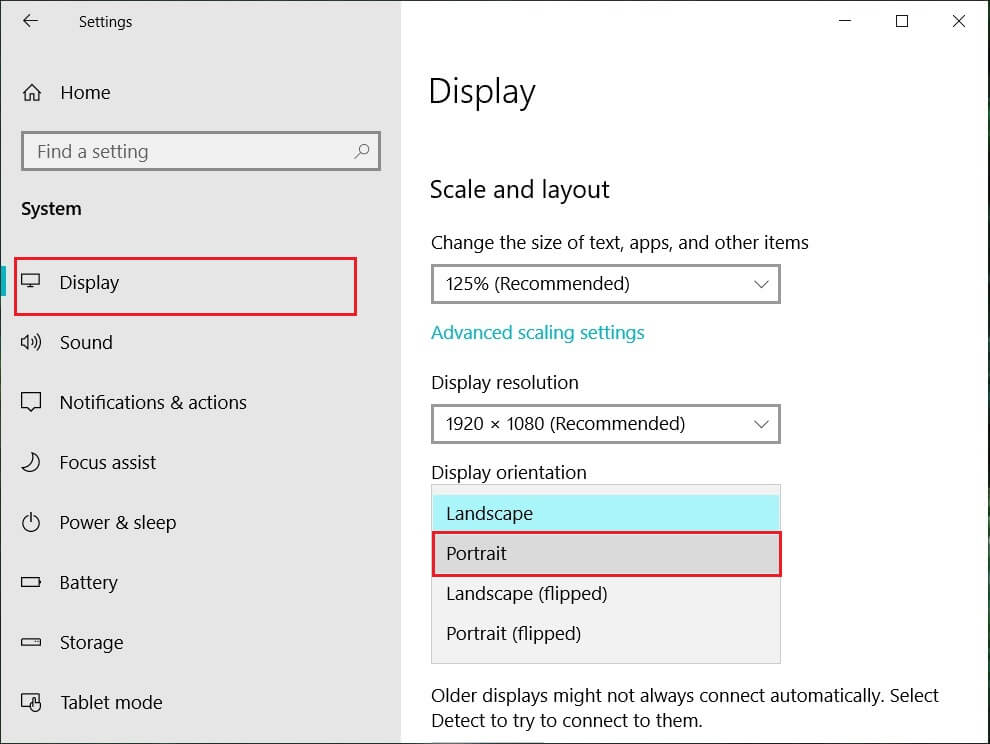
4. Your device will automatically turn into portrait mode.
Method – 2: Use your device in tent mode
Some users, particularly Dell Inspiron, experienced that when their rotation lock is greyed out, the only way to solve this problem is to put your device in Tent Mode.
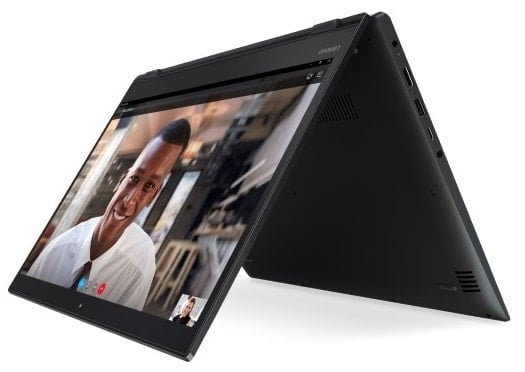
Image kredit: microsoft
1. You need to put your device in Tent Mode. If your display is upside down, you need not worry.
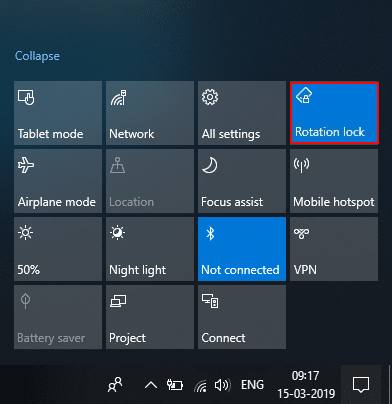
2. İndi basın Windows Action Center, Dönmə kilidi will be working. Here you need to turn it off if you want so that your device rotate properly.
Method – 3: Disconnect your keyboard
If rotation lock is greyed in your Dell XPS and Surface Pro 3 (2-in-1 device), you need to disconnect your keyboard, and many users reported that disconnecting the keyboard solves the rotation lock problem. If you own different devices, you can still use this method to fix rotation lock greyed out in Windows 10 issue.
Method – 4: Switch to Tablet Mode
Many users experienced that this rotation greyed out the problem by switching their device into Tablet Mode. If it is switched automatically, it is good; otherwise, you can do it manually.
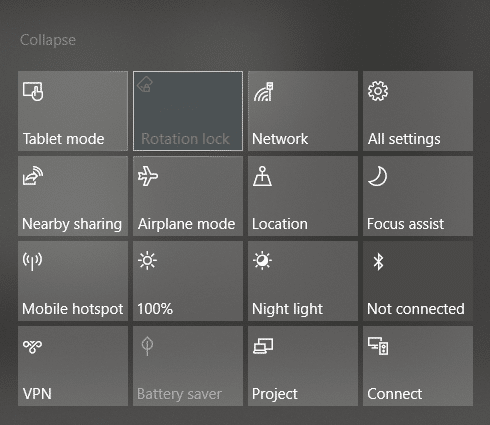
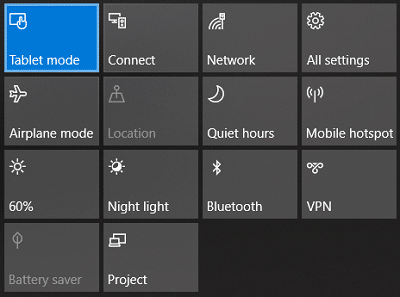
1. Tıklayınız Windows Fəaliyyət Mərkəzi.
2. Burada tapa bilərsiniz Tablet Modu option, Click on It.
OR
1. Açmaq üçün Windows düyməsini + I düyməsini basın Parametrlər sonra üzərinə klikləyin Sistem icon.
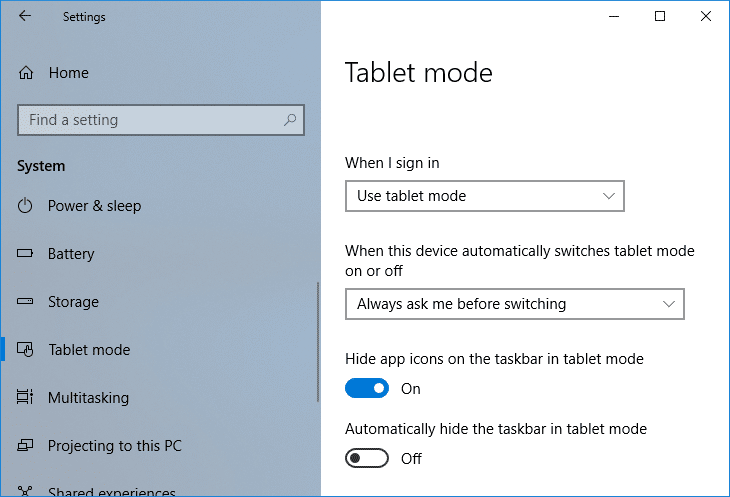
2. Here it would help if you located Tablet Modu option under the left window pane.
3. Now from the “When I sign in” drop-down, select “Planşet rejimindən istifadə edin".
Method – 5: Change LastOrientation Registry Value
If you still experience a problem, you can solve it by changing some registry values.
1. Press Windows +R and enter regedit sonra Enter vurdu.

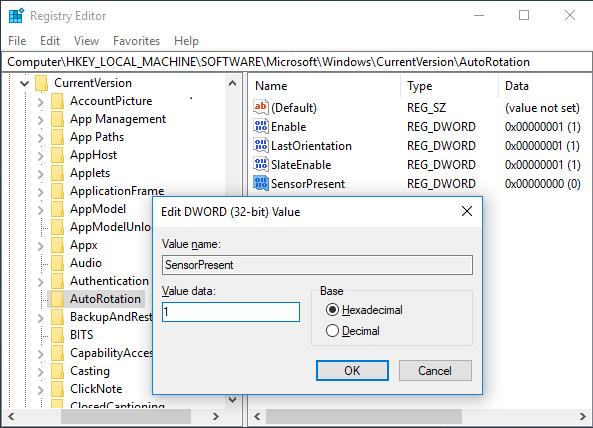
2. Once registry editor opens, you need to navigate to the below path:
HKEY_LOCAL_MACHINESOFTWAREMicrosoftWindowsCurrentVersionAutoRotation
Qeyd: Follow the above folders one by one to locate Auto Rotation.
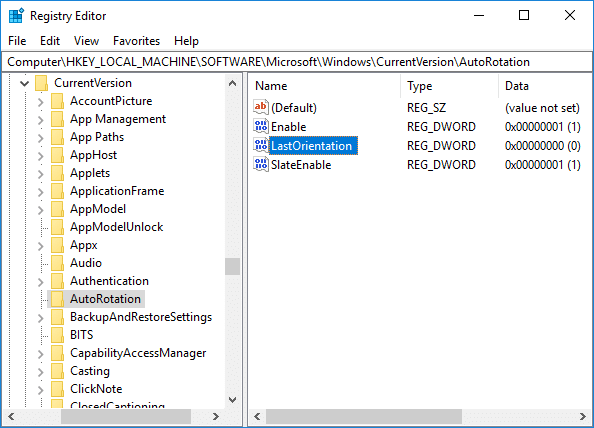
3. Əmin olun select AutoRotation sonra sağ pəncərə panelində üzərinə iki dəfə klikləyin Last Orientation DWORD.
4. Now enter 0 under Value data field və OK düyməsini vurun.
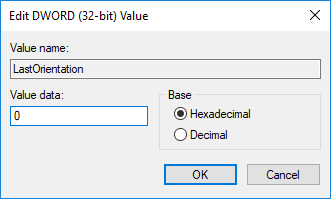
5. Varsa SensorPresent DWORD, double-click on it and set its dəyəri 1-a qədər.
Method – 6: Check Sensor Monitoring Service
Sometimes services of your device can cause a rotation lock problem. Therefore, we can get it sorted with Windows Monitoring services feature.
1. Windows + R basın və yazın services.msc və daxil edin.

2. Once the services window opens, find the Sensor Monitoring services option and double click on it.
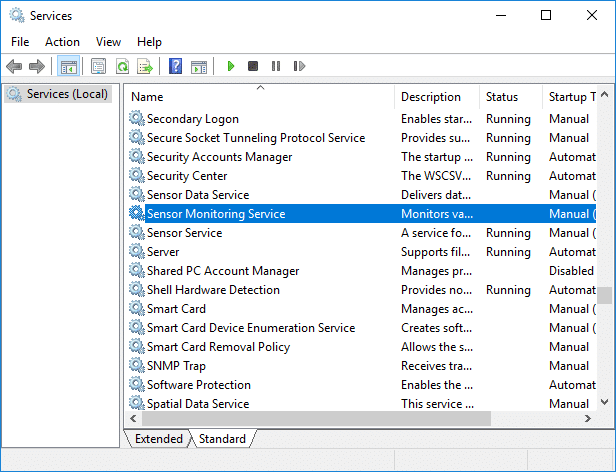
3. Now, from the Startup type drop-down select Avtomatik və sonra basın Start düyməsinə to start the service.
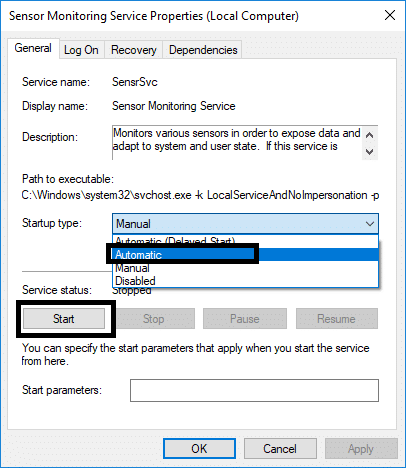
4. Finally, click Apply followed by OK to save the settings, and you can reboot the system to apply the changes.
Method – 7: Disable YMC service
If you are using a Lenovo Yoga device and experiencing this problem, you can fix rotation lock grayed out in the Windows 10 issue by disabling YMC service.
1. Windows + R type services.msc və daxil edin.
2. tapın YMC services və üzərinə iki dəfə klikləyin.
3. Set the Startup type to Əlil and click Apply, followed by OK.
Method – 8: Update Display Drivers
One reason for this problem could be the driver update. If your respective driver for the monitor is not updated, it can cause the Rotation Lock greyed out in Windows 10 Issue.
Manually Update Graphics Drivers using Device Manager
1. Windows Key + R düymələrini basın, sonra yazın devmgmt.msc və açmaq üçün enter düyməsini basın Cihaz meneceri.

2. Sonra, genişləndirin Adaptörləri göstərin və Qrafik Kartınıza sağ vurun və seçin Enable.

3. Bunu etdikdən sonra yenidən qrafik kartınızın üzərinə sağ klikləyin və “Sürücüyü yeniləyin".

4. "SeçinYenilənən sürücü proqramı üçün avtomatik axtarış” və prosesi bitirməsinə icazə verin.

5. If the above steps helped fix the issue then very good, if not then continue.
6. Qrafik kartınıza yenidən sağ klikləyin və “Sürücüyü yeniləyin” lakin bu dəfə növbəti ekranda “ seçinSürücü proqramı üçün kompüterimə baxın."

7. İndi " seçinMənim kompüterimdəki mövcud sürücülər siyahısından seçimə icazə verin".

8. Nəhayət, ən son sürücünü seçin siyahıdan və klikləyin Sonrakı.
9. Yuxarıdakı prosesin bitməsinə icazə verin və dəyişiklikləri saxlamaq üçün kompüterinizi yenidən başladın.
Sürücülərini yeniləmək üçün inteqrasiya olunmuş qrafik kartı (bu halda Intel) üçün eyni addımları yerinə yetirin. Baxın bacarırsınızmı Fix Rotation Lock greyed out Issue, deyilsə, növbəti addımla davam edin.
İstehsalçı Veb saytından Qrafik Sürücüləri Avtomatik Yeniləyin
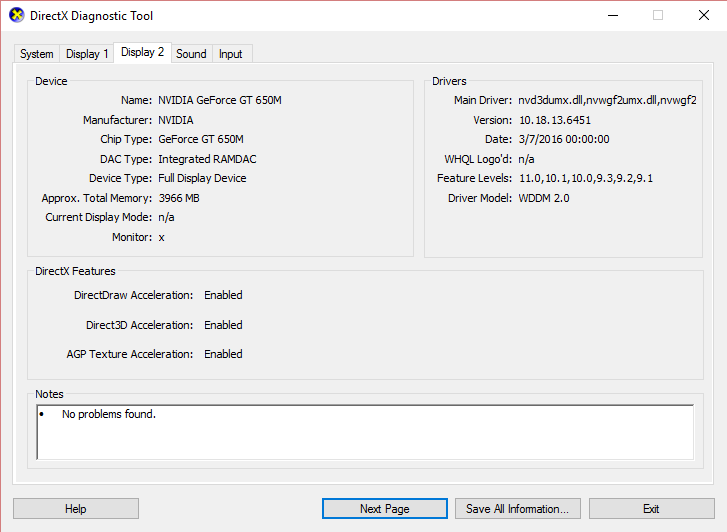
1. Windows Key + R düymələrini basın və informasiya qutusuna “dxdiag” və enter düyməsini basın.

2. Bundan sonra displey nişanını axtarın (biri inteqrasiya olunmuş qrafik kartı, digəri isə Nvidia-nın olacaq iki displey nişanı olacaq) Ekran tabına klikləyin və qrafik kartınızı tapın.
3. İndi Nvidia sürücüsünə keçin saytı yükləyin və tapdığımız məhsul təfərrüatlarını daxil edin.
4. Məlumatı daxil etdikdən sonra sürücülərinizi axtarın, Razılaşın düyməsini klikləyin və sürücüləri endirin.

5. Uğurlu yükləmədən sonra sürücünü quraşdırın və siz Nvidia sürücülərini əl ilə uğurla yenilədiniz.
Method – 9: Remove Intel Virtual Buttons Driver
Some users reported that Intel Virtual button drivers cause rotation lock problem on your device. To solve this problem, you can uninstall the driver.
1. Open Device manager on your device by pressing Windows + R and type devmgmt.msc and hit Enter or press Windows X and choose Cihaz meneceri from the options list.
2. Once Device manager box is opened locate Intel virtual buttons driver.
3. Right-click on it and choose Silin.
Tövsiyə edilir:
Ümid edirəm ki, bu məqalə faydalı oldu və indi asanlıqla edə bilərsiniz Fix Rotation Lock greyed out in Windows 10, but if you still have any questions regarding this tutorial then feel free to ask them in the comment’s section.
")
