After installing the latest Windows feature update, your PC may be trapped in an automated repair cycle. This article will give you various troubleshooting techniques if you’re attempting to locate a repair approach that will allow you to resolve diagnosing your PC Windows 10 issue. So, continue reading to fix diagnosing your PC stuck issue on Windows 10.
How to Fix Stuck on Diagnosing your PC in Windows 10
We looked into this diagnosing your PC stuck issue by looking at multiple user reports and tried various repair strategies suggested by some impacted users. As it turns out, various conditions make your system trapped inside the diagnosing your PC screen. Here’s a list of circumstances that might lead to this issue on Windows 10.
- System File Corruption: Corrupted system files might also cause the System Diagnostic tool to appear at every system start-up. If this utility is also corrupted, it will be stuck in a loop.
- Inadequate System Space: As it turns out, this problem of this issue can also arise when the system lacks sufficient storage capacity to load all the programs and services required for the starting operation.
- Glitched Automated Repair Utility: This issue has been reported by multiple customers to be caused by mysterious system drive troubles. In this instance, the Automatic Repair program will try to open at every restart in an attempt to fix the problem, but it will be unable to locate the source of the problem.
- Faulty BCD Data: Corrupted booting data might also cause this issue in severe conditions, which prevents the starting process from finishing.
Some afflicted customers have attempted rebooting their computers to get rid of this problem but have claimed that their computers go into a dark screen, show the logo, and then return to the Diagnostic PC page. The operating system indicates that your device has been diagnosed, but there might be no progress made. You can follow the below methods to resolve the issue.
Method 1: Perform Hard Reboot
You can do a hard reboot if your Windows is unable to boot due to the Preparing Automatic Repair or Diagnosing your PC issue.
1. Elektrik rozetkasını ayırın AC adapter və çıxarın batareya cihazdan.
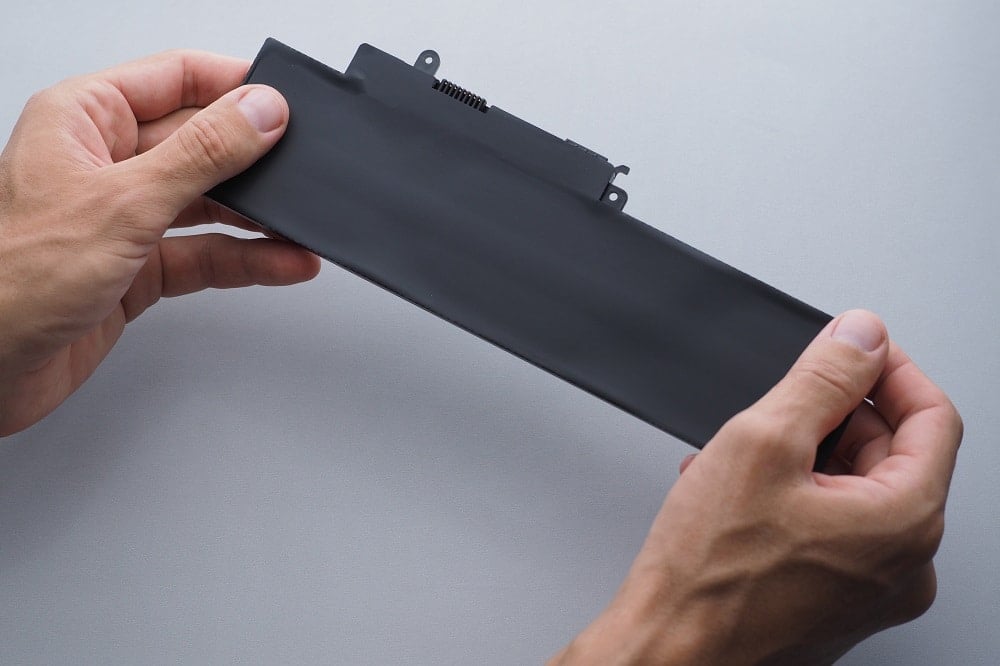
2. Check if it boots up normally by pressing and holding the güc düyməsini basın üçün 20 saniyə.
If this technique fails, try one of the following options.
Həm də oxuyun: Windows 10-da WDF_VIOLATION xətasını necə düzəltmək olar
Metod 2: Təhlükəsiz rejimdə yükləyin və məkanı təmizləyin
As some users have discovered, this issue can also occur when the system does not have enough capacity to start. Several individuals in a similar position have overcome the problem by running their machines in Safe Mode and freeing up some space. Follow our guide on How to Boot to Safe Mode in Windows 10.
Then, perform Disk cleanup by following our guide to run Disk Cleanup.
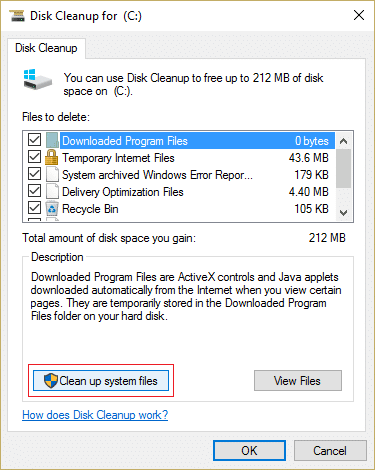
If diagnosing your PC Windows 10 problem persists, follow the next procedure below.
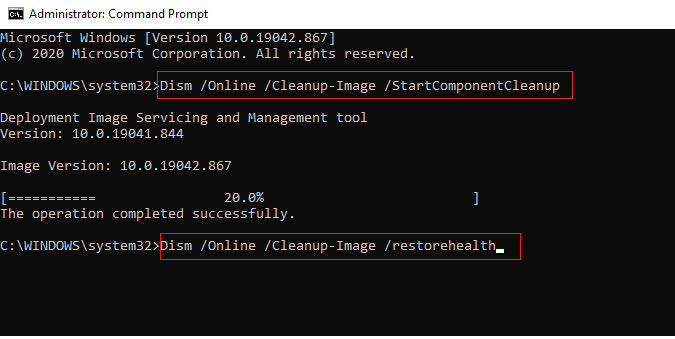
Metod 3: Sistem fayllarını təmir edin
It’s also possible that this problem is caused by System File corruption. These corrupted files might prevent the booting procedure from finishing. You’ll have to run the scans before the Booting phase since you can’t go beyond the Diagnostics page. Read our guide on How to Repair System Files on Windows 10.
Həm də oxuyun: Düzəliş Kompüter Yenidən Sinxronizasiya edilmədi, çünki Heç bir Vaxt Məlumatı Mövcud deyildi
Method 4: Run System Restore Utility
You may be dealing with a serious corruption problem that can’t be treated traditionally. When faced with a circumstance like this, the best action is to take a damage-control strategy. Most start-up troubles caused by system file corruption can be resolved by returning the machine to a healthy condition in which all components are working properly. Follow the below steps.
1. Daxil edin quraşdırma diski və kompüterinizi yenidən başladın.
2. İstənilən düyməsini basın açar to start up the installation media when you see the booting screen.
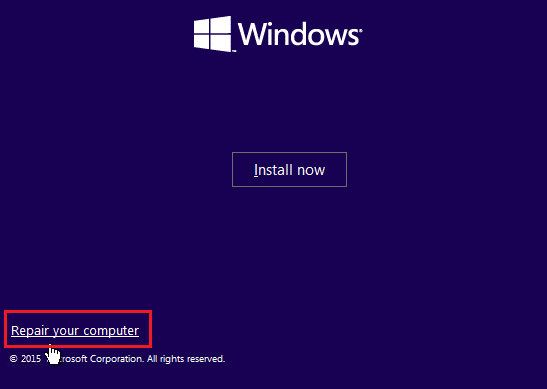
3. When Windows Setup has finished loading, click on Kompüterinizi bərpa edin.
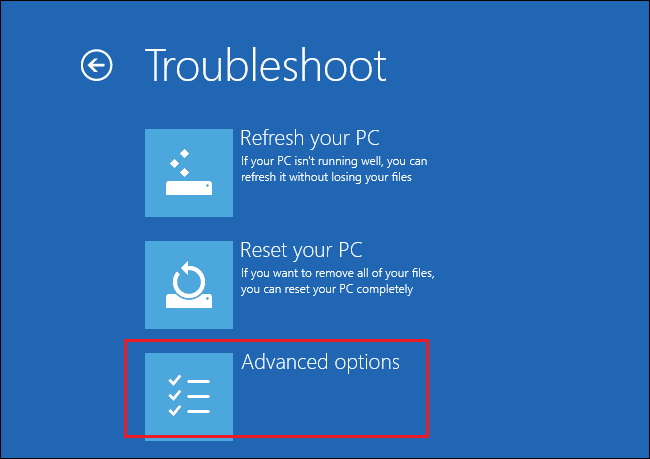
4. Giriş Troubleshoot menu from the first repair menu.
5. Basın Ətraflı Seçimlər from the Troubleshoot menu.
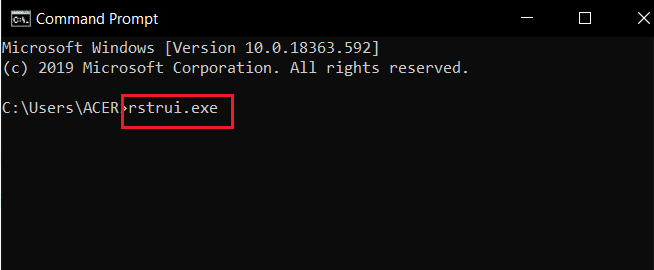
6. Sonra basın Command Prompt from the list of available utilities.
7. To open the Sistem bərpa program, type the rstrui.exe command into the Command Prompt pəncərə və düyməsini basın Enter düyməsini vurun.
8. Basın sonrakı once you’ve reached the first screen.
9. İndi, gənə the option labeled Daha çox bərpa nöqtələrini göstər.
10. Once you’ve done so, go through each restoration snapshot and pick one taken before the Diagnostics problem.
11. To go on to the next option, choose the suitable foto və basın sonrakı.
12. İndi basın finiş.
Your system will restart automatically after restoring, and the old machine will be fixed at the next system starting.
Method 5: Rebuild BCD
In Windows 10, you’ll get the Preparing Automatic Repair error if the boot files are missing or damaged. As a result, some users will re-build the boot record using the procedures below.
1. Insert the Windows bootable installation CD into the PC displaying the error message Preparing Automatic Repair or Diagnosing your PC.
2. Start your computer by booting from the quraşdırma CD.
3. To continue, choose your dil settings and click on the sonrakı düyməsini basın.
4. Seçin təmir kompüteriniz.
5. Seçin Troubleshoot.
6. Seçin Command Prompt.
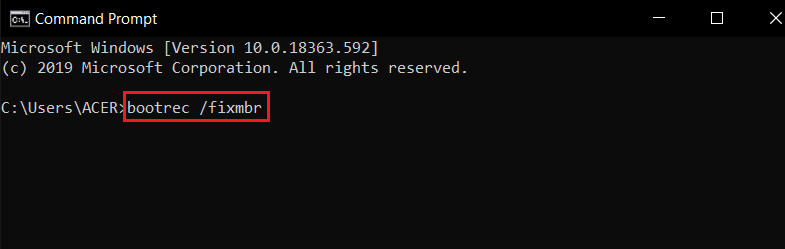
7. Enter the instructions below into the prompt, and press the Enter düyməsini vurun hər biri sonra.
bootrec / fixmbr
bootrec / fixboot
bootrec / scanos
bootrec / rebuildbcd
8. Then, type the command çıxış və basın Enter düyməsini vurun.
9. Nəhayət, kompüteri yenidən başladın.
Həm də oxuyun: Windows Yeniləmə Xətası 80072ee2 necə düzəltmək olar
Metod 6: Avtomatik başlanğıc təmirini söndürün
If this happens, the Automatic Start-up Repair software will launch at every system start-up. However, if the utility is broken, you might not be able to go past the start-up screen. Therefore, disabling this software would prevent the Diagnosing your PC screen from appearing.
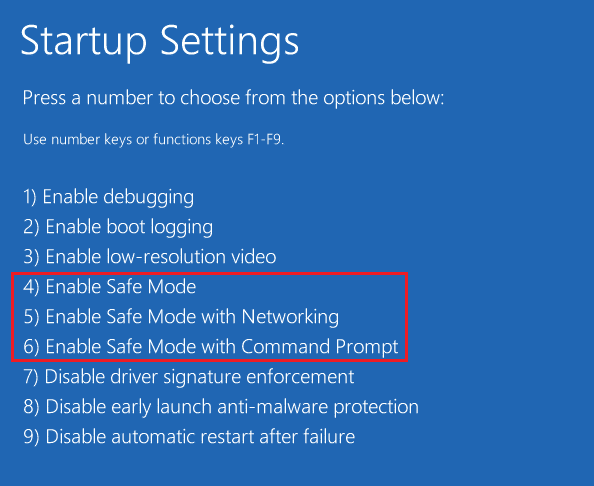
1. As soon as you see the introductory screen, press the F8 key repeatedly to get to the Ətraflı Boot Seçimləri menyu.
2. Seçin Təhlükəsizlik rejimi with Networking from the Advanced Boot Options menu by pressing the F5 açarı or using the arrow keys.
3. When the booting routine is complete, press Windows + I düymələri başlamaq üçün Dialoq qutusunu işə salın.
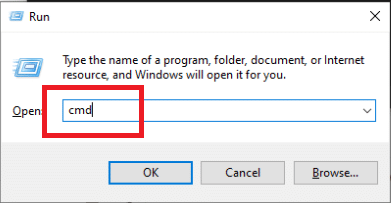
4. Tipi cmd və vurdu Ctrl + Shift + Enter düymələri to open an Yüksək Komanda İstemi.
5. Basın bəli sorğuda.
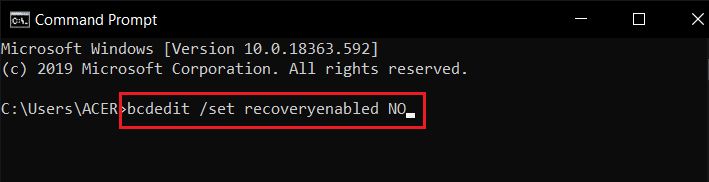
6. Aşağıdakıları daxil edin komanda və mətbuat Enter düyməsini vurun.
bcdedit /set recoveryenabled NO
7. Once the process is complete, yenidən başladın cihazınız.
If diagnosing your PC Windows 10 problem persists or you don’t get a different error, continue the next procedure.
Method 7: Uninstall Updates
If the update fails to install properly on your device, you might face this issue. Follow the below steps to resolve the discussed issue.
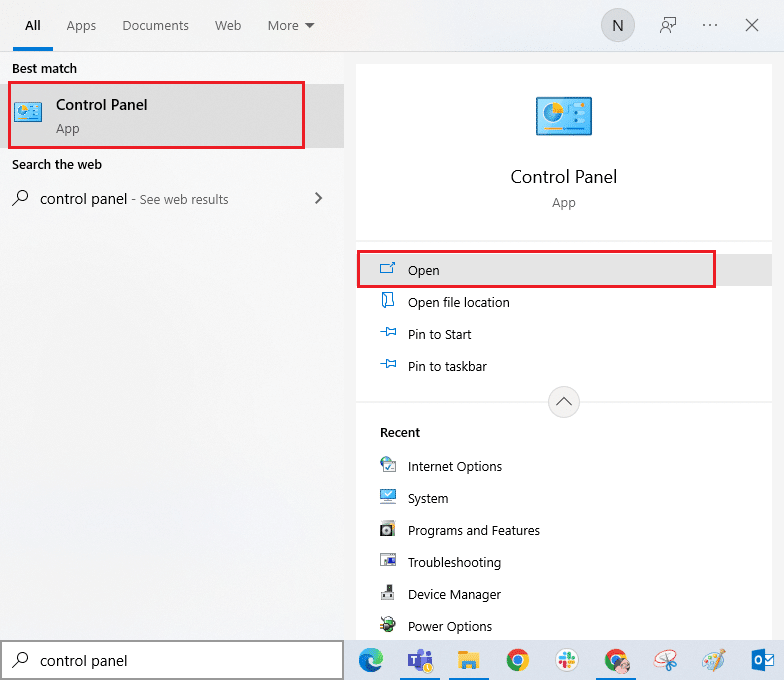
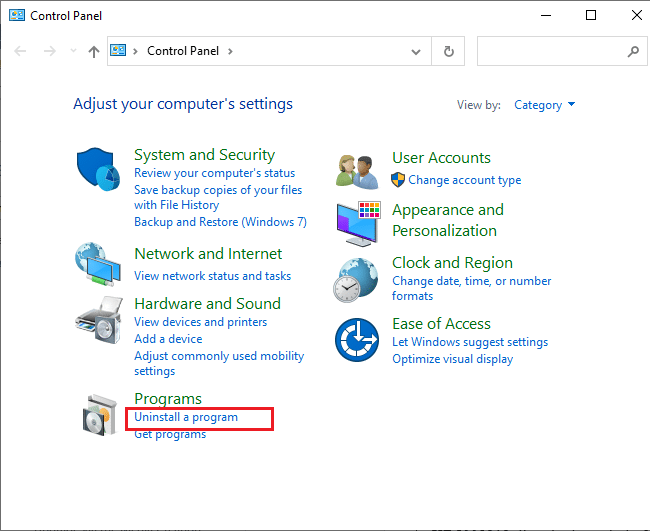
1. vurun Windows açarı və növü İdarəetmə Paneli, sonra üzərinə klikləyin açıq.
2. İndi basın Bir proqramı silmək altında seçimi Proqramlar göstərildiyi kimi menyu.
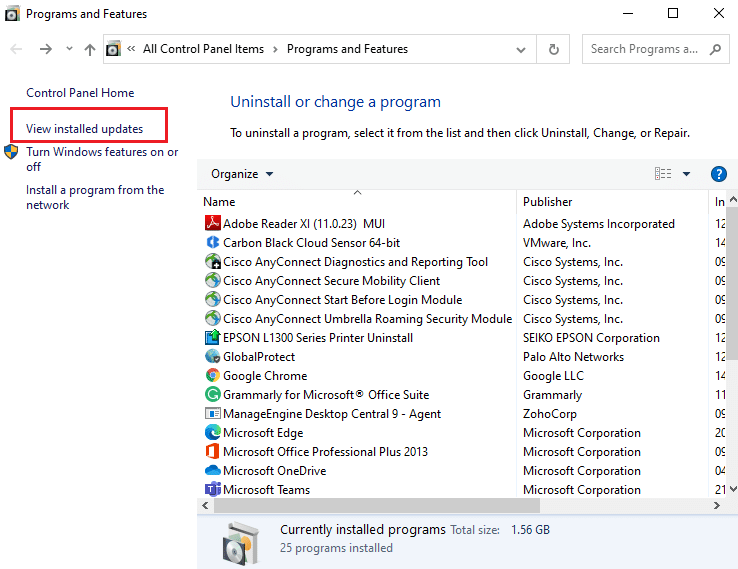
3. İndi basın Yüklü güncellemeleri bax göstərildiyi kimi sol paneldə.
4. İndi, istinad edərək ən son yeniləməni axtarın və seçin Üzərində quraşdırılmışdır tarix və üzərinə klikləyin Uninstall seçim aşağıda göstərildiyi kimi.
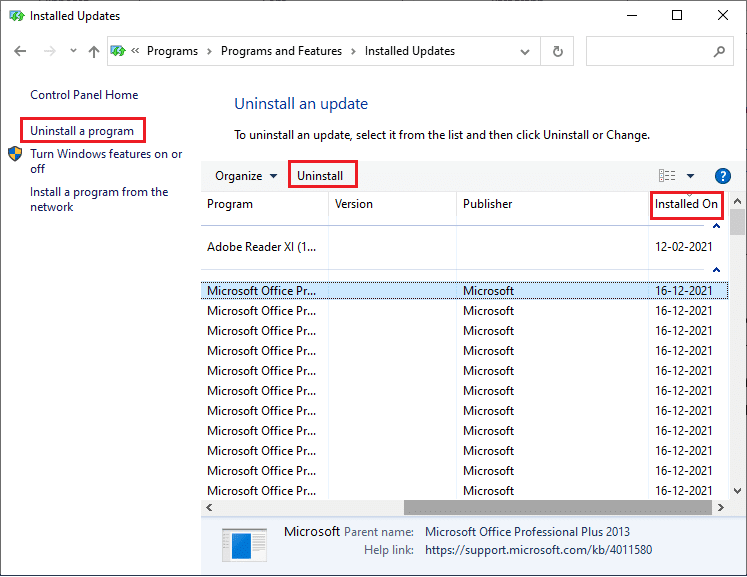
5. Nəhayət, istənilən sorğunu təsdiqləyin və kompüteri yenidən başladın.
Check if diagnosing your PC stuck issue persists or not.
Həm də oxuyun: Windows 7-da iaStorA.sys BSOD xətasını düzəltməyin 10 yolu
Method 8: Perform Repair Install
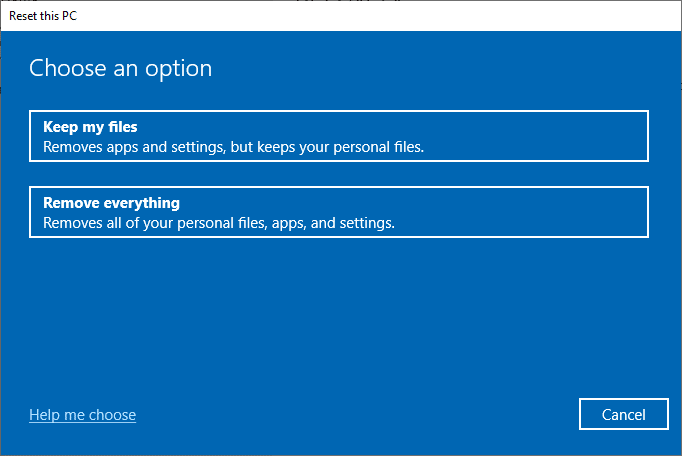
If none of the above-mentioned repair methods have worked, you’re probably dealing with a serious case of system corruption that can’t be fixed using normal methods. In this case, the only way to repair the problem is to reset every Windows component, including any booting-related tasks causing the Automatic Repair loop. You may always perform a clean installation but bear in mind that doing so will lose any saved data within your Windows system. If you choose a clean install, all your personal data, applications, games, documents, and other media will disappear. Read our guide on How to do a Clean Install of Windows 10 and implement the same.
Tövsiyə edilir:
We hope you found this information useful and that you were able to resolve stuck on diagnosing your PC in Windows 10 problem. Please let us know which technique was the most beneficial for you. Please use the form below if you have any queries or comments. Also, let us know what you want to learn next.

