After installing the latest Windows feature update, your PC may be trapped in an automated repair cycle. This article will give you various troubleshooting techniques if you’re attempting to locate a repair approach that will allow you to resolve diagnosing your PC Windows 10 issue. So, continue reading to fix diagnosing your PC stuck issue on Windows 10.
How to Fix Stuck on Diagnosing your PC in Windows 10
We looked into this diagnosing your PC stuck issue by looking at multiple user reports and tried various repair strategies suggested by some impacted users. As it turns out, various conditions make your system trapped inside the diagnosing your PC screen. Here’s a list of circumstances that might lead to this issue on Windows 10 .
- System File Corruption: Corrupted system files might also cause the System Diagnostic tool to appear at every system start-up. If this utility is also corrupted, it will be stuck in a loop.
- Inadequate System Space: As it turns out, this problem of this issue can also arise when the system lacks sufficient storage capacity to load all the programs and services required for the starting operation.
- Glitched Automated Repair Utility: This issue has been reported by multiple customers to be caused by mysterious system drive troubles. In this instance, the Automatic Repair program will try to open at every restart in an attempt to fix the problem, but it will be unable to locate the source of the problem.
- Faulty BCD Data: Corrupted booting data might also cause this issue in severe conditions, which prevents the starting process from finishing.
Some afflicted customers have attempted rebooting their computers to get rid of this problem but have claimed that their computers go into a dark screen, show the logo, and then return to the Diagnostic PC page. The operating system indicates that your device has been diagnosed, but there might be no progress made. You can follow the below methods to resolve the issue.
Method 1: Perform Hard Reboot
You can do a hard reboot if your Windows is unable to boot due to the Preparing Automatic Repair or Diagnosing your PC issue.
1. Адключыце AC адаптар і выдаліце акумулятар з прылады.
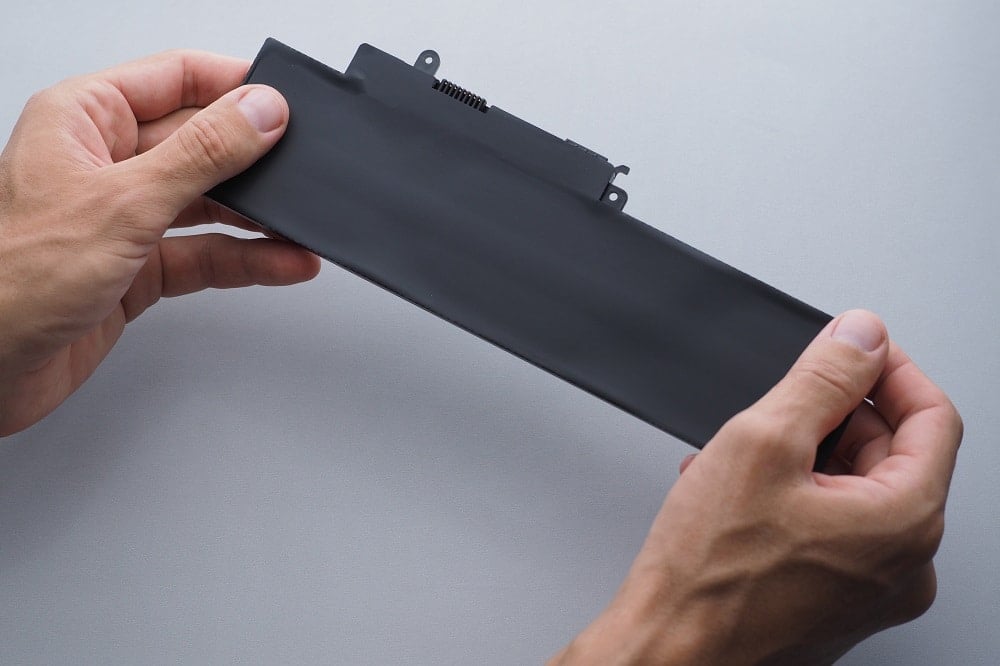
2. Check if it boots up normally by pressing and holding the power button для 20 секунд.
If this technique fails, try one of the following options.
Чытайце таксама: Як выправіць памылку WDF_VIOLATION у Windows 10
Спосаб 2: Загрузка ў бяспечным рэжыме і ачыстцы прасторы
As some users have discovered, this issue can also occur when the system does not have enough capacity to start. Several individuals in a similar position have overcome the problem by running their machines in Safe Mode and freeing up some space. Follow our guide on How to Boot to Safe Mode in Windows 10.
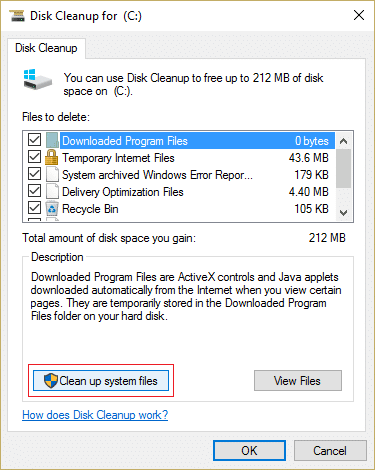
Then, perform Disk cleanup by following our guide to run Disk Cleanup.
If diagnosing your PC Windows 10 problem persists, follow the next procedure below.
Спосаб 3: Аднаўленне сістэмных файлаў
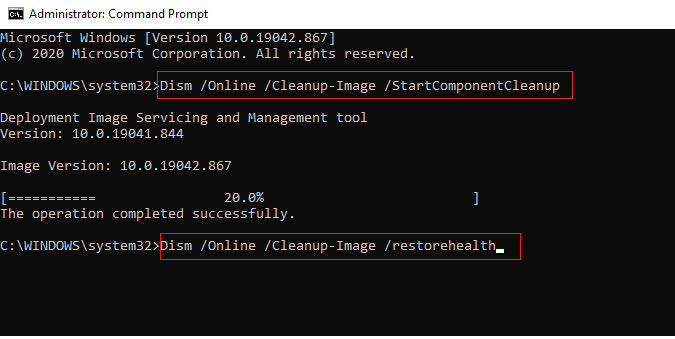
It’s also possible that this problem is caused by System File corruption. These corrupted files might prevent the booting procedure from finishing. You’ll have to run the scans before the Booting phase since you can’t go beyond the Diagnostics page. Read our guide on How to Repair System Files on Windows 10.
Чытайце таксама: Выпраўленне: камп'ютар не паўторна сінхранізаваны, таму што не было даступных даных часу
Method 4: Run System Restore Utility
You may be dealing with a serious corruption problem that can’t be treated traditionally. When faced with a circumstance like this, the best action is to take a damage-control strategy. Most start-up troubles caused by system file corruption can be resolved by returning the machine to a healthy condition in which all components are working properly. Follow the below steps.
1. Устаўце установачны дыск і перазагрузіце кампутар.
2. Націсніце любую ключ to start up the installation media when you see the booting screen.
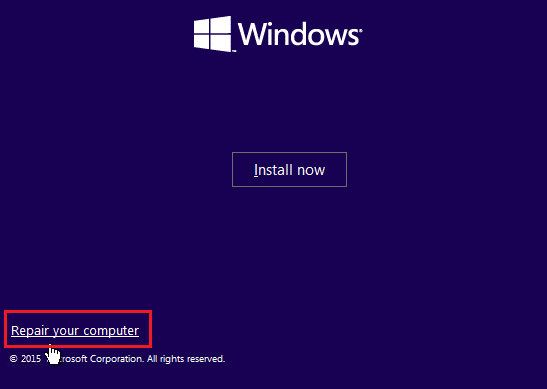
3. When Windows Setup has finished loading, click on Рамонт кампутара.
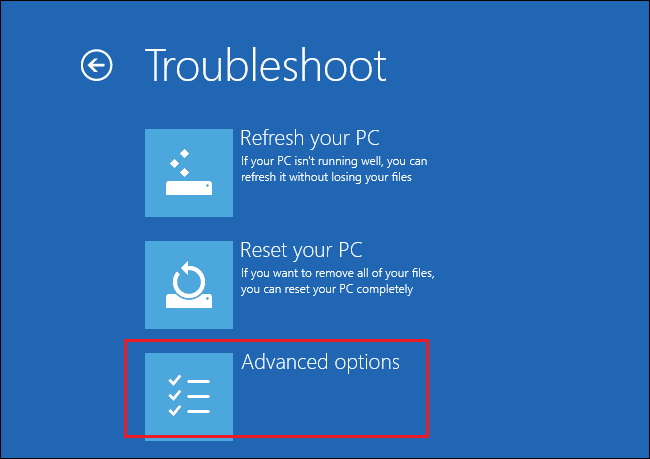
4. Доступ да Ліквідацыю menu from the first repair menu.
5. Націсніце на Дадатковыя параметры from the Troubleshoot menu.
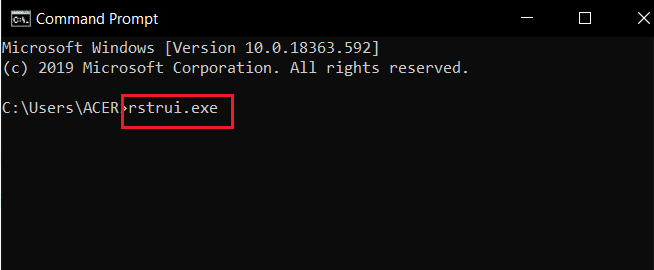
6. Затым націсніце на Камандны радок from the list of available utilities.
7. Каб адкрыць System Restore program, type the rstrui.exe command into the Камандны радок акно і націсніце Увядзіце ключ.
8. Націсніце на наступны once you’ve reached the first screen.
9. Зараз, клешч the option labeled Паказаць больш кропак аднаўлення.
10. Once you’ve done so, go through each restoration здымак and pick one taken before the Diagnostics problem.
11. To go on to the next option, choose the suitable фота і націсніце на кнопку наступны.
12. Цяпер, націсніце на Заканчэнне.
Your system will restart automatically after restoring, and the old machine will be fixed at the next system starting.
Method 5: Rebuild BCD
In Windows 10, you’ll get the Preparing Automatic Repair error if the boot files are missing or damaged. As a result, some users will re-build the boot record using the procedures below.
1. Insert the Windows bootable installation CD into the PC displaying the error message Preparing Automatic Repair or Diagnosing your PC.
2. Start your computer by booting from the усталявальны кампакт-дыск.
3. To continue, choose your мова налады і націсніце на наступны кнопкі.
4. выбраць рамонт ваш кампутар.
5. выбраць Ліквідацыю.
6. выбраць Камандны радок.
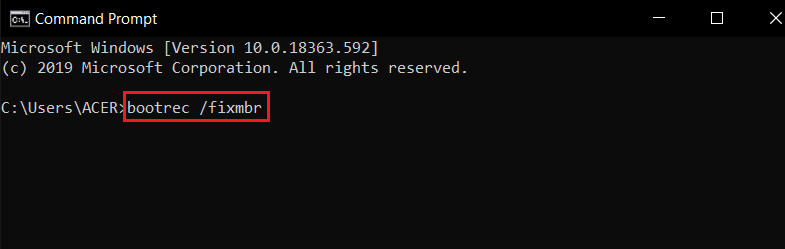
7. Enter the instructions below into the prompt, and press the Увядзіце ключ пасля кожнага з іх.
bootrec / FIXMBR
bootrec / Fixboot
bootrec / scanos
bootrec / rebuildbcd
8. Then, type the command выхад і націсніце Увядзіце ключ.
9. Нарэшце, перазагрузіце ПК.
Чытайце таксама: Як выправіць памылку Windows Update 80072ee2
Спосаб 6: адключыць аўтаматычнае аднаўленне пры запуску
If this happens, the Automatic Start-up Repair software will launch at every system start-up. However, if the utility is broken, you might not be able to go past the start-up screen. Therefore, disabling this software would prevent the Diagnosing your PC screen from appearing.
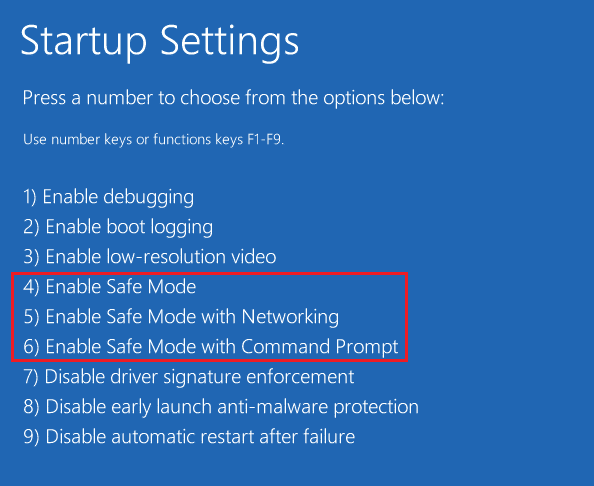
1. As soon as you see the introductory screen, press the F8 key repeatedly to get to the Дадатковыя параметры загрузкі меню.
2. выбраць Бяспечны рэжым with Networking from the Advanced Boot Options menu by pressing the Клавіша F5 or using the arrow keys.
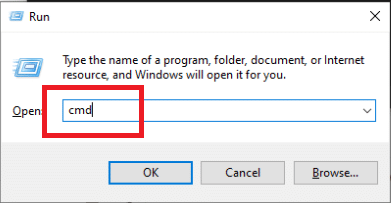
3. When the booting routine is complete, press Клавішы Windows + I для запуску Запуск дыялогавага акна.
4. тып CMD і націсніце Ctrl + Shift + клавішы Enter to open an камандны радок з падвышаным.
5. Націсніце на ды у падказцы.
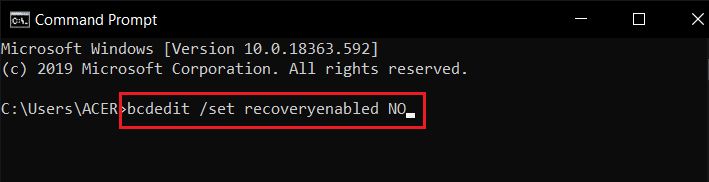
6. Увядзіце наступнае каманда і націсніце Увядзіце ключ.
bcdedit /set recoverenabled НЕ
7. Once the process is complete, перазапуск прылада.
If diagnosing your PC Windows 10 problem persists or you don’t get a different error, continue the next procedure.
Спосаб 7: Выдаленне абнаўленняў
If the update fails to install properly on your device, you might face this issue. Follow the below steps to resolve the discussed issue.
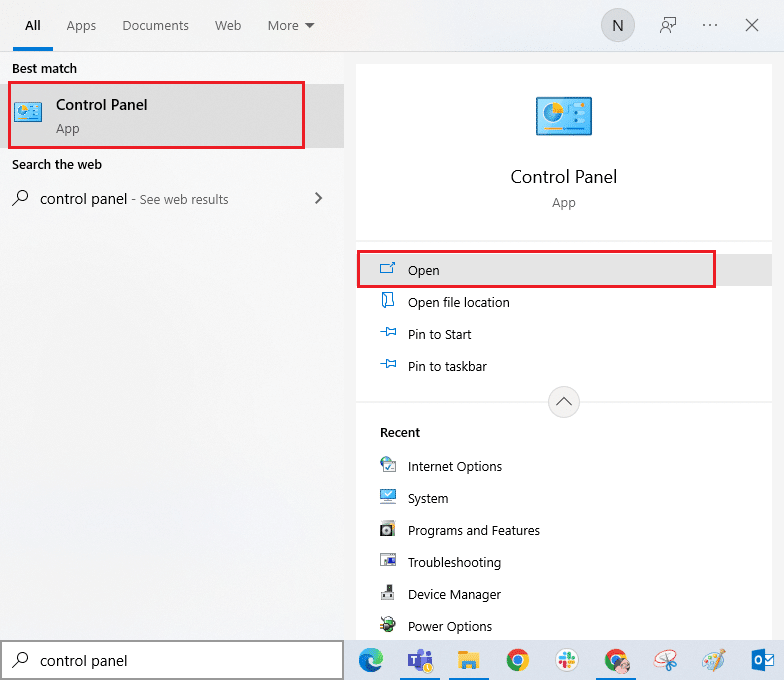
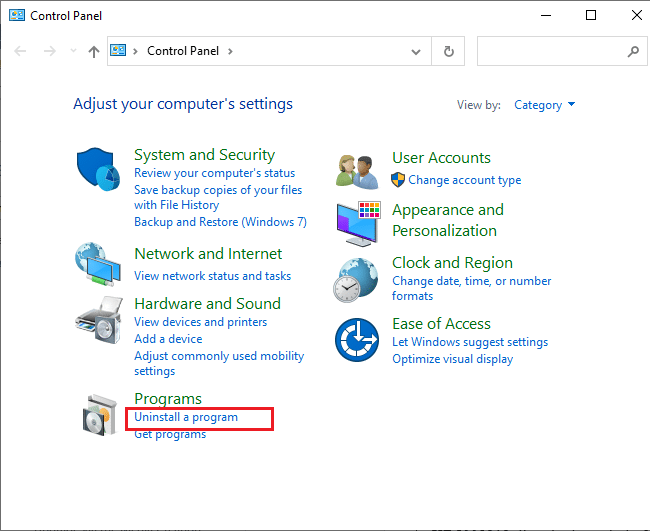
1. Удар ключ для Windows і тып пульт кіравання, затым націсніце адкрыты.
2. Цяпер, націсніце на Выдаліце праграму варыянт пад Праграмы menu as depicted.
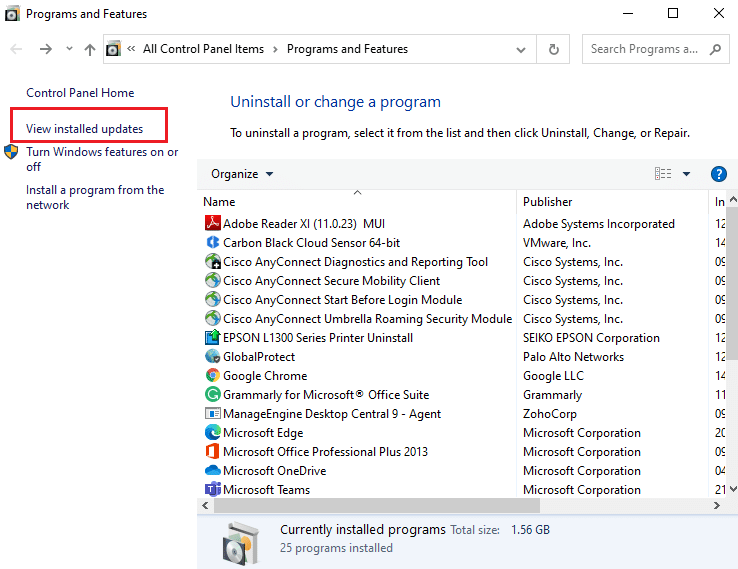
3. Цяпер, націсніце на Прагляд устаноўленых абнаўленняў in the left pane as shown.
4. Now, search and select the most recent update by referring to Installed On the date and clicking on Выдаленне варыянт, як паказана ніжэй.
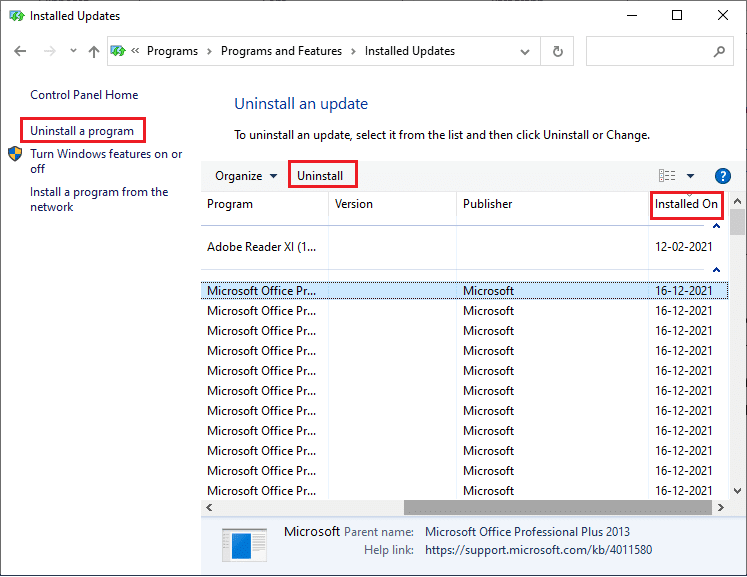
5. Finally, confirm any prompt and перазагрузіце ПК.
Check if diagnosing your PC stuck issue persists or not.
Чытайце таксама: 7 спосабаў выправіць памылку BSOD iaStorA.sys у Windows 10
Method 8: Perform Repair Install
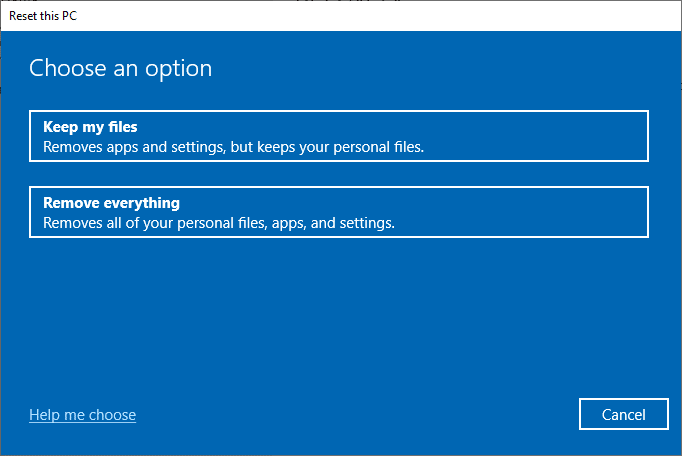
If none of the above-mentioned repair methods have worked, you’re probably dealing with a serious case of system corruption that can’t be fixed using normal methods. In this case, the only way to repair the problem is to reset every Windows component, including any booting-related tasks causing the Automatic Repair loop. You may always perform a clean installation but bear in mind that doing so will lose any saved data within your Windows system. If you choose a clean install, all your personal data, applications, games, documents, and other media will disappear. Read our guide on How to do a Clean Install of Windows 10 and implement the same.
Рэкамендуецца:
We hope you found this information useful and that you were able to resolve stuck on diagnosing your PC in Windows 10 problem. Please let us know which technique was the most beneficial for you. Please use the form below if you have any queries or comments. Also, let us know what you want to learn next.

