While surfing internet in your browser, you may face Server IP address could not be found error. This is a common issue for the Google Chrome users. We bring to you a helpful guide that will fix server IP address could not be found error on Windows 10. So, continue reading!
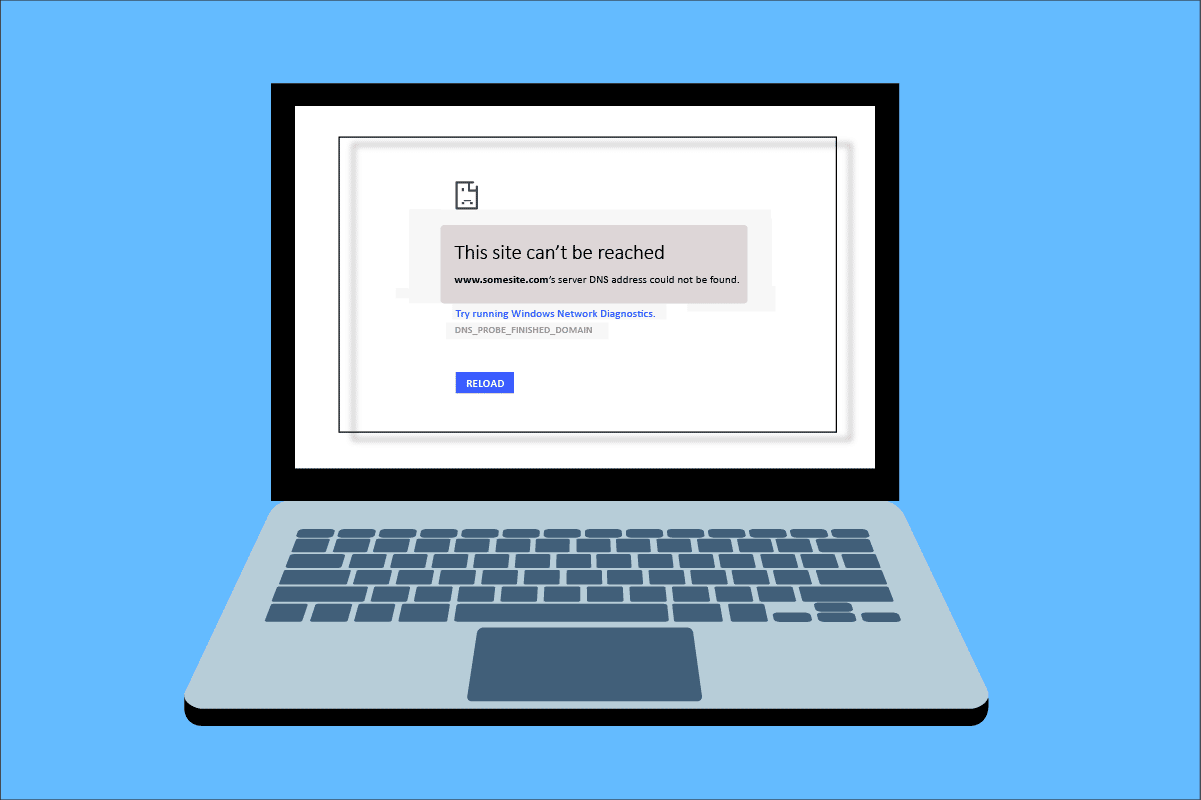
How to Fix Server IP Address Could Not be Found on Windows 10
One of the most popular web browser is Google Chrome. However if you are facing the error while browsing in the Chrome browser, then do not worry! This issue may be caused due to various reasons like;
- Нестабилна интернет връзка
- Corrupt Browser Cache and Cookies
- Incorrect IP Address
- Corrupt DNS Cache
- Остарели мрежови драйвери
Here, we have listed all possible methods to fix the said issue on Windows 10.
Method 1: Troubleshoot Network Adapter
The said issue may occur due to your network error. You can run the network adapter troubleshooter to fix any errors with your network adapter. Read our guide to troubleshoot network connectivity on Windows 10.

Метод 2: Изчистете кеша на браузъра
The cache files in your web browser may get corrupt. You can try to clear the cache and cookies of your browser and try to check if the error still persists or not. Follow these steps to clear browser cache.
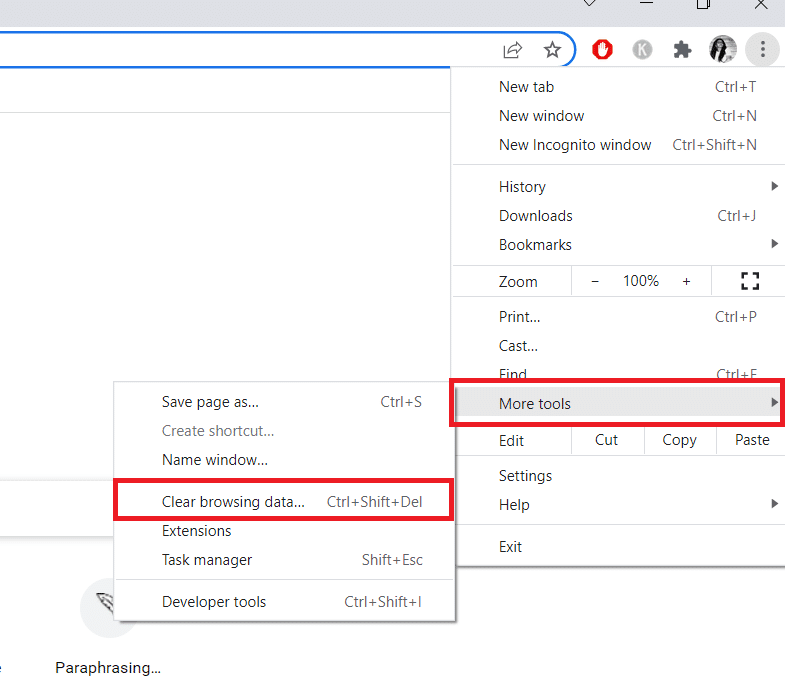
1. Стартирайте Chrome browser from Windows search bar as shown.

2. Сега щракнете върху икона с три точки в горния десен ъгъл.
3. Тук щракнете върху Още инструменти опция.
4. След това щракнете върху Ясно сърфиране данни… опция.
Забележка: Можете да въведете Chrome: // настройки / clearBrowserData in the search bar to launch the browser history page directly.
5. Тук изберете Времеви интервал in the next window. Check the boxes marked:
- Бисквитки и други данни за сайтове намлява
- Кеширани изображения и файлове.
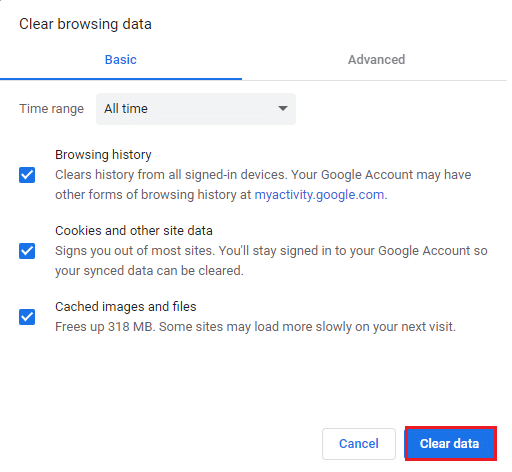
6. Накрая кликнете върху Clear дата.
Също прочетено: Коригирайте грешката „Този плъгин не се поддържа“ в Chrome
Метод 3: Изчистете DNS кеша
You can try to clear the DNS cache to fix server IP address could not be found error. Follow our guide to flush and reset the DNS cache in Windows 10.
Method 4: Release and Renew IP Address
Here are the steps to release and renew the IP address.
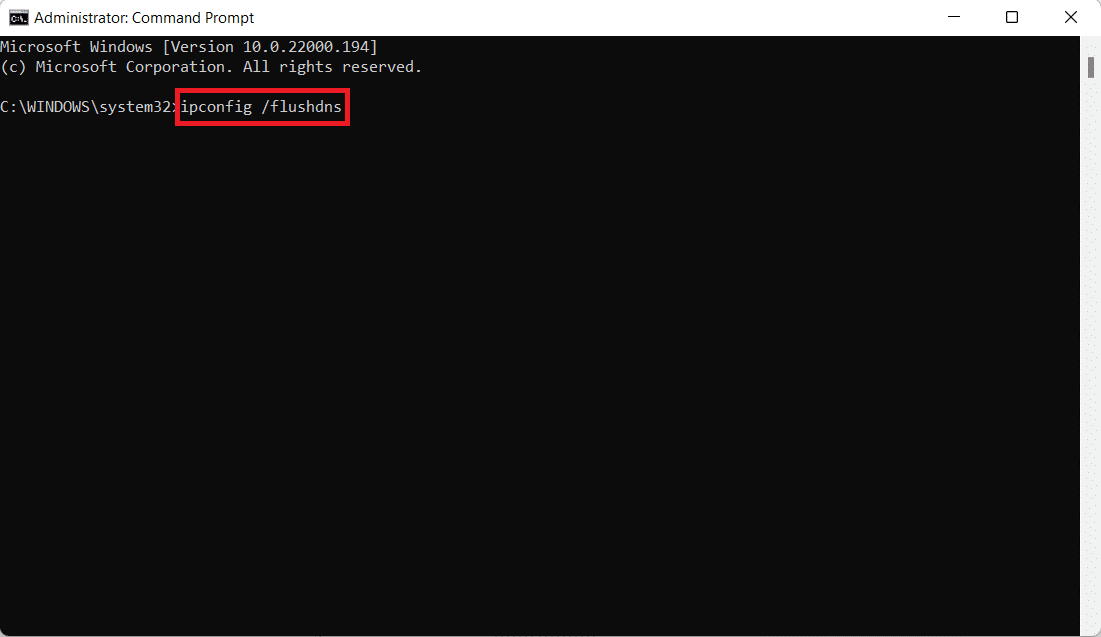
1. Натиснете бутона Windows клавиша, Тип Command Prompt, и кликнете върху Изпълни като администратор.

2. Firstly you should flush the DNS cache as shown in Метод 2.
3. Once the above process is complete, type Ipconfig / освобождаване и натиснете бутона Въведете ключ.

4. След това въведете Ipconfig / поднови и хит Въведете to renew your IP.

Също прочетено: Коригирайте не са открити WiFi мрежи в Windows 10
Метод 5: Променете DNS адреса
Incorrect DNS address also cause this said Chrome error. You can change your DNS address to fix the error. Follow the given steps to change DNS address.
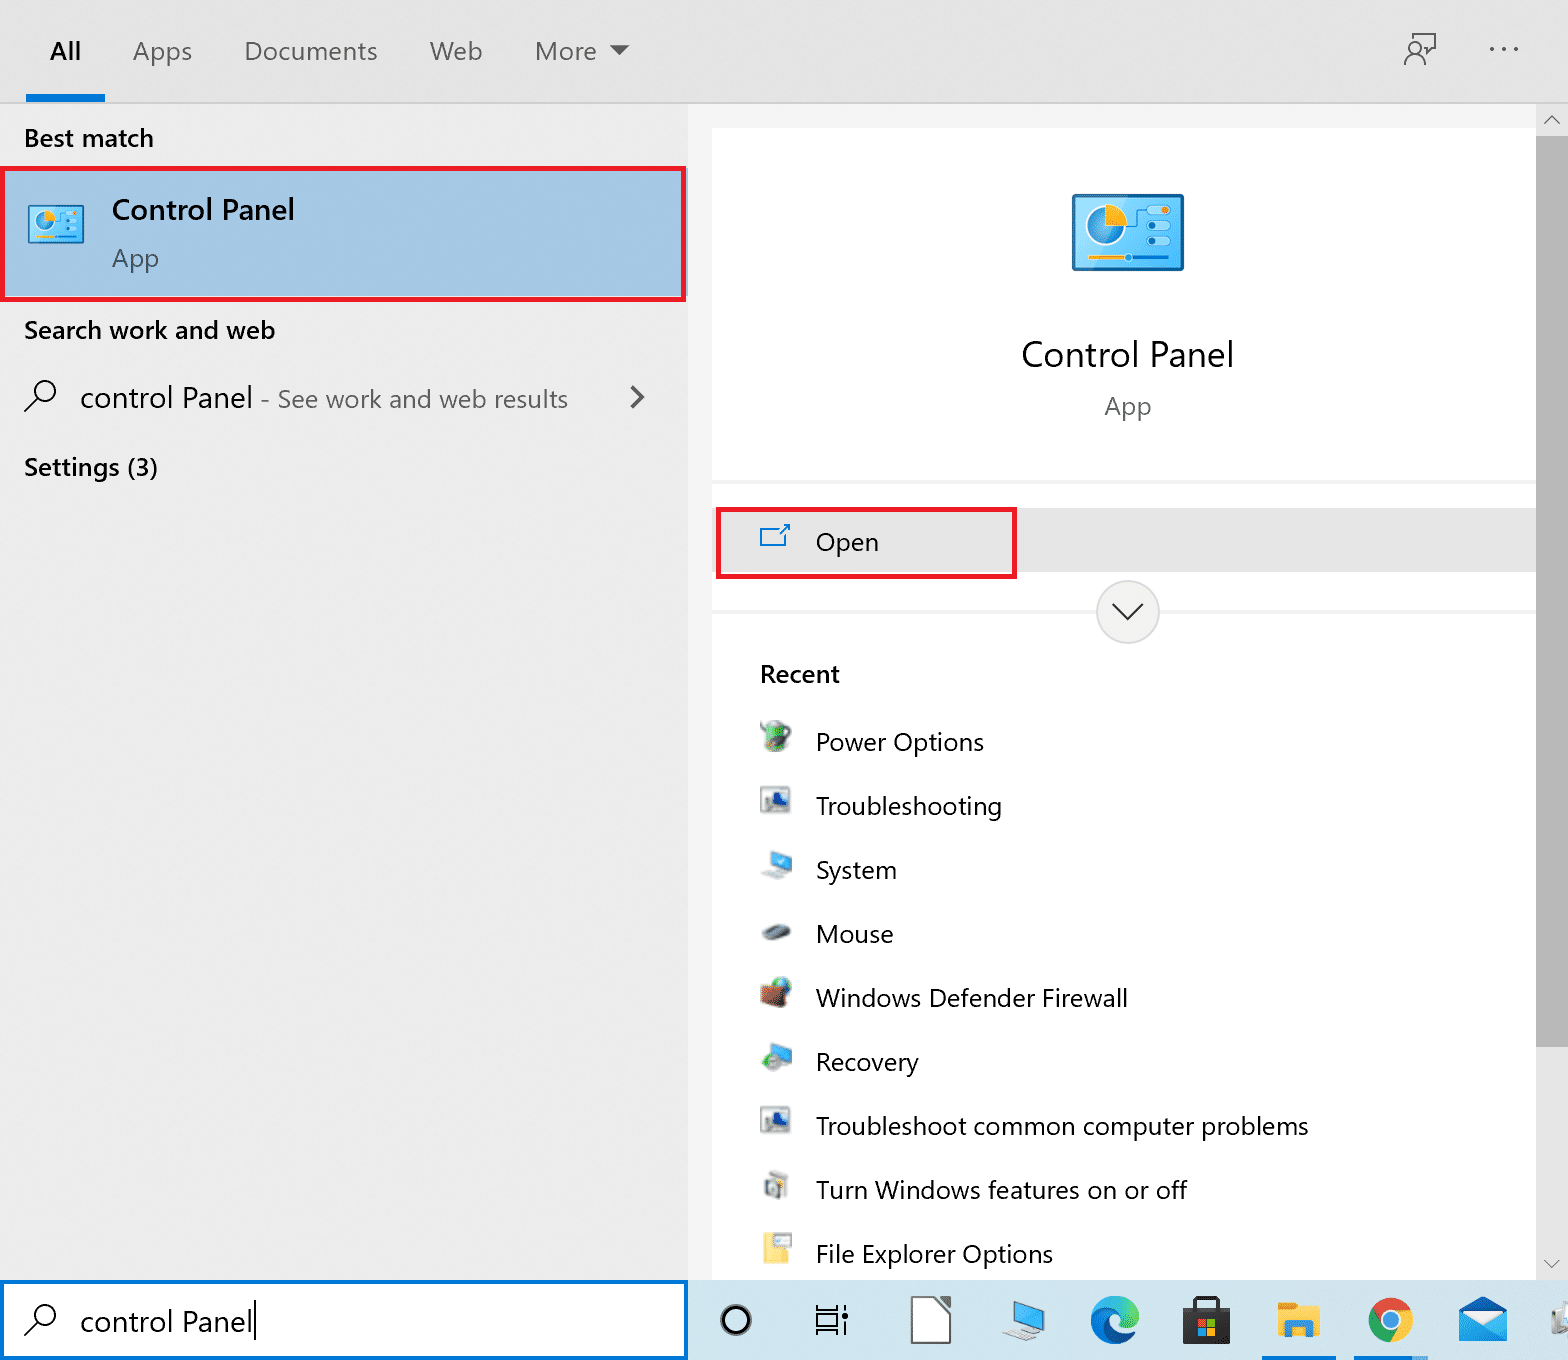
1. Натисни Windows клавиша, Тип Контролния панел и кликнете върху отворено.
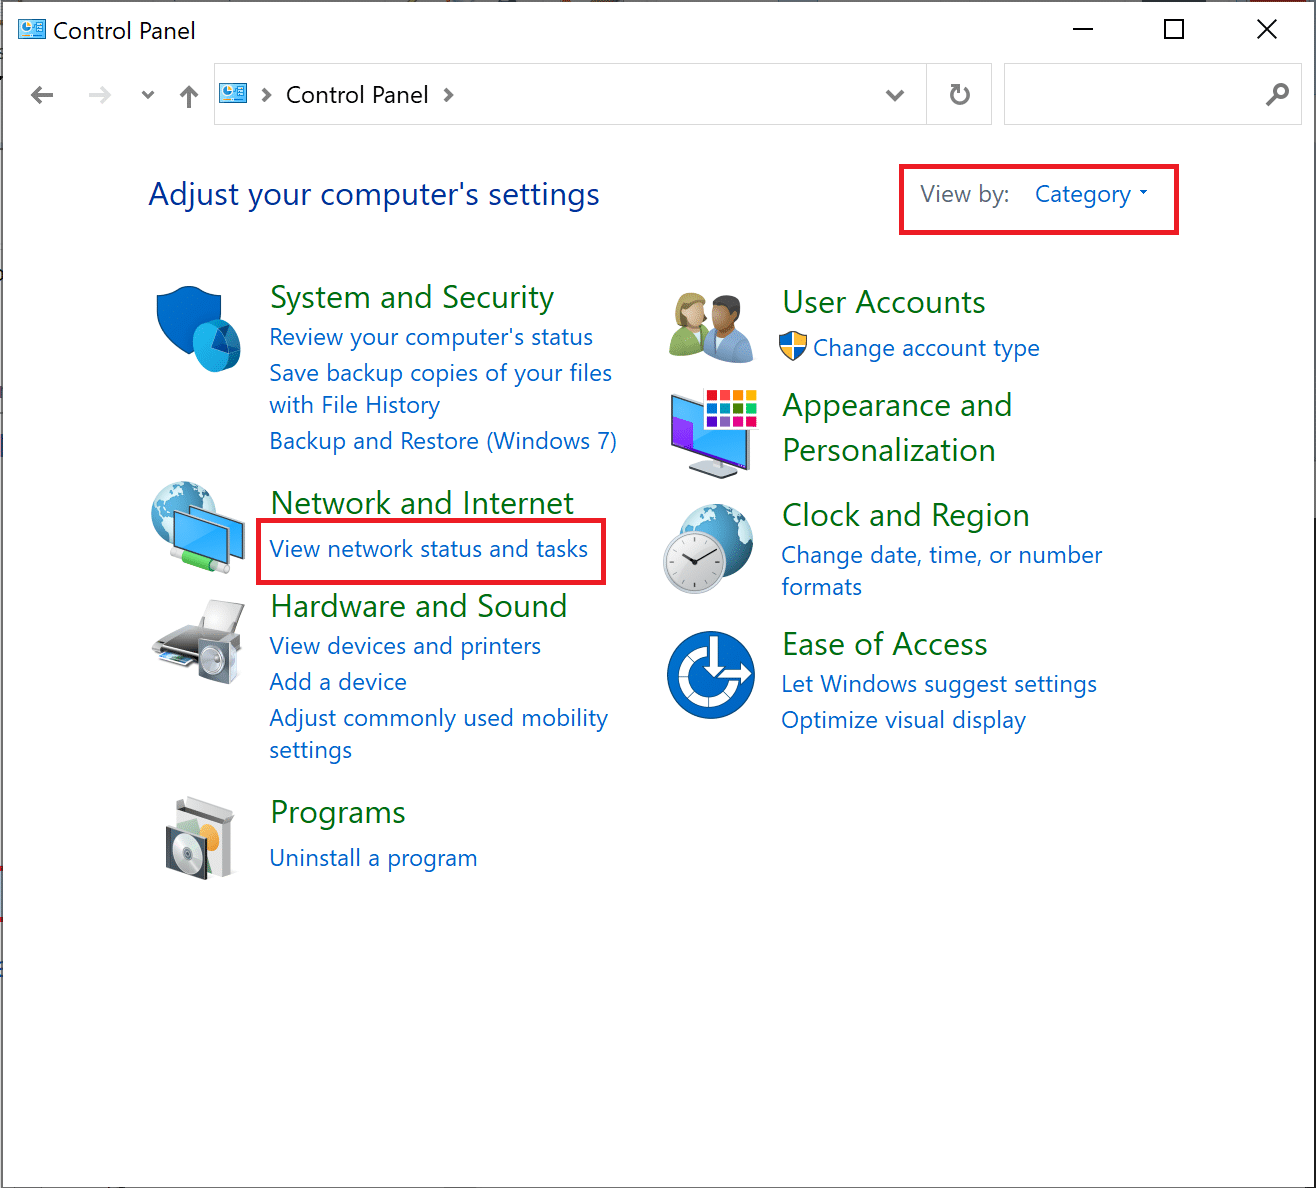
2. Комплект Преглед по > категория и кликнете върху Преглед на състоянието и задачите на мрежата.
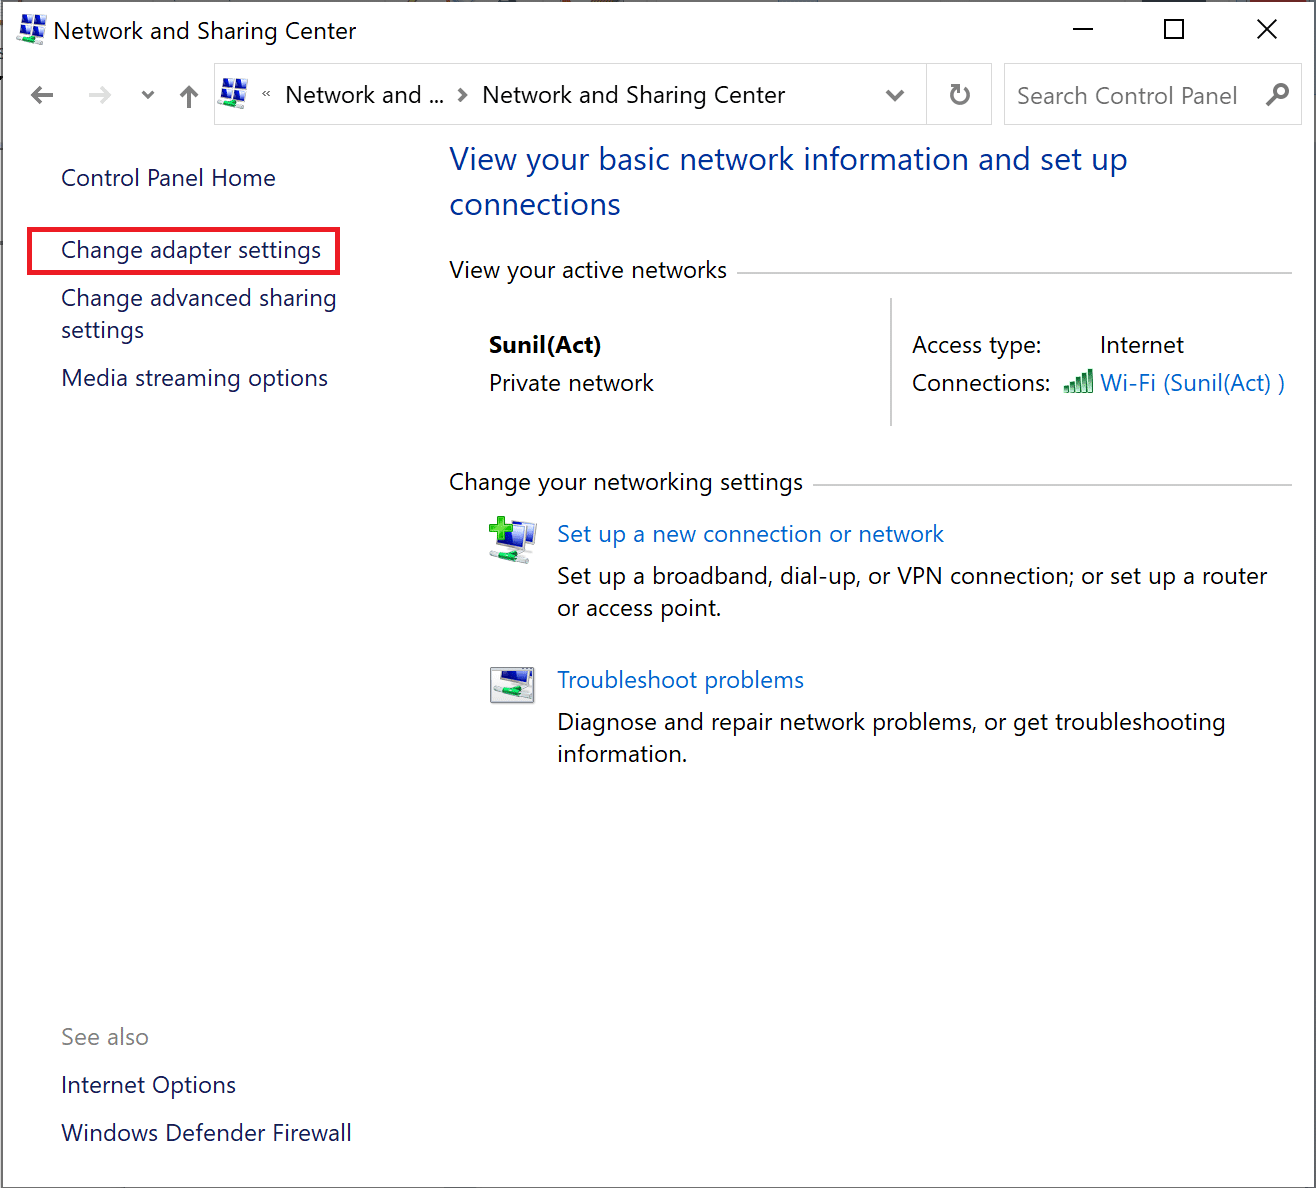
3. Сега щракнете върху Промяна на настройките на адаптера option at the left sidebar.
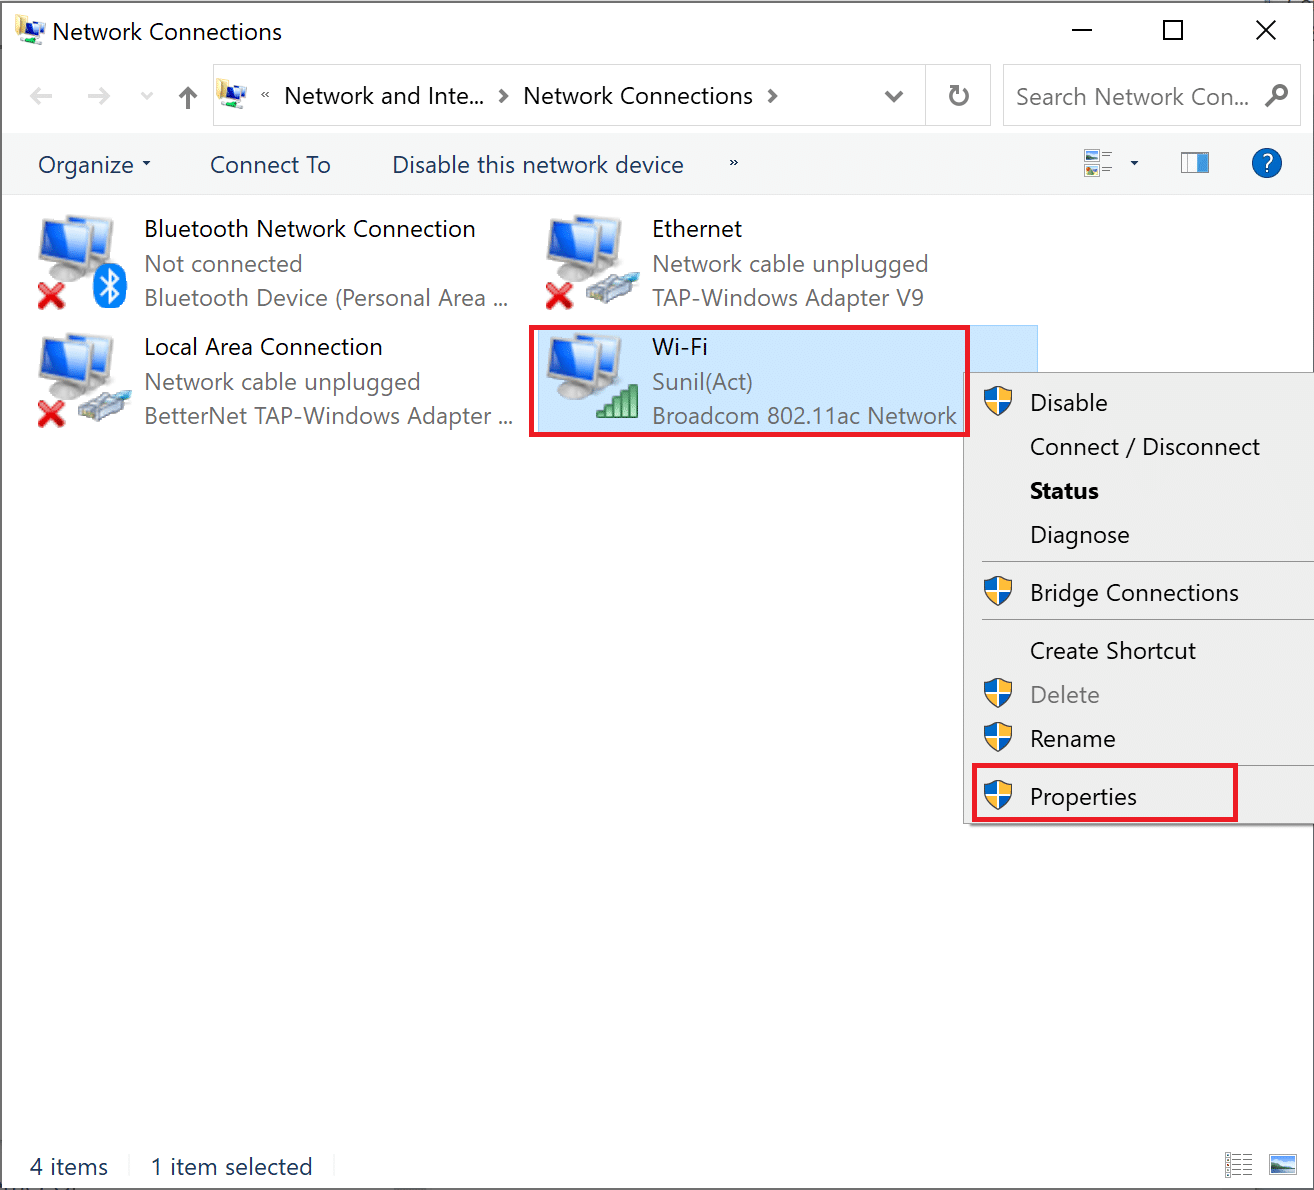
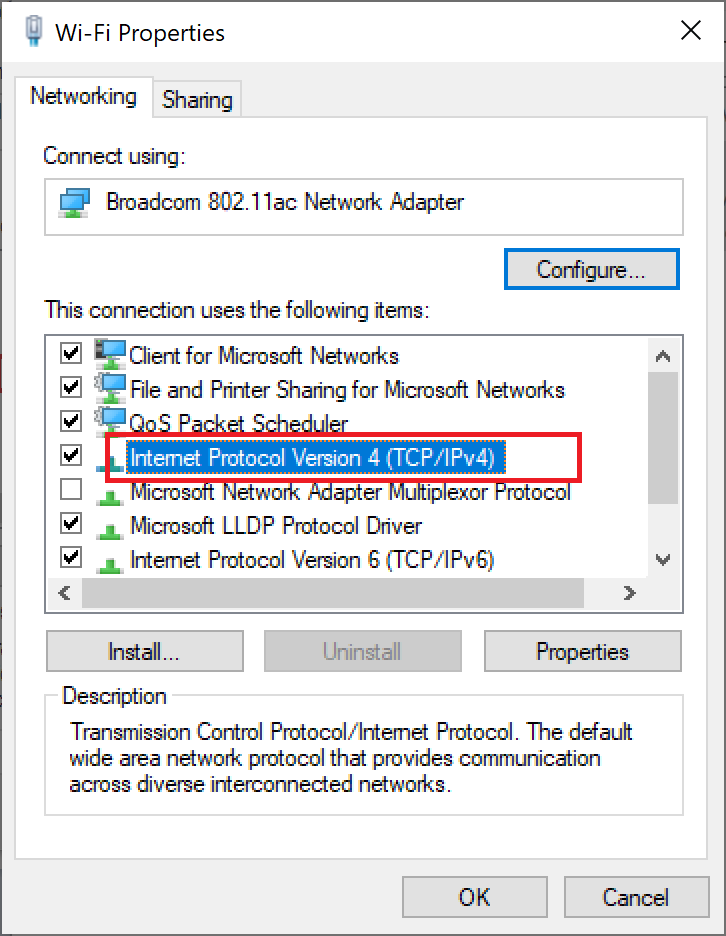
4. Next, right-click on your currently active internet connection and select Имоти, както е подчертано.
5. In the Properties window, double-click on Версия 4 Internet Protocol (TCP / IPv4).
6. Next, check the options titled Получаване на IP адрес автоматично намлява Използвайте следната DNS сървър адреси, както е подчертано.
6a. For the Preferred DNS server, enter the Google Public DNS address as: 8.8.8.8
6b. And, In the Алтернативен DNS сървър, enter the other Google Public DNS as: 8.8.4.4
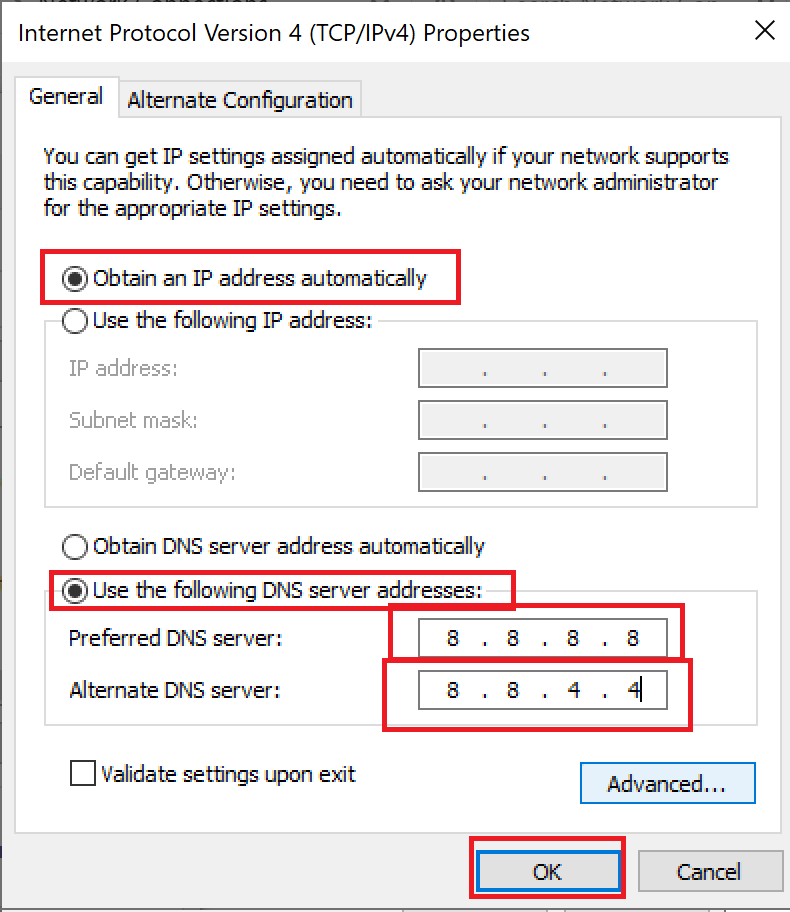
7. Накрая кликнете върху OK за да запазите промените и рестартирайте компютъра.
Method 6: Restart DNS Cache
You can follow these steps to restart DNS cache.
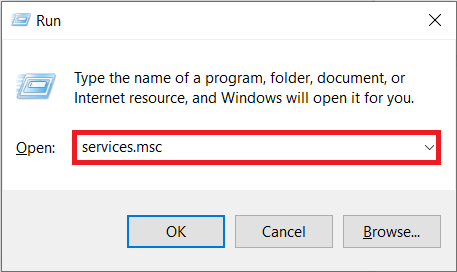
1. Натисни Windows + R клавиши заедно, за да отворите бягане диалогов прозорец.
2. След това въведете services.msc и натиснете бутона Въведете ключ да отворите Услуги прозорец.
3. Right-click on DNS Client и изберете Рестартирайте.
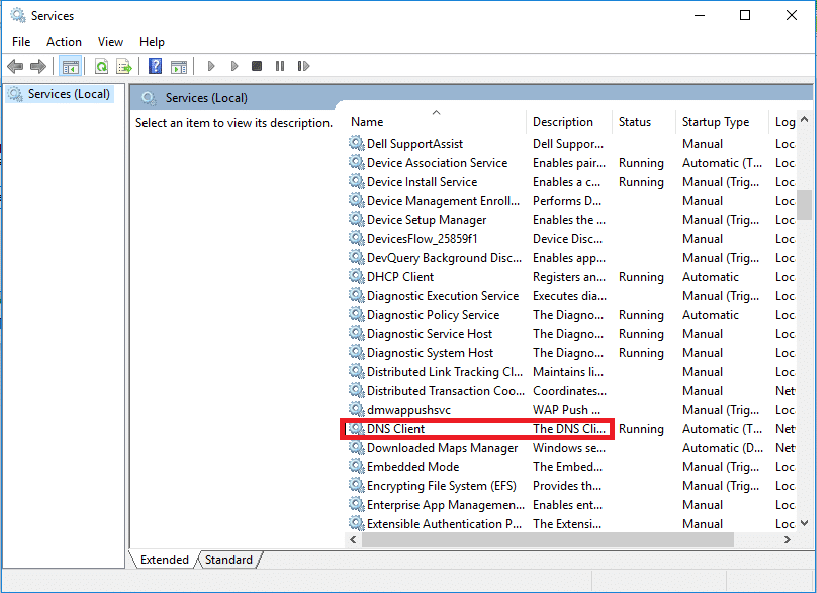
Забележка: If you find no restart option and unable to restart it from this method, you do not need to worry. You just need to open an elevated Command Prompt on your system.
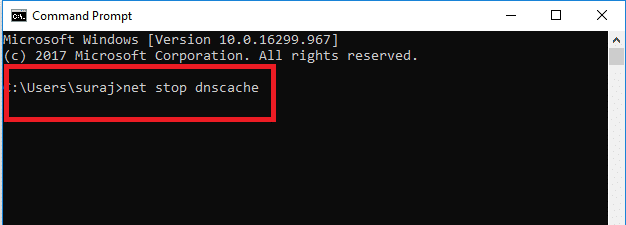
4. Въведете следното команда и натиснете бутона Въведете ключ.
нетната спирка dnscache
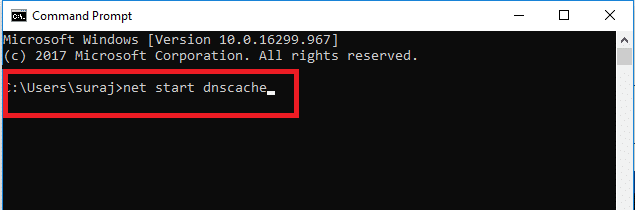
5. To start it again, type the given команда и удари Въведете ключ.
нето началото dnscache
Също прочетено: Как да нулирате мрежовите настройки на Windows 10
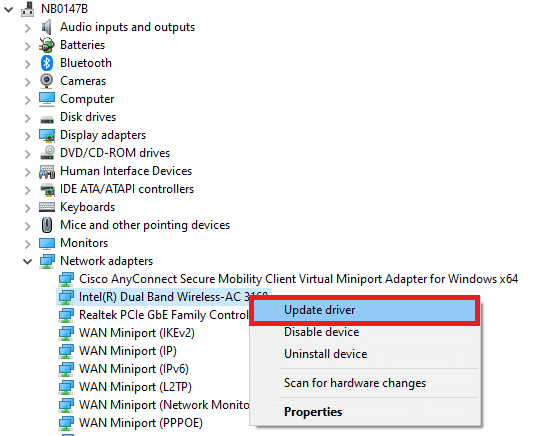
Method 7: Update Network Driver
Outdated network drive also can cause server IP address could not be found error. If you do not have the latest driver versions installed, then this may create bugs and can result in the unstable network connection. So, updating your network driver is necessary for a good network connection. Read our guide to update network drivers on Windows 10.
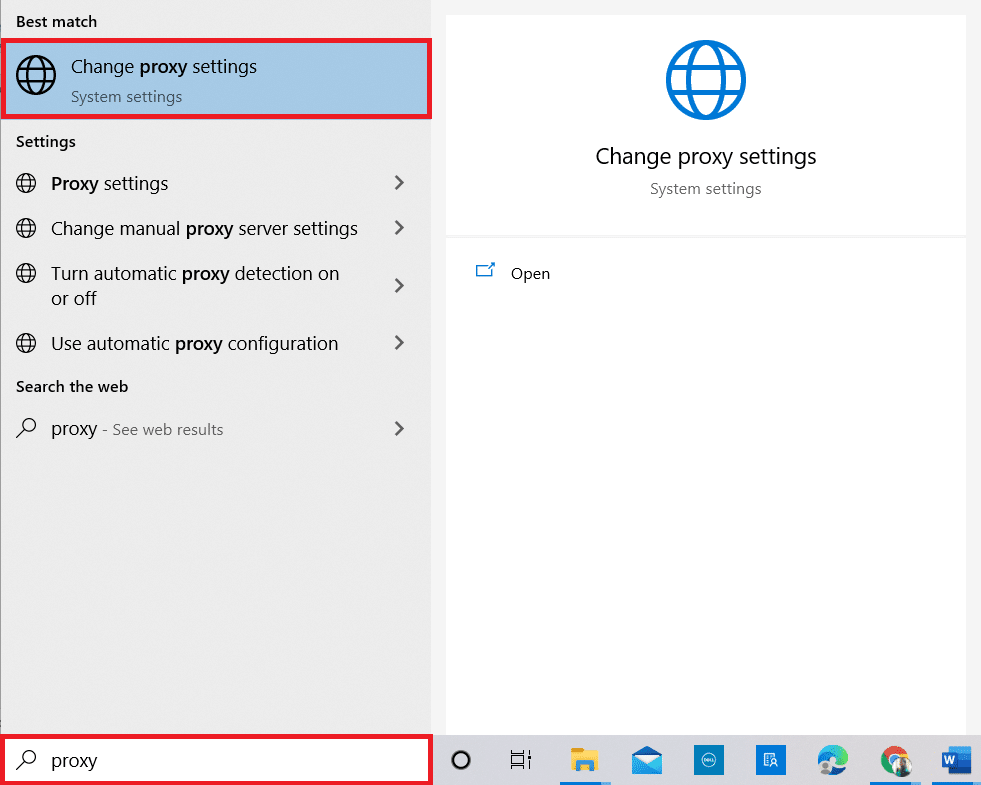
Method 8: Verify Proxy Settings
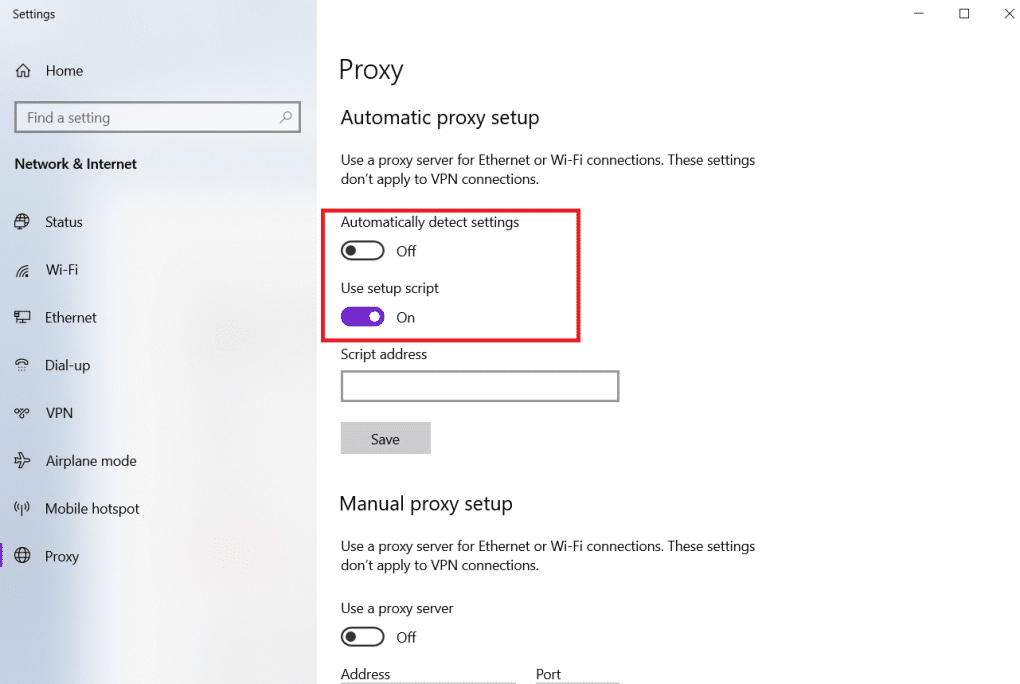
If you are using a proxy server, then using a particular proxy can create issues with your internet. You can change your proxy server to solve this problem. Follow the steps listed below to verify proxy settings.
1. Натиснете бутона Windows ключ и вид пълномощник и кликнете върху Променете настройките на прокси от резултатите от търсенето.
2. Here, switch on the toggle for Автоматично откриване на настройките.
Препоръчва се:
We hope that you learned how to fix server IP address could not be found on Windows 10. Feel free to reach out to us with your queries and suggestions via the comments section below. Let us know what you want to learn about next.

