The main cause of this error is still unknown, but there are various reasons why this problem occurs. Few of them are Windows Firewall might be disabled, malware infection, Incorrect date & time configuration, corrupted application package etc. Now Windows Store is an important component of Windows as it enables you to download different kinds of application required for personal or professional use.
Imagine not being able to download any Windows store application, that’s exactly what happens in this case. But don’t worry troubleshooter is here to fix this issue, follow the below-listed methods one by one and by the end of this guide, Windows Store would be back to normal.
There are few things which you should make sure of before continuing with the below-listed troubleshooting steps:
- Sometimes Family Saftey Settings blocks some apps due to which you may not be able to access the particular app on the Store. Check if the problem occurs on all the other apps or some particular apps. If this issue occurs only on selected apps, then turn off the Family Saftey Settings.
- If you recently made some changes on the system but forgot to restart your PC, you might not access Windows Store. Make sure to restart your system after Windows Update and see if the problem is resolved or not.
Fix No Install Button in Windows Store
Obavezno kreirajte tačku vraćanja u slučaju da nešto krene po zlu.
Method 1: Turn ON the Windows Firewall
Windows Store doesn’t let you access the apps until you make sure that the Windows Firewall is enabled.
1. Pritisnite tipku Windows + I, a zatim odaberite Kontrolna tabla.

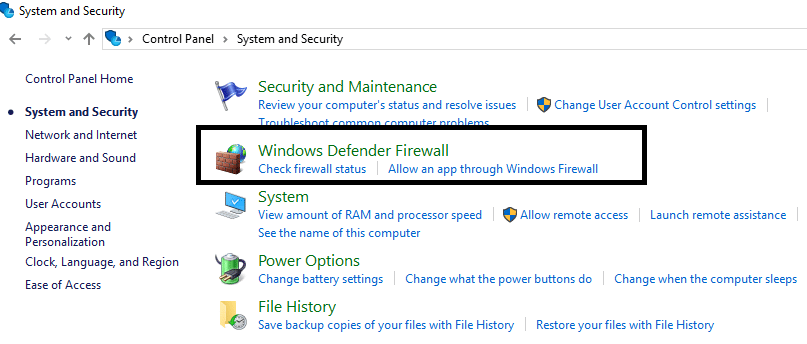
2.Dalje, kliknite na Sistem i sigurnost.
3. Zatim kliknite na Windows zaštitni zid.
4.Now from the left window pane click on Uključite ili isključite Windows zaštitni zid.
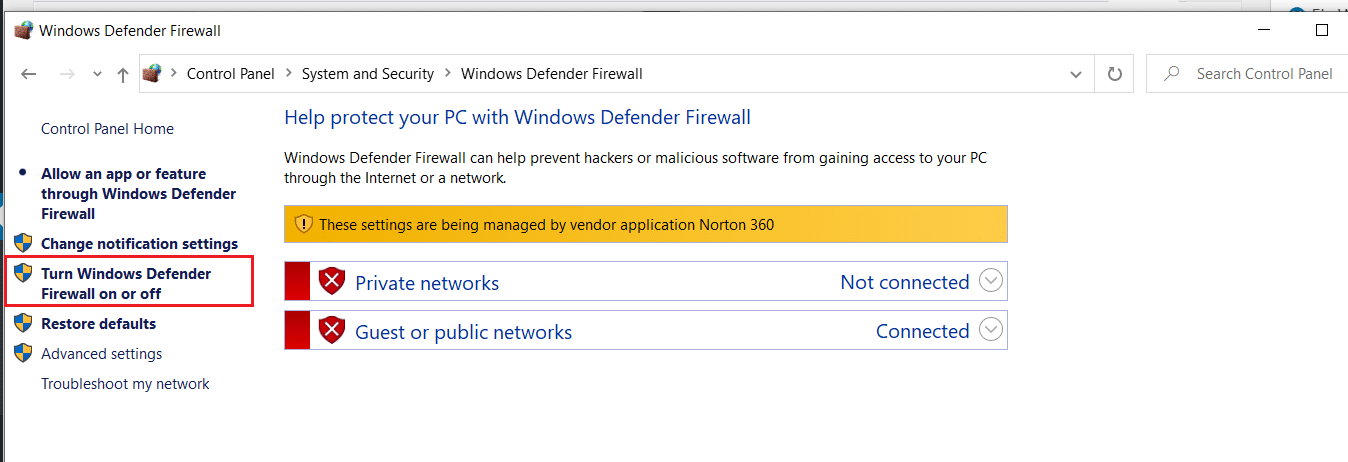
5. izabrati Uključite Windows zaštitni zid for both private and public network settings and then restart your PC
After you are done, try to install the app again on the Windows Store and this time it should work out fine.
Method 2: Make sure your PC Date and time is correct
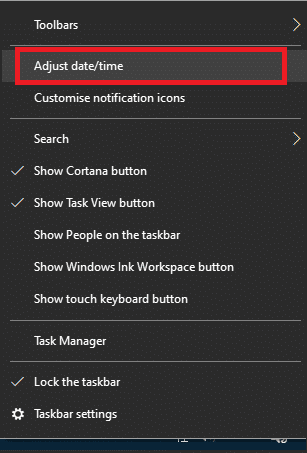
1. Desni klik on vrijeme displayed at the bottom right corner of your screen. Then click on Adjust Date/Time.
2. Make sure that both options labelled Podesite vrijeme automatski i Podesite vremensku zonu automatski bio onemogućeno. Kliknite na promjena.
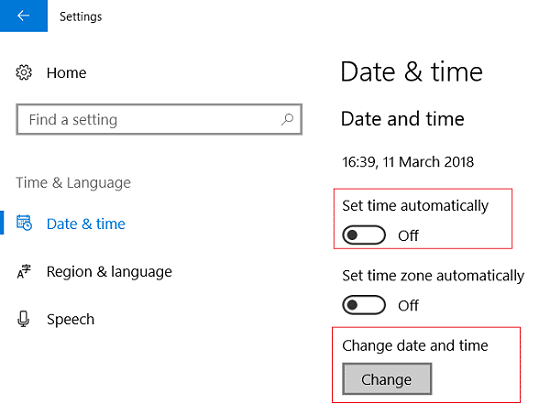
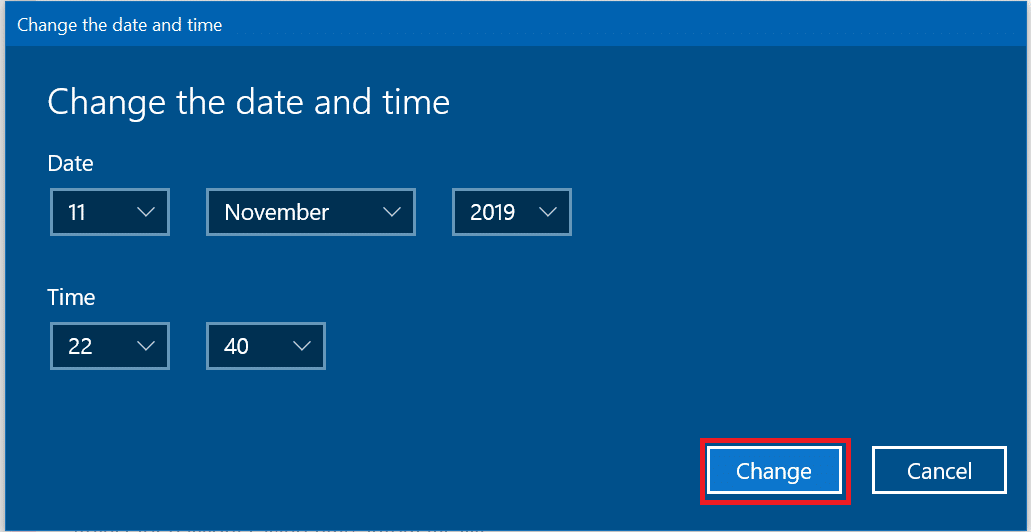
3. ući u correct date and time a zatim kliknite na promjena da primjenjuje promjene.
4. Provjerite jeste li u mogućnosti Fix Your Connection is Not Private Error In Chrome.
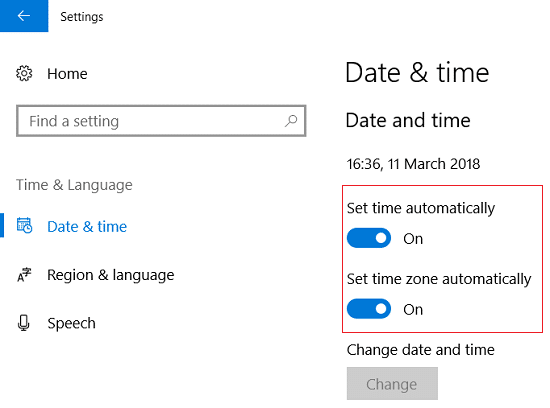
5. If this doesn’t help then omogućiti i to Postavi vremensku zonu automatsko i Set Date & Time Automatically options. If you have an active internet connection, your Date and Time settings will get updated automatically.
Takođe pročitajte: 4 načina za promjenu datuma i vremena u Windows 10
Metod 3: Obrišite keš Windows prodavnice
1. Pritisnite tipku Windows + R, a zatim upišite “Wsreset.exe” i pritisnite enter.
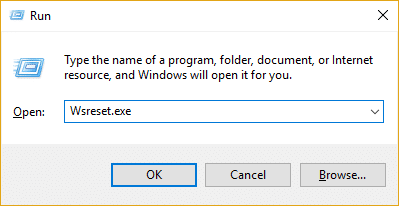
2. Kada je proces završen, ponovo pokrenite računar.
Metoda 4: Ponovo registrirajte aplikaciju Store
1. otvoreno Komandna linija kao administrator.

2. Pokrenite ispod naredbe PowerShell
PowerShell -ExecutionPolicy Unrestricted -Command “& {$manifest = (Get-AppxPackage Microsoft.WindowsStore).InstallLocation + 'AppxManifest.xml' ; Add-AppxPackage -DisableDevelopmentMode -Registrirajte $manifest}”
Or
Get-AppXPackage -AllUsers | Foreach {Add-AppxPackage -DisableDevelopmentMode -Register "$ ($ _. InstallLocation) AppXManifest.xml"}

3. Kada završite, zatvorite komandnu liniju i ponovo pokrenite računar.
Ovaj korak ponovo registruje Windows Store aplikacije koje bi trebalo automatski Fix No Install Button in Windows Store problem.
Method 5: Make sure Windows is Up to Date
1. Pritisnite Windows taster + I da otvorite Postavke, a zatim kliknite na Ažuriranje i sigurnost.
![]()
2. Sa lijeve strane klikne na meni Windows Update.
3. Sada kliknite na “Proverite ažuriranja” dugme da provjerite ima li dostupnih ažuriranja.

4. Ako su ažuriranja na čekanju, kliknite na Preuzmite i instalirajte ažuriranja.

5. Kada se ažuriranja preuzmu, instalirajte ih i vaš Windows će postati ažuran.
Metoda 6: Pokrenite CCleaner i Malwarebytes
1. Preuzmite i instalirajte CCleaner & Malwarebytes.
2. Pokrenite Malwarebytes i neka skenira vaš sistem u potrazi za štetnim datotekama. Ako se pronađe zlonamjerni softver, automatski će ih ukloniti.

3. Sada pokrenite CCleaner i odaberite Custom Clean.
4. U okviru Custom Clean izaberite Windows kartica i označite zadane postavke i kliknite analizirati.

5. Kada se analiza završi, provjerite jeste li sigurni da ćete ukloniti datoteke koje želite izbrisati.

6. Na kraju, kliknite na Pokreni čistač dugme i pustite CCleaner da radi svojim tokom.
7. Da dodatno očistite svoj sistem, izaberite karticu Registry, i provjerite je li sljedeće:

8. Kliknite na Skeniraj za probleme i dopustite CCleaner-u da skenira, a zatim kliknite na Popravite odabrane probleme dugme.

9. Kada CCleaner pita “Želite li sigurnosne kopije promjena u registru?" odaberite Da.
10. Kada se vaša sigurnosna kopija završi, kliknite na Popravi sve odabrane probleme dugme.
11. Ponovo pokrenite računar da biste sačuvali promene.
Method 7: Perform Clean Boot in Windows
Sometimes 3rd party software can conflict with Windows Store and therefore, you should not install any apps from the Windows apps store. In order Fix No Install Button in Windows Store problem, you need to perform a clean boot in your PC and diagnose the issue step by step.
8. metod: Pokrenite alatku za rešavanje problema sa aplikacijama Windows Update i Windows Store
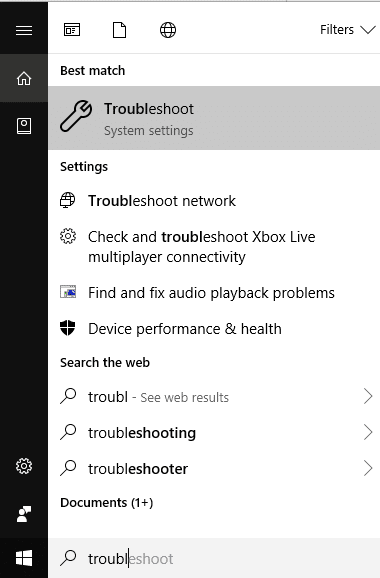
1.Type troubleshooting in the Windows Search bar and click on Rješavanje problema.
2.Sljedeće, iz lijevog okna prozora odaberite Vidi sve.
3. Zatim sa liste Troubleshoot computer problems izaberite Windows Update.
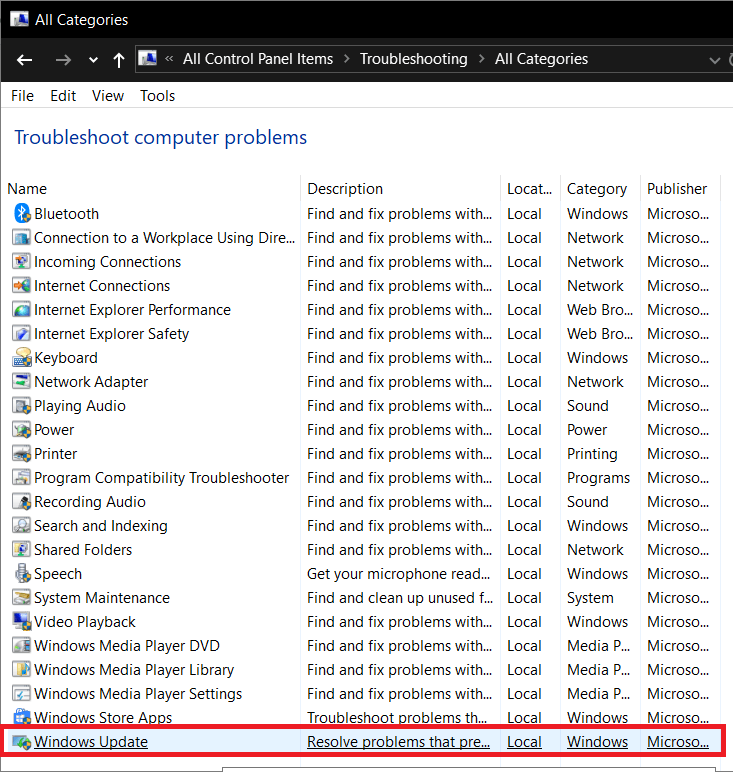
4. Slijedite upute na ekranu i pustite Windows Update Troubleshoot run.

5. Now again go back to the View all window but this time select Windows Store Apps. Run the troubleshooter and follow on-screen instructions.
6. Ponovo pokrenite računar i ponovo pokušajte da instalirate aplikacije iz Windows prodavnice.
Preporučena:
To je to što ste uspjeli Fix No Install Button in Windows Store ali ako još uvijek imate pitanja u vezi sa ovom objavom, slobodno ih postavite u odjeljku za komentare.

