How to fix Audio services not responding in Windows 10: So you have been using Windows 10 for quite a while but suddenly one day out of nowhere an error pops up saying “Audio services not responding” and audio is no longer working on your PC. Don’t worry this is totally fixable but let’s first understand why you are getting such an error.
The Audio service not running error can occur because of outdated or incompatible audio drivers, audio related services might not be running, incorrect permission for Audio services, etc. In any case, without wasting any time let’s see How to Fix Audio services not responding in Windows 10 ved hjælp af nedenstående fejlfindingstrin.
Audio services not responding in Windows 10 Fix:
A suggestion by Rosy Baldwin that seem to work for every user, so I have decided to include in the main article:
1. Press Windows-tasten + R skriv derefter services.msc and hit Enter to open the Windows services list.

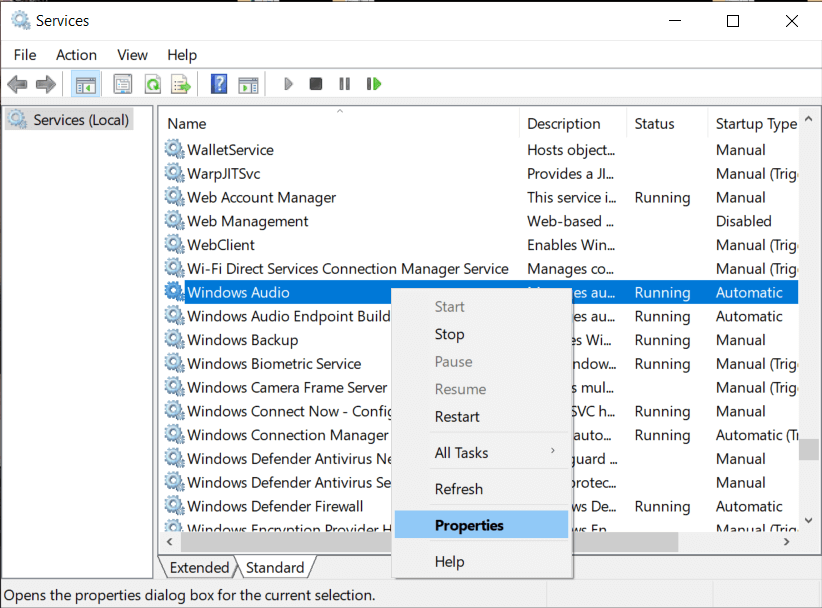
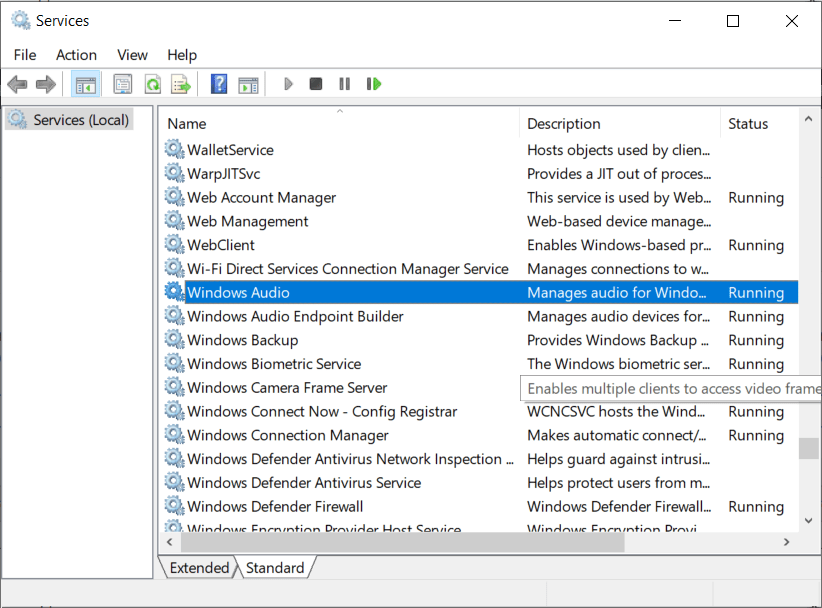
2. Find Windows Audio in the services list, press W to find it easily.
3. Right-click on Windows Audio then select Egenskaber.
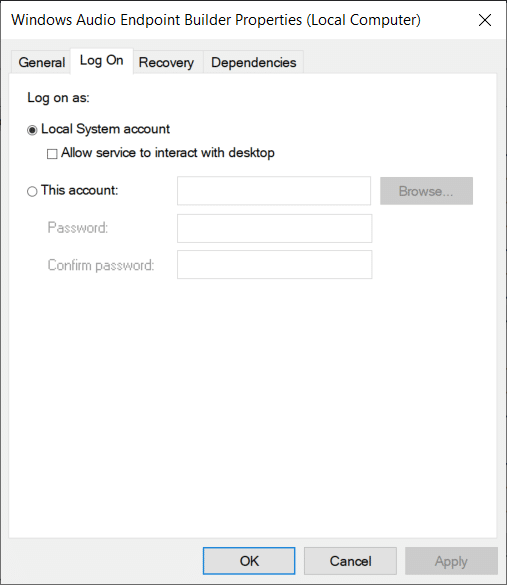
4. From the Properties window navigate to the “Log på"Fanebladet.
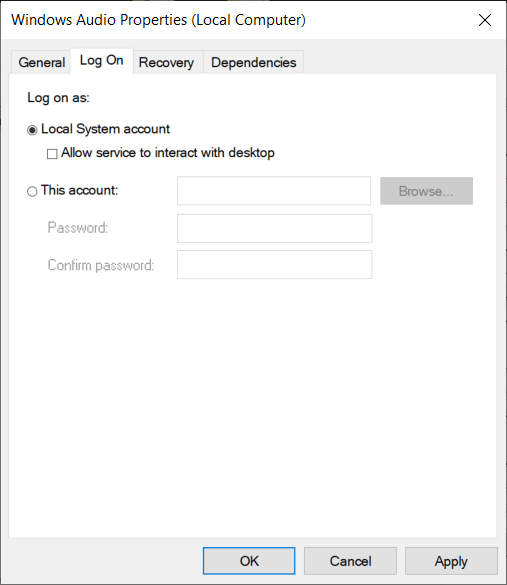
5. Vælg derefter Denne konto og sørg for Lokal service is selected with Password.
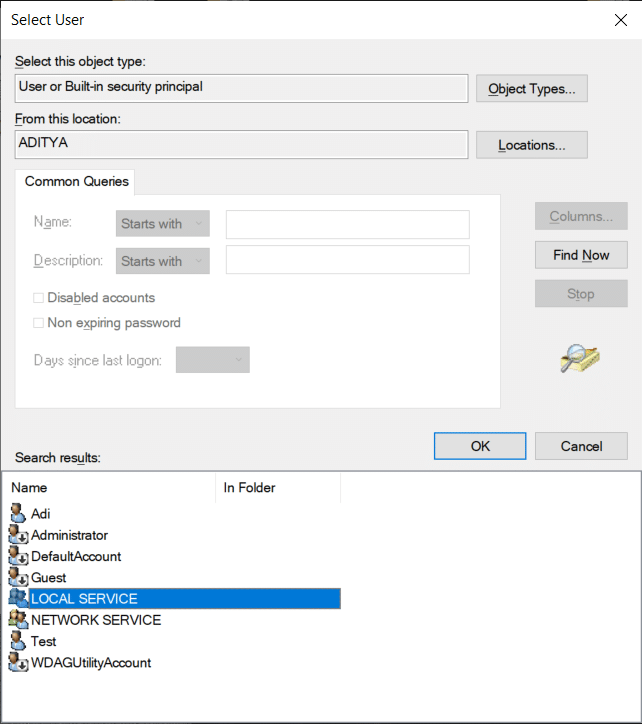
Bemærk: If you don’t know the password then either you can type a new password and click OK to save changes. Or else you can click on the Gennemse button then click on the Avanceret button. Now click on Find nu knappen og vælg derefter LOKAL SERVICE from the search results and click OK.
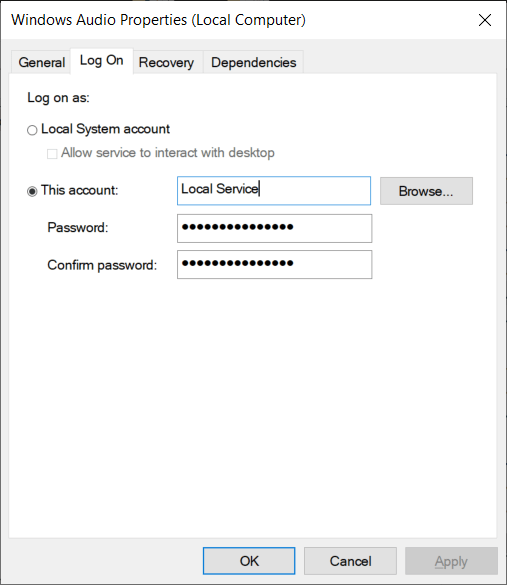
6. Click Apply followed by OK to save changes.
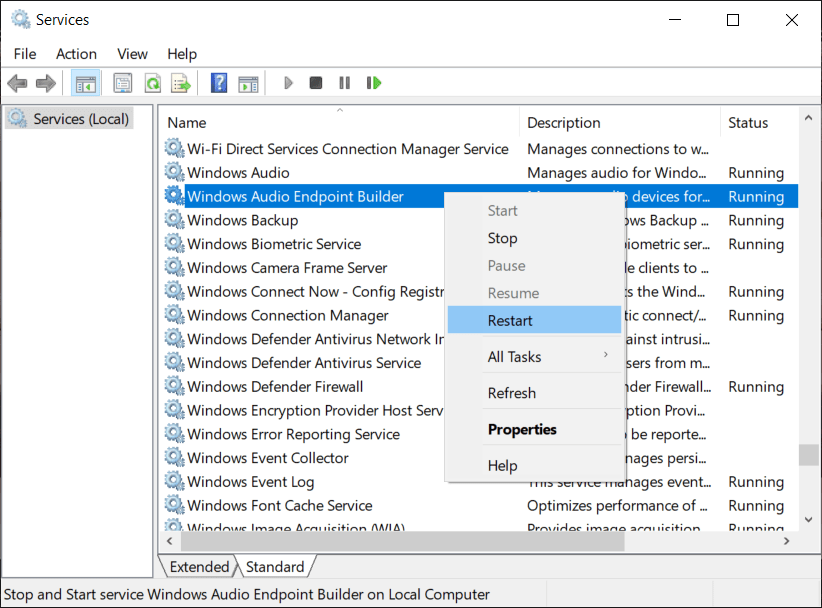
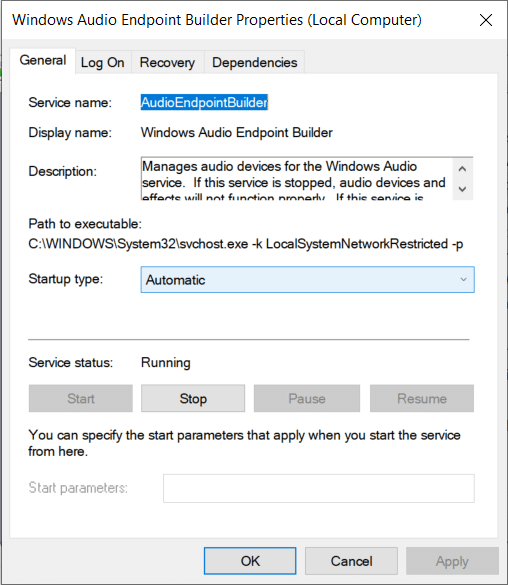
7. If you’re not able to save changes then first you need to change the settings for another service called Windows Audio Endpoint Builder.
8. Right-click on Windows Audio Endpoint Builder and select Ejendomme. Now navigate to the “Log on” tab.
9. From the “Log on” tab select Local System account.
10. Click Apply followed by Ok to save changes.
11. Now again try to change the settings of the Windows Audio from the “Log på” tab and this time you will be successful.
Metode 1: Start Windows Audio-tjenester
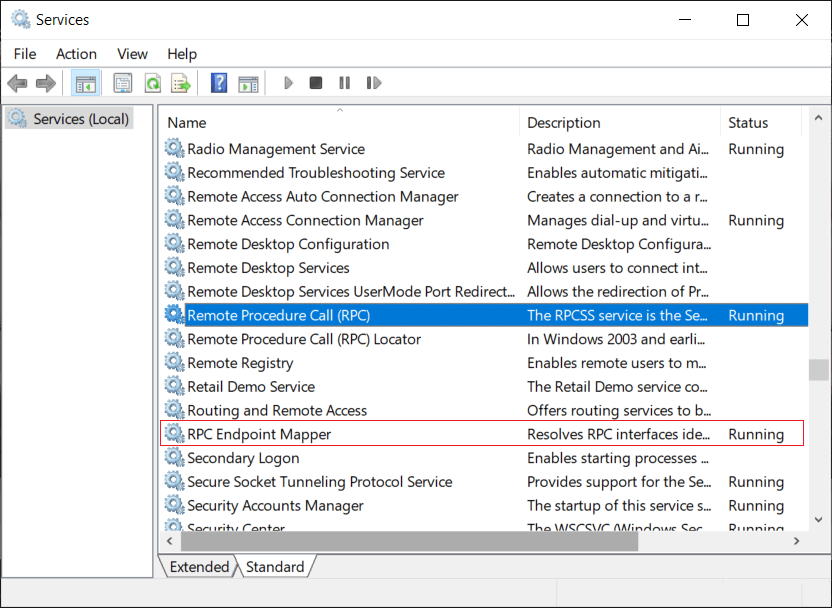
1. Trykke Windows-tasten + R skriv derefter services.msc and hit Enter to open the Windows services list.
2. Find nu følgende tjenester:
Windows Audio Windows Audio Endpoint Builder Plug and Play
3. Sørg for deres Starttype er sat til Automatisk Ur og tjenesterne er Løb, uanset hvad, genstart dem alle igen.
4. If the Startup type is not Automatic then double-click the services and inside the property, window set them to Automatisk.
Bemærk: You may need to first stop the service by clicking on the Stop button in order to set the service to Automatic. Once done, click on the Start button to again enable the service.
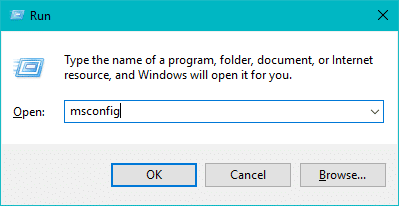
5. Tryk på Windows-tasten + R og skriv derefter msconfig og tryk på Enter for at åbne Systemkonfiguration.
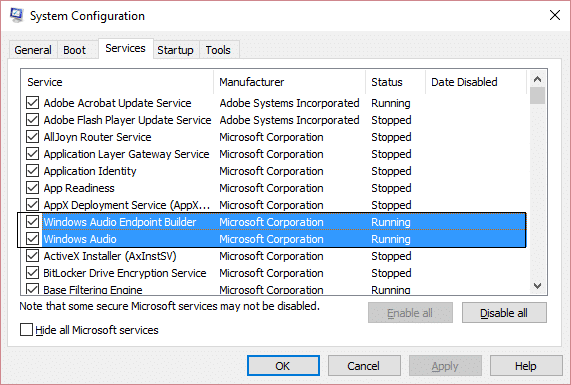
6. Switch to the Services tab and make sure the above services are checked in the System configuration window.
7. Genstart your computer to apply these changes.
Method 2: Start Windows Audio Components
1. Trykke Windows-tasten + R skriv derefter services.msc
2. Find Windows Audio-tjeneste and double click it to open properties.
3. Skift til Dependencies tab and expand the components listed in “This service depends on the following system components".
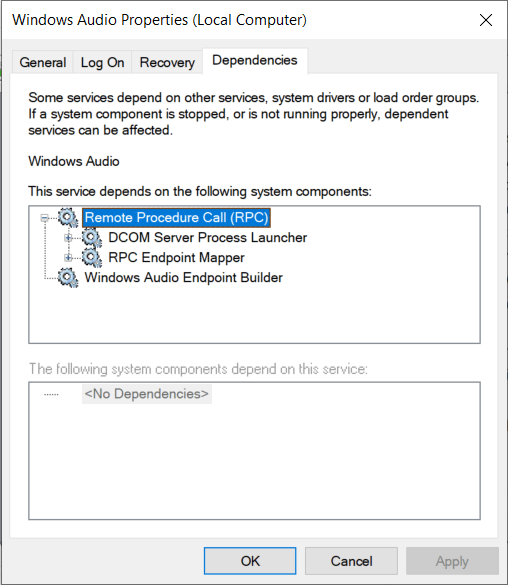
4. Now make sure all the components listed above are Started and Running in the services.msc
5. Endelig restart the Windows Audio services and Reboot to apply changes.
Se om du er i stand til det fix Audio services not responding in Windows 10 error, if not, then continue with the next method.
Method 3: Uninstall Sound drivers
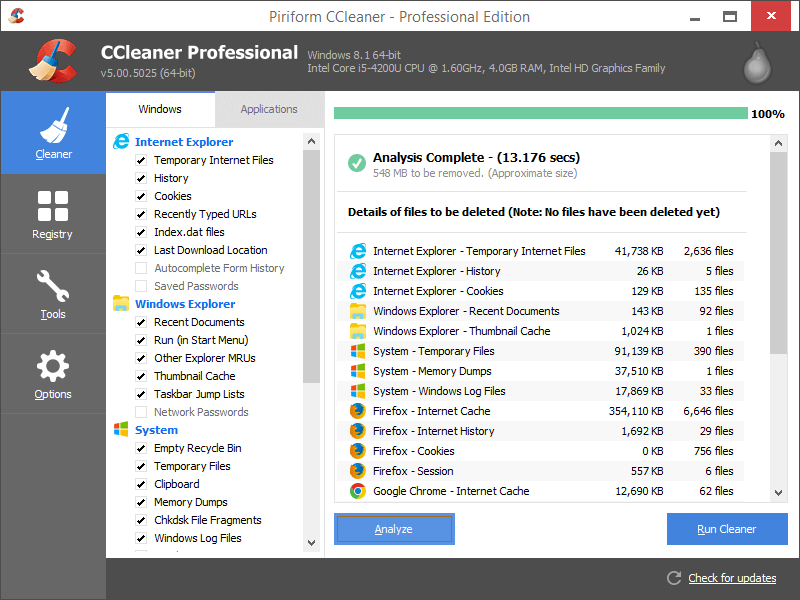
1. Download and Install CCleaner.
2. Gå til Registry window on the left, then scan for all the problems and let it fix them.
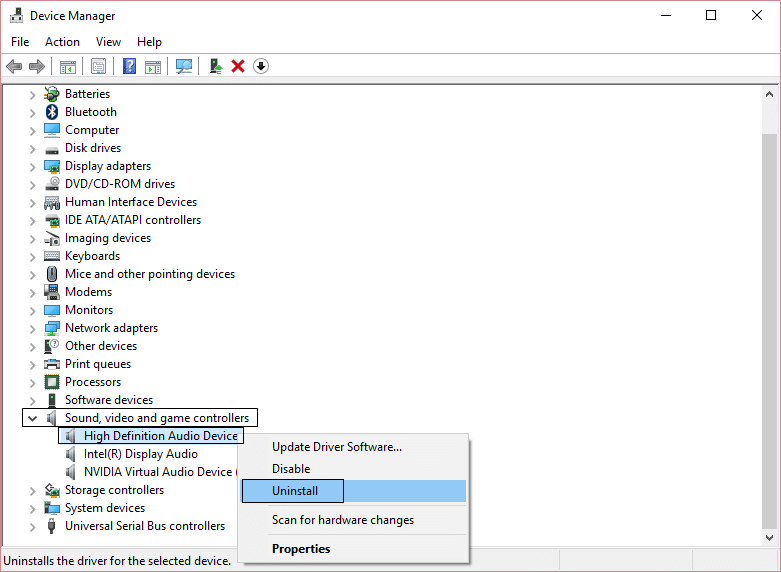
3. Next, press Windows Key + R then type devmgmt.msc og tryk enter for at åbne Enhedshåndtering.

4. Udvid Lyd-, video- og spilkontrollere og klik på lydenheden og vælg derefter Afinstaller.
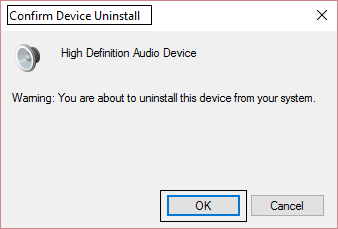
5. Nu bekræfte afinstallationen ved at klikke på OK.
6. Til sidst, i vinduet Enhedshåndtering, gå til Handling og klik på Scan for hardwareændringer.

7. Genstart for at anvende ændringer.
Method 4: Restore Registry key from Antivirus
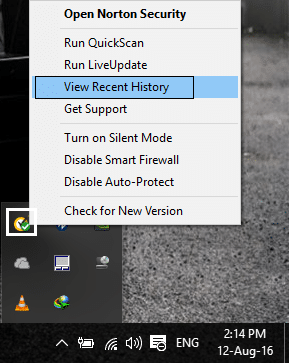
1. Open your anti-virus and go to the virus vault.
2. From the system tray right-click on Norton Security and select “View Recent History."
3. Vælg nu “Karantæne” from the Show drop-down.
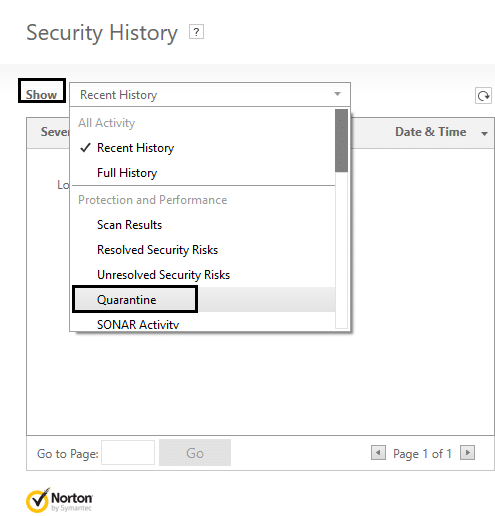
4. Inside Quarantine or virus vault search for the Audio device or services that are quarantined.
5. Look for registry key: HKEY_LOCAL_MACHINESYSTEMCURRENTCONTROL and if the registry key ends in:
AUDIOSRV.DLL
AUDIOENDPOINTBUILDER.DLL
6. Restore them and Restart at anvende ændringer.
7. See if you’re able to resolve the “Audio services not responding in Windows 10” issue, otherwise gentag trin 1 og 2.
Method 5: Modify Registry key
1. Tryk på Windows-tasten + R og skriv derefter regedit og tryk enter for at åbne Registerredigering.

2. Now inside Registry editor navigate to the following key:
HKEY_LOCAL_MACHINESYSTEMCurrentControlSetServicesAudioEndPointBuilderParameters
3. Find ServicDll and if the value is %SystemRoot%System32Audiosrv.dll, this is the cause of the problem.

4. Replace the default value under Value data with this:
%SystemRoot%System32AudioEndPointBuilder.dll

5. Genstart your PC to apply changes.
Metode 6: Kør lydfejlfinding
1. Tryk på Windows-tast + I for at åbne Indstillinger Klik derefter på Opdatering og sikkerhed.
![]()
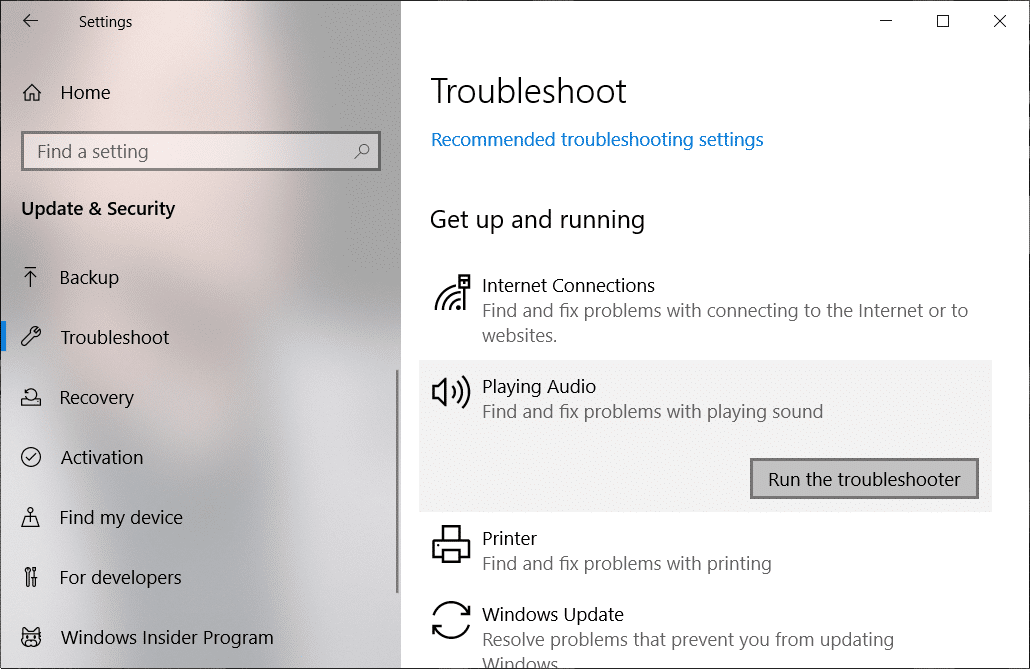
2. Vælg fra menuen til venstre Foretag fejlfinding.
3. Now under the “Kom i gang” heading click on Playing Audio.
4. Klik derefter på “Kør fejlfindingsprogrammet” under Playing Audio.
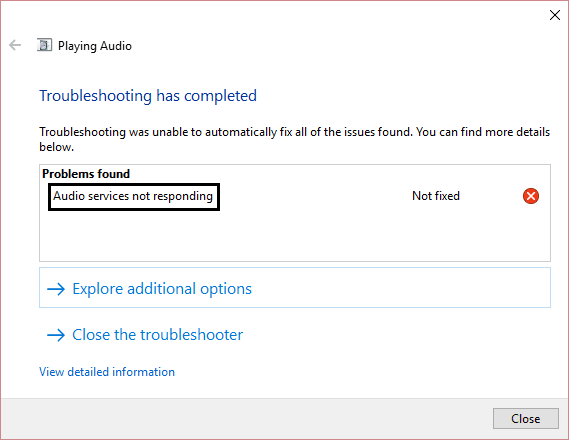
5. Try the suggestions by the troubleshooter and if any issues are found, you need to give permission to the troubleshooter to fix Audio services not responding error.

6. The troubleshooter will automatically diagnose the issue and ask you if you want to apply the fix or not.
7. Klik på Anvend denne rettelse og genstart at anvende ændringer.
Anbefalet til dig:
If you have followed each and every step according to this guide then you just fixed the issue “Audio services not responding” but if you still have any queries regarding this post feel free to ask them in the comment section.
![[LØST] GWXUX er holdt op med at virke](https://lbsite.org/wp-content/uploads/2023/02/Fix-GWXUX-has-stopped-working.png "[LØST] GWXUX er holdt op med at virke")
