If you have recently used Windows 10 File Explorer Search box to find a file, then you may have noticed that the results are always displayed in Content View, and even if you change the view to detail, as soon as you close the window and search again, the content will be again displayed in Content View. This is a very annoying issue which seems to bug users ever since Windows 10 came. Another problem is the filename column is way too small in Content View and there isn’t any way of expanding it. So the user then has to change the view to Details which sometimes results in the search running again.
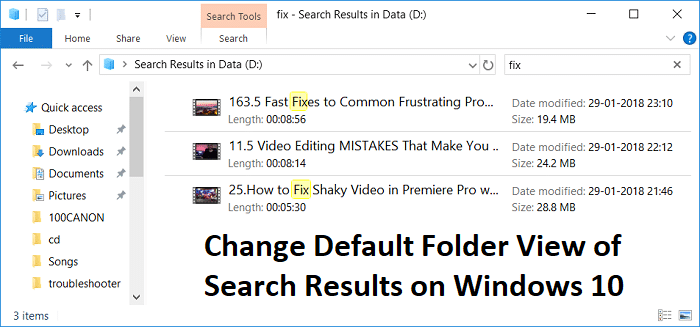
The problem with this solution is to change the default folder view of search results permanently to user choice without changing it manually every time they use the File Explorer search. So without wasting any time, let’s see How to Change Default Folder View of Search Results on Windows 10 with the help of the below-listed guide.
Change Default Folder View of Search Results on Windows 10
Stellen Sie sicher, dass Sie einen Wiederherstellungspunkt erstellen, für den Fall, dass etwas schief geht.
1. Open Notepad file, then copy and paste the following code as it is:
Windows Registry Editor Version 5.00

[-HKEY_CURRENT_USERSOFTWAREClassesLocal SettingsSoftwareMicrosoftWindowsShellBagMRU]

[-HKEY_CURRENT_USERSOFTWAREClassesLocal SettingsSoftwareMicrosoftWindowsShellBags]

[HKEY_CURRENT_USERSOFTWAREClassesLocal SettingsSoftwareMicrosoftWindowsShellBagsAllFoldersShell{7fde1a1e-8b31-49a5-93b8-6be14cfa4943}]
"LogicalViewMode"=dword:00000001
"Mode"=dword:00000004
2. Click File from Notizblock menu then select Speichern als.
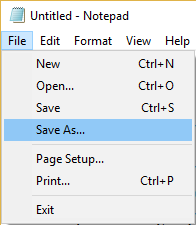
3. From Save as type drop-down selects Alle Dateien.
4. Name the file as Searchfix.reg (.reg-Erweiterung ist sehr wichtig).

5. Navigate to where you want to save the file preferably desktop and then click Speichern.
6. Now right-click on this registry file and select Als Administrator ausführen.
7. Starten Sie Ihren PC neu, um die Änderungen zu speichern.
Set Details view for Music, Pictures, Documents and Videos search folders
1. Open Notepad file, then copy and paste the following code as it is:
Windows Registry Editor Version 5.00

[-HKEY_CURRENT_USERSOFTWAREClassesLocal SettingsSoftwareMicrosoftWindowsShellBagMRU]

[-HKEY_CURRENT_USERSOFTWAREClassesLocal SettingsSoftwareMicrosoftWindowsShellBags]

;Generic Search Results
[HKEY_CURRENT_USERSOFTWAREClassesLocal SettingsSoftwareMicrosoftWindowsShellBagsAllFoldersShell{7fde1a1e-8b31-49a5-93b8-6be14cfa4943}]
"LogicalViewMode"=dword:00000001
"Mode"=dword:00000004

;Pictures Search Results
[HKEY_CURRENT_USERSOFTWAREClassesLocal SettingsSoftwareMicrosoftWindowsShellBagsAllFoldersShell{4dcafe13-e6a7-4c28-be02-ca8c2126280d}]
"LogicalViewMode"=dword:00000001
"Mode"=dword:00000004

;Music Search Results
[HKEY_CURRENT_USERSOFTWAREClassesLocal SettingsSoftwareMicrosoftWindowsShellBagsAllFoldersShell{71689ac1-cc88-45d0-8a22-2943c3e7dfb3}]
"LogicalViewMode"=dword:00000001
"Mode"=dword:00000004

;Documents Search Results
[HKEY_CURRENT_USERSOFTWAREClassesLocal SettingsSoftwareMicrosoftWindowsShellBagsAllFoldersShell{36011842-dccc-40fe-aa3d-6177ea401788}]
"LogicalViewMode"=dword:00000001
"Mode"=dword:00000004

;Videos Search Results
[HKEY_CURRENT_USERSOFTWAREClassesLocal SettingsSoftwareMicrosoftWindowsShellBagsAllFoldersShell{ea25fbd7-3bf7-409e-b97f-3352240903f4}]
"LogicalViewMode"=dword:00000001
"Mode"=dword:00000004
2 Klicken Reichen Sie das from notepad menu then select Speichern als.
3. From Save as type drop-down select Alle Dateien.
4. Name the file as Search.reg (.reg-Erweiterung ist sehr wichtig).
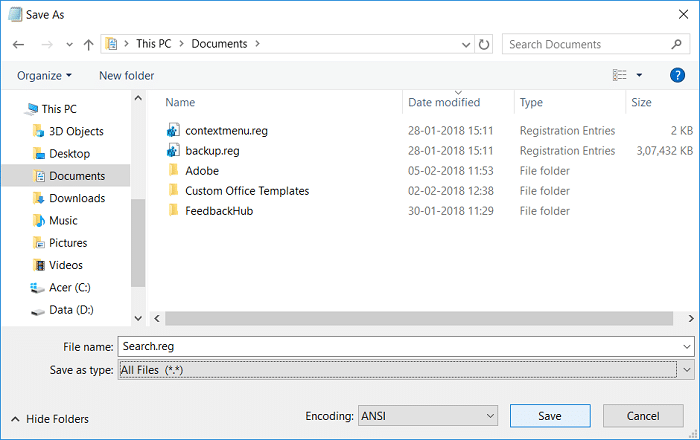
5. Navigate to where you want to save the file preferably desktop and then click Speichern.
6. Now right-click on this registry file and select Als Administrator ausführen.
7. Starten Sie Ihren PC neu, um die Änderungen zu speichern.
Empfohlen:
Das haben Sie erfolgreich gelernt How to Change Default Folder View of Search Results on Windows 10 Wenn Sie jedoch noch Fragen zu diesem Beitrag haben, können Sie diese gerne im Kommentarbereich stellen.

 on Windows 10")