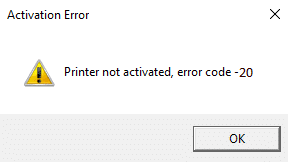
How to fix Printer not activated Error Code 20: If you’re facing the error message “Printer not activated – Error Code 20” then you’re at the right place as today we are going to see how to fix the issue. The issue is generally seen in systems in which user have upgraded from earlier version of Windows or using the QuickBooks software. In anyway case, let’s see how to fix Printer not activated Error Code 20 with the help of the below-listed guide.
How to fix Printer not activated Error Code 20
Stellen Sie sicher, dass Sie einen Wiederherstellungspunkt erstellen, für den Fall, dass etwas schief geht.
Method 1: Set the Default Printer
1. Geben Sie control in die Windows-Suche ein und klicken Sie dann auf Systemsteuerung.

2.Klicken Hardware und Sound und dann auswählen Geräte und Drucker.

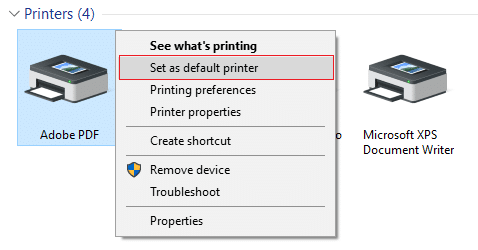
3. Klicken Sie mit der rechten Maustaste auf Ihren Drucker und wählen Sie Als Standarddrucker festlegen.
4.Starten Sie Ihren PC neu, um die Änderungen zu speichern.
Method 2: Re-install the USB Composite Device from Device Manager
1. Drücken Sie die Windows-Taste + R und geben Sie dann ein devmgmt.msc und drücke Enter.

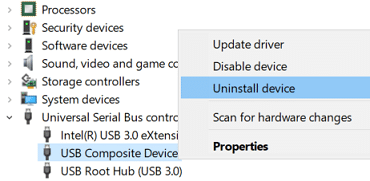
2.Erweitern Universal Serial Bus Controllers.
3. Klicken Sie mit der rechten Maustaste auf USB-Verbundgerät und wählen Sie Deinstallieren.
4.If asks for confirmation select Yes/OK.
5.Disconnect the Printer USB from the PC and then reconnect it.
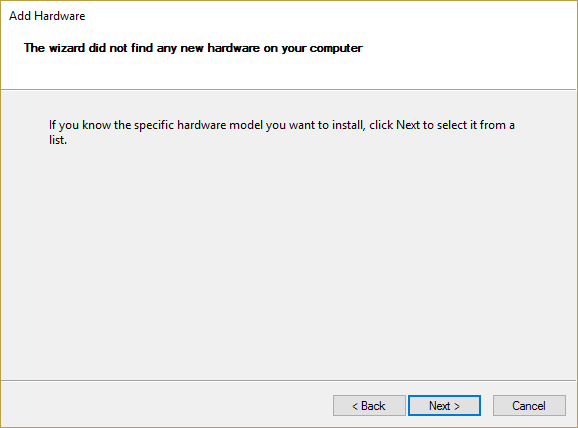
6.Follow the instructions in the Found New Hardware wizard um die Treiber zu installieren.
7.Right-click the printer icon, and then click Testseite drucken to print a Windows self-test page.
8.Starten Sie Ihren PC neu, um die Änderungen zu speichern.
Methode 3: Führen Sie die Fehlerbehebung für den Drucker aus
1.type “troubleshooting” in Windows Search bar and click on Fehlerbehebung.

6.Als nächstes wählen Sie im linken Fensterbereich aus Alle ansehen.
7. Wählen Sie dann aus der Liste Computerprobleme beheben die Option aus Drucker.
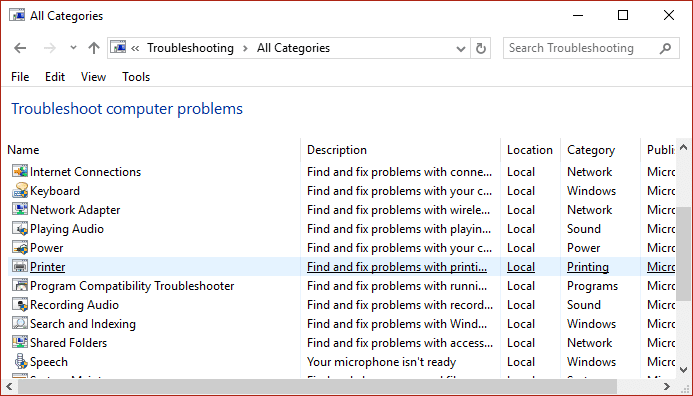
8. Befolgen Sie die Anweisungen auf dem Bildschirm und lassen Sie die Drucker-Fehlerbehebung ausführen.
9.Restart your PC and you may be able to Fix Printer not activated Error Code 20.
Methode 4: Registrierungskorrektur
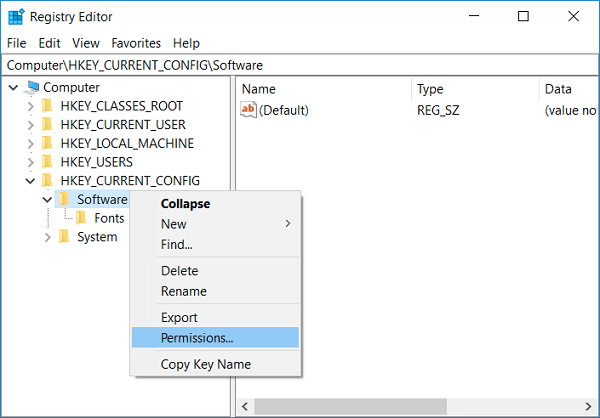
1. Drücken Sie die Windows-Taste + R und geben Sie dann ein regedit und drücken Sie die Eingabetaste, um den Registrierungseditor zu öffnen.

2. Navigieren Sie zum folgenden Registrierungsschlüssel:
HKEY_CURRENT_CONFIGSoftware
3.Right-click on Software folder then select Berechtigungen.
4.Now in the permission window, ensure that Administrator and users haben Vollzugriff checked, if not then checkmark them.
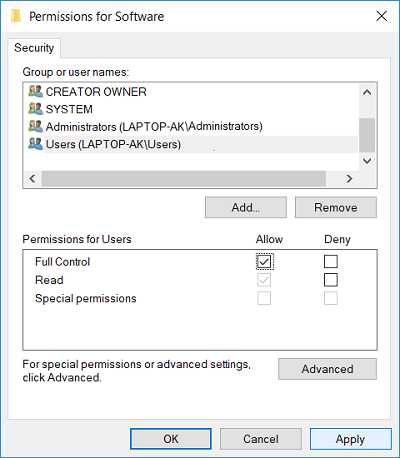
5.Klicken Sie auf Anwenden und dann auf OK.
6.Restart your PC to save changes and see if you’re able to fix the issue.
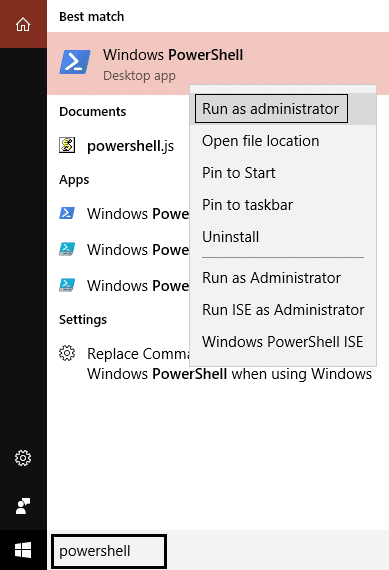
Method 5: Grant Permission using PowerShell
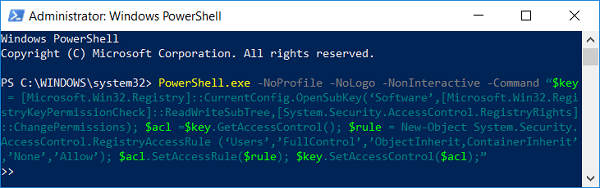
1.Typ Powershell Klicken Sie in der Windows-Suche mit der rechten Maustaste auf Powershell und wählen Sie Als Administrator ausführen.
2.Now type the following command in PowerShell and hit Enter:
PowerShell.exe -NoProfile -NoLogo -NonInteractive -Command “$key = [Microsoft.Win32.Registry]::CurrentConfig.OpenSubKey(‘Software’,[Microsoft.Win32.RegistryKeyPermissionCheck]::ReadWriteSubTree,[System.Security.AccessControl.RegistryRights]::ChangePermissions); $acl =$key.GetAccessControl(); $rule = New-Object System.Security.AccessControl.RegistryAccessRule (‘Users’,’FullControl’,’ObjectInherit,ContainerInherit’,’None’,’Allow’); $acl.SetAccessRule($rule); $key.SetAccessControl($acl);”
3.Starten Sie Ihren PC neu, um die Änderungen zu speichern.
Method 6: Reinstall QuickBook
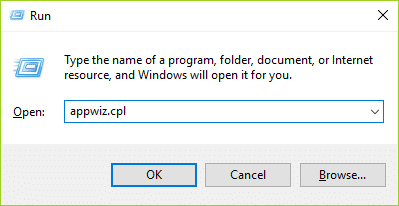
1. Drücken Sie die Windows-Taste + R und geben Sie dann ein appwiz.cpl und drücke Enter.
2.Find QuickBook from the list and uninstall it.
3.Als nächstes download QuickBooks from here.
4.Run the installer and follow on-screen instructions to install QuickBook.
5. Starten Sie Ihren PC neu.
Empfohlen:
Das ist es, was Sie erfolgreich haben Fix Printer not activated Error Code 20 Wenn Sie jedoch noch Fragen zu diesem Beitrag haben, können Sie diese gerne im Kommentarbereich stellen.

