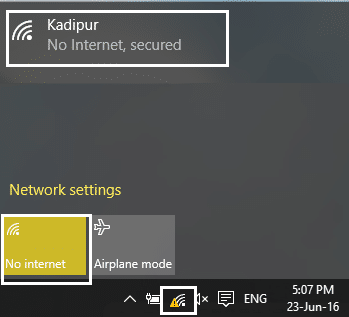
If a WiFi network has the ‘limited connectivity’ sign next to it, it means that you’re connected to the network but do not have access to the internet. The main reason for this issue is that the DHCP server is not responding. And when the DHCP server doesn’t respond the computer automatically assigns an IP address to itself because the DHCP server was unable to assign the IP address. Hence the ‘Limited or No connectivity’ error.
Διορθώστε προβλήματα περιορισμένης πρόσβασης ή έλλειψης συνδεσιμότητας WiFi
Method 1: Run Network troubleshooter
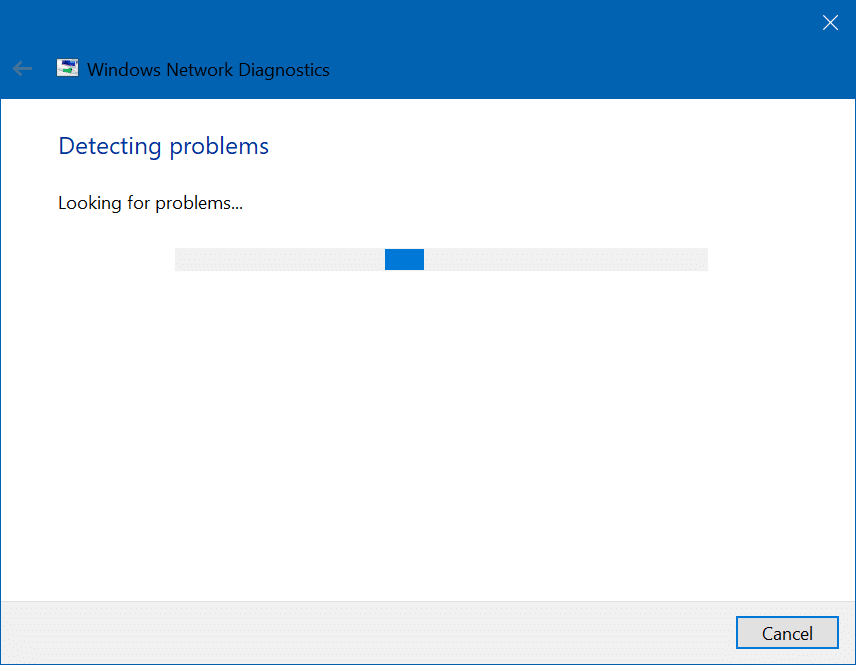
1. Κάντε δεξί κλικ στο εικονίδιο δικτύου at the taskbar and click on Αντιμετώπιση προβλημάτων.
![]()
2. The Network Diagnostics window will open. Follow the on-screen instructions to run the Troubleshooter.
Μέθοδος 2: Επαναφορά TCP / IP
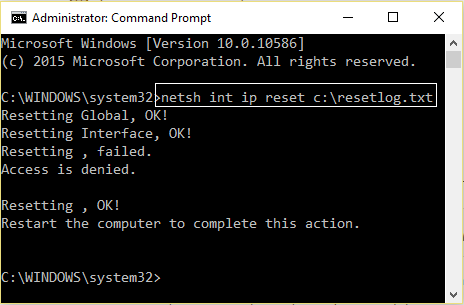
1. Right-click on the Windows button and select “Command Prompt(Admin).”

2. Πληκτρολογήστε την ακόλουθη εντολή: netsh int ip reset c:resetlog.txt
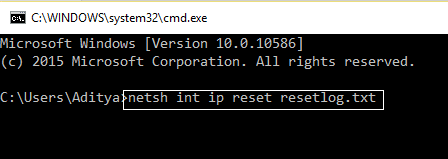
3. If you don’t want to specify the directory path then use this command: netsh int ip reset resetlog.txt
4. Επανεκκινήστε τον υπολογιστή.
Μέθοδος 3: Αλλάξτε τις ρυθμίσεις του τείχους προστασίας του Bitdefender (ή του τείχους προστασίας από ιούς)
1. Open Settings of Bitdefender Internet Security and choose Firewall.
2. Κάντε κλικ στο «Ρυθμίσεις για προχωρημένους"Κουμπί.
3. Make sure that “Ενεργοποιήστε την κοινή χρήση σύνδεσης στο Διαδίκτυο” ελέγχεται.
ΣΗΜΕΊΩΣΗ: If you don’t have the above setting then disable “Block Internet Connection Sharing” instead of above.
4. Click the OK button to save changes.
5. And if it doesn’t work try disabling your Antivirus Firewall and enabling Windows Firewall.
For maximum people changing firewall settings fixes the limited access or no connectivity WiFi problem, but if it didn’t work for you don’t lose hope we still have a long way to go, so follow the next method.
Method 4: Change adapter settings
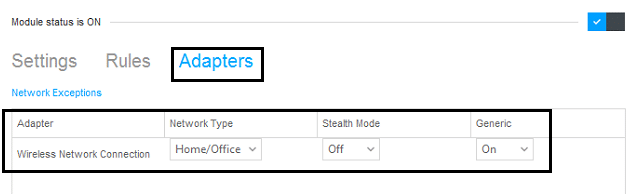
1. Open the Bitdefender, then select Ενότητα προστασίας και κάντε κλικ στο Firewall feature.
2. Make sure the Firewall is turned ON and then go to the Adapters tab and perform the following changes:
Set Network type to "Home/Office"
Set Stealth Mode to "Off"
Set Generic to "On"
3. Restart your PC to apply these changes.
Method 5: Wake up your Wi-Fi Adapter
1. Κάντε δεξί κλικ on the network icon in the notification area and select Ανοικτό Network & Internet Settings.

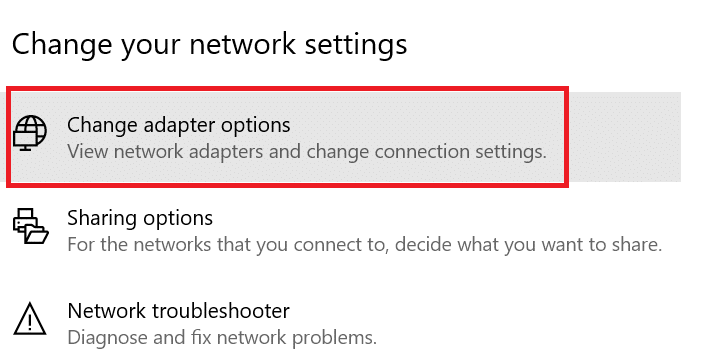
2. Κάτω από Αλλάξτε τις ρυθμίσεις δικτύου, κάντε κλικ στο Αλλαγή επιλογών προσαρμογέα.
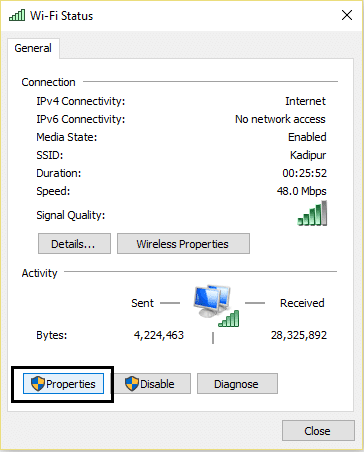
3. Κάντε κλικ στο WiFi δίκτυο και επιλέξτε Ιδιότητες.
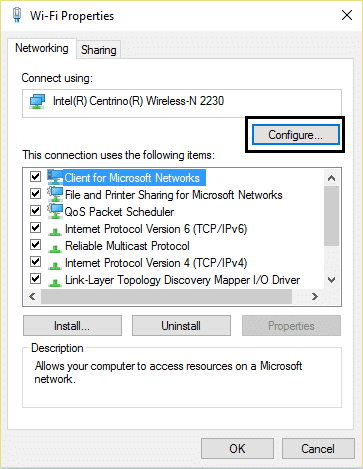
4. Now in Ιδιότητες WiFi κάντε κλικ στο Διαμορφώστε.
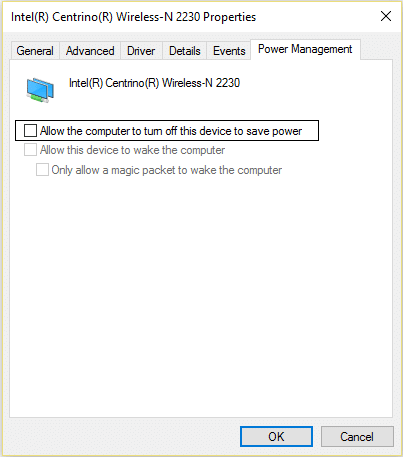
5. Go to the Power Management tab and uncheck “Επιτρέψτε στον υπολογιστή να απενεργοποιήσει αυτήν τη συσκευή για εξοικονόμηση ενέργειας."
6. Επανεκκινήστε τον υπολογιστή σας.
Μέθοδος 6: Χρησιμοποιήστε το Google DNS
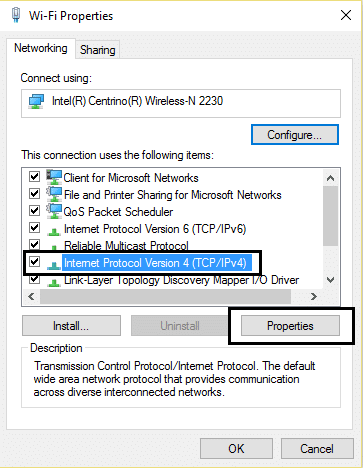
1. Again go to your Wi-Fi properties.
2. Τώρα επιλέξτε 4 Πρωτόκολλο Internet Έκδοση (TCP / IPv4) και κάντε κλικ στο κουμπί Ιδιότητες.
3. Check the box saying “Χρησιμοποιήστε το διακομιστή DNS διευθύνσεις GMT” and enter the following:
Προτιμώμενος διακομιστής DNS: 8.8.8.8
Εφεδρικός διακομιστής DNS: 8.8.4.4
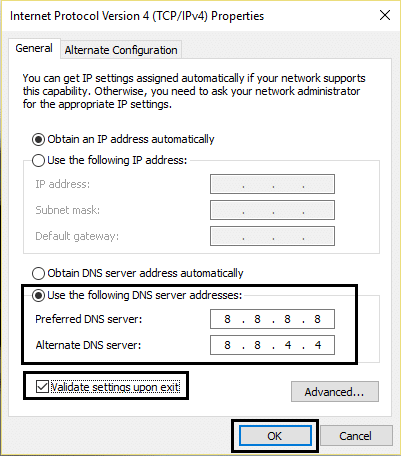
4. Click OK to save, then click close and επανεκκίνηση τον υπολογιστή σας.
Method 7: Reset TCP/IP Auto-tuning
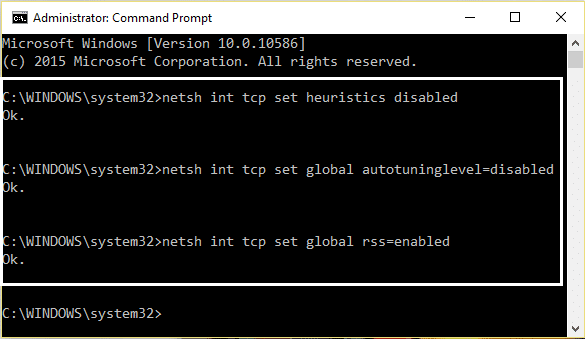
1. Right-click on the Windows key and select “Γραμμή εντολών (Διαχειριστής)."
2. Type the following commands:
netsh int tcp σύνολο heuristics απενεργοποιημένο netsh int tcp σύνολο καθολικό autotuninglevel=απενεργοποιημένο netsh int tcp σύνολο καθολικό rss=enabled
3. Επανεκκινήστε τον υπολογιστή σας.
Method 8: Enable Download over metered connections
1. Κάντε κλικ στο Πλήκτρο Windows και επιλέξτε Ρυθμίσεις.
2. Now in settings click on Δίκτυο & Διαδίκτυο.

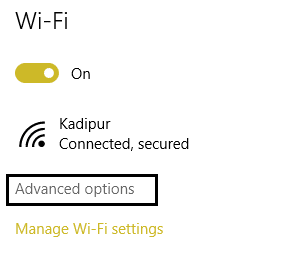
3. Here you will see Επιλογές για προχωρημένους, κάντε κλικ σε αυτό.
4. Βεβαιωθείτε ότι σας Metered connection is set to ΕΠΙ.
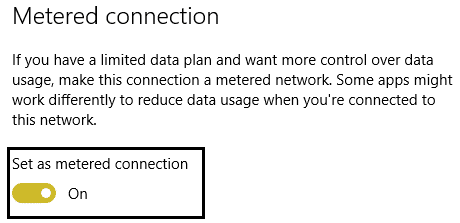
5. Επανεκκίνηση να εφαρμόσουν αλλαγές.
Yeah, I admit, this is a stupid step but hey for some people it worked out so why not try it and who knows your limited access or no connectivity WiFi issues may be fixed.
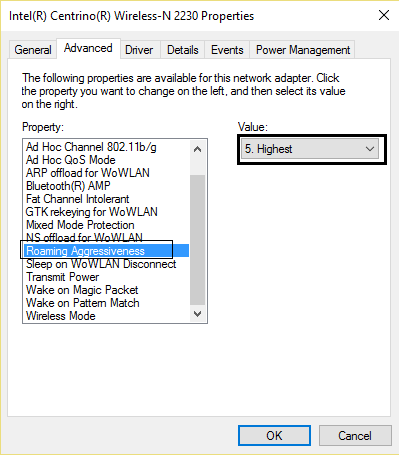
Method 9: Set Roaming Aggressiveness to Maximum
1. Κάντε δεξί κλικ on the network icon in the notification area and select Ανοικτό Network & Internet Settings.
2. Κάτω από Αλλάξτε τις ρυθμίσεις δικτύου, κάντε κλικ στο Αλλαγή επιλογών προσαρμογέα.
3. Τώρα επιλέξτε το δικό σας Wi-Fi και κάντε κλικ στο Ιδιότητες.
4. Inside Wi-Fi properties click on Διαμορφώστε.
5. Πλοηγηθείτε στο την καρτέλα Για προχωρημένους και βρείτε το Περιαγωγή επιθετικότητα ρύθμιση.
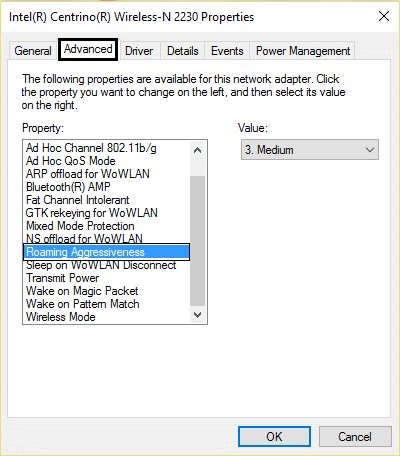
6. Change the value from Medium to Highest και κάντε κλικ στο OK.
7. Επανεκκίνηση να εφαρμόσουν αλλαγές.
Μέθοδος 10: Ενημέρωση προγραμμάτων οδήγησης
1. Press Windows key + R and type “devmgmt.msc” in Run dialogue box to open the διαχειριστή της συσκευής.

2. Αναπτύξτε προσαρμογείς δικτύου, μετά κάντε δεξί κλικ στο δικό σας Ελεγκτής Wi-Fi(για παράδειγμα Broadcom ή Intel) και επιλέξτε Ενημέρωση προγραμμάτων οδήγησης.

3. In the Update Driver Software Windows, select “Περιηγηθείτε στον υπολογιστή μου για λογισμικό προγράμματος οδήγησης."

4. Τώρα επιλέξτε "Επιτρέψτε μου να διαλέξω από μια λίστα προγραμμάτων οδήγησης συσκευών στον υπολογιστή μου."

5. Προσπαθήστε να ενημερώστε τα προγράμματα οδήγησης από τις εκδόσεις που αναφέρονται.
6. If the above didn’t work then go to the του κατασκευαστή για ενημέρωση προγραμμάτων οδήγησης: https://downloadcenter.intel.com/
7. Επανεκκίνηση να εφαρμόσουν αλλαγές.
Μπορεί να ήθελε επίσης:
I hope by now any one of the methods must have worked for you to fix limited access or no connectivity WiFi issues. If you still have any queries regarding this guide please feel free to ask them in the comments.
![[SOLVED] keyboard has stopped working on Windows 10](https://lbsite.org/wp-content/uploads/2023/01/Solved-keyboard-has-stopped-working-on-Windows-10.png "[SOLVED] keyboard has stopped working on Windows 10")
