When you buy a new computer or connect a new hard drive to your computer, it usually comes with a single partition. However, it is always a good idea to have at least three partitions on your hard drive for a variety of reasons. The more partitions you have, the larger the capacity of your hard drive. Χωρίσματα of a hard drive are referred to as Δίσκοι in Windows and typically have a letter associated with it as an indicator. Hard Drive Partitions can be created, shrunk, or resized, among other things. We bring to you a perfect guide that will teach you how to partition hard disk drive in Windows 11. So, continue reading!

How to Partition Hard Disk Drive in Windows 11
Why Create Partitions on the Hard Drive?
δημιουργία βαθμολογίες on a hard drive can be beneficial in a variety of ways.
- It is always best to keep the operating system and system files on a separate drive or partition. If you need to reset your computer, if you have your operating system on a separate drive, you can save all other data by simply formatting the drive where the operating system is installed.
- Aside from the above, installing apps and games on the same drive as your operating system will eventually slow down your computer. Hence, keeping the two separate would be ideal.
- Creating partitions with labels also aids in file organization.
Thus, we recommend you divide hard disk drive into several partitions.
How Many Disk Partitions Should be Made?
The number of partitions you should create on your hard drive is solely determined by the size of the hard drive you have installed on your computer. In general, it is recommended that you create τρία χωρίσματα στον σκληρό σας δίσκο.
- Ένα για το Windows το λειτουργικό σύστημα
- The second one for your προγράμματα such as software and games etc.
- The last partition for your προσωπικά αρχεία such as documents, media, and so on.
Σημείωση: If you have a small hard drive, such as 128GB ή 256GB, you should not create any additional partitions. This is because it is recommended that your operating system be installed on a drive with a minimum capacity of 120-150GB.
On the other hand, if you’re working with a 500GB to 2TB hard drive, you can create as many hard drive partitions as you need.
To utilize space on your Windows PC, you can choose to use an external drive to store most of your data instead. Read our list of Best External Hard Drive for PC Gaming here.
How to Create & Modify Hard Disk Drive Partitions
The process of creating partitions on a hard drive is both, systematic and straightforward. It makes use of the built-in Disk Management tool. If your computer has two partitions, the File Explorer window will show two drives indicated by a letter and so on.
Step 1: Shrink Partition Drive to Create Unallocated Space
To successfully create a new drive or partition, you must first shrink an existing one to free up unallocated space. Your Hard Drive’s unallocated space cannot be used. To create partitions, they must be assigned as a new drive.
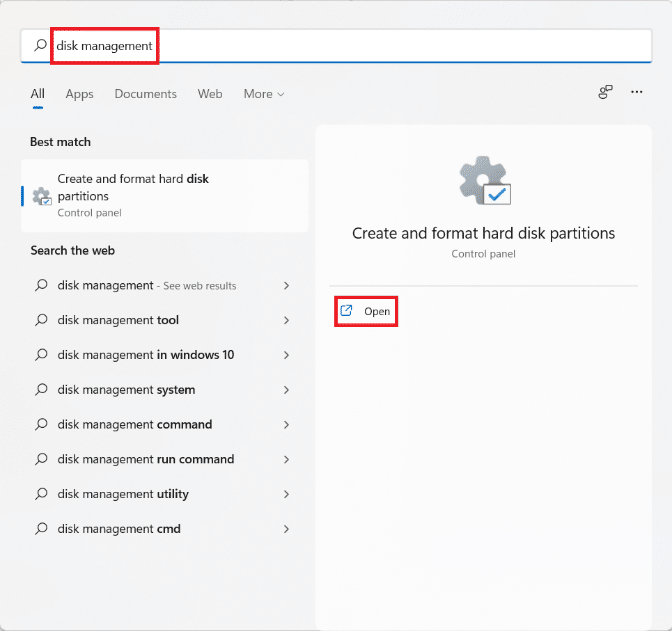
1. Κάντε κλικ στο Εικονίδιο αναζήτησης και τον τύπο Διαχείριση δίσκων.
2. Στη συνέχεια, κάντε κλικ στο Ανοικτό for Δημιουργία και μορφοποίηση διαμερισμάτων σκληρού δίσκου, όπως φαίνεται.
3. Στο Διαχείριση δίσκων window, you will find information regarding existing disk partitions and drives installed on your PC named Disk 1, Disk 2, and so on. Click on the box representing the κίνησης you want to shrink.
Σημείωση: The selected drive will have διαγώνιες γραμμές highlighting the selection.
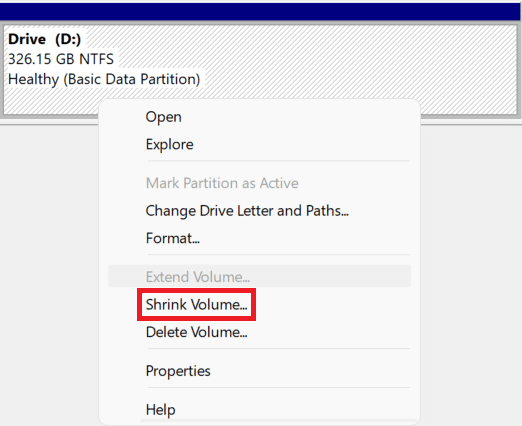
4. Κάντε δεξί κλικ στο Selected drive (π.χ Drive (D:)) and select Συρρικνωθεί ο όγκος… from the context menu, as illustrated below.
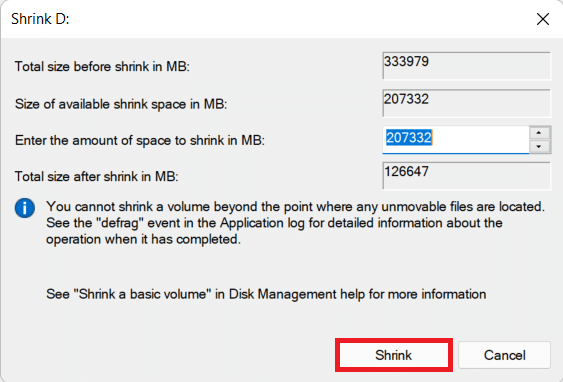
5. Στο Συρρίκνωση D: παράθυρο διαλόγου, εισάγετε το Μέγεθος you want to separate from the existing drive in Megabytes (MB) και κάντε κλικ στο Shrink.
6. After shrinking, you will see a newly created space on the disk labeled as Που δεν έχει επιμεριστεί του Μέγεθος you chose in Step 5.
Διαβάστε επίσης: Fix: New Hard Drive not showing up in Disk Management
Step 2: Create New Drive Partition From Unallocated Space
Here’s how to partition hard disk drive in Windows 11 by creating a new drive partition using unallocated space:
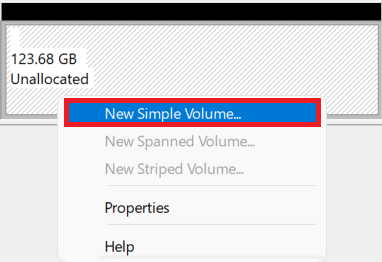
1. Right-click on the box labeled Που δεν έχει επιμεριστεί.
Σημείωση: The selected drive will have διαγώνιες γραμμές highlighting the selection.
2. Κάντε κλικ στο Νέος απλός τόμος ... from the context menu, as shown.
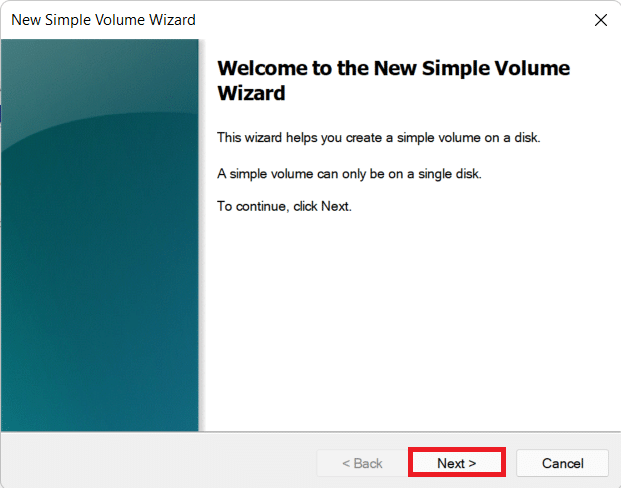
3. Στο Οδηγός νέου απλού τόμου, κάντε κλικ στο Επόμενο.
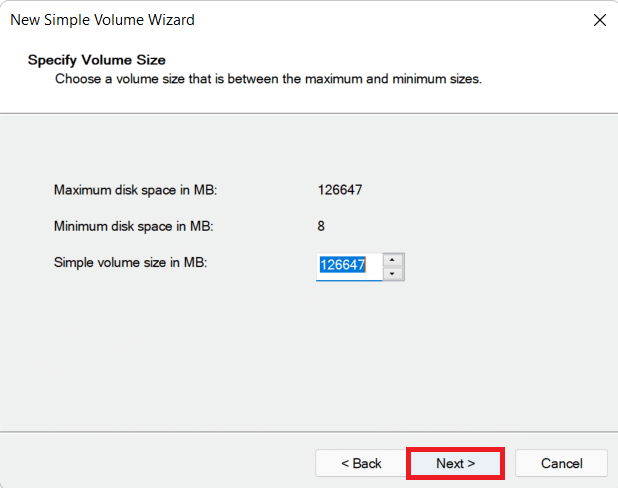
4. Στο Απλό μέγεθος τόμου window, enter the desired volume μέγεθος in MB, και κάντε κλικ στο Επόμενο.
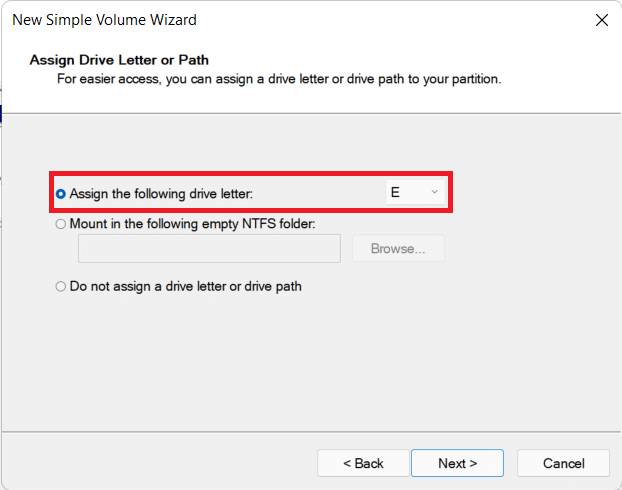
5. Από την Αντιστοίχιση επιστολής ή διαδρομής μονάδας δίσκου screen, choose a Επιστολή από Assign the following drive επιστολή drop-down menu. Then, click Επόμενο, όπως φαίνεται.
6A. Now, you can format the partition by selecting Διαμορφώσετε αυτό όγκο με το GMT ρυθμίσεις επιλογές.
- Σύστημα αρχείων
- Κατανομή μεγέθους μονάδα
- Ετικέτα τόμου
6B. If you do not want to format partition, then select Do not format this volume επιλογή.
7. Τέλος, κάντε κλικ στο φινίρισμα, όπως απεικονίζεται.
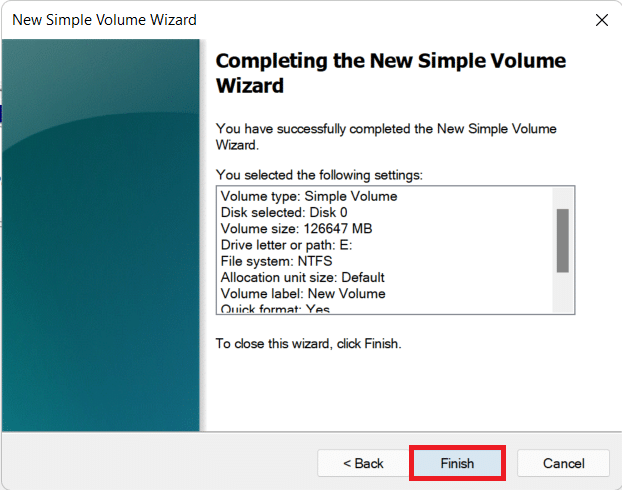
You can see the newly added partition indicated by the assigned letter and space as chosen.
Διαβάστε επίσης: 3 Ways to Check if a Disk Uses MBR or GPT Partition in Windows 10
How to Delete Drive to Increase the Size of Another Drive
In case, you feel system performance has slowed down or that you do not require any additional partition, you can choose to delete the partition as well. Here’s how to modify disk partition in Windows 11:
1. Κάντε κλικ στο Εικονίδιο αναζήτησης και τον τύπο Διαχείριση δίσκων.
2. Στη συνέχεια, επιλέξτε Ανοικτό επιλογή για Δημιουργία και μορφοποίηση διαμερισμάτων σκληρού δίσκου, όπως φαίνεται.

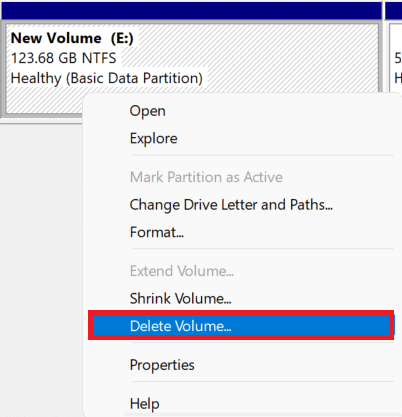
3. Επιλέξτε το κίνησης που θέλετε να διαγράψετε.
Note: Make sure you have prepared a αντίγραφο ασφαλείας των δεδομένων for the drive you want to delete on a different drive.
4. Right-click on the selected drive and select Delete Volume… από το μενού περιβάλλοντος.
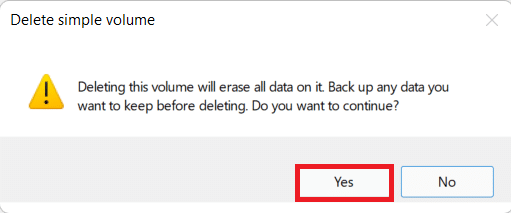
5. Κάντε κλικ στο Ναι στο Delete simple volume confirmation prompt, as depicted.
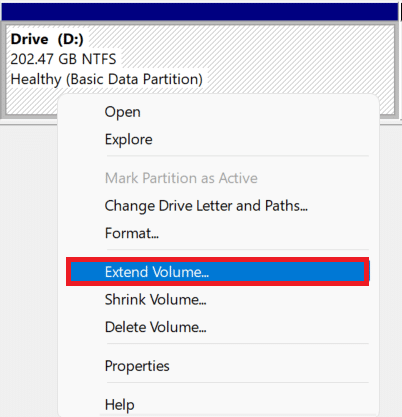
6. Θα δεις ελεύθερος χώρος with the size of the drive you deleted.
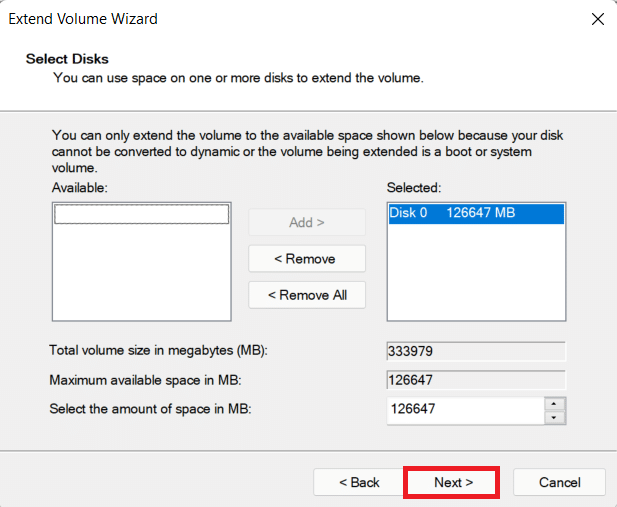
7. Κάντε δεξί κλικ στο κίνησης you want to expand in size and select Επέκταση έντασης… όπως απεικονίζεται παρακάτω.
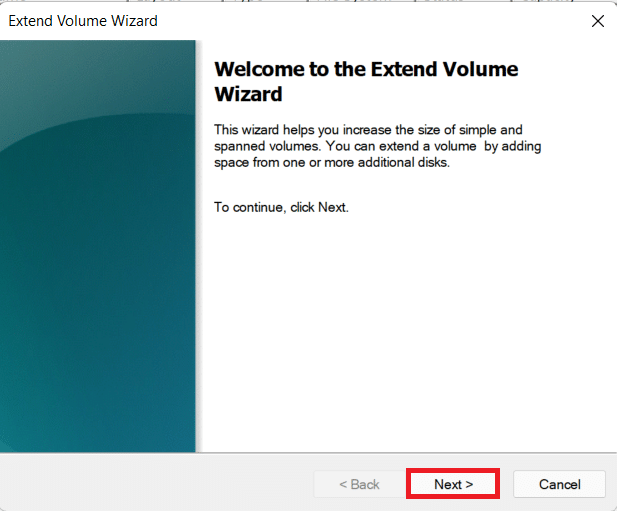
8. Κάντε κλικ στο Επόμενο στο Επεκτείνετε Οδηγός Όγκος.
9. Τώρα, κάντε κλικ στο Επόμενο στην επόμενη οθόνη.
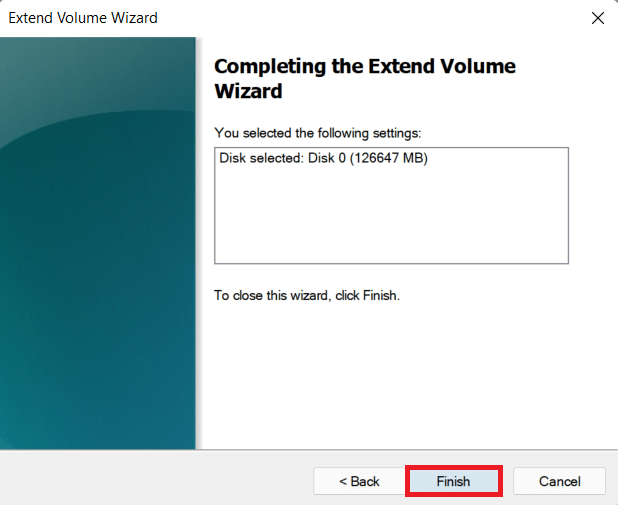
10. Τέλος, κάντε κλικ στο φινίρισμα.
Συνιστάται:
We hope you found this article interesting and helpful about how to partition hard disk in Windows 11. You can send your suggestions and queries in the comment section below. We would love to gear from you!

![[SOLVED] 0xc000000e: The selected entry could not be loaded](https://lbsite.org/wp-content/uploads/2023/01/Fix-Boot-Error-0xc000000e-The-selected-entry-could-not-be-loaded.jpg "[SOLVED] 0xc000000e: The selected entry could not be loaded")