The autofill feature is an important part of the Outlook program. AutoComplete allows you to enter an entire email while composing a message with just one email initial. This feature helps you save time and gives you quick access to emails. However, sometimes users may experience Outlook AutoComplete not working issue; this issue can be caused for various reasons, such as an outdated Office version or bugs with the Outlook program. In this guide, we will discuss methods to resolve Outlook Address AutoComplete not working issue on your Outlook.

How to Fix Outlook AutoComplete Not Working Correctly
There can be various reasons for Outlook Autofill email address not working on your Outlook account; some of the most common reasons are mentioned here.
- If you have disabled AutoComplete in Outlook, you won’t be able to use this feature.
- Bugs and glitches with the Outlook program can also cause this issue.
- Issues with a user profile can also cause AutoComplete feature not working issue.
- Corrupt Outlook Add-ins can also cause this issue.
- Corrupt Outlook data PST files can also cause this issue with Outlook.
- Outdated or corrupt Microsoft Office updates can also cause this issue.
- A corrupt RoamCache folder can also cause this issue with Outlook.
Following are the troubleshooting methods to solve this problem.
Method 1: Enable AutoComplete in Outlook
If you have not enabled the AutoComplete feature in Outlook, you will not be able to use this feature. You will have to manually enable AutoComplete to resolve this Outlook address AutoComplete not working issue. You can follow these simple steps to enable AutoComplete in Outlook.
1. malfermita Perspektivo, kaj navigi al dosiero from the top-left side of the window.
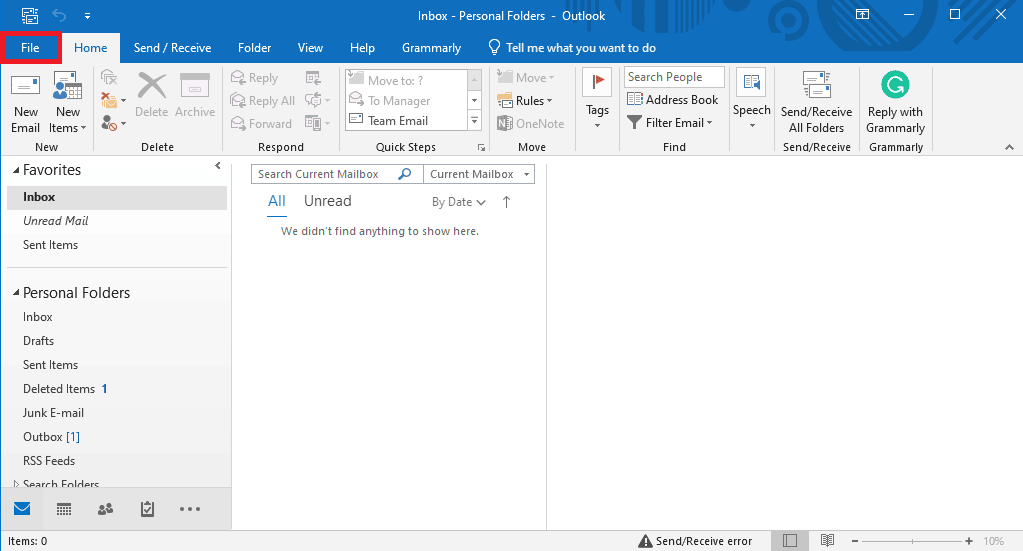
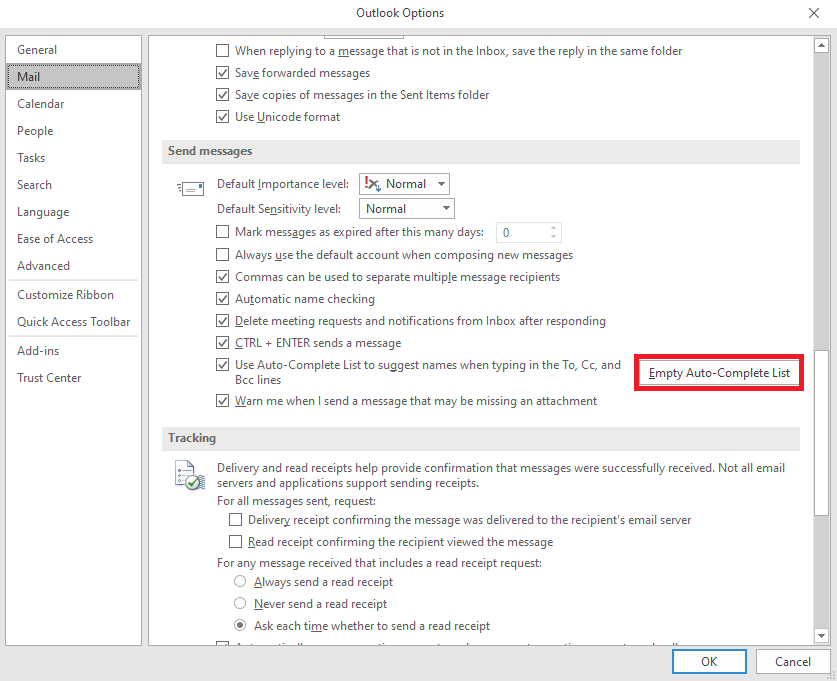
2. Here, from the left-side panel, click on opcioj.

3. Iru al la poŝto langeton.
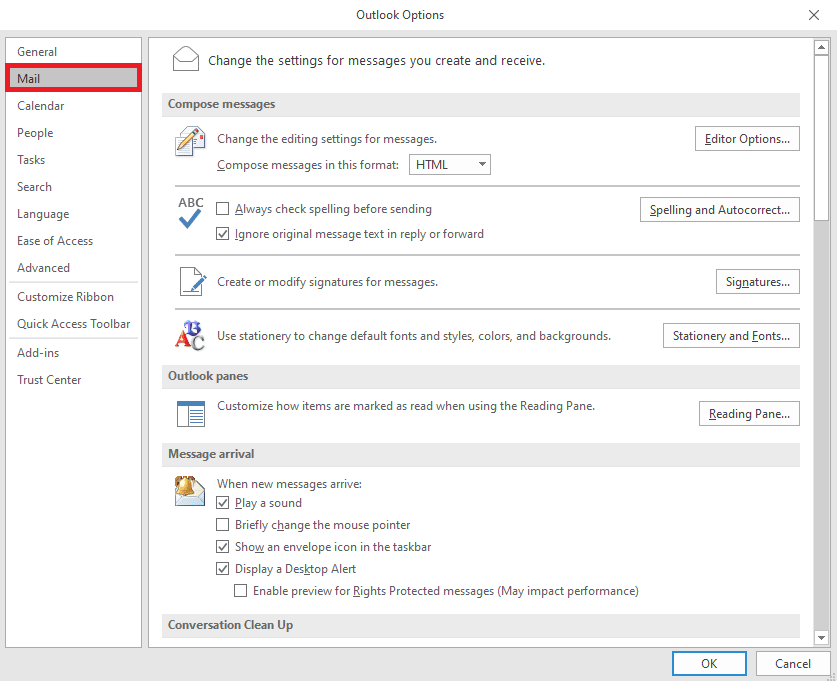
4. Scroll down here, and locate Sendu mesaĝojn Ebloj
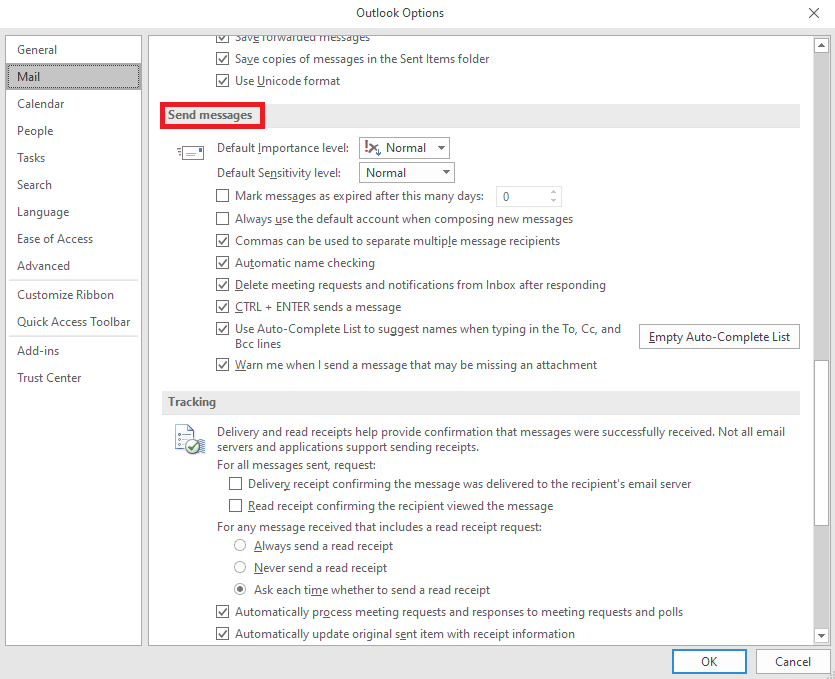
5. Here, check the Use Auto-Complete List to suggest names when typing in the To, Cc, and Bcc lines.
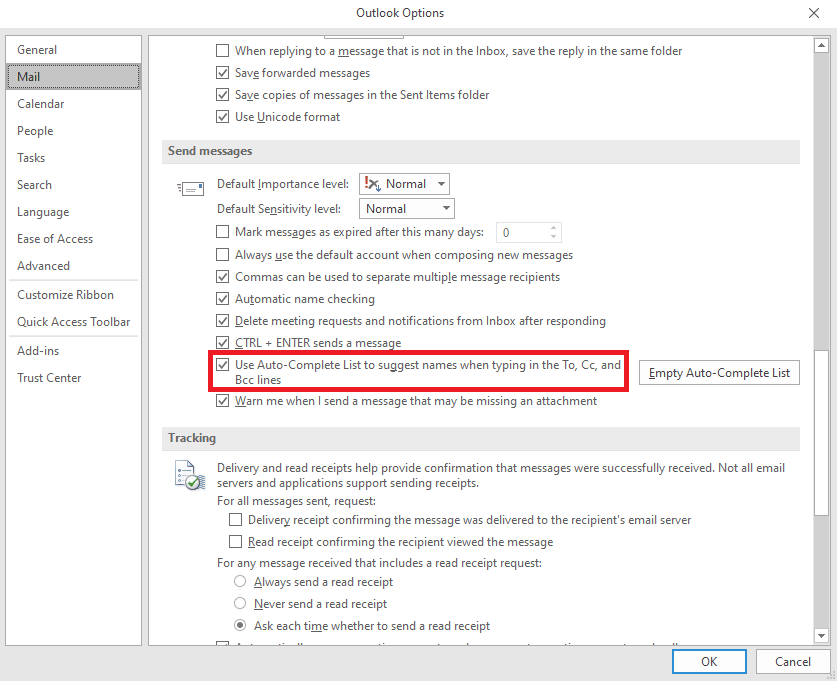
6. If you find this option already checked, click on the Malplena Aŭtomata Kompleta Listo.
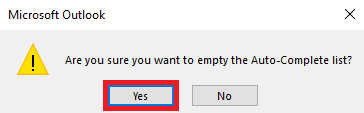
7. Klako Jes konfirmi la agadon.
Method 2: Run Outlook in Safe Mode
Running programs in safe mode can help you avoid various issues. You can use safe mode to make the troubleshooting process easier and avoid hardware issues. You can follow these simple steps to run Outlook in safe mode to resolve Outlook autocomplete not working issue.
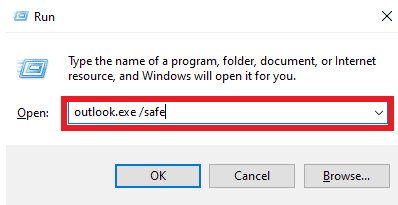
1. Premu Windows + R keys malfermi la Run dialog box.
2. In the Run dialog box, type Outlook.exe/safe kaj premu la Enigu ŝlosilon.
Ankaŭ Legu: Fix Outlook Trying to Connect to Server on Windows 10
Method 3: Run Outlook with Different Profile
Make sure the Outlook issue is happening only in your Outlook program and not on the entire system. You can try to log in to Outlook with a different profile. You can also add a different account on Outlook.
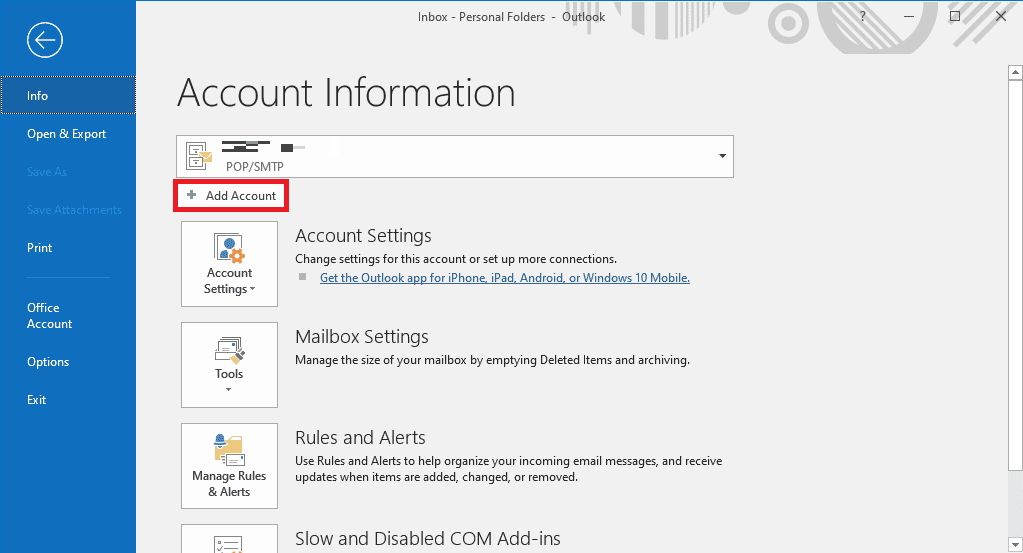
1. malfermita perspektivo on your computer, and click on dosiero.
2. En la Konto Informo page, locate and click on Aldonu konto.
3. Enigu la ensaluti kreditojn for a different account.
Method 4: Disable Outlook Add-Ins
Sometimes, the issue can be caused by an Outlook Add-in. Ad-ins can be very useful and help you organize your Outlook application. However, if Outlook Add-ins get corrupt for some reason, you may experience various issues, such as AutoComplete not working on Outlook. To resolve these issues, you can try to disable Outlook Add-ins. You can follow these simple steps to disable Outlook Add-ins.
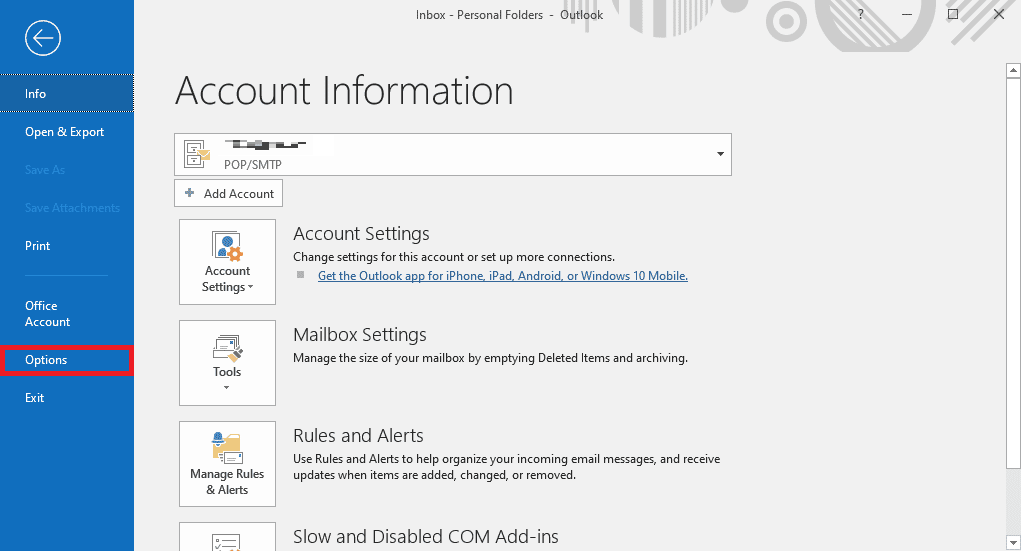
1. malfermita perspektivo on your computer and navigate to dosiero.

2. Here, from the left-side panel, click on opcioj.
3. Now, locate and navigate to Aldonu.

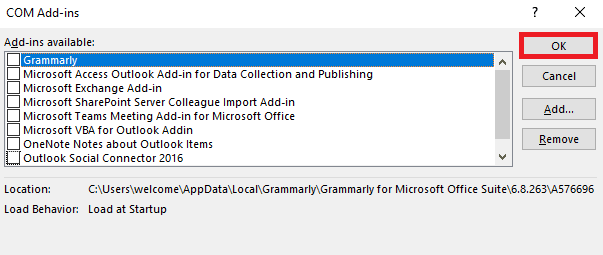
4. Here, locate the administri falmenuo kaj elektu COM Aldonu.
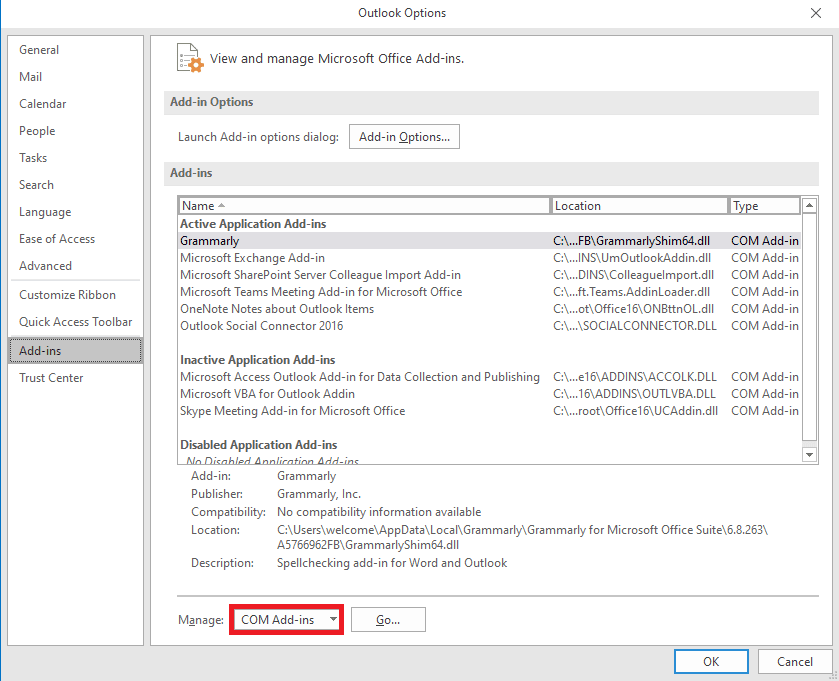
5. Nun, alklaku Go.
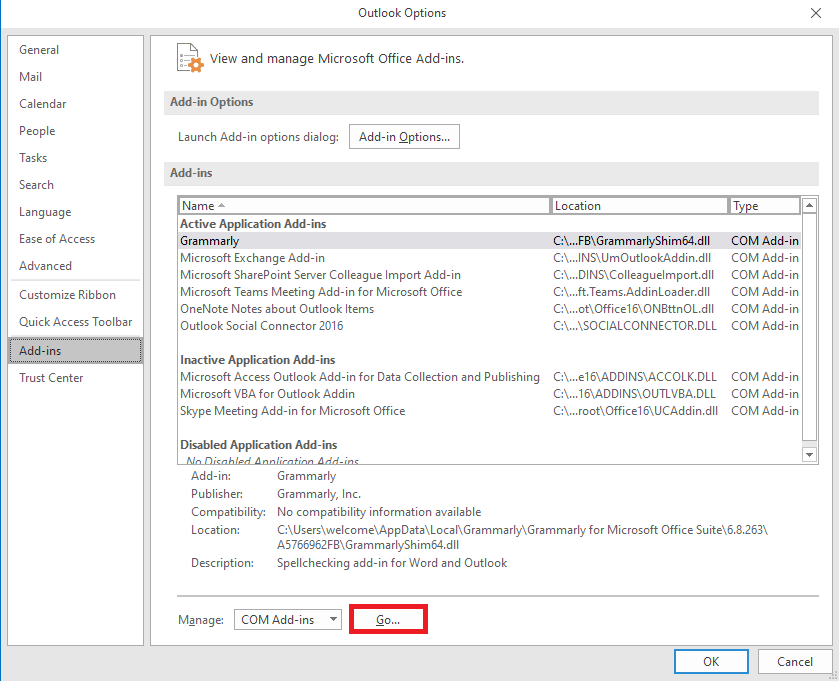
6. Ĉi tie, malŝalti all the Add-ins and then click OK.
Method 5: Repair Outlook Data PST File
PST, or Personal Table Storage, files store Outlook emails; if this file is corrupt or causing issues, you may experience Outlook address AutoComplete not working error. You can use the Inbox repair tool to help you figure out a solution for this issue. Follow these simple steps to execute this method.
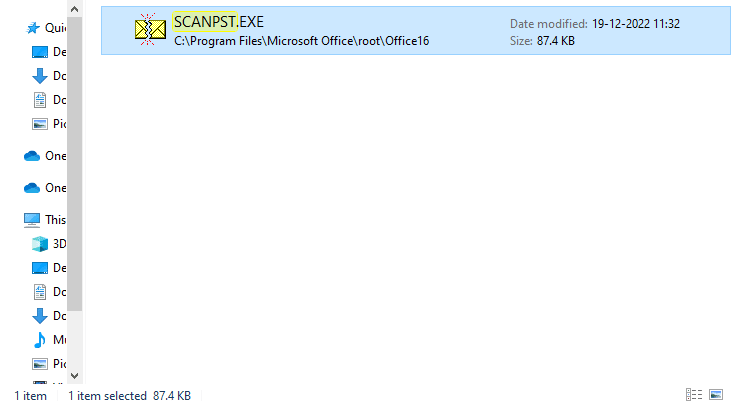
1. malfermu perspektivo dosierujo sur Dosiera esplorilo.
C: Programaj DosierojMicrosoft OfficerootOffice16
2. Alklaku la SCANPST.EXE dosieron.
3. Nun, elektu la foliumi option to locate the file you wish to scan.
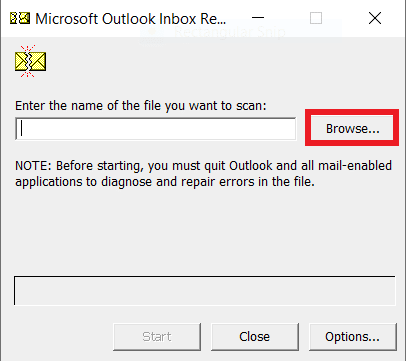
4. In the new dialog box, click on komenco.
5. Fine, klaku riparo to fix all the PST file issues.
If this method does not fix Outlook autocomplete not working issue, move on to the next method.
Ankaŭ Legu: How to Recover Deleted Draft in Outlook 365
Metodo 6: Ĝisdatigu Microsoft Office
If the Microsoft Office program is experiencing bugs and glitches, updating it can help you fix the issues. An outdated Microsoft Office can make your Outlook vulnerable to bugs and other application issues. Therefore, manually updating Office is a great way to fix not just the AutoComplete issues but also other underlying issues with the Microsoft Office package. You can follow these simple steps to update Microsoft Office from the Microsoft Outlook program.
1. malfermita perspektivo on your computer and navigate to dosierojn.

2. From the left-side panel, click on the Oficeja Konto.
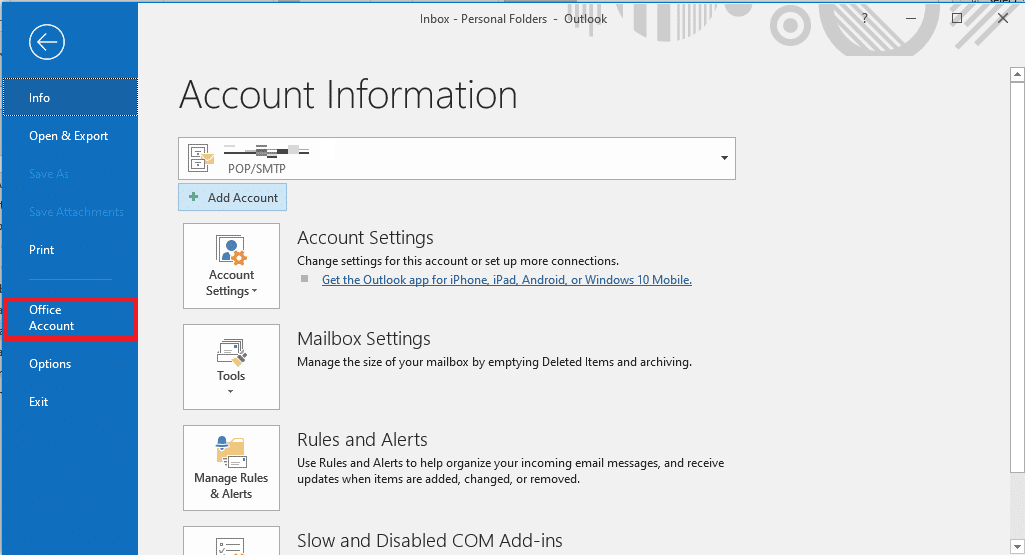
3. Here, locate oficejo ĝisdatigoj.
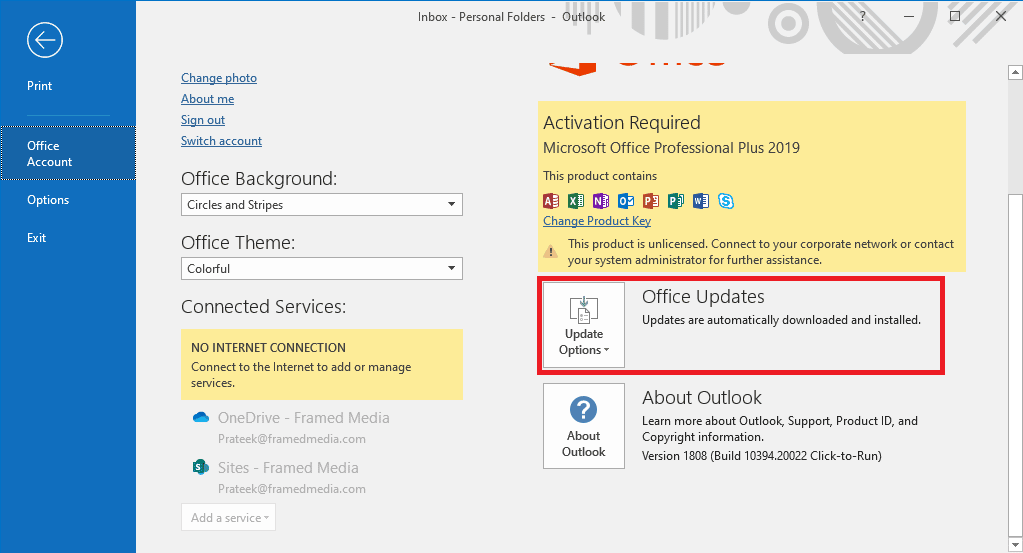
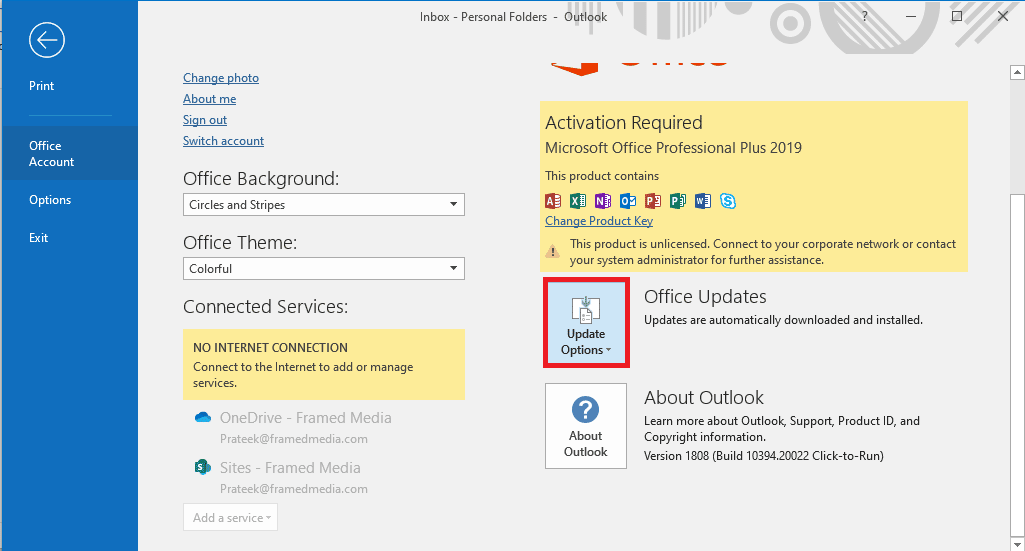
4. Nun, alklaku la Ĝisdatigi Eblojn falmenuo.
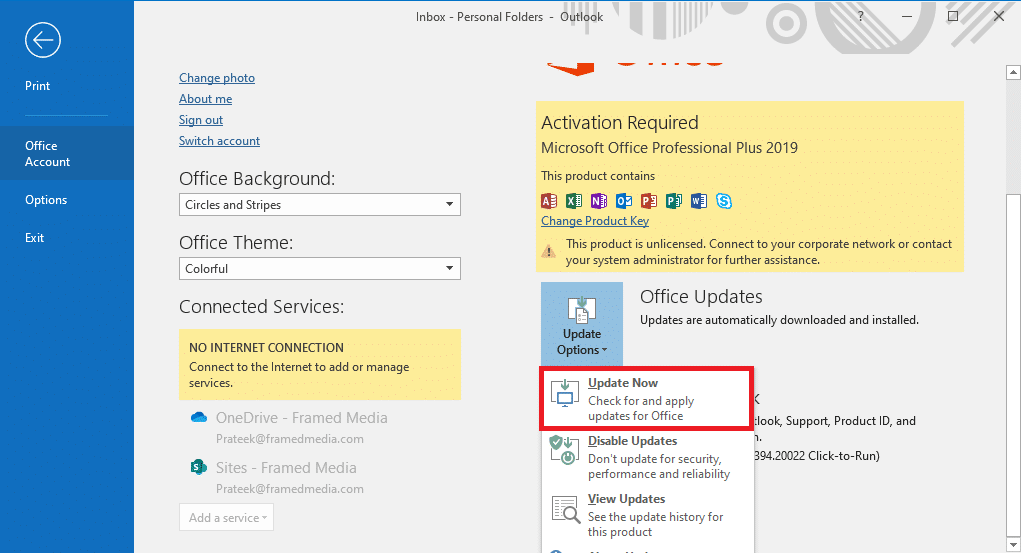
5. Fine, alklaku Ĝisdatigu Nun.
If this method does not fix Outlook Autofill email address not working issue, move on to the next method.
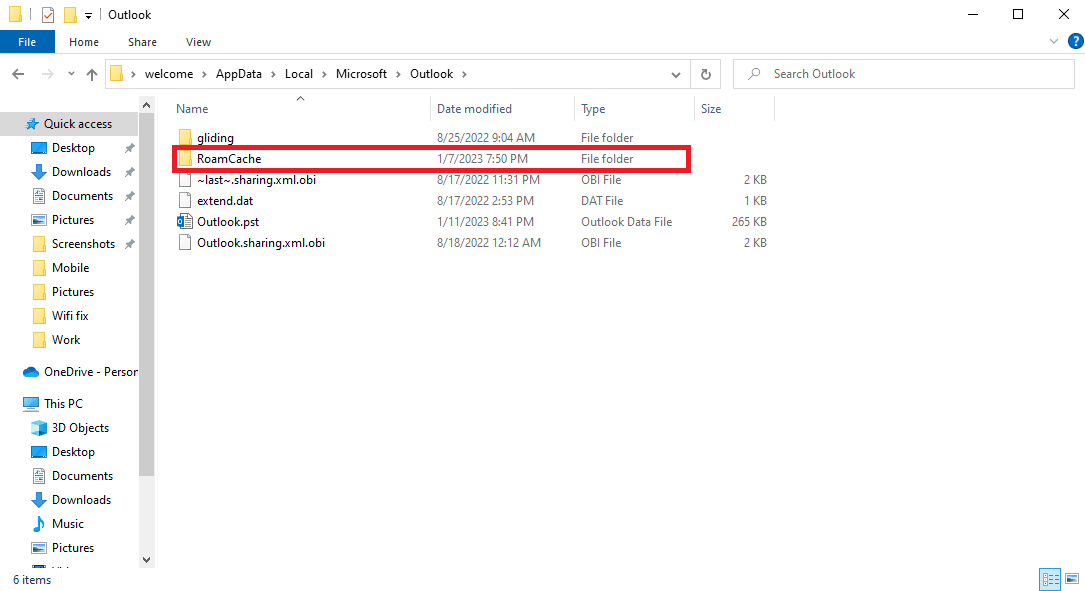
Method 7: Rename RoamCache Folder
If you have enabled the AutoComplete feature but still have the issue, it can be due to a corrupt RoamCache folder. You can fix this issue by resetting the AutoComplete folder. You will only need to rename the RoamCache folder in the directory. You can rename the RoamCache folder for both, a home email account and a Microsoft Exchange server account.
Option I: Rename RoamCache Folder for Home Email Account
You can follow these simple steps to rename the RoamCache folder in a home email account.
1. malfermita perspektivo on your computer and navigate to dosiero.

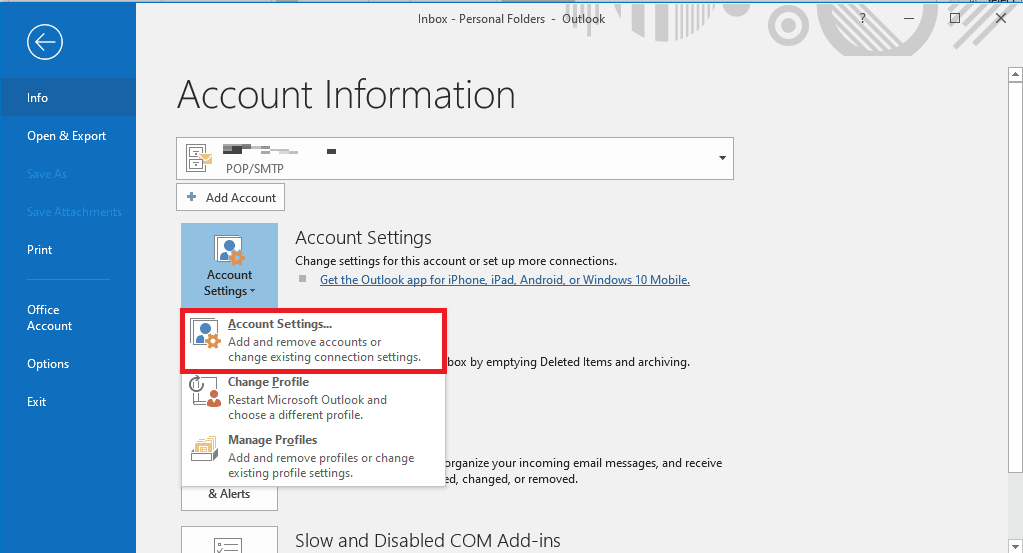
2. Nun, alklaku la Kontagordoj drop-down and then select Kontagordoj.

3. Here, select your Home Email Account.
4. Fermi the Outlook program.
5. Premu Windows + E keys por malfermi Dosiera esplorilo.
6. Navigu al la sekva loko Vojo.
%LOCALAPPDATA%MicrosoftOutlook

7. Here, locate the RoamCache dosierujo.

8. Rename this folder with a new name.
Ankaŭ Legu: Fix Your Microsoft Exchange Administrator Has Blocked This Version of Outlook
Option II: Rename RoamCache Folder for Microsoft Exchange Server Account
You can follow these simple steps to rename the RoamCache folder in a Microsoft-interŝanĝo server account to solve Outlook address AutoComplete not working issue.
1. malfermita perspektivo on your computer and navigate to dosiero.

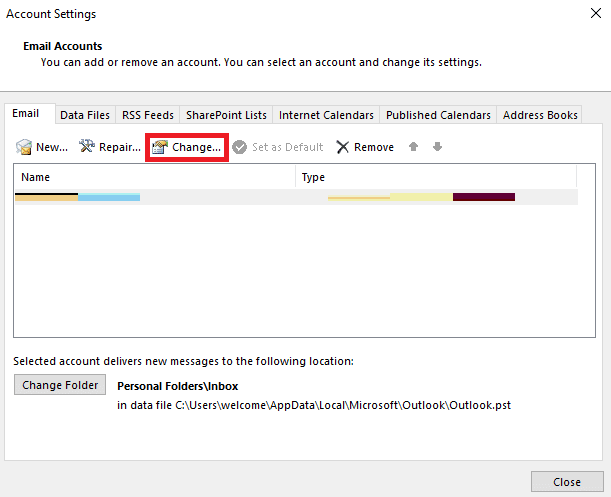
2. Nun, alklaku la Kontagordoj drop-down and then select Kontagordoj.
3. Here, select your Microsoft Exchange Server Account.
4. Nun, alklaku Ŝanĝo.
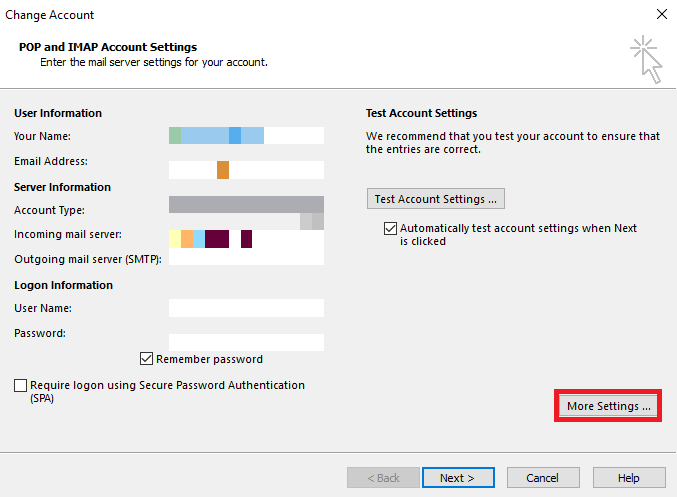
5. Ĉi tie, alklaku Pli agordoj.
6. Iru al la Altnivelaj langeton.
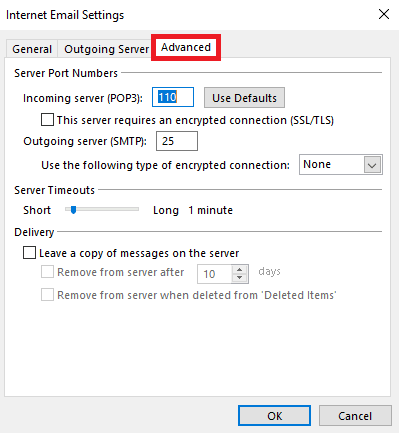
7. Unselect the Uzu kaŝmemoran interŝanĝan reĝimon skatolu kaj elektu sekva.
8. Fine, klaku finpoluro.
9. Fermu la perspektivo programo.
10. Premu Windows + E keys samtempe malfermi Dosiera esplorilo.
11. En la Dosiera esplorilo, navigate to the following location Vojo.
%LOCALAPPDATA%MicrosoftOutlook
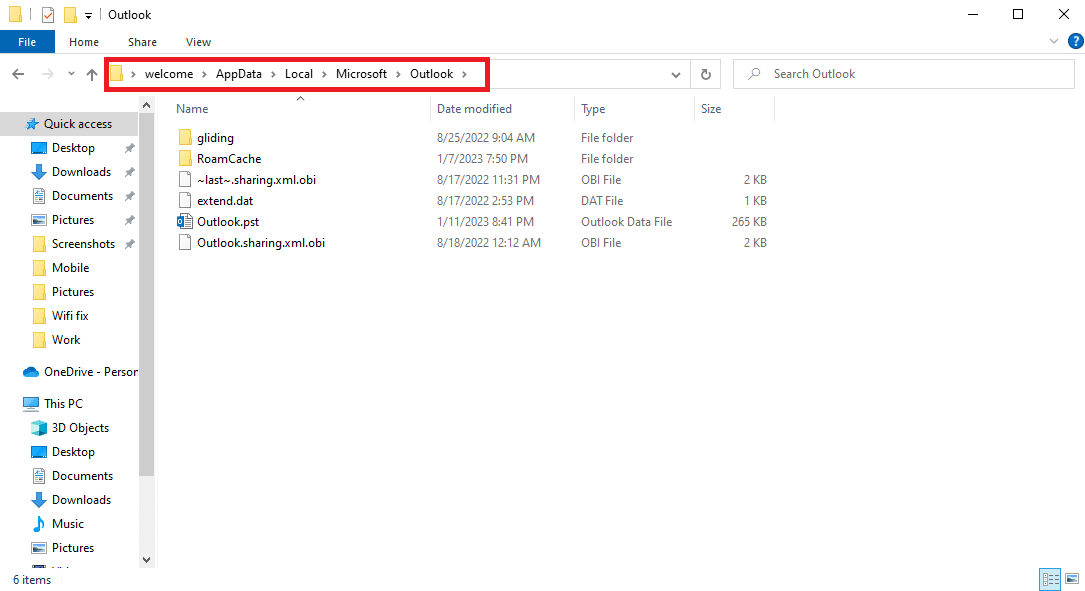
12. Here, locate the RoamCache dosierujo.
13. Rename this folder to old_RoamCache.
14. Nun malfermu la perspektivo program and follow the steps mentioned above to navigate to the Uzu kaŝmemoran interŝanĝan reĝimon elekto.
15. Kontrolu la Use Cached Exchange Mode.
16. Fine, rekomencu la Outlook-apon.
rekomendita:
We hope this guide was helpful to you and you were able to fix Outlook AutoComplete not working issue. Let us know which method worked for you. If you have any suggestions or queries for us, please let us know in the comment section.

