If you are facing slow web browsing in Google Chrome even though you have a fairly fast data connection, it could be chrome. Users all over the world search for how to speed up chrome? Well, that’s exactly what we are going to discuss today, where we will list different ways to make Google Chrome faster for better browsing experience. Also, if you open up Task Manager, you could always see Google Chrome taking most of your system resources, mainly the RAM.

Even though Chrome is one of the best browsers available and more than 30% of users use it, it is still bashed for using too much RAM and slowing down the users PC. But with recent updates, Chrome has provided a lot of different features through which you could speed up Chrome a little bit more, and that is what we are going to discuss below. So without wasting any time, let’s see How To Make Google Chrome Faster with the below-listed steps.
12 formas de hacer que Google Chrome sea más rápido
Before moving forward, make sure to update chrome and then continue with the below steps. Also, create a restore point solo en caso de que algo salga mal.
Método 1: deshabilite las extensiones no deseadas
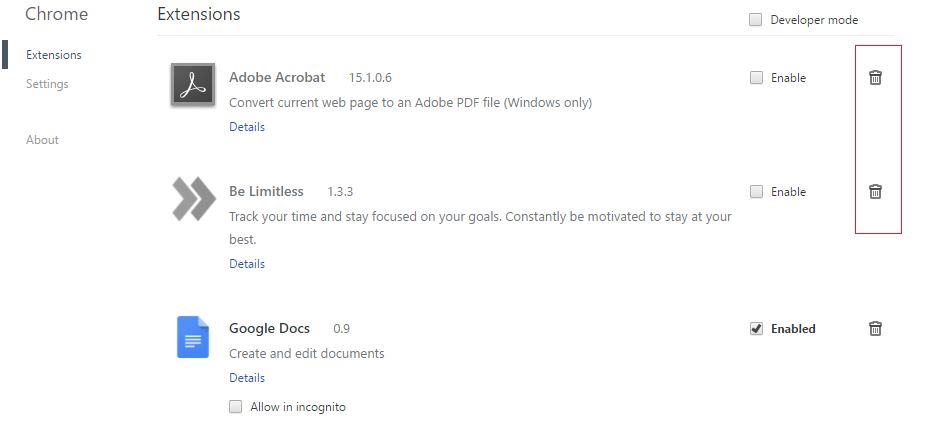
Extensions are a very useful feature in chrome to extend its functionality, but you should know that these extensions take up system resources while they run in the background. In short, even though the particular extension is not in use, it will still use your system resources. So it’s a good idea to remove all the unwanted/junk extensions which you might have installed earlier.
1. Open Google Chrome then type chrome: // extensiones en la dirección y presione Enter.
2. Now first disable all the unwanted extensions and then delete them by clicking on the delete icon.
3. Restart Chrome and see if this help in the making Chrome faster.
Method 2: Delete Unnecessary Web Apps
1. Again open Google Chrome and type chrome: // apps in the address bar then hit Enter.
2. You see all the apps installed on your browser.
3. Right-click on each of them, which is necessarily there or don’t use them and select Eliminar de Chrome.
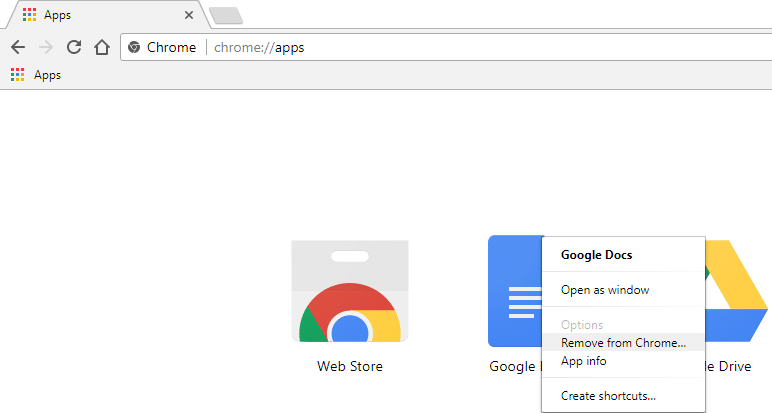
4. Hacer clic en Remove again for confirmation, and you are good to go.
5. Restart Chrome in order to verify if Chrome is working normally again without any sluggish.
Method 3: Enable Prefetch Resources or Prediction Service
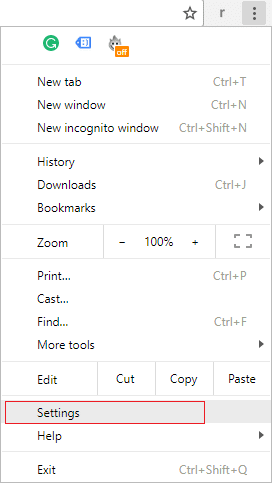
1. Open Google Chrome then click the tres puntos en la esquina superior derecha
2. It will open Chrome Menu from there click on Settings, or you could manually type chrome: // settings / en la barra de direcciones y presiona Enter.
3. Desplácese hacia abajo y luego haga clic en Avanzada.
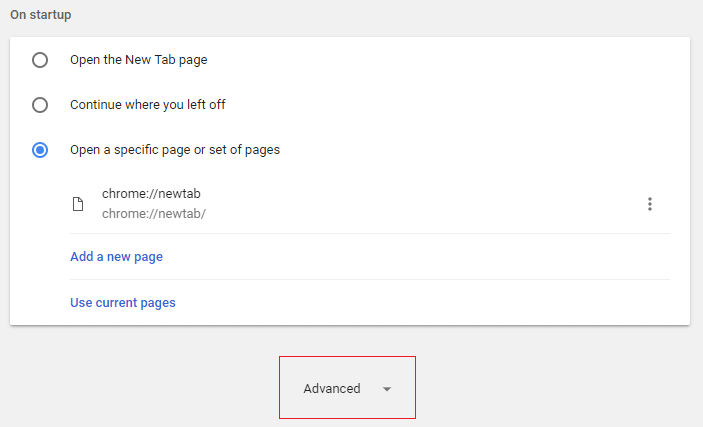
4. Now under Advanced Settings, make sure habilitar la palanca para "Use prediction service to load pages more quickly."

5. Restart Chrome to save changes and see if you are able to make Google Chrome faster.
Method 4: Clear Google Chrome Browsing History and Cache
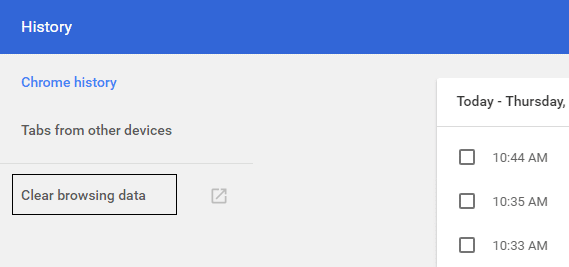
1. Abra Google Chrome y presione Ctrl + H para abrir la historia.
2. Luego, haga clic en Navegación clara datos del panel izquierdo.
3. Asegúrese de que el "principio de los tiempos"Está seleccionado en Borrar los siguientes elementos de.
4. Also, checkmark the following:
- Historial de navegación
- Descargar historial
- Cookies y otros datos de padres y complementos
- Imágenes en caché y archivos
- Autocompletar datos de formulario
- contraseñas
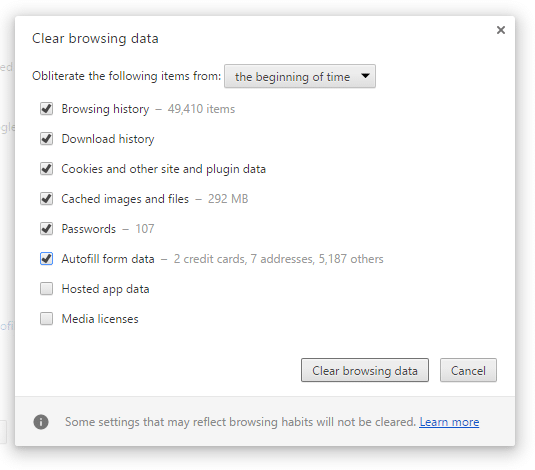
5. Ahora haga clic en Eliminar datos de navegación y espera a que termine.
6. Close your browser and restart your PC.
Method 5: Enable Experimental Canvas Features
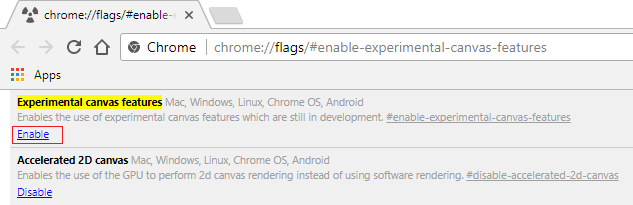
1. Open Google Chrome then type chrome://flags/#enable-experimental-canvas-features en la barra de direcciones y presiona Enter.
2. Hacer clic en permitir bajo Experimental Canvas Features.
3. Restart Chrome in order to save changes. See if you’re able to Make Google Chrome Faster, si no, continúe con el siguiente método.
Method 6: Enable Fast Tab/Window Close
1. Open Google Chrome then type chrome: // flags / # enable-fast-unload en la barra de direcciones y presiona Enter.
2. Ahora haga clic en permitir bajo Fast tab/window close.

3. Restart Chrome to save changes.
Method 7: Enable Scroll Prediction
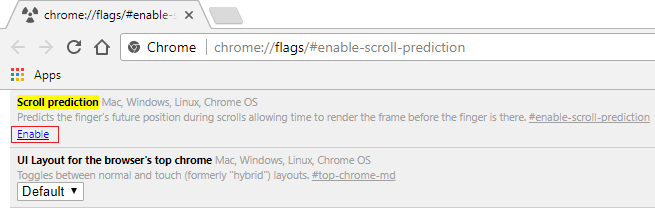
1. Open Google Chrome then type chrome://flags/#enable-scroll-prediction en la barra de direcciones y presiona Enter.
2. Ahora haga clic en permitir bajo Scroll Prediction.
3. Relaunch Google Chrome in order to see the changes.
See if you are able to make Google Chrome faster with the help of the above tips, if not then continue to the next method.
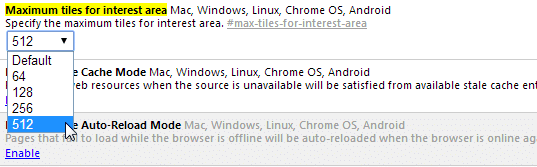
Method 8: Set Maximum Tiles to 512
1. Open Google Chrome then type chrome://flags/#max-tiles-for-interest-area en la barra de direcciones y presiona Enter.
Escoge 512 del menú desplegable debajo Maximum tiles for interest area and click Relaunch Now.
3. See if you’re able to make Google Chrome Faster using the above technique.
Method 9: Increase the number of raster threads
1. Navegar a chrome: // flags / # num-raster-threads en Chrome.
2. Seleccione 4 en el menú desplegable debajo Number of raster threads.
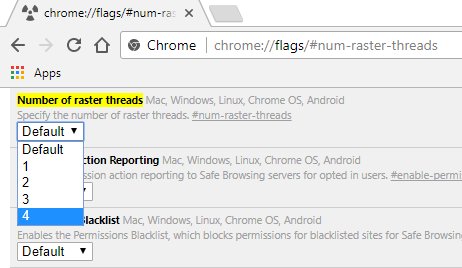
3. Click Relaunch in order to save changes.
Method 10: Enable Answers in Suggest
1. Escribe chrome://flags/#new-omnibox-answer-types in Chrome address bar and hit Enter.
2. Seleccionar implante from the dropdown under New omnibox answers in suggest types.
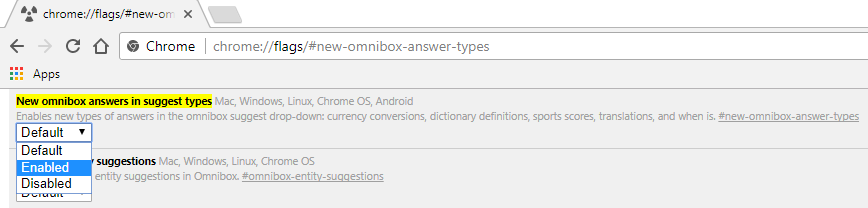
3. Click Relaunch in order to save changes.
Method 11: Simple Cache for HTTP
1. Open Google Chrome then type chrome://flags/#enable-simple-cache-backend en la barra de direcciones y presiona Enter.
2. Seleccionar implante from the dropdown under Simple Cache for HTTP.
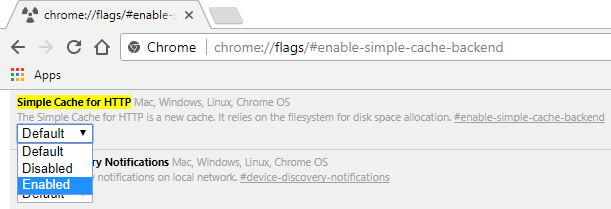
3.Click Relaunch in order to save changes and see if you are able to speed up chrome.
Method 12: Enable GPU Acceleration
1. Navegar a cchrome://flags/#ignore-gpu-blacklist en Chrome.
2. Seleccionar permitir bajo Override software rendering list.
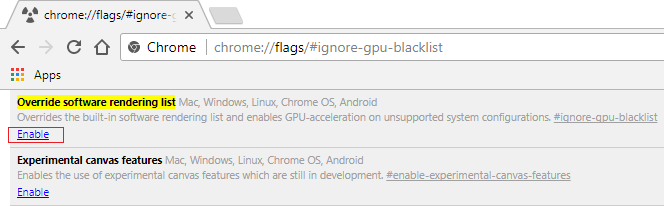
3. Click Relaunch in order to save changes.
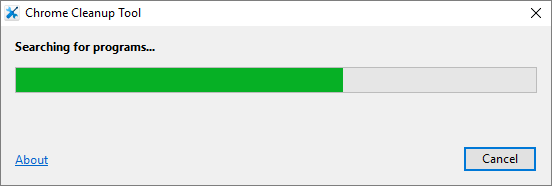
If nothing above helps and you are still facing sluggish speed, you could try the official Herramienta de limpieza de Chrome which will try to fix issues with Google Chrome.
Recomendado:
That’s if you have successfully learned How To Make Google Chrome Faster with the help of above guide but if you still have any queries regarding this post feel free to ask them in the comment’s section.

