After installing the latest Windows feature update, your PC may be trapped in an automated repair cycle. This article will give you various troubleshooting techniques if you’re attempting to locate a repair approach that will allow you to resolve diagnosing your PC Windows 10 issue. So, continue reading to fix diagnosing your PC stuck issue on Windows 10.
How to Fix Stuck on Diagnosing your PC in Windows 10
We looked into this diagnosing your PC stuck issue by looking at multiple user reports and tried various repair strategies suggested by some impacted users. As it turns out, various conditions make your system trapped inside the diagnosing your PC screen. Here’s a list of circumstances that might lead to this issue on Windows 10.
- System File Corruption: Corrupted system files might also cause the System Diagnostic tool to appear at every system start-up. If this utility is also corrupted, it will be stuck in a loop.
- Inadequate System Space: As it turns out, this problem of this issue can also arise when the system lacks sufficient storage capacity to load all the programs and services required for the starting operation.
- Glitched Automated Repair Utility: This issue has been reported by multiple customers to be caused by mysterious system drive troubles. In this instance, the Automatic Repair program will try to open at every restart in an attempt to fix the problem, but it will be unable to locate the source of the problem.
- Faulty BCD Data: Corrupted booting data might also cause this issue in severe conditions, which prevents the starting process from finishing.
Some afflicted customers have attempted rebooting their computers to get rid of this problem but have claimed that their computers go into a dark screen, show the logo, and then return to the Diagnostic PC page. The operating system indicates that your device has been diagnosed, but there might be no progress made. You can follow the below methods to resolve the issue.
Method 1: Perform Hard Reboot
You can do a hard reboot if your Windows is unable to boot due to the Preparing Automatic Repair or Diagnosing your PC issue.
1. Desentxufatu AC egokitzailea eta kendu Bateria gailutik.
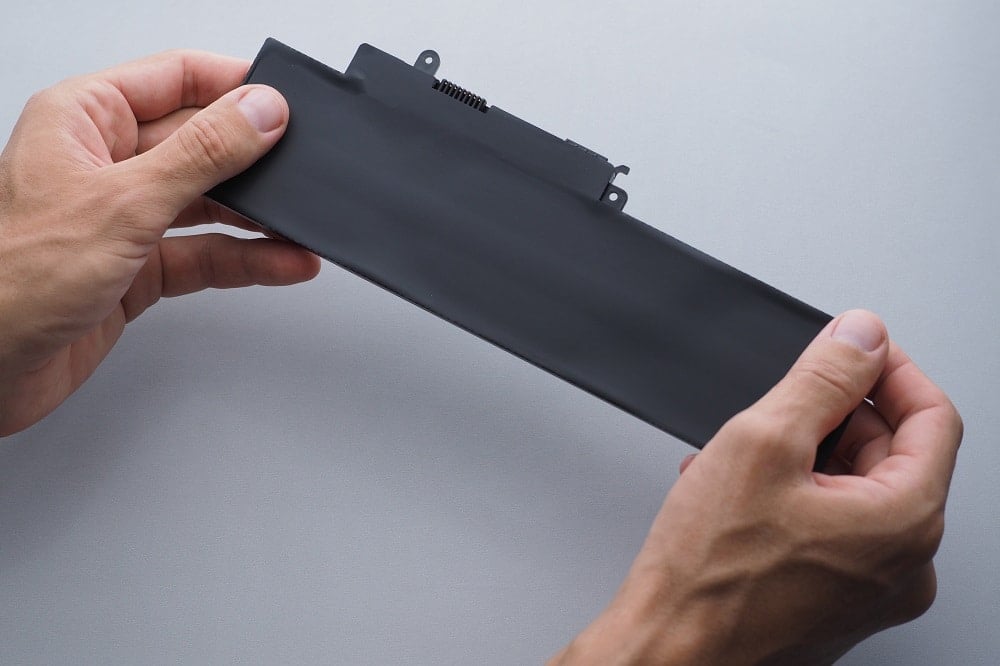
2. Check if it boots up normally by pressing and holding the pizteko botoia egiteko 20 segundotan.
If this technique fails, try one of the following options.
Era berean, irakurri: Nola konpondu WDF_VIOLATION errorea Windows 10-n
2. metodoa: abiarazi modu seguruan eta espazio garbian
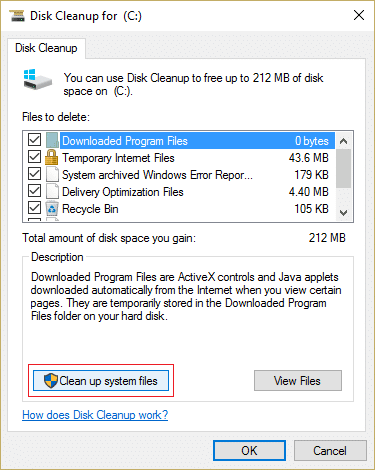
As some users have discovered, this issue can also occur when the system does not have enough capacity to start. Several individuals in a similar position have overcome the problem by running their machines in Safe Mode and freeing up some space. Follow our guide on How to Boot to Safe Mode in Windows 10.
Then, perform Disk cleanup by following our guide to run Disk Cleanup.
If diagnosing your PC Windows 10 problem persists, follow the next procedure below.
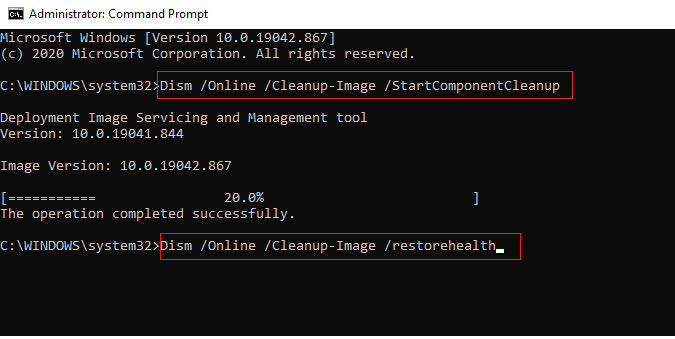
3. metodoa: Sistemaren fitxategiak konpontzea
It’s also possible that this problem is caused by System File corruption. These corrupted files might prevent the booting procedure from finishing. You’ll have to run the scans before the Booting phase since you can’t go beyond the Diagnostics page. Read our guide on How to Repair System Files on Windows 10.
Era berean, irakurri: Konpondu ordenagailua ez da berriro sinkronizatu denbora-daturik ez zegoelako erabilgarri
Method 4: Run System Restore Utility
You may be dealing with a serious corruption problem that can’t be treated traditionally. When faced with a circumstance like this, the best action is to take a damage-control strategy. Most start-up troubles caused by system file corruption can be resolved by returning the machine to a healthy condition in which all components are working properly. Follow the below steps.
1. sartu instalazio diskoa Berrabiarazi ordenagailua.
2. Sakatu edozein gako to start up the installation media when you see the booting screen.
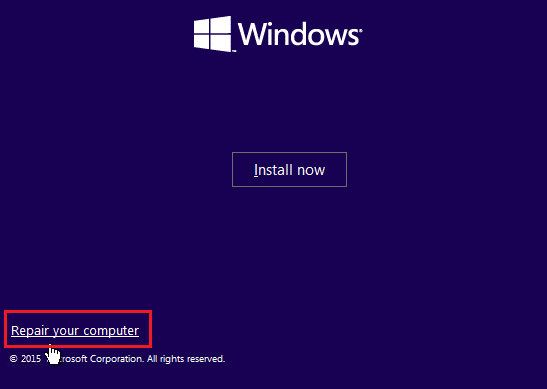
3. When Windows Setup has finished loading, click on Konpondu zure ordenagailuan.
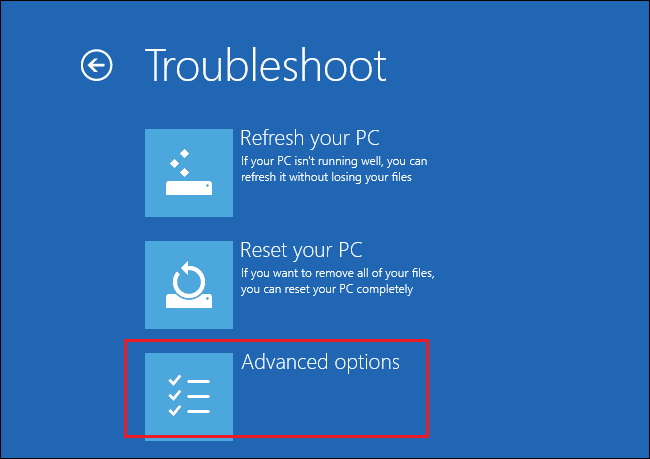
4. Sarbidea Konpondu menu from the first repair menu.
5. Egin klik Aukera aurreraturik from the Troubleshoot menu.
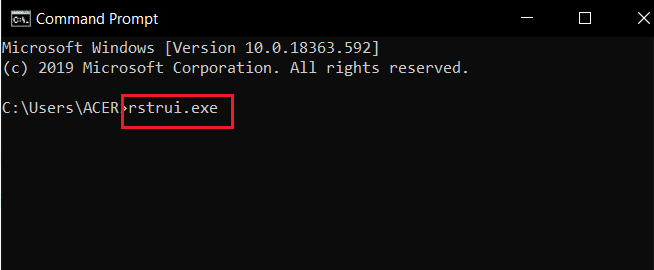
6. Ondoren, egin klik gainean Command gonbitetik from the list of available utilities.
7. Irekitzeko Sistema berrezartzea program, type the rstrui.exe command into the Command gonbitetik leihoa eta sakatu Sartu gakoa.
8. Egin klik hurrengo once you’ve reached the first screen.
9. Orain, tick the option labeled Erakutsi berreskuratze puntu gehiago.
10. Once you’ve done so, go through each restoration argazkia and pick one taken before the Diagnostics problem.
11. To go on to the next option, choose the suitable eta klikatu hurrengo.
12. Orain, egin klik gainean Amaitu.
Your system will restart automatically after restoring, and the old machine will be fixed at the next system starting.
Method 5: Rebuild BCD
In Windows 10, you’ll get the Preparing Automatic Repair error if the boot files are missing or damaged. As a result, some users will re-build the boot record using the procedures below.
1. Insert the Windows bootable installation CD into the PC displaying the error message Preparing Automatic Repair or Diagnosing your PC.
2. Start your computer by booting from the instalazio CDa.
3. To continue, choose your hizkuntza ezarpenak eta egin klik botoian hurrengo botoia.
4. Aukeratu konponketa zure ordenagailua.
5. Aukeratu Konpondu.
6. Aukeratu Command gonbitetik.
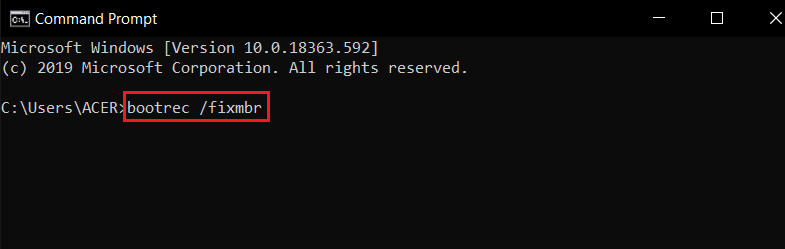
7. Enter the instructions below into the prompt, and press the Sartu gakoa bakoitzaren ondoren.
bootrec / fixmbr
bootrec / fixboot
bootrec / scanos
bootrec / rebuildbcd
8. Then, type the command irteteko eta sakatu Sartu gakoa.
9. Azkenik, ordenagailua berrabiarazi.
Era berean, irakurri: Nola konpondu Windows Update Error 80072ee2
6. metodoa: desgaitu abiarazteko konponketa automatikoa
If this happens, the Automatic Start-up Repair software will launch at every system start-up. However, if the utility is broken, you might not be able to go past the start-up screen. Therefore, disabling this software would prevent the Diagnosing your PC screen from appearing.
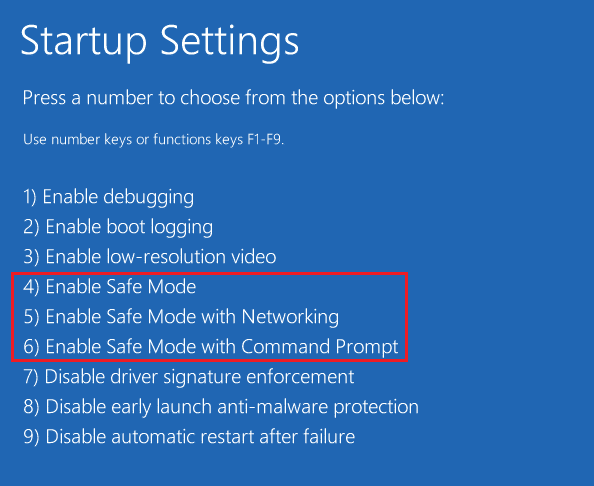
1. As soon as you see the introductory screen, press the F8 key repeatedly to get to the Abioko Aukera Aurreratuak menu.
2. Aukeratu Modu segurua with Networking from the Advanced Boot Options menu by pressing the F5 tekla or using the arrow keys.
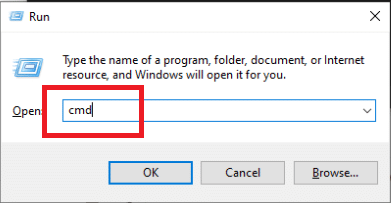
3. When the booting routine is complete, press Windows + I teklak abiarazteko Exekutatu elkarrizketa-koadroa.
4. Mota cmd eta hit Ktrl + Maius + Sartu teklak to open an komando gorria.
5. Egin klik Bai gonbitan.
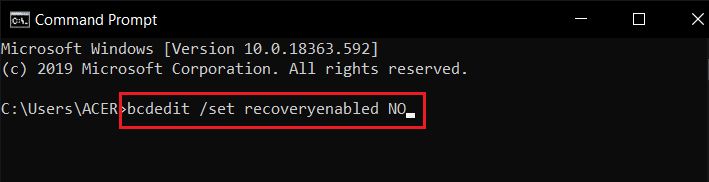
6. Idatzi honako hau komandoa eta prentsa Sartu gakoa.
bcdedit /set recoveryenabled EZ
7. Once the process is complete, berrabiarazi zure gailua.
If diagnosing your PC Windows 10 problem persists or you don’t get a different error, continue the next procedure.
Method 7: Uninstall Updates
If the update fails to install properly on your device, you might face this issue. Follow the below steps to resolve the discussed issue.
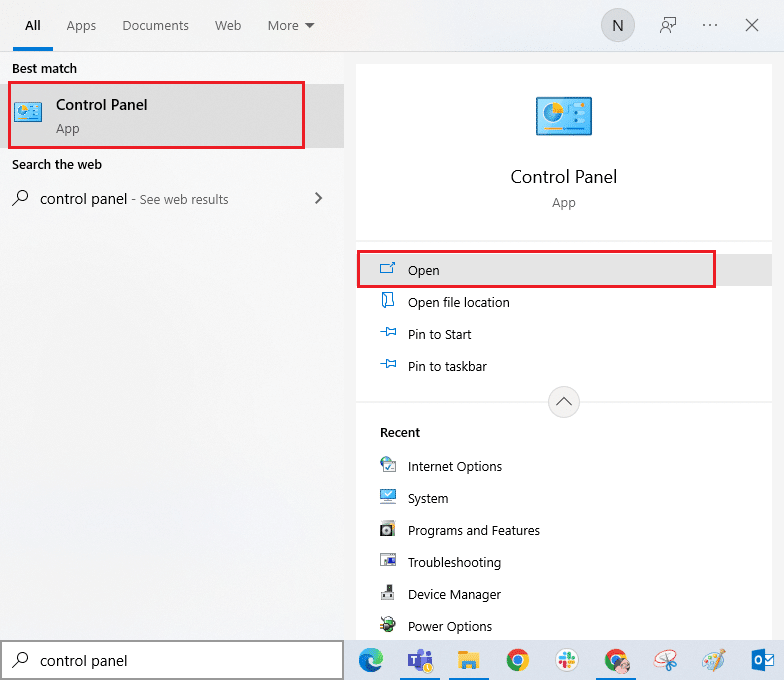
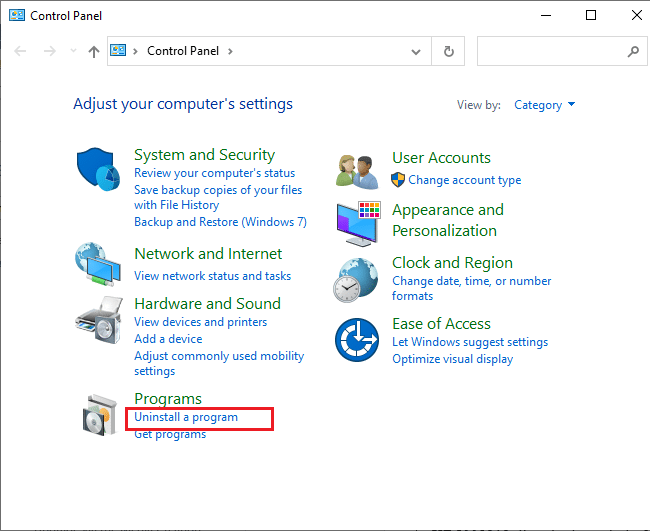
1. Sakatu Windows tekla eta idatzi Kontrol-panela., ondoren, egin klik Ireki.
2. Orain, egin klik gainean Desinstalatu programa aukera azpian Programak menua irudikatu bezala.
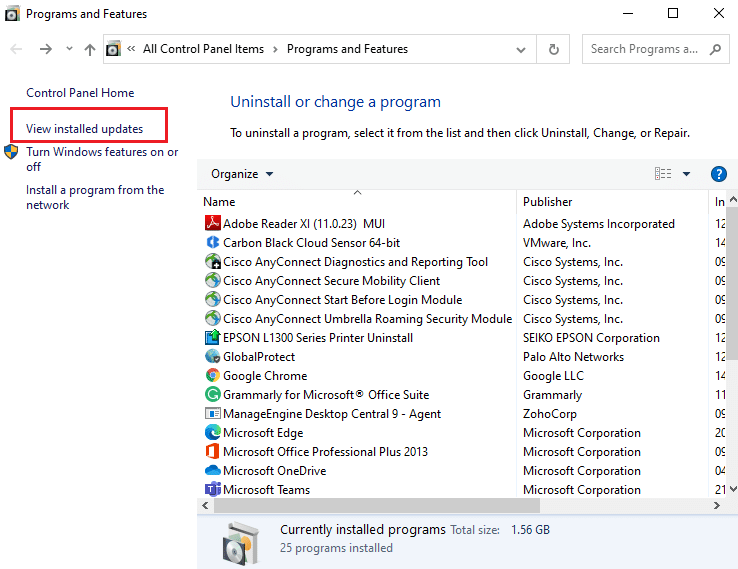
3. Orain, egin klik gainean Ikusi instalatutako eguneratzeak ezkerreko panelean agertzen den moduan.
4. Orain, bilatu eta hautatu azken eguneratzea erreferentzia eginez On instalatuta data eta klik eginez Desinstalatu aukera behean erakusten den moduan.
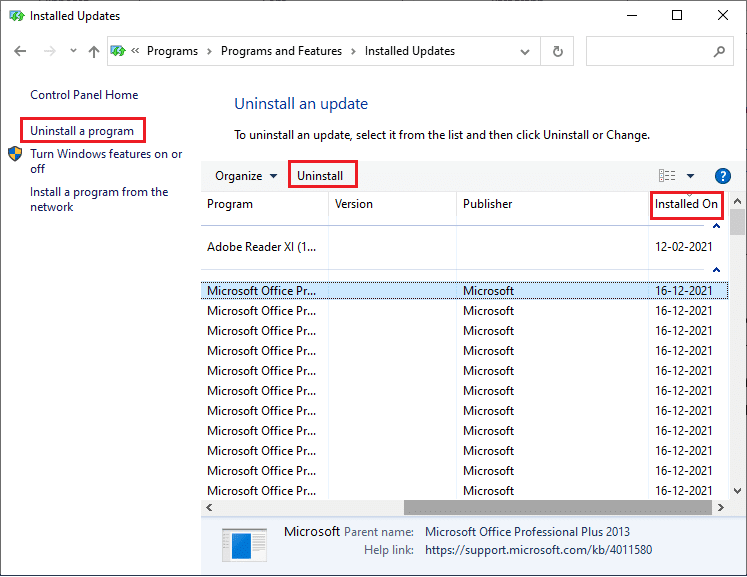
5. Azkenik, berretsi edozein gonbita eta berrabiarazi ordenagailua.
Check if diagnosing your PC stuck issue persists or not.
Era berean, irakurri: iaStorA.sys BSOD errorea konpontzeko 7 modu Windows 10-n
Method 8: Perform Repair Install
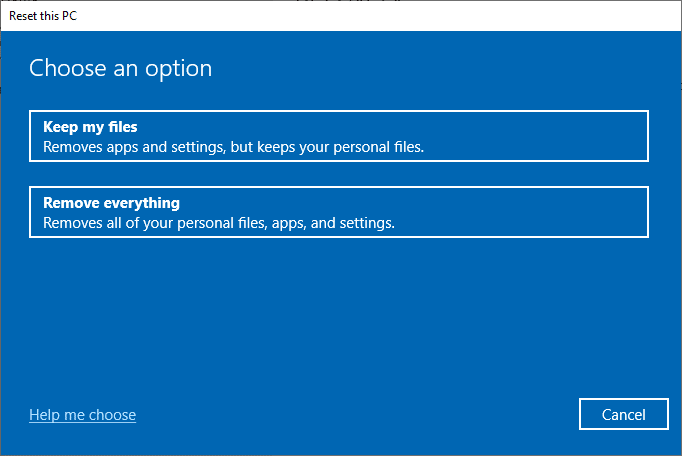
If none of the above-mentioned repair methods have worked, you’re probably dealing with a serious case of system corruption that can’t be fixed using normal methods. In this case, the only way to repair the problem is to reset every Windows component, including any booting-related tasks causing the Automatic Repair loop. You may always perform a clean installation but bear in mind that doing so will lose any saved data within your Windows system. If you choose a clean install, all your personal data, applications, games, documents, and other media will disappear. Read our guide on How to do a Clean Install of Windows 10 and implement the same.
Gomendatzen da:
We hope you found this information useful and that you were able to resolve stuck on diagnosing your PC in Windows 10 problem. Please let us know which technique was the most beneficial for you. Please use the form below if you have any queries or comments. Also, let us know what you want to learn next.

