Windows 10 offers various customizable sleep setting options, so your PC sleeps exactly the way you want. For example, you can set your PC to sleep after a predefined time period has elapsed. You can even make your PC fall asleep when you close your laptop’s lid.
In this guide, we’ll take a look at some of the Windows 10 sleep settings that you can tweak on your PC.
Choose the Idle Duration After Which Your PC Sleeps
When you configure sleep settings for your PC, the first option to define is how long your PC should be in idle mode to enter sleep mode. You can choose different options for both when your machine is plugged into a power source and when your machine is running on battery.
- باز کردن تنظیمات app on your PC by pressing ویندوز + I کلیدها در همان زمان.
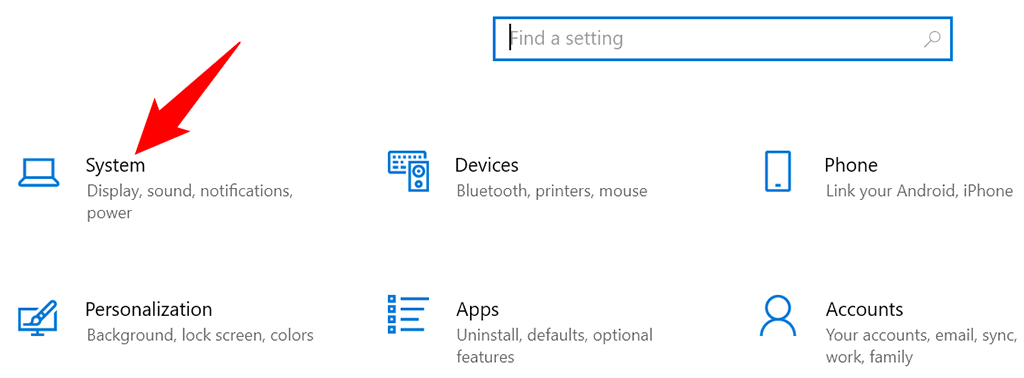
- انتخاب کنید سیستم در صفحه تنظیمات
- را انتخاب کنید قدرت و خواب از نوار کناری سمت چپ.
- Define when your PC goes to sleep in the خواب section on the right. Select an option from both drop-down menus depending on when your PC should enter sleep mode.
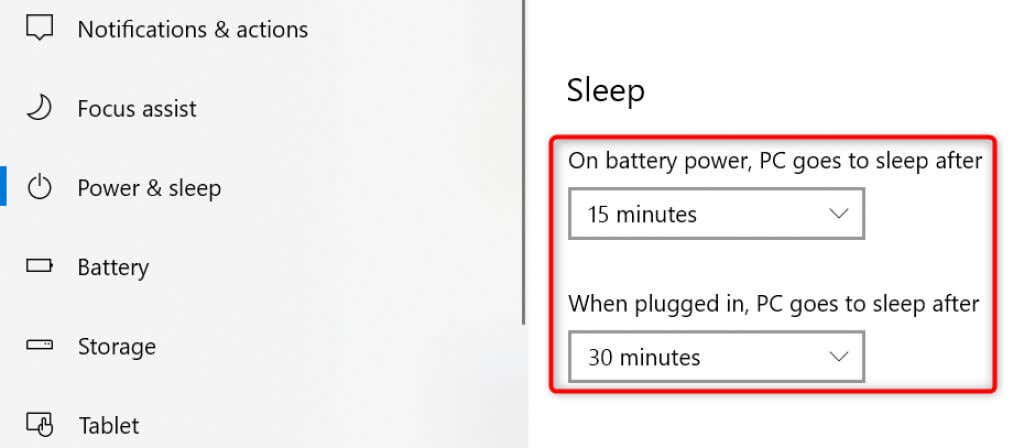
If you don’t want your PC to ever enter sleep mode, choose هرگز from both drop-down menus. This way, your PC never goes into sleep mode and always remains awake.
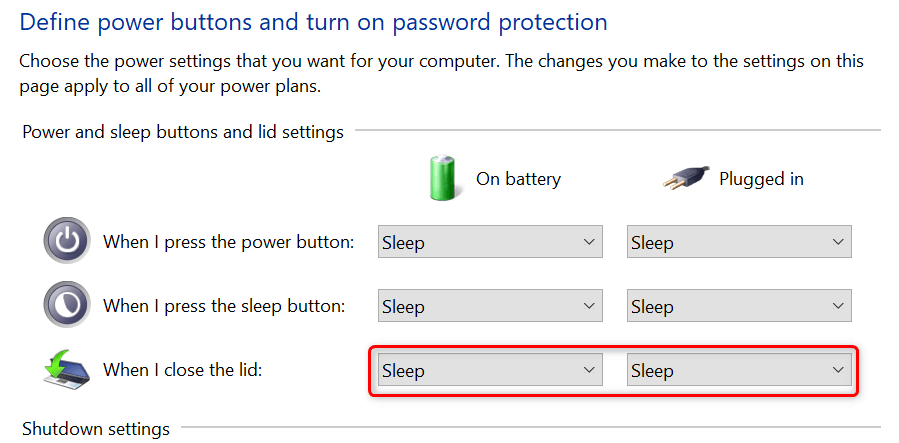
Put Your Laptop to Sleep When You Close the Lid
Windows 10 offers a sleep setting where you can put your laptop to sleep when you close the laptop’s lid. This is a handy and time-saving tip if you manually put your laptop to sleep mode while closing the lid.
- باز کردن تنظیمات app on your PC by pressing ویندوز + I.
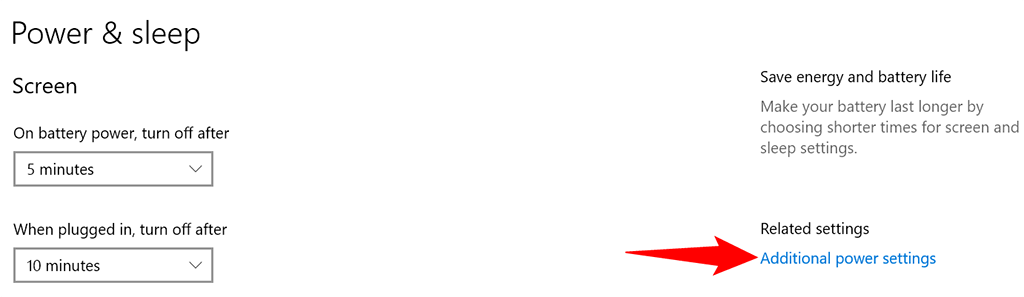
- سر به سیستم > قدرت و خواب در برنامه تنظیمات
- را انتخاب کنید تنظیمات قدرت اضافی from the sidebar on the right.
- انتخاب کنید آنچه که بسته شدن درب را انجام می دهد را انتخاب کنید از نوار کناری سمت چپ

- انتخاب کنید خواب از هر دو باتری و درپوش drop-down menus for the وقتی درب را بستم گزینه.
- انتخاب کنید ذخیره تغییرات at the bottom of the window to save your settings.
Prevent Your Mouse From Waking Up Your PC From Sleep
By default, Windows 10 allows your mouse or trackpad’s movement to bring your PC out of sleep mode. If you don’t want this to happen, turn off an option for your mouse in your PC’s Device Manager tool.
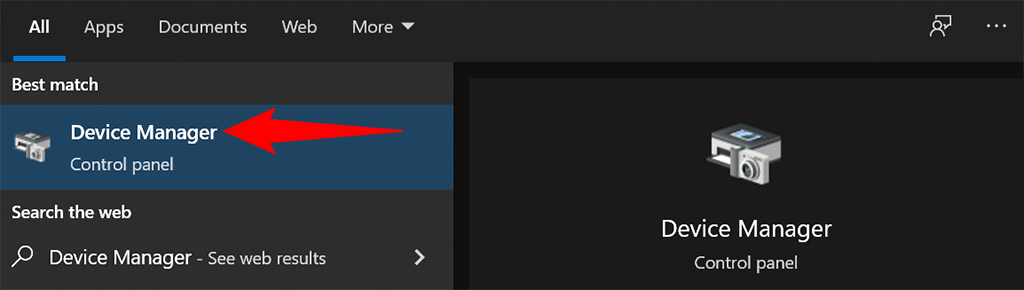
- باز کردن آغاز منو ، جستجو برای مدیریت دستگاه، و انتخاب کنید مدیریت دستگاه در نتایج جستجو
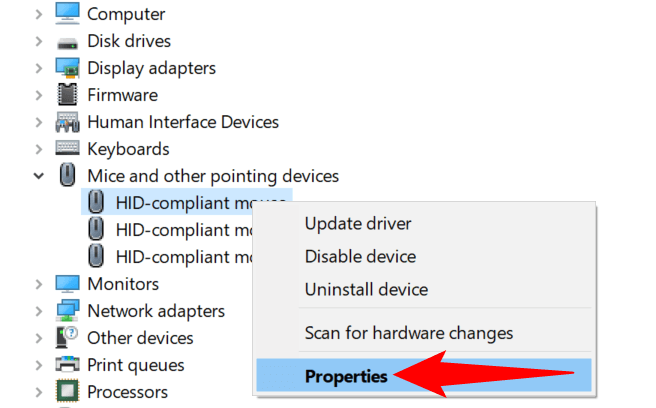
- گسترش موش ها و دستگاه های اشاره گر دیگر section in Device Manager.
- Right-click your mouse in the device list and select پروژه های ما از منو.
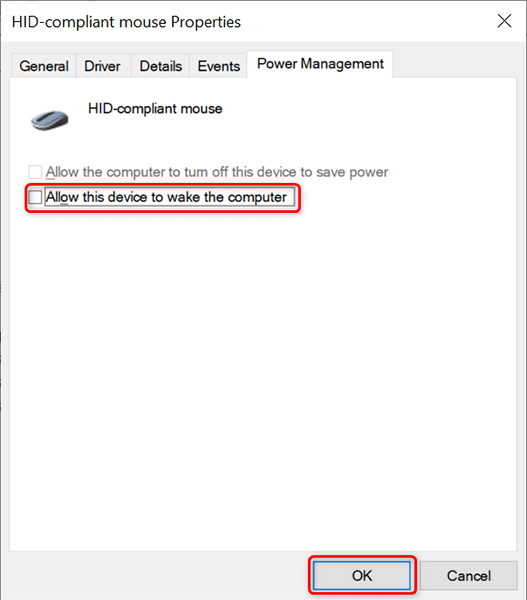
- دسترسی به مدیریت قدرت تب در پنجره Properties.
- غیر فعال کردن اجازه دهید این دستگاه بیدار شود گزینه. سپس ، را انتخاب کنید OK در پایین
From now on, when your PC is in sleep mode and you move your cursor, your PC will remain in sleep and won’t come out of sleep mode.
Disable Hybrid Sleep Setting to Prevent Issues
Hybrid sleep in Windows 10 is the combination of sleep and hibernation modes. This combination sometimes creates various issues on your system. To prevent that from happening, it’s worth toggling off this option on your computer.
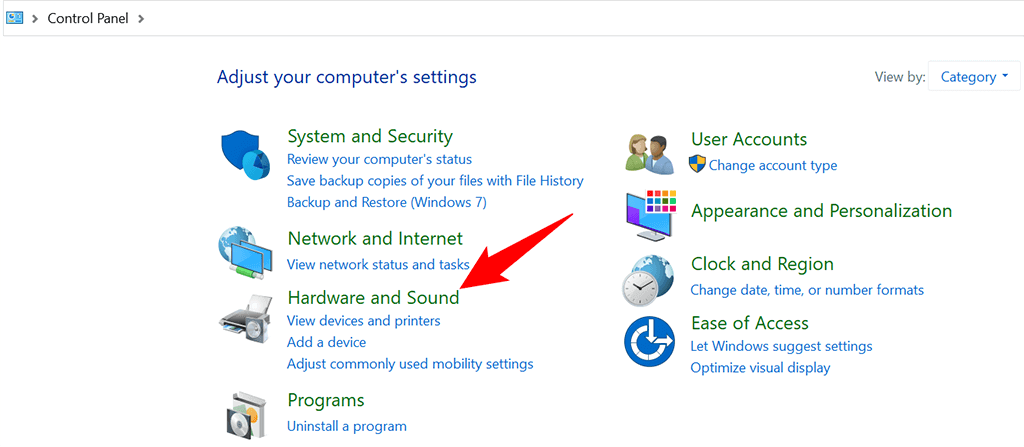
- کنترل پنل را در رایانه شخصی خود باز کنید. The easiest way to do this is to open the آغاز منو ، جستجو برای صفحه کنترل، و آن گزینه را در نتایج جستجو انتخاب کنید.
- را انتخاب کنید سخت افزار و صدا در پنجره کنترل پنل
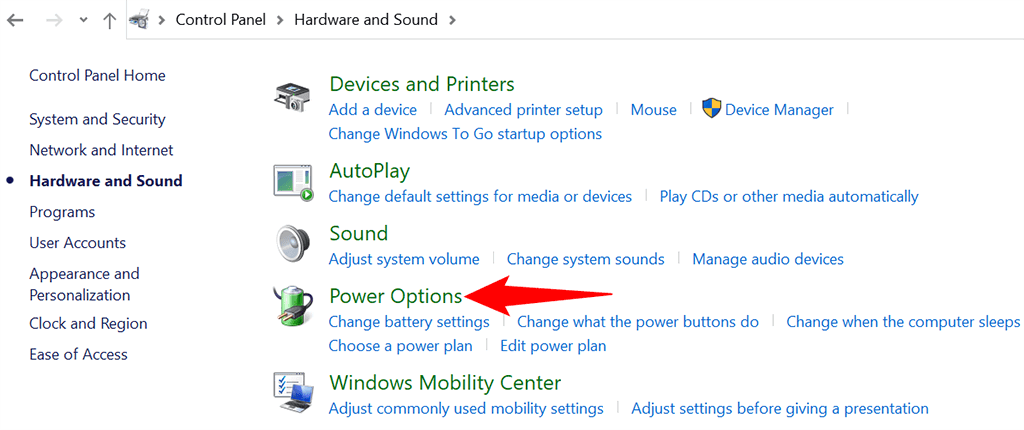
- انتخاب کنید گزینه های قدرت روی صفحه ای که در ادامه می آید
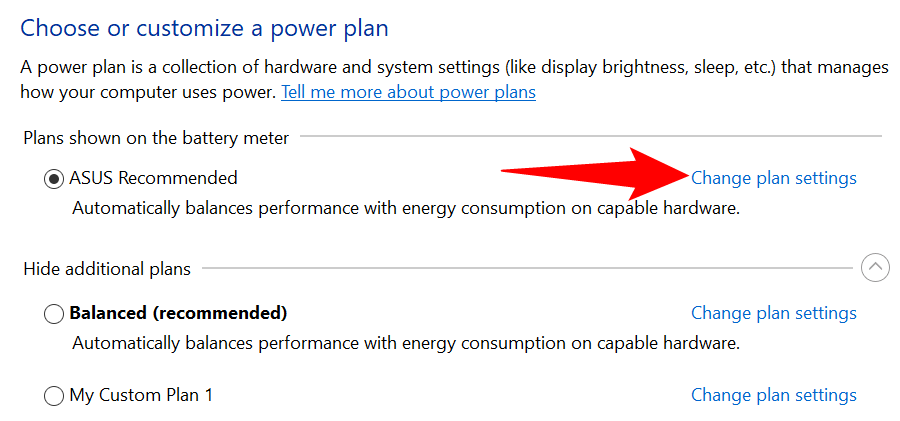
- Find your active power plan and select تغییر تنظیمات برنامه next to your plan.
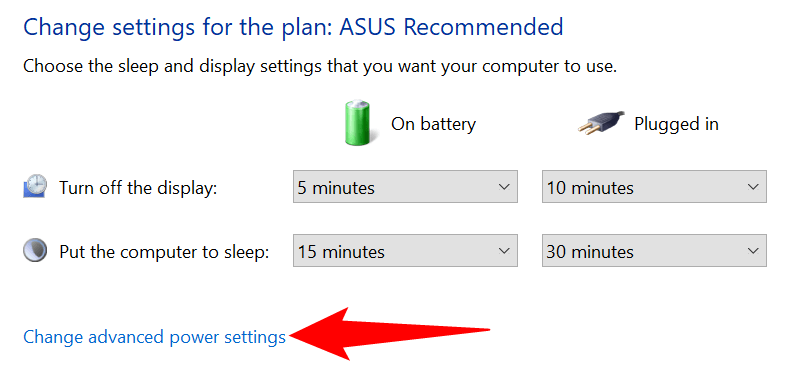
- انتخاب کنید تغییر تنظیمات قدرت پیشرفته.
- گسترش خواب گزینه در گزینه های قدرت پنجره.
- گسترش به خواب ترکیبی اجازه دهید و انتخاب کنید خاموش برای هردو باتری و درپوش گزینه.
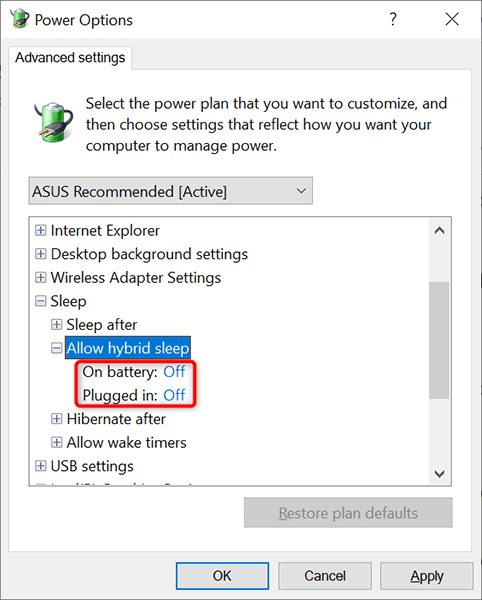
- انتخاب کنید درخواست و پس از آن OK در پایین پنجره
Change Your Power Plan to Apply Different Windows 10 Sleep Settings
Each power plan on your Windows 10 PC carries different sleep settings. If you want to quickly apply a specific set of power and sleep settings to your PC, change your power plan to the one that has the sleep settings you want.
برای انجام این کار:
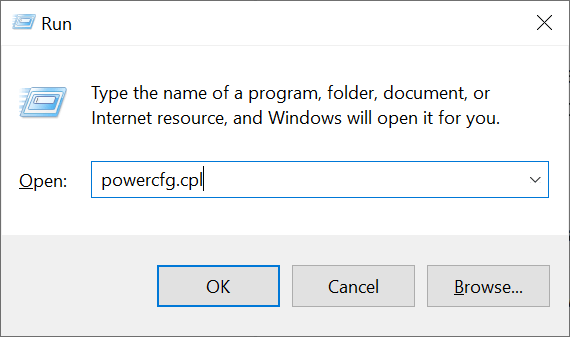
- رسانه ها و مطبوعات ویندوز + R کلید برای باز کردن دویدن جعبه.
- زیر را در قسمت تایپ کنید دویدن جعبه و فشار دهید وارد: powercfg.cpl
- You’ll see the power plans available on your PC. Select the radio button beside the plan that you’d like to activate.
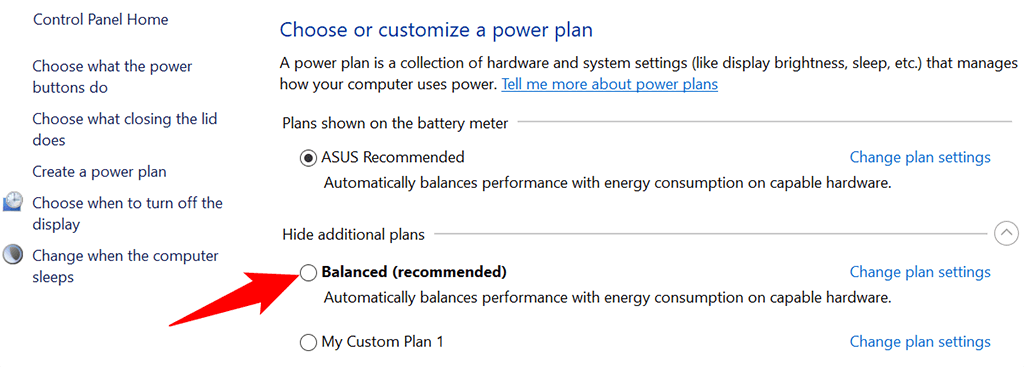
Your PC now uses both power and sleep settings from your selected power plan. If a plan doesn’t meet your needs, you can quickly and easily switch to another plan whenever you want.
Create a Power Plan With Custom Sleep Settings
If the Windows 10 sleep settings you need are not available in the default power plan, you can create your own custom power plan. You can copy the settings from an existing plan, tweak them to your requirements, and make a custom plan of yours.
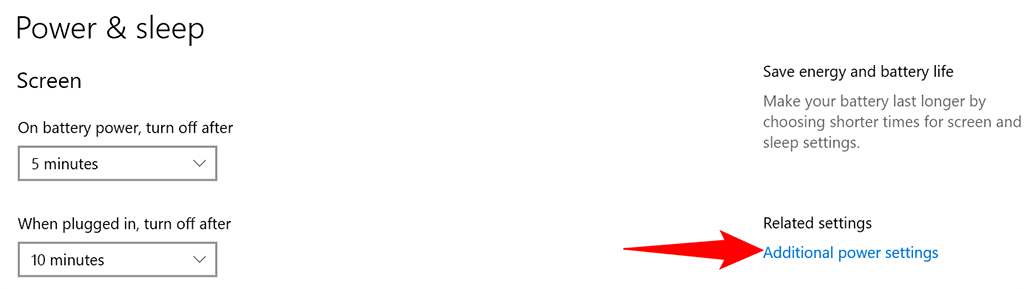
- راست کلیک کنید آغاز را انتخاب کنید و انتخاب کنید گزینه های قدرت.
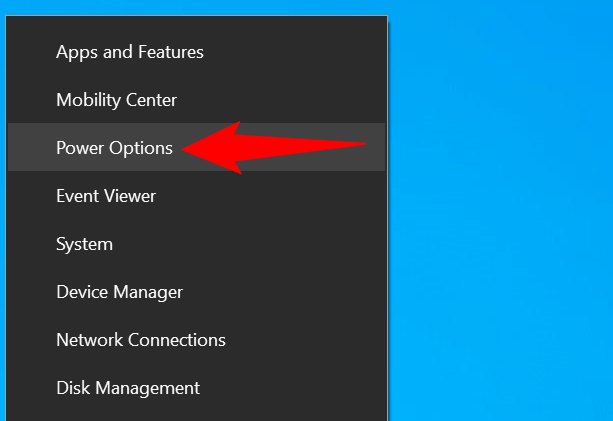
- انتخاب کنید تنظیمات قدرت اضافی از نوار کناری سمت راست
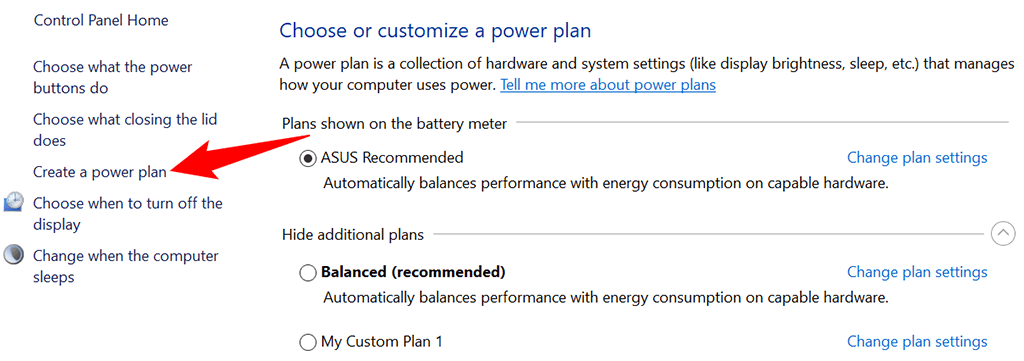
- را انتخاب کنید Create a power plan from the options in the left sidebar.
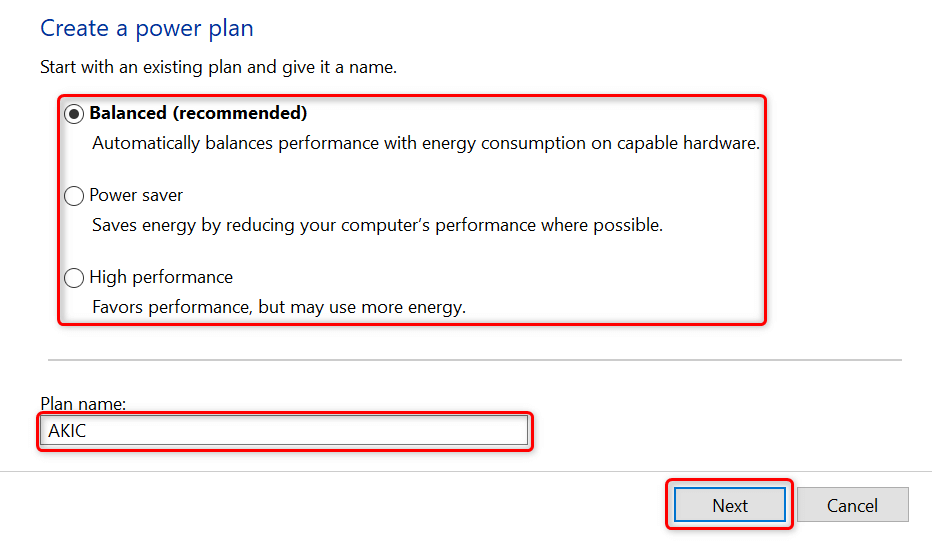
- Select an existing plan to copy settings from, type a name for your new power plan, and choose بعدی.
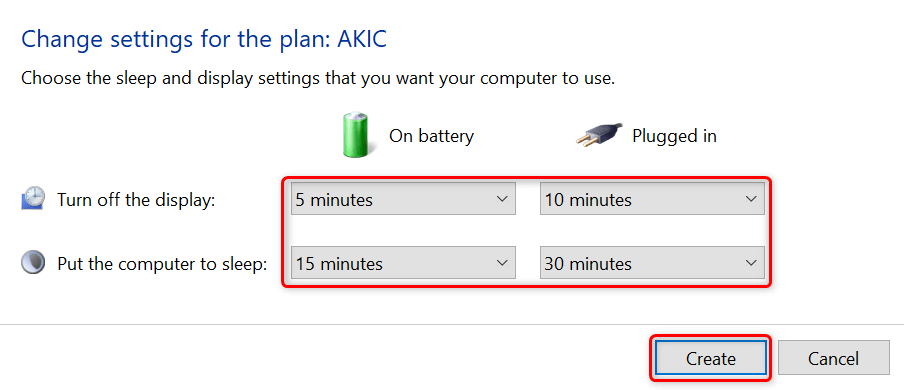
- مشخص display off and sleep settings, and then select ساختن.
- You’ll now see your newly created power plan on your screen. This plan is now in use and is the default power plan for your PC.
- To change your power plan’s advanced options, select تغییر تنظیمات برنامه > تغییر تنظیمات قدرت پیشرفته.
Customize Your Windows 10 PC’s Sleep Patterns to Your Liking
Windows 10 comes with appropriate sleep settings enabled, but these don’t always match a user’s requirements. Luckily, you can customize these sleep settings to your own specifications and make the sleep feature function exactly the way you want.
And, if your Windows 10 PC still won’t sleep, there are ways to fix that issue.

