Change Time to Display List of Operating Systems at Startup in Windows 10: If you installed more than one operating system on your PC then at the boot menu you will have 30 seconds (by default) to choose an operating system with which you want to start your PC before the default operating system is automatically selected. The 30 seconds is quite a reasonable time to select the OS of your choice but if you still feel that it’s not enough then you can easily increase this duration.

On the other hand, some people feel that this duration of 30 seconds is more than enough and want to reduce this time then don’t worry this can also be easily done by following the below guide. So without wasting any time let’s see How to Change Time to Display List of Operating Systems at Startup in Windows 10 with the help of the below-listed tutorial.
Change Time to Display List of Operating Systems at Startup in Windows 10
Assurez-vous de créer un point de restauration au cas où quelque chose se passerait mal.
Method 1: Change Time to Display List of Operating Systems at Startup in Startup and Recovery
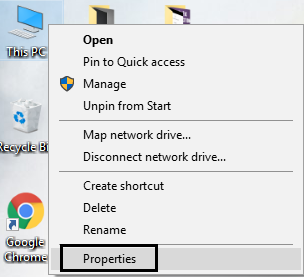
1.Right-click on “ce PC” or “My Computer” then select Propriétés.
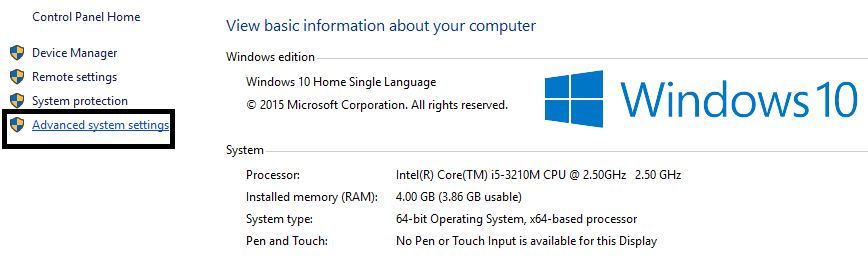
2.Now from the left-hand menu click on “Paramètres système avancés" .
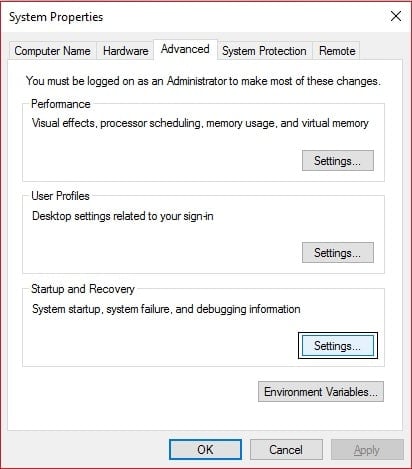
3.Cliquez sur Bouton Paramètres sous Startup and Recovery.
4.Assurez-vous de coche "Temps d'affichage de la liste des systèmes d'exploitation” box, then enter how many seconds (0-999) you want to display the OS selection screen at startup.
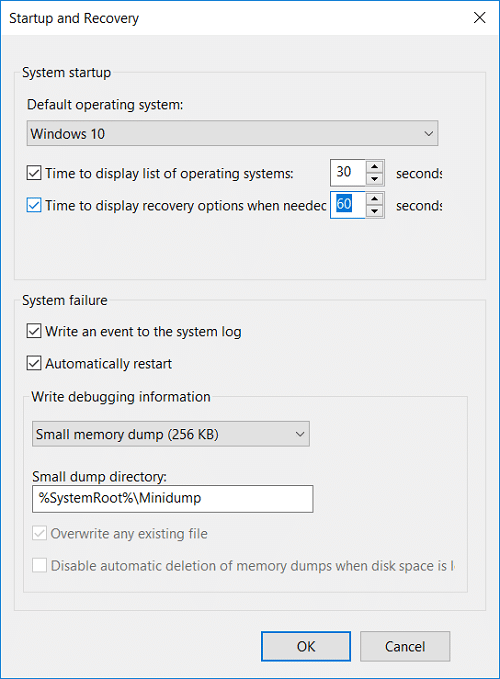
Remarque: The default value is 30 seconds. If you want to run the default OS without waiting then enter 0 seconds.
5.Cliquez sur Appliquer puis sur OK.
Method 2: Change Time to Display List of Operating Systems at Startup in System Configuration
1.Appuyez sur la touche Windows + R puis tapez msconfig et appuyez sur Entrée.

2.Now in System Configuration window switch to Onglet de démarrage.
3. sous Temps mort entrer how many seconds (3-999) you want to display the OS selection screen at startup.
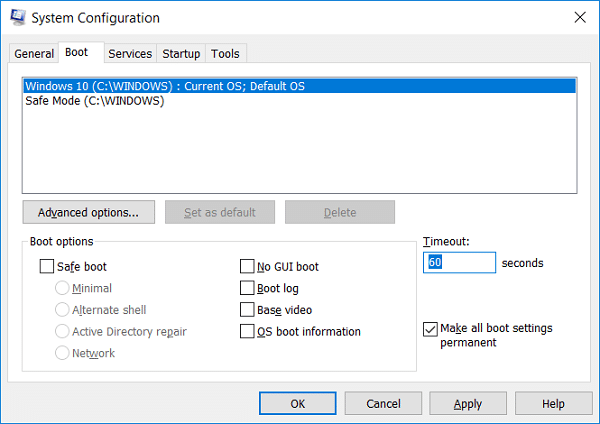
4. Ensuite, checkmark “Make all boot settings permanent” box then Click Apply followed by OK.
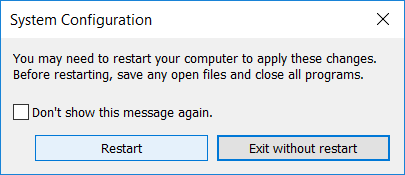
5.Click Oui to confirm the pop-up message then click on Bouton de redémarrage enregistrer les modifications
Method 3: Change Time to Display List of Operating Systems at Startup in Command Prompt
1.Appuyez sur la touche Windows + X puis sélectionnez Invite de commande (Admin).

2.Tapez la commande suivante dans cmd et appuyez sur Entrée :
bcdedit /timeout X_seconds
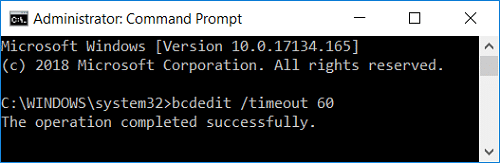
Remarque: remplacer X_seconds with how many seconds (0 to 999) you want. Using 0 seconds will have no timeout period and the default OS will boot automatically.
3.Close everything and reboot your PC to save changes.
Method 4: Change Time to Display List of Operating Systems at Startup in Advanced Startup Options
1.While at the boot menu or after booting to advanced startup options click on “Modifier les valeurs par défaut ou choisir d'autres options" au fond.
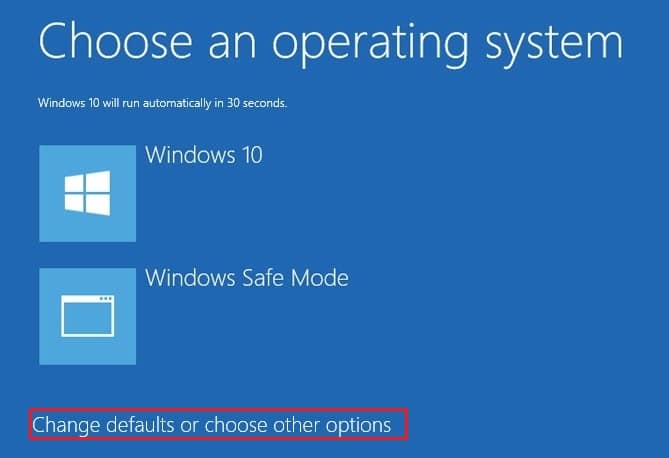
2.On the next screen, click Changez la minuterie.

3.Now set a new timeout value (5 minutes, 30 seconds, or 5 seconds) for how many seconds you want to display the OS selection screen at startup.

4.Cliquez sur le Bouton Continuer puis select the OS you want to start.
Recommandée:
That’s it, you successfully learned How to Change Time to Display List of Operating Systems at Startup in Windows 10. Also read Top 10 Worst Operating Systems. but if you still have any queries regarding this tutorial then feel free to ask them in the comment’s section.

