You may have heard about BitLocker drive encryption available in Windows 10, but that’s not the only one encryption method out there, because Windows Pro & Enterprise Edition also offers Encrypting File System or EFS. The main difference between BitLocker & EFS encryption is that BitLocker encrypts an entire drive whereas EFS lets you encrypt individual files and folders.
BitLocker is very useful if you want to encrypt the entire drive to protect your sensitive or personal data and the encryption isn’t tied to any user account, in short, once BitLocker is enabled on a drive-by an administrator, every single user account on that PC will have that drive as encrypted. The only drawback of BitLocker is that it is dependent on trusted platform module or TPM hardware which must come with your PC for you to use BitLocker encryption.

Encrypting File System (EFS) is useful for those who only protect their individual file or folders rather than the entire drive. EFS is tied to the particular user account, i.e. encrypted files can only be accessed by the particular user account who encrypted those files & folders. But if a different user account is used, then those files & folders will become completely inaccessible.
EFS’s encryption key is stored inside the Windows rather than the PC’s TPM hardware (used in BitLocker). The drawback of using EFS is that the encryption key can be extracted by an attacker from the system, whereas BitLocker doesn’t have this shortcoming. But still, EFS is an easy way to quickly protect your individual files & folders on PC shared by several users. Anyway, without wasting any time, let’s see How to Encrypt Files and Folders with Encrypting File System (EFS) in Windows 10 with the help of the below-listed tutorial.
Chiffrer des fichiers et des dossiers avec le système de fichiers de cryptage (EFS) dans Windows 10
Remarque: Encrypting File System (EFS) is only available with Windows 10 Pro, Enterprise, and Education edition.
Method 1: How to Enable Encrypting File System (EFS) in Windows 10
1. Press Windows Key + E to open File Explorer and then navigate to the file or folder you want to encrypt.
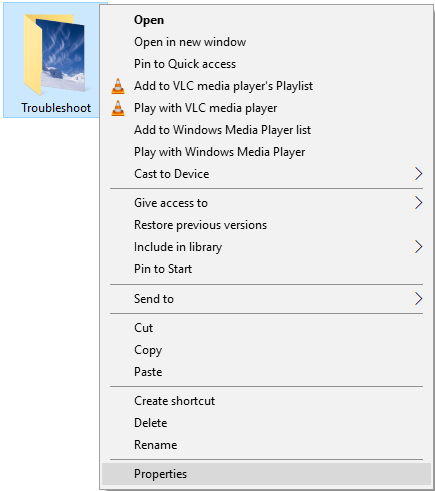
2. Faites un clic droit sur this file or folder puis sélectionne Propriétés.
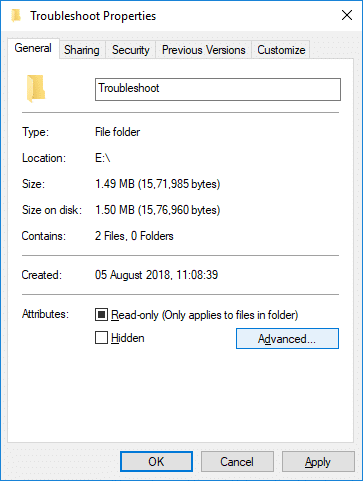
3. Under General tab clicks on the Bouton avancé.
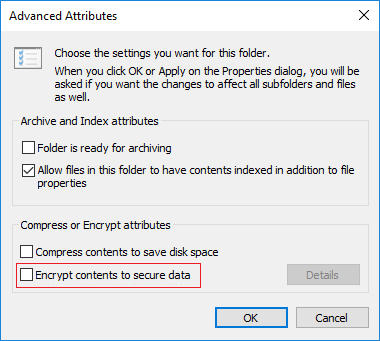
4. Now checkmark “Chiffrer le contenu pour sécuriser les données" puis clique D'accord.

6. Ensuite, cliquez sur Appliquer and a pop-up window will open asking either Appliquer les modifications à ce dossier uniquement or Apply changes to this folder, subfolders et fichiers.
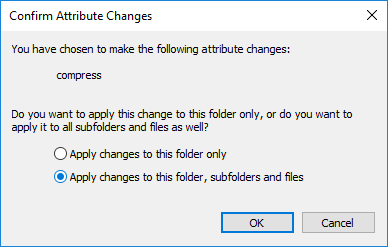
7. Select what you want then click D'accord pour continuer.
8. Now files or folders you have encrypted with EFS will have a small icon on the thumbnail’s top-right corner.
If in future you need to disable the encryption on the files or folders, then décocher "Chiffrer le contenu pour sécuriser les données” box under the folder or file properties and click OK.
Method 2: How to Encrypt Files and Folders with Encrypting File System (EFS) in Command Prompt
1. Ouvrez l'invite de commande. L'utilisateur peut effectuer cette étape en recherchant 'cmd' Puis appuyez sur Entrée.

2. Tapez maintenant la commande suivante dans cmd et appuyez sur Entrée :
Apply changes to this folder, subfolders and files: cipher /e /s:”full path of the folder.”
Apply changes to this folder only: cipher /e “full path of folder or file with the extension.”
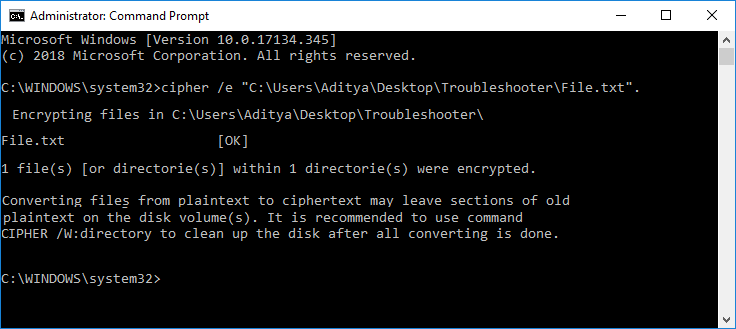
Remarque: Replace full path of folder or file with extension with the actual file or folder you want to encrypt, for example, cipher /e “C:UsersAdityaDesktopTroubleshooter” or cipher /e “C:UsersAdityaDesktopTroubleshooterFile.txt”.
3. Close command prompt when finished.
That’s is how you Encrypt Files and Folders with Encrypting File System (EFS) in Windows 10, but your work isn’t complete yet, as you still need to back up your EFS encryption key.
How to back up your Encrypting File System (EFS) encryption key
Once you enabled the EFS for any file or folder, a small icon will appear in the taskbar, probably next to the battery or WiFi icon. Click on the EFS icon in the system tray to open the Certificate Export Wizard. If you want a detailed tutorial of How to Back Up Your EFS Certificate and Key in Windows 10, go here.
1. First, make sure to plug in your USB drive into the PC.
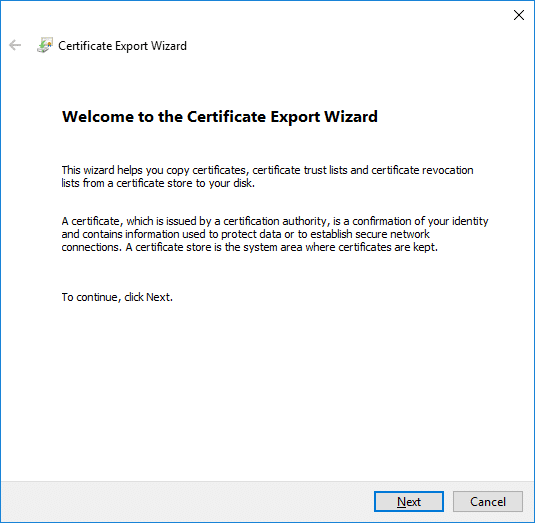
2. Now click on the EFS icon from the system try to launch the Certificate Export Wizard.
Remarque: Or Press Windows Key + R then type certmgr.msc et appuyez sur Entrée pour ouvrir Certificates Manager.
3. Once the wizard opens, click Back up now (recommended).
4. Cliquez sur Suivant et encore une fois cliquez Suivant pour continuer.
5. On the Security screen, checkmark “Mot de Passe” box then type a password in the field.
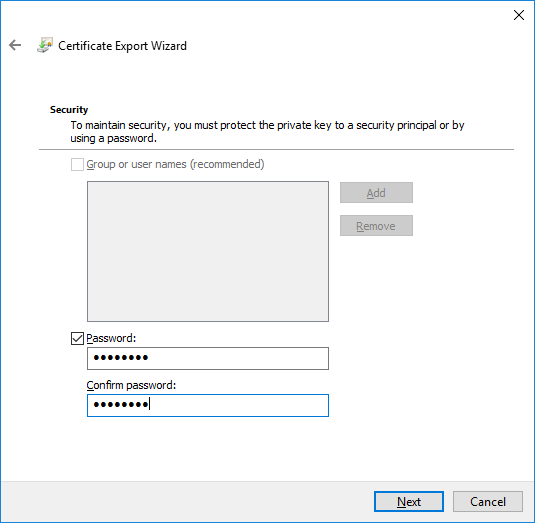
6. Again type the same password to confirm it and click Suivant.
7. Maintenant, cliquez sur Bouton Parcourir then navigate to the USB drive and under file name type any name.
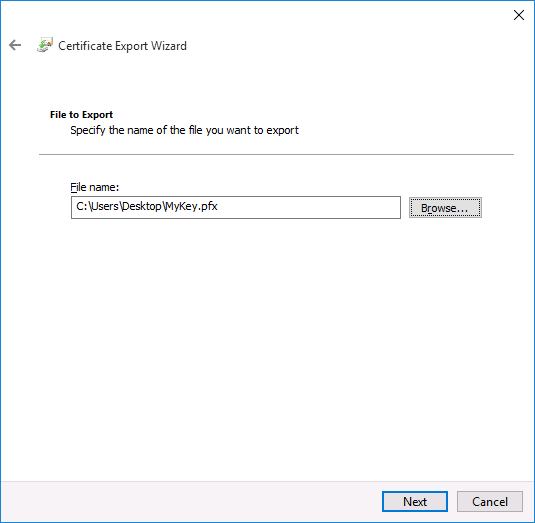
Remarque: This would be the name of the backup of your encryption key.
8. Click Save then click on Suivant.
9. Enfin, cliquez sur Finition to close the wizard and click OK.
This backup of your encryption key will come very handy if you ever lose access to your user account, as this backup can be used to access the encrypted file or folders on the PC.
Recommandée:
Voilà, vous avez appris avec succès How to Encrypt Files and Folders with Encrypting File System (EFS) in Windows 10 mais si vous avez encore des questions concernant cet article, n'hésitez pas à les poser dans la section commentaires.


 in Windows 10)