After installing the latest Windows feature update, your PC may be trapped in an automated repair cycle. This article will give you various troubleshooting techniques if you’re attempting to locate a repair approach that will allow you to resolve diagnosing your PC Windows 10 issue. So, continue reading to fix diagnosing your PC stuck issue on Windows 10.
How to Fix Stuck on Diagnosing your PC in Windows 10
We looked into this diagnosing your PC stuck issue by looking at multiple user reports and tried various repair strategies suggested by some impacted users. As it turns out, various conditions make your system trapped inside the diagnosing your PC screen. Here’s a list of circumstances that might lead to this issue on Windows 10.
- Corruption des fichiers système : Corrupted system files might also cause the System Diagnostic tool to appear at every system start-up. If this utility is also corrupted, it will be stuck in a loop.
- Inadequate System Space: As it turns out, this problem of this issue can also arise when the system lacks sufficient storage capacity to load all the programs and services required for the starting operation.
- Glitched Automated Repair Utility: This issue has been reported by multiple customers to be caused by mysterious system drive troubles. In this instance, the Automatic Repair program will try to open at every restart in an attempt to fix the problem, but it will be unable to locate the source of the problem.
- Faulty BCD Data: Corrupted booting data might also cause this issue in severe conditions, which prevents the starting process from finishing.
Some afflicted customers have attempted rebooting their computers to get rid of this problem but have claimed that their computers go into a dark screen, show the logo, and then return to the Diagnostic PC page. The operating system indicates that your device has been diagnosed, but there might be no progress made. You can follow the below methods to resolve the issue.
Method 1: Perform Hard Reboot
You can do a hard reboot if your Windows is unable to boot due to the Preparing Automatic Repair or Diagnosing your PC issue.
1. Débranchez le AC adaptateur et retirez le batterie de l'appareil.
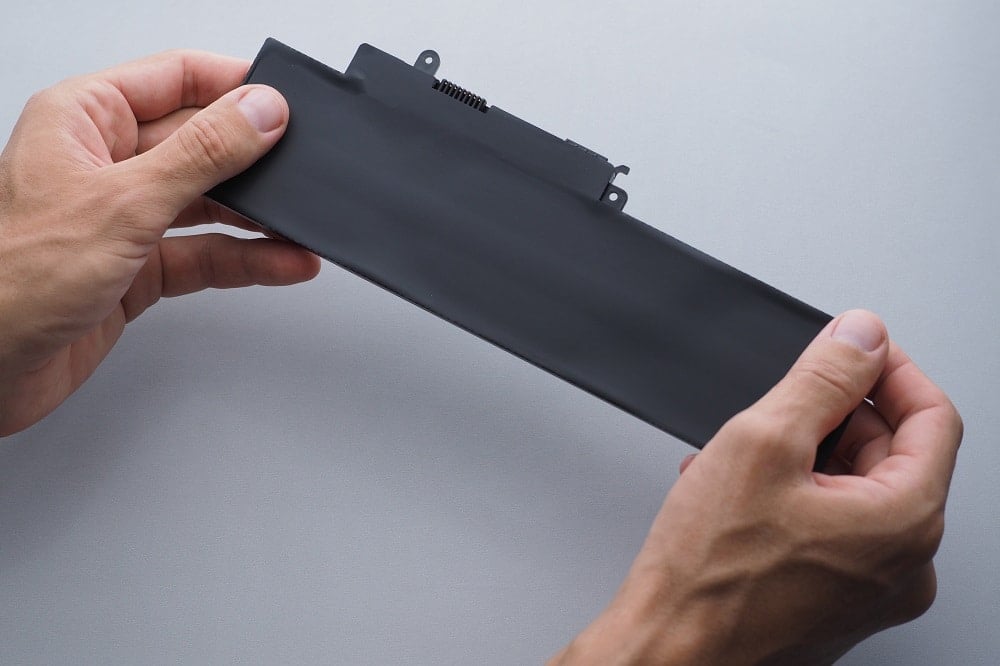
2. Check if it boots up normally by pressing and holding the bouton d'alimentation en en 20 secondes.
If this technique fails, try one of the following options.
Lisez aussi: Comment réparer l'erreur WDF_VIOLATION dans Windows 10
Méthode 2 : démarrer en mode sans échec et effacer l'espace
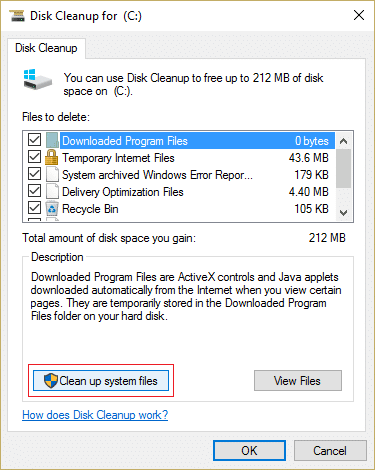
As some users have discovered, this issue can also occur when the system does not have enough capacity to start. Several individuals in a similar position have overcome the problem by running their machines in Safe Mode and freeing up some space. Follow our guide on How to Boot to Safe Mode in Windows 10.
Then, perform Disk cleanup by following our guide to run Disk Cleanup.
If diagnosing your PC Windows 10 problem persists, follow the next procedure below.
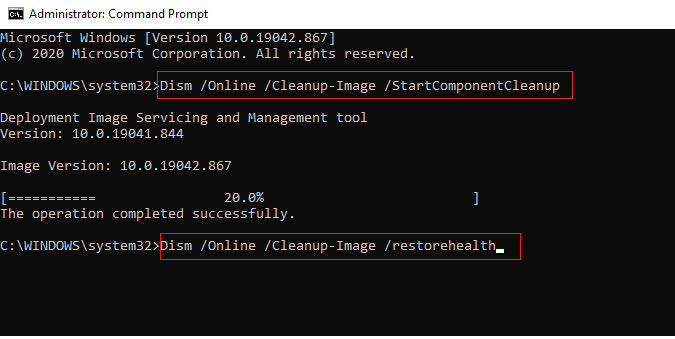
Méthode 3 : réparer les fichiers système
It’s also possible that this problem is caused by System File corruption. These corrupted files might prevent the booting procedure from finishing. You’ll have to run the scans before the Booting phase since you can’t go beyond the Diagnostics page. Read our guide on How to Repair System Files on Windows 10.
Lisez aussi: Réparer l'ordinateur n'a pas été resynchronisé car aucune donnée temporelle n'était disponible
Method 4: Run System Restore Utility
You may be dealing with a serious corruption problem that can’t be treated traditionally. When faced with a circumstance like this, the best action is to take a damage-control strategy. Most start-up troubles caused by system file corruption can be resolved by returning the machine to a healthy condition in which all components are working properly. Follow the below steps.
1. Insérez la disque d'installation ainsi que le redémarrez votre PC.
2. Appuyez sur n'importe quel key to start up the installation media when you see the booting screen.
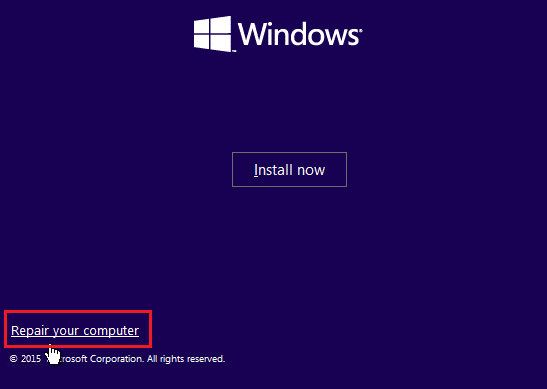
3. When Windows Setup has finished loading, click on Réparer votre ordinateur.
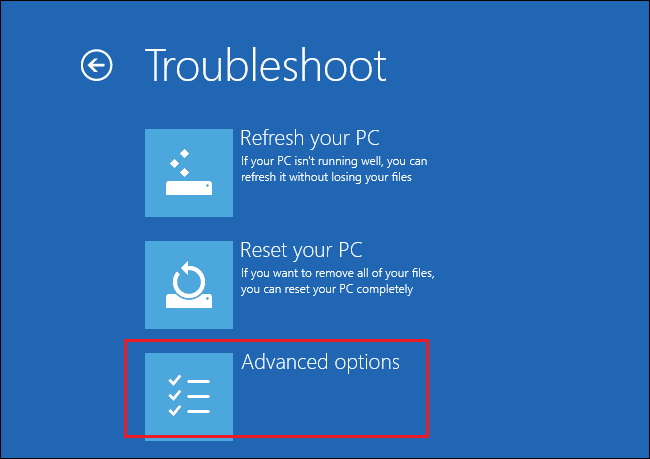
4. Accéder au Résolution des problèmes menu from the first repair menu.
5. Cliquez sur options avancées from the Troubleshoot menu.
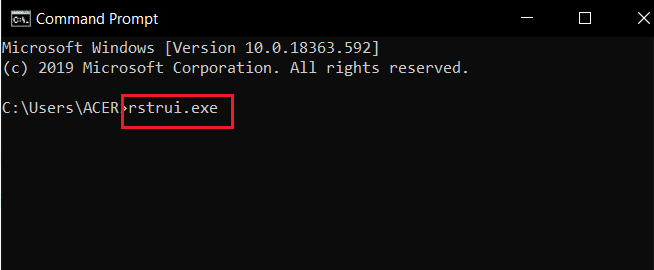
6. Cliquez ensuite sur Invite de commandes from the list of available utilities.
7. Pour ouvrir le restauration du système program, type the rstrui.exe commande dans le Invite de commandes fenêtre et appuyez sur La touche Entrée.
8. Cliquez sur Suivant once you’ve reached the first screen.
9. Maintenant, tique the option labeled Afficher plus de points de restauration.
10. Once you’ve done so, go through each restoration instantané and pick one taken before the Diagnostics problem.
11. To go on to the next option, choose the suitable photo et cliquez sur Suivant.
12. Maintenant, cliquez sur Finition.
Your system will restart automatically after restoring, and the old machine will be fixed at the next system starting.
Méthode 5: reconstruire BCD
In Windows 10, you’ll get the Preparing Automatic Repair error if the boot files are missing or damaged. As a result, some users will re-build the boot record using the procedures below.
1. Insert the Windows bootable installation CD into the PC displaying the error message Preparing Automatic Repair or Diagnosing your PC.
2. Start your computer by booting from the CD d'installation.
3. To continue, choose your langue paramètres et cliquez sur le Suivant .
4 Sélectionner réparation ton ordinateur.
5 Sélectionner Résolution des problèmes.
6 Sélectionner Invite de commandes.
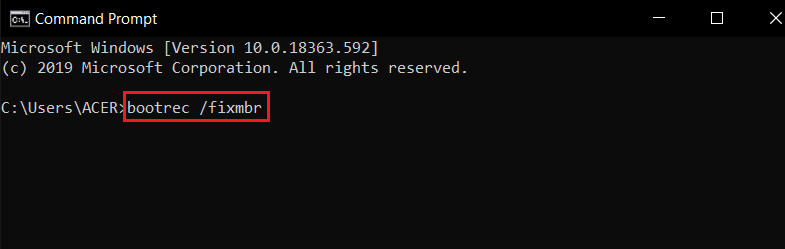
7. Enter the instructions below into the prompt, and press the La touche Entrée après chacun.
bootrec / fixmbr
bootrec / fixboot
bootrec / scanos
bootrec / RebuildBcd
8. Then, type the command sortie et appuyez sur La touche Entrée.
9. Finalement, redémarrer le PC.
Lisez aussi: Comment réparer l'erreur de mise à jour Windows 80072ee2
Méthode 6 : Désactiver la réparation de démarrage automatique
If this happens, the Automatic Start-up Repair software will launch at every system start-up. However, if the utility is broken, you might not be able to go past the start-up screen. Therefore, disabling this software would prevent the Diagnosing your PC screen from appearing.
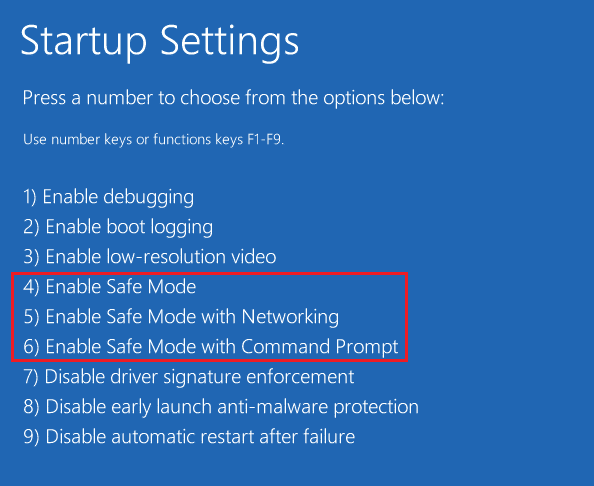
1. As soon as you see the introductory screen, press the F8 key repeatedly to get to the Options de démarrage avancées menu.
2 Sélectionner Mode sans échec avec la mise en réseau from the Advanced Boot Options menu by pressing the Touche F5 ou en utilisant les touches fléchées.
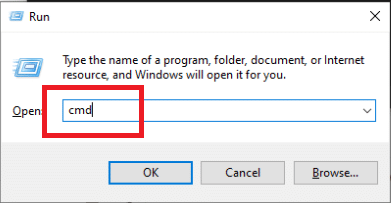
3. When the booting routine is complete, press Touches Windows + I lancer le Exécuter la boîte de dialogue.
4. Type cmd et frapper Touches Ctrl + Maj + Entrée to open an Invite de commande élevée.
5. Cliquez sur Oui dans l'invite.
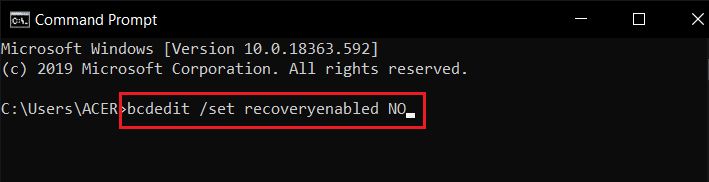
6. Entrez ce qui suit commander et appuyez sur La touche Entrée.
bcdedit / set recoveryenabled NO
7. Une fois le processus terminé, recommencer votre appareil.
If diagnosing your PC Windows 10 problem persists or you don’t get a different error, continue the next procedure.
Method 7: Uninstall Updates
If the update fails to install properly on your device, you might face this issue. Follow the below steps to resolve the discussed issue.
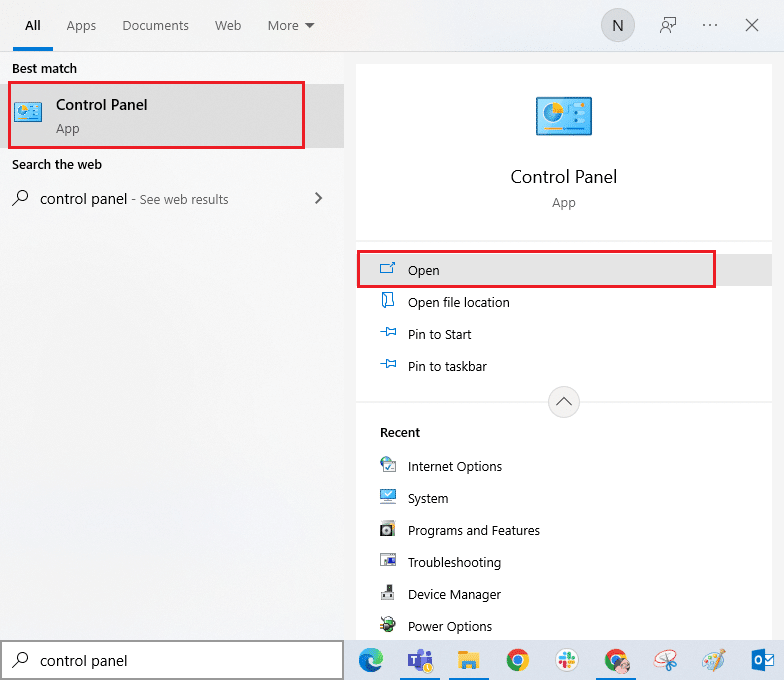
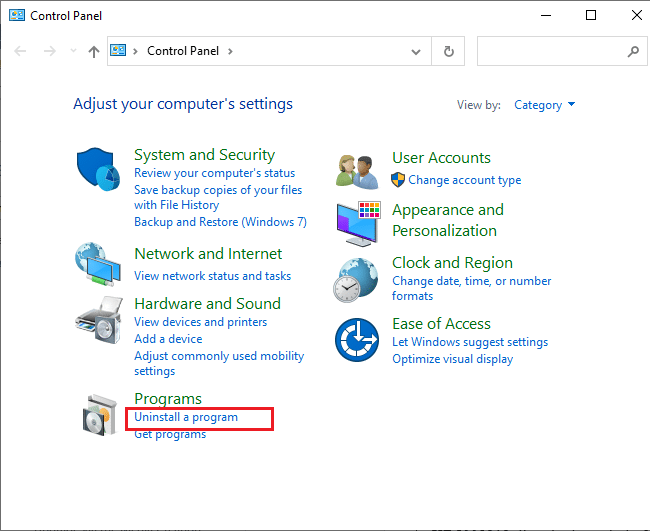
1. Frappez le Touche Windows et le type Panneau de configuration, puis cliquez sur Ouvert.
2. Maintenant, cliquez sur Désinstaller un programme option sous la Programmes menu comme illustré.
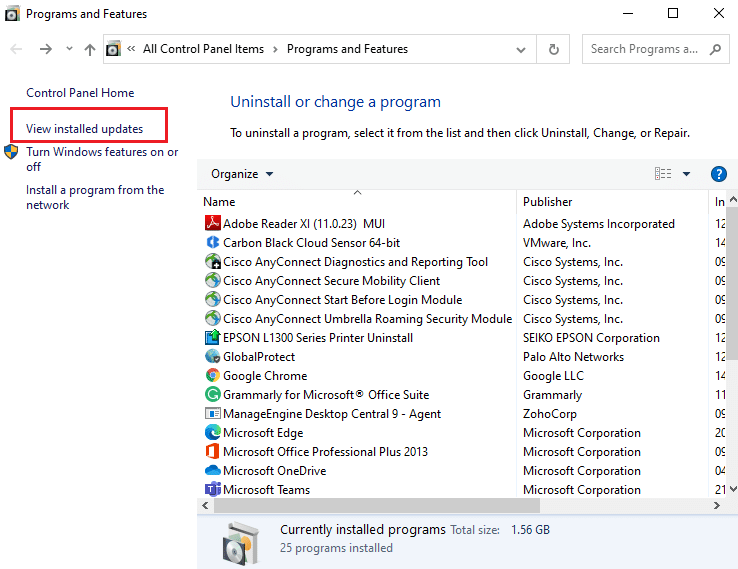
3. Maintenant, cliquez sur Voir mises à jour installées dans le volet de gauche, comme indiqué.
4. Maintenant, recherchez et sélectionnez la mise à jour la plus récente en vous référant à Installé sur le date et en cliquant sur Désinstaller l'option comme indiqué ci-dessous.
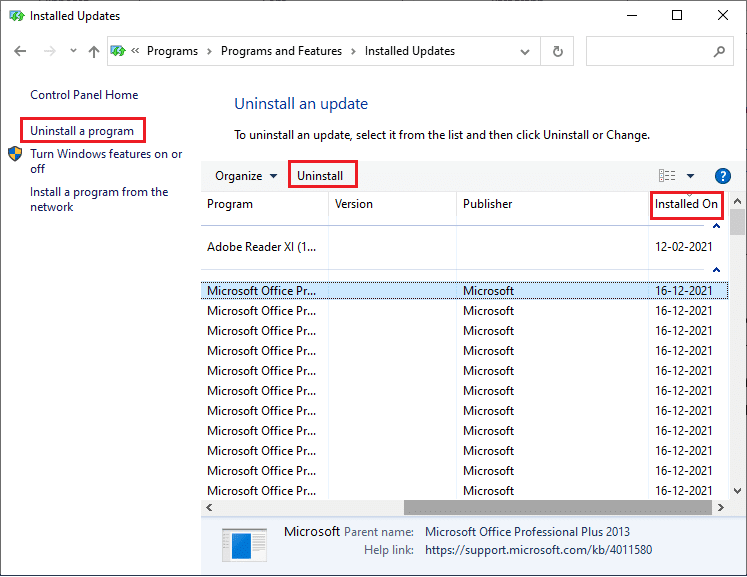
5. Enfin, confirmez toute invite et redémarrez le PC.
Check if diagnosing your PC stuck issue persists or not.
Lisez aussi: 7 façons de corriger l'erreur BSOD iaStorA.sys sous Windows 10
Method 8: Perform Repair Install
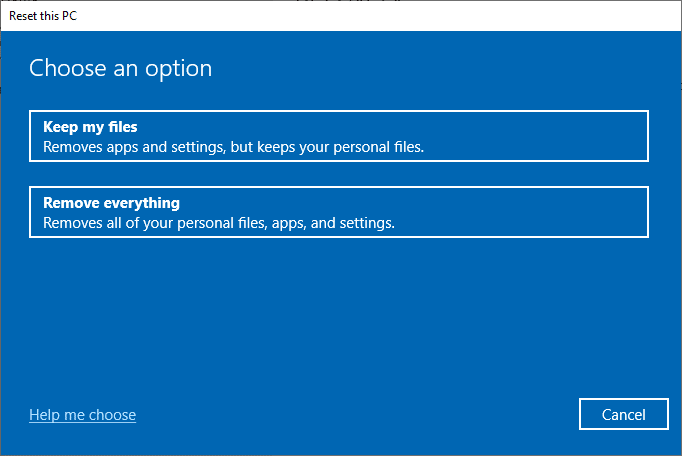
If none of the above-mentioned repair methods have worked, you’re probably dealing with a serious case of system corruption that can’t be fixed using normal methods. In this case, the only way to repair the problem is to reset every Windows component, including any booting-related tasks causing the Automatic Repair loop. You may always perform a clean installation but bear in mind that doing so will lose any saved data within your Windows system. If you choose a clean install, all your personal data, applications, games, documents, and other media will disappear. Read our guide on How to do a Clean Install of Windows 10 and implement the same.
Recommandée:
We hope you found this information useful and that you were able to resolve stuck on diagnosing your PC in Windows 10 problem. Please let us know which technique was the most beneficial for you. Please use the form below if you have any queries or comments. Also, let us know what you want to learn next.

