When you try to install apps on Windows Store, you may face Error Code 0x80073cf9, which can be very frustrating as Windows Store is a reliable source to install apps. If you try to install 3rd party apps from any other source, you risk your machine to malware or infections but what other option you have if you cannot install apps from Windows Store. Well, that’s where you’re wrong this error can be fixed, and that’s what exactly we are going to teach you in this article.
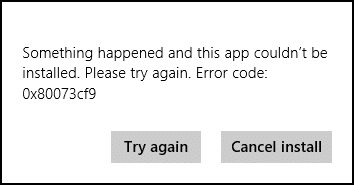
Something happened, and this app couldn’t be installed. Please try again. Error code: 0x80073cf9
There is no single cause as to why this error occurs so that various methods can fix this error. Most of the times it completely depends on the user machine configuration as to which method might work for them, so without wasting any time, let’s see how to fix this error.

Correction de l'erreur 10x0cf80073 du magasin Windows 9
Assurez-vous de créer un point de restauration au cas où quelque chose se passerait mal.
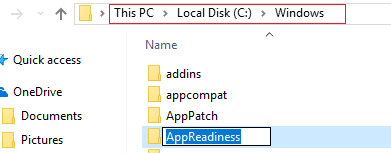
Method 1: Create A Folder AppReadiness
1. Appuyez sur la touche Windows + R puis tapez C: Windows et appuyez sur Entrée.
2. Trouvez le dossier AppReadniess in the Windows folder, if you can’t follow the next step.
3. Cliquez avec le bouton droit dans une zone vide et sélectionnez Nouveau > Dossier.
4. Name the newly created folder as Préparation de l'application et appuyez sur Entrée.
5. Reboot your PC to save changes. Again try to access the Store, and this time it might work perfectly.
Méthode 2 : réinstaller le Windows Store
1. Open Command Prompt as an Administrateur.

2. Run below PowerShell command
Get-AppxPackage -AllUsers | Foreach {Add-AppxPackage -DisableDevelopmentMode -Register "$ ($ _. InstallLocation) AppXManifest.xml"}

3. Once done, close command prompt and Restart your PC.
This step re-register Windows Store apps which should automatically Fix Windows 10 Store Error 0x80073cf9.
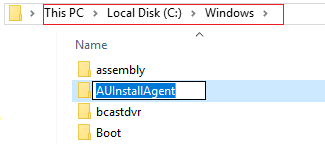
Method 3: Create a folder AUInstallAgent
1. Appuyez sur la touche Windows + R puis tapez C: Windows et appuyez sur Entrée.
2. Trouvez le dossier AUInstallAgent in the Windows folder, if you can’t then follow the next step.
3. Cliquez avec le bouton droit dans une zone vide et sélectionnez Nouveau > Dossier.
4. Name the newly created folder as AAUInstallAgent et appuyez sur Entrée.
5. Reboot your PC to save changes. This step may fix Windows 10 Store Error 0x80D05001 or 0x80073cf9 but if it didn’t then continue.
Method 4: Allow Full System Access to Packages in AppRepository
1. Appuyez sur la touche Windows + R puis tapez C: ProgramDataMicrosoftWindows et appuyez sur Entrée.
2. Now double click on AppRepository folder to open it, but you will receive an error:
You have been denied permission to access this folder.
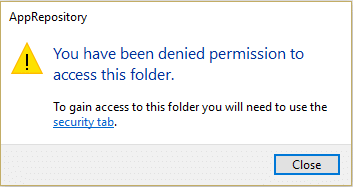
3. This means you need to take ownership of this folder before you can access it.
4. You can take ownership of the folder via the following method: How To Fix Destination Folder Access Denied Error.
5. Now you need to give the SYSTEM account, and the APPLICATION PACKAGES account full control on the folder C:ProgramDataMicrosoftWindowsAppRepositoryPackages. To this follow the next step.
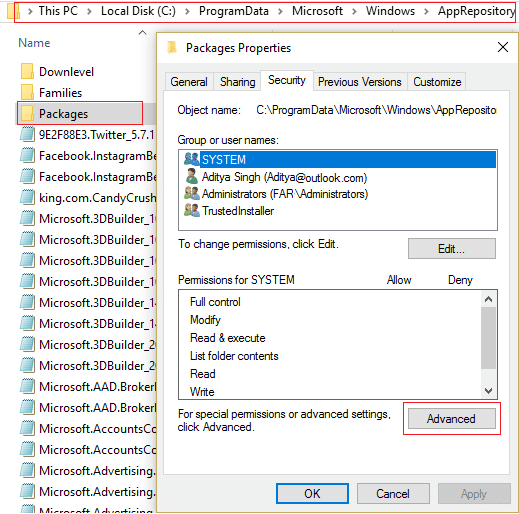
6. Faites un clic droit sur le Packages folder et sélectionnez Propriétés.
7. Sélectionnez l' Onglet Sécurité puis cliquez sur Avancé.
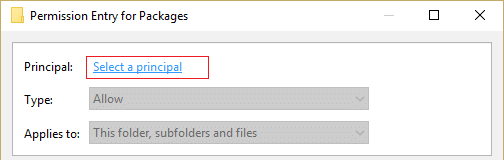
8. In Advanced Security Settings, click Ajouter and click on Select a principal.
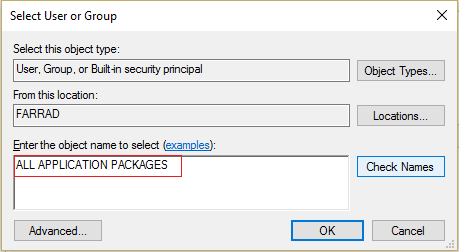
9. Ensuite, tapez «TOUS LES FORFAITS DE DEMANDE” (without quote) in the field Enter the object name to select and click OK.
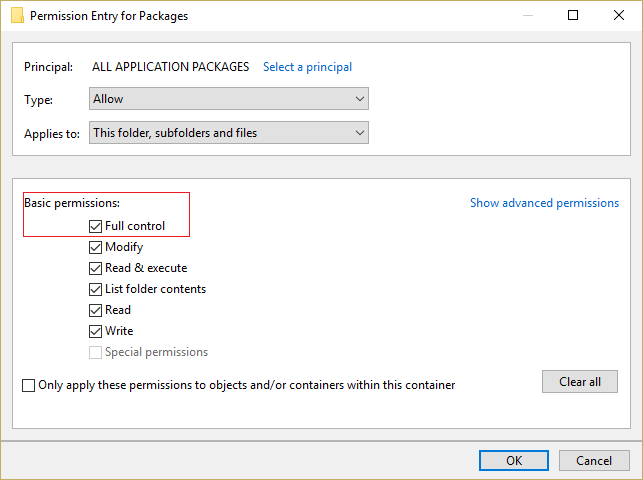
10. Now, on the next window check mark Full control and then click OK.
11. Do the same with the SYSTEM account. Reboot your PC to save changes.
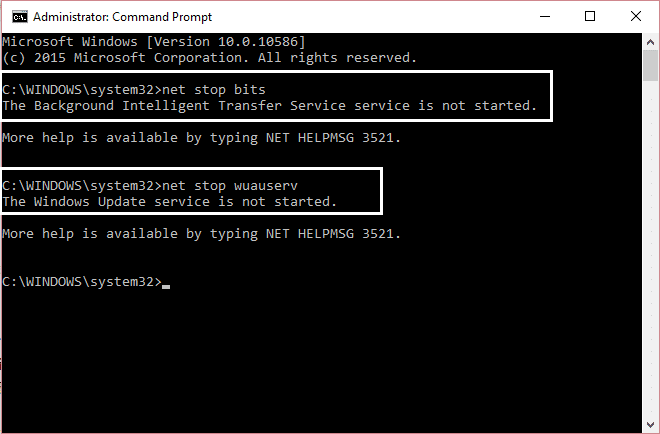
Method 5: Rename Software Distribution Folder
1. Press Windows Key + Q to open Charms Bar and type cmd.
2. Right-click on cmd and select Exécuter en tant qu'administrateur.
3. Type these commands and hit enter:
net stop wuauserv
ren c:windowsSoftwareDistribution softwaredistribution.old
net start wuauserv
exit
4. Reboot your PC to saves changes and again try to download updates.
Méthode 6 : exécuter DISM (service et gestion des images de déploiement)
1. Appuyez sur la touche Windows + X puis sélectionnez Invite de commandes (administrateur).

2. Enter the following command in cmd and hit enter:
Important: Lorsque vous utilisez DISM, vous devez disposer du support d'installation Windows prêt.
DISM.exe / Online / Cleanup-Image / RestoreHealth / Source: C: RepairSourceWindows / LimitAccess
Remarque: Remplacez C:RepairSourceWindows par l'emplacement de votre source de réparation

3. Press enter to run the above command and wait for the process to complete; usually, it takes 15-20 minutes.
REMARQUE: Si la commande ci-dessus ne fonctionne pas, essayez ce qui suit : Dism /Image:C:offline /Cleanup-Image /RestoreHealth /Source:c:testmountwindows Dism /Online /Cleanup-Image /RestoreHealth /Source:c:testmountwindows /LimitAccess
4. After the DISM process is complete, type the following in the cmd and hit Enter: sfc / scannow
5. Let System File Checker run and once it’s complete, restart your PC.
Méthode 7 : Exécutez CCleaner et Malwarebytes
1. Télécharger et installer Ccleaner & Malwarebytes.
2. Exécuter Malwarebytes et laissez-le analyser votre système à la recherche de fichiers nuisibles. Si un logiciel malveillant est détecté, il le supprimera automatiquement.

3. Exécutez maintenant CCleaner et sélectionnez Nettoyage personnalisé.
4. Sous Nettoyage personnalisé, sélectionnez le Onglet Windows et cochez les valeurs par défaut et cliquez sur Analysez.

5. Une fois l'analyse terminée, assurez-vous d'être certain de supprimer les fichiers à supprimer.

6. Enfin, cliquez sur le Exécuter Cleaner et laissez CCleaner suivre son cours.
7. Pour nettoyer davantage votre système, sélectionnez l'onglet Registre, et assurez-vous que les éléments suivants sont vérifiés :

8. Cliquez sur le Analysez les problèmes et autorisez CCleaner à analyser, puis cliquez sur le bouton Corriger les problèmes sélectionnés .

9. Lorsque CCleaner demande «Voulez-vous sauvegarder les modifications apportées au registre ? » sélectionnez Oui.
10. Une fois votre sauvegarde terminée, cliquez sur le Résoudre tous les problèmes sélectionnés .
11. Redémarrez votre PC pour enregistrer les modifications.
Method 8: Clear Windows Store cache
1. Appuyez sur la touche Windows + R puis tapez Wsreset.exe et appuyez sur Entrée.
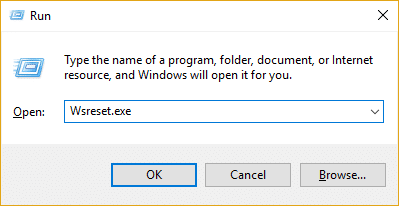
2. Une fois le processus terminé, redémarrez votre PC.
Method 9: Run Windows Update and Windows Store Apps troubleshooter
1. Type dépanneur dans la barre de recherche Windows et cliquez sur Dépanneur.
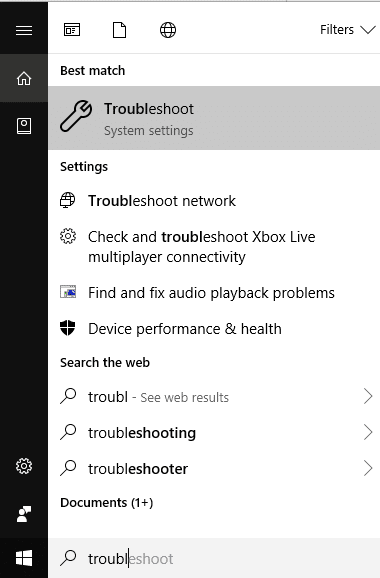
2. Ensuite, dans la fenêtre de gauche, sélectionnez le volet Voir tout.
3. Ensuite, dans la liste Résoudre les problèmes informatiques, sélectionnez Windows Update.

4. Follow on-screen instruction and let the Windows Update Troubleshoot run.

5. Now again go back to the View all window but this time select Applications du Windows Store. Run the troubleshooter and follow on-screen instructions.
6. Redémarrez votre PC et essayez à nouveau d'installer des applications à partir du Windows Store.
Recommandée:
Voilà, vous avez réussi Correction de l'erreur 10x0cf80073 du magasin Windows 9 mais si vous avez encore des questions concernant cet article, n'hésitez pas à les poser dans la section commentaires.

