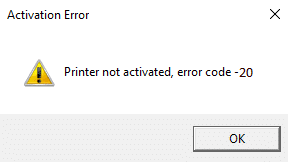
How to fix Printer not activated Error Code 20: If you’re facing the error message “Printer not activated – Error Code 20” then you’re at the right place as today we are going to see how to fix the issue. The issue is generally seen in systems in which user have upgraded from earlier version of Windows or using the QuickBooks software. In anyway case, let’s see how to fix Printer not activated Error Code 20 with the help of the below-listed guide.
How to fix Printer not activated Error Code 20
Assurez-vous de créer un point de restauration au cas où quelque chose se passerait mal.
Method 1: Set the Default Printer
1.Type control in Windows Search then click on Panneau de configuration.

2.Click Matériel et audio puis sélectionnez Appareils et imprimantes.

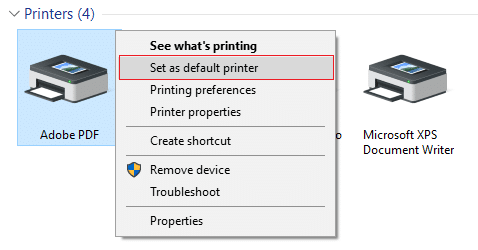
3.Right-click on your printer and select Set as a default printer.
4.Redémarrez votre PC pour enregistrer les modifications.
Method 2: Re-install the USB Composite Device from Device Manager
1.Appuyez sur la touche Windows + R puis tapez devmgmt.msc et appuyez sur Entrée.

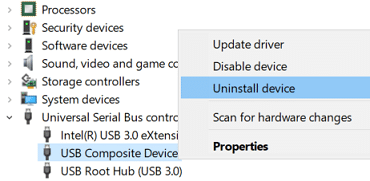
2.Développer Universal Serial Bus Controllers.
3.Cliquez avec le bouton droit sur Périphérique composite USB et sélectionnez Désinstaller.
4.If asks for confirmation select Yes/OK.
5.Disconnect the Printer USB from the PC and then reconnect it.
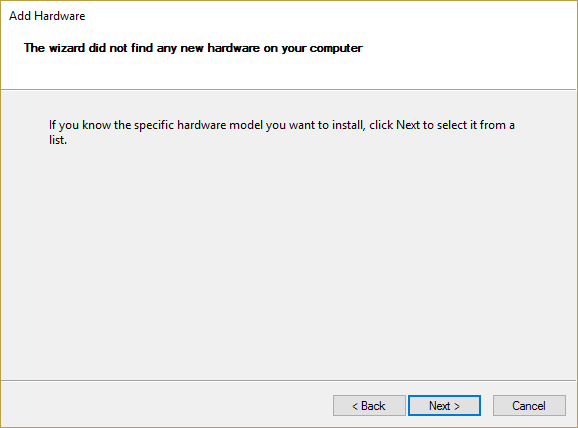
6.Follow the instructions in the Found New Hardware wizard installer les pilotes.
7.Right-click the printer icon, and then click Imprimer la page de test to print a Windows self-test page.
8.Redémarrez votre PC pour enregistrer les modifications.
Méthode 3 : exécutez l'utilitaire de résolution des problèmes d'imprimante
1.type “troubleshooting” in Windows Search bar and click on Dépannage.

6. Ensuite, dans le volet de gauche de la fenêtre, sélectionnez Voir tout.
7. Ensuite, dans la liste Résoudre les problèmes informatiques, sélectionnez Imprimante.
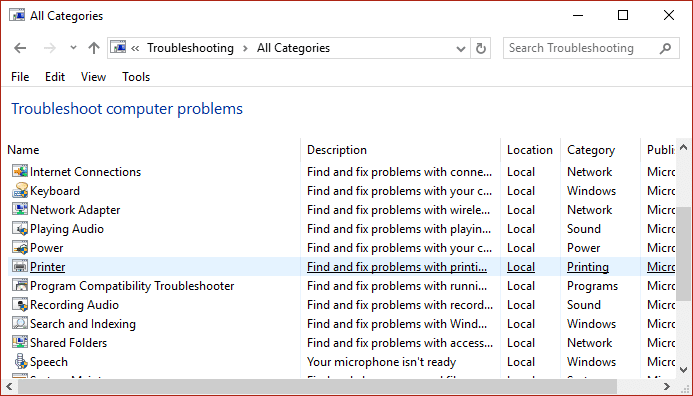
8.Follow on-screen instruction and let the Printer Troubleshooter run.
9.Restart your PC and you may be able to Fix Printer not activated Error Code 20.
Méthode 4 : correctif du registre
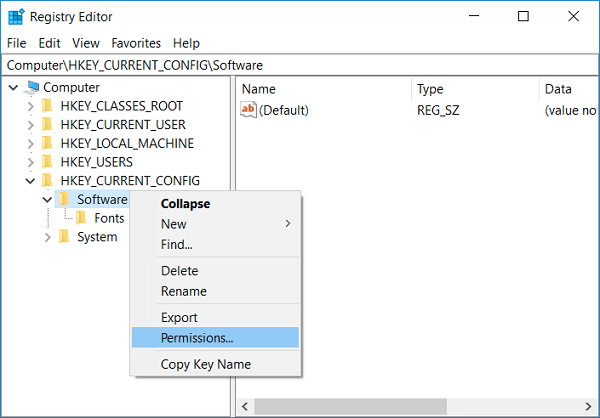
1.Appuyez sur la touche Windows + R puis tapez regedit et appuyez sur Entrée pour ouvrir l'Éditeur du Registre.

2. Accédez à la clé de registre suivante :
HKEY_CURRENT_CONFIGSoftware
3.Right-click on Software folder then select Autorisations.
4.Now in the permission window, ensure that Administrator and users avons contrôle total checked, if not then checkmark them.
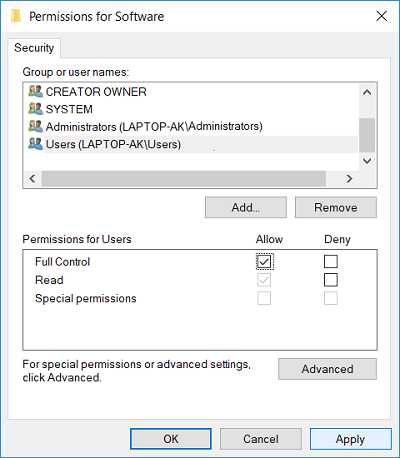
5.Cliquez sur Appliquer puis sur OK.
6.Restart your PC to save changes and see if you’re able to fix the issue.
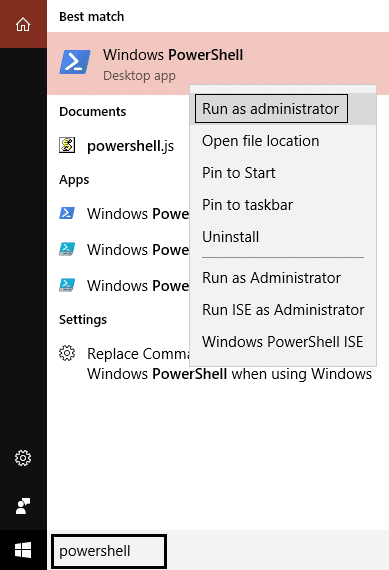
Method 5: Grant Permission using PowerShell
1.Type powershell dans Windows Search puis faites un clic droit sur PowerShell et sélectionnez Exécuter en tant qu'administrateur.
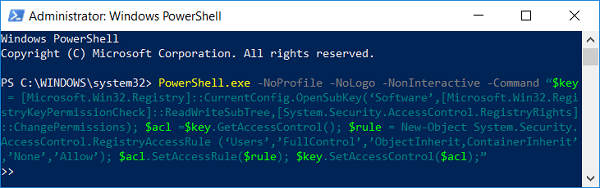
2.Now type the following command in PowerShell and hit Enter:
PowerShell.exe -NoProfile -NoLogo -NonInteractive -Command “$key = [Microsoft.Win32.Registry]::CurrentConfig.OpenSubKey(‘Software’,[Microsoft.Win32.RegistryKeyPermissionCheck]::ReadWriteSubTree,[System.Security.AccessControl.RegistryRights]::ChangePermissions); $acl =$key.GetAccessControl(); $rule = New-Object System.Security.AccessControl.RegistryAccessRule (‘Users’,’FullControl’,’ObjectInherit,ContainerInherit’,’None’,’Allow’); $acl.SetAccessRule($rule); $key.SetAccessControl($acl);”
3.Redémarrez votre PC pour enregistrer les modifications.
Method 6: Reinstall QuickBook
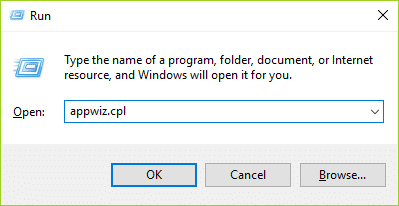
1.Appuyez sur la touche Windows + R puis tapez appwiz.cpl et appuyez sur Entrée.
2.Find QuickBook from the list and uninstall it.
3. Ensuite, download QuickBooks from here.
4.Run the installer and follow on-screen instructions to install QuickBook.
5.Redémarrez votre PC.
Recommandée:
Voilà, vous avez réussi Fix Printer not activated Error Code 20 mais si vous avez encore des questions concernant cet article, n'hésitez pas à les poser dans la section commentaires.

