While surfing internet in your browser, you may face Server IP address could not be found error. This is a common issue for the Google Chrome users. We bring to you a helpful guide that will fix server IP address could not be found error on Windows 10. So, continue reading!
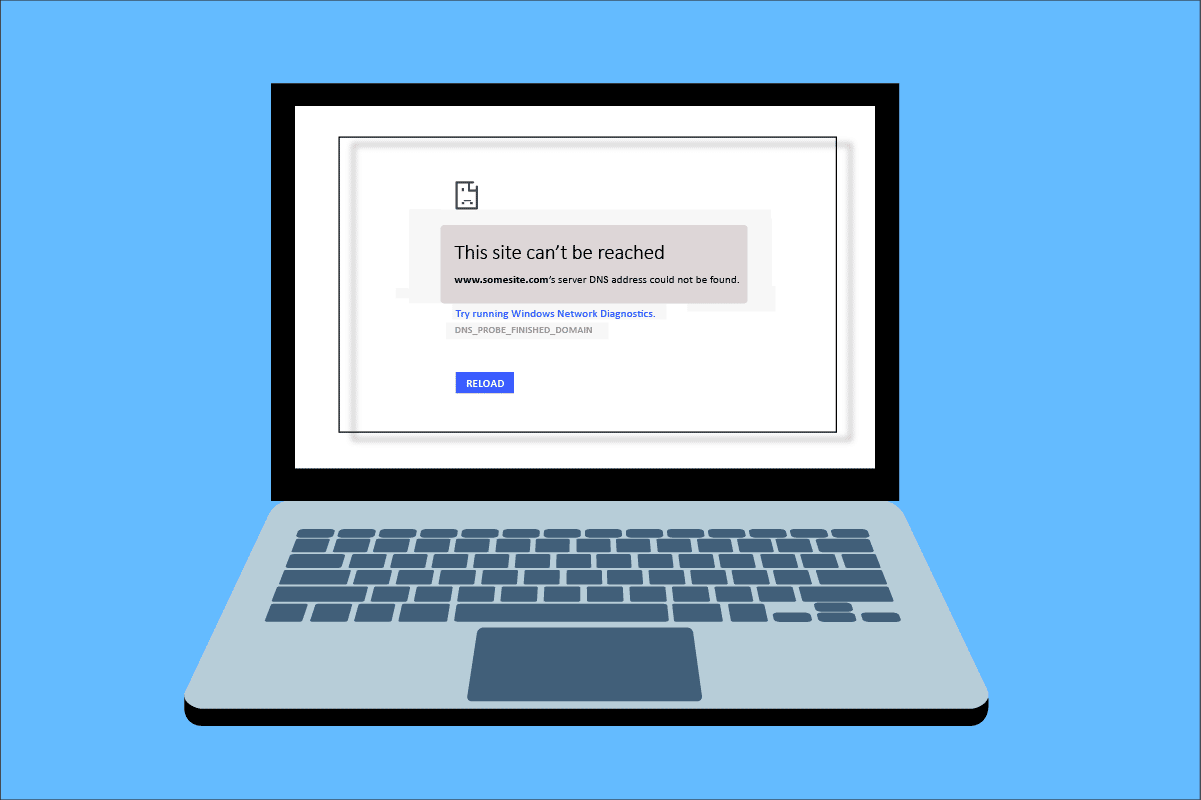
How to Fix Server IP Address Could Not be Found on Windows 10
One of the most popular web browser is Google Chrome. However if you are facing the error while browsing in the Chrome browser, then do not worry! This issue may be caused due to various reasons like;
- Ynstabiele ynternetferbining
- Corrupt Browser Cache and Cookies
- Incorrect IP Address
- Corrupt DNS Cache
- Outdated Network Drivers
Here, we have listed all possible methods to fix the said issue on Windows 10.
Method 1: Troubleshoot Network Adapter
The said issue may occur due to your network error. You can run the network adapter troubleshooter to fix any errors with your network adapter. Read our guide to troubleshoot network connectivity on Windows 10.

Metoade 2: Blêdercache wiskje
The cache files in your web browser may get corrupt. You can try to clear the cache and cookies of your browser and try to check if the error still persists or not. Follow these steps to clear browser cache.
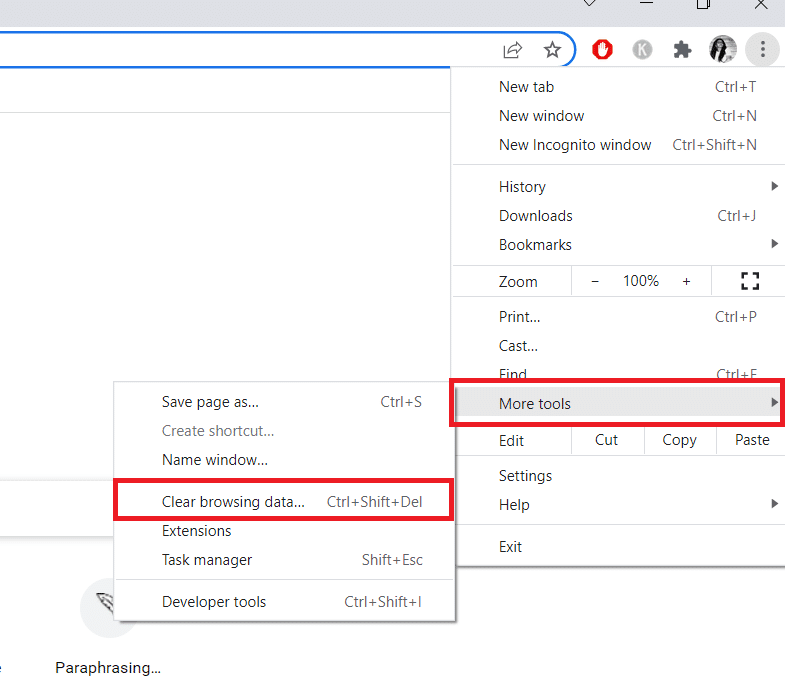
1. Start de chrome browser from Windows search bar as shown.

2. No, klik op de trije-stippele ikoan yn de hoek rjochts boppe.
3. Hjir, klik op de Mear ark opsje.
4. Folgjende, klik op de Dúdlik blêdzjen data… opsje.
Noat: Jo kinne type chrome: // settings / clearBrowserData in the search bar to launch the browser history page directly.
5. Hjir, selektearje de Tiid berik in the next window. Check the boxes marked:
- Koekjes en oare side-gegevens en
- Cache ôfbyldings en bestannen.
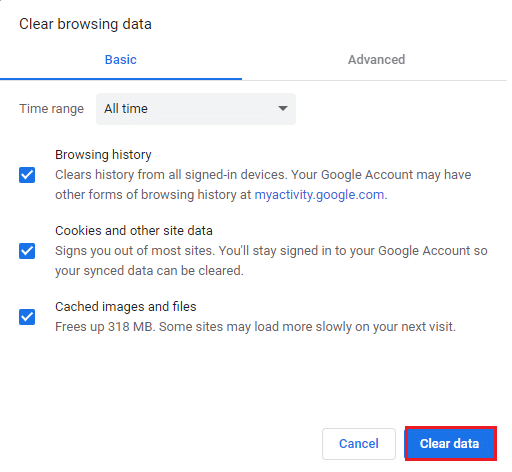
6. As lêste, klik op Dúdlike gegevens.
Lês ek: Fix This Plugin is Not Supported error in Chrome
Method 3: Clear DNS Cache
You can try to clear the DNS cache to fix server IP address could not be found error. Follow our guide to flush and reset the DNS cache in Windows 10.
Method 4: Release and Renew IP Address
Here are the steps to release and renew the IP address.
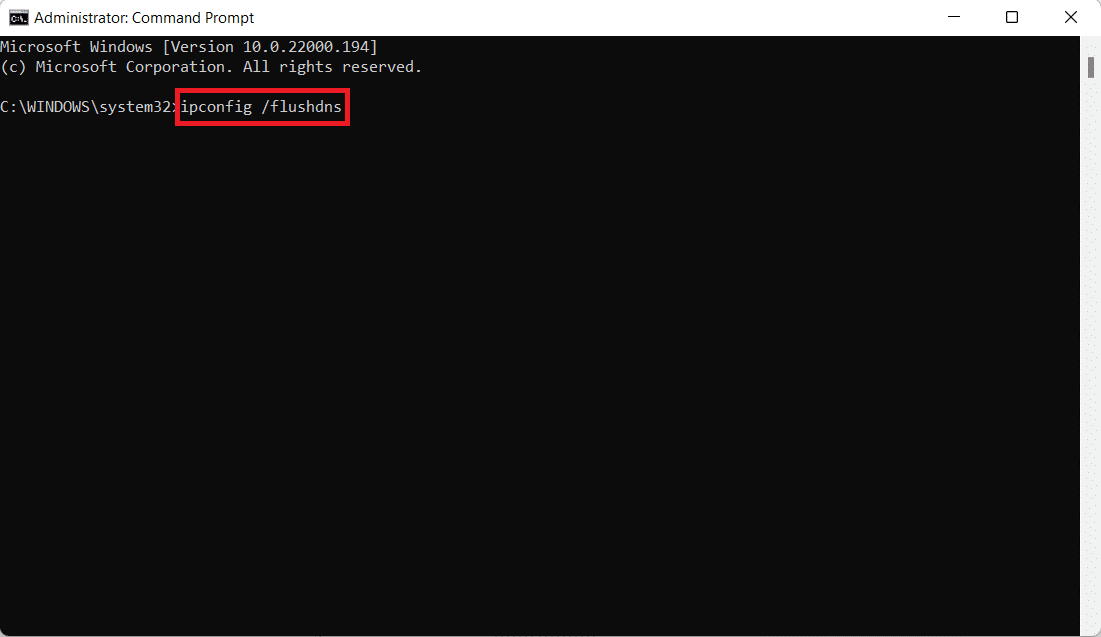
1. Hit de Windows-kaai, type Opdrachtprompt, en klikje op As administrator útfiere.

2. Firstly you should flush the DNS cache as shown in Metoade 2.
3. Once the above process is complete, type ipconfig / release en drukke de Yngean key.

4. Typ dan ipconfig / fernijing en rekke Yngean to renew your IP.

Lês ek: Fix gjin WiFi-netwurken fûn yn Windows 10
Method 5: Change DNS Address
Incorrect DNS address also cause this said Chrome error. You can change your DNS address to fix the error. Follow the given steps to change DNS address.
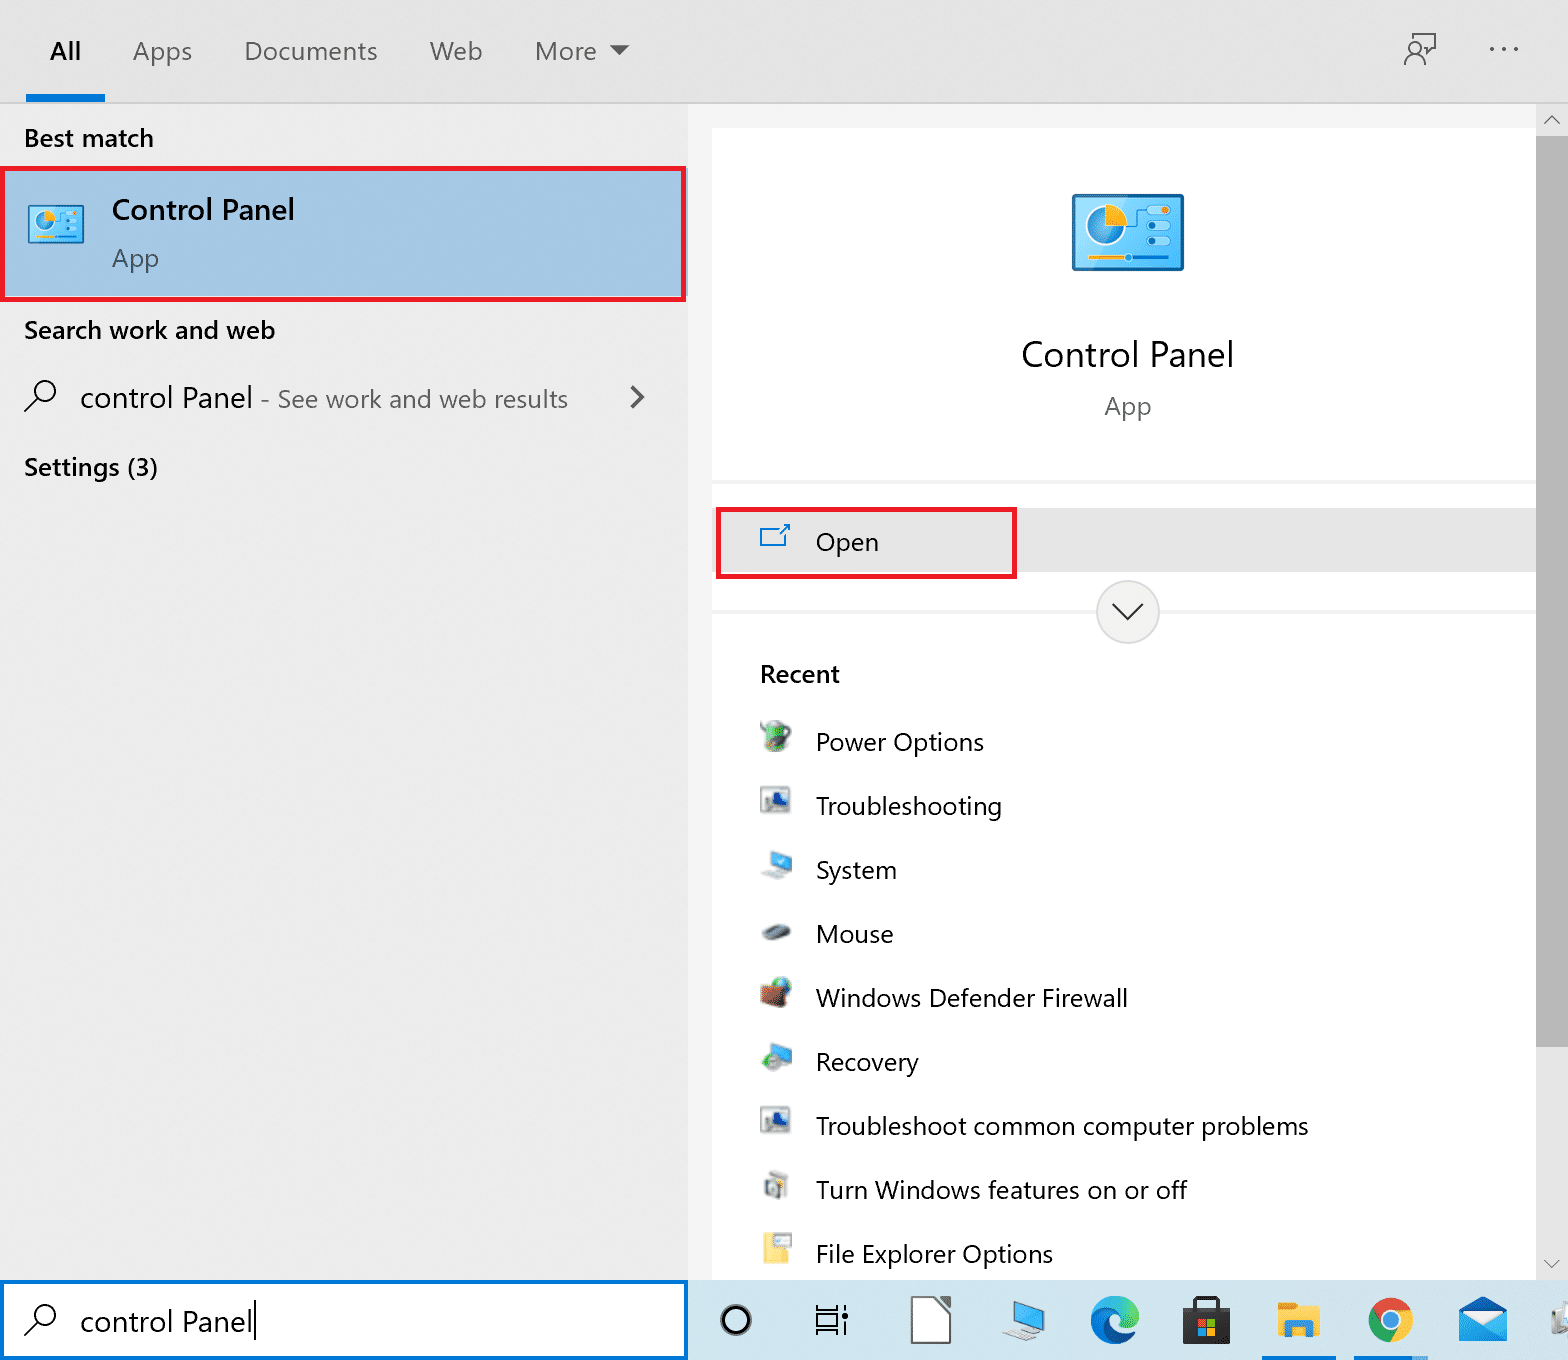
1. Druk op de Windows-kaai, type Control Panel en klikje op Iepen.
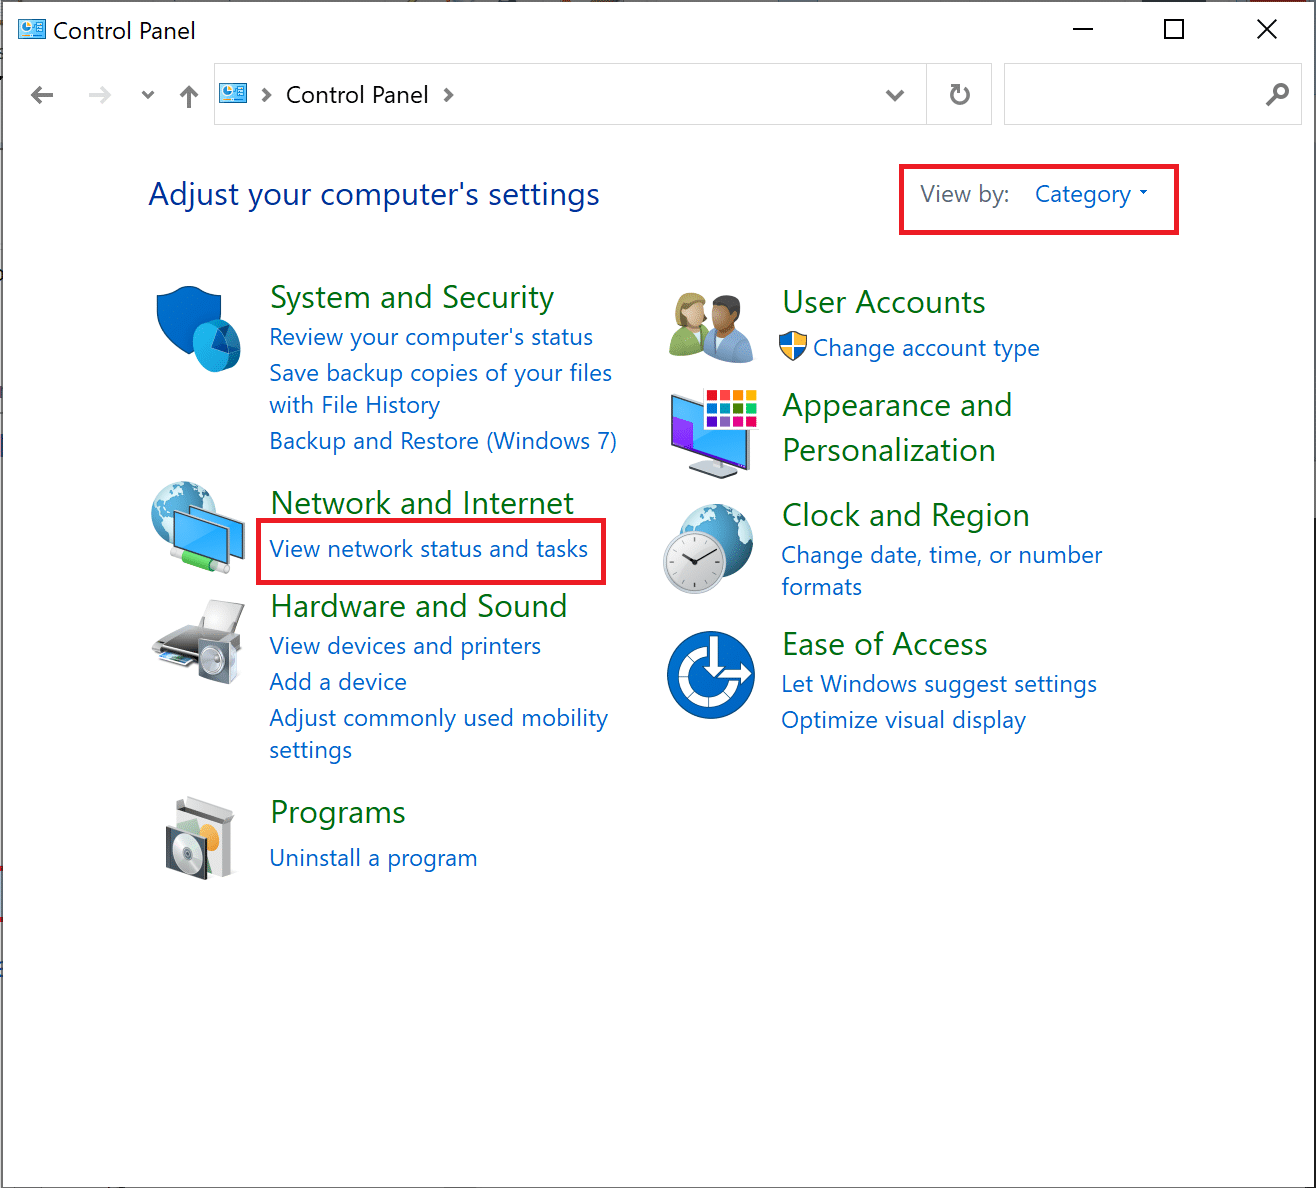
2. Set Sjoch by > Kategory en klikje op Besjoch netwurkstatus en taken.
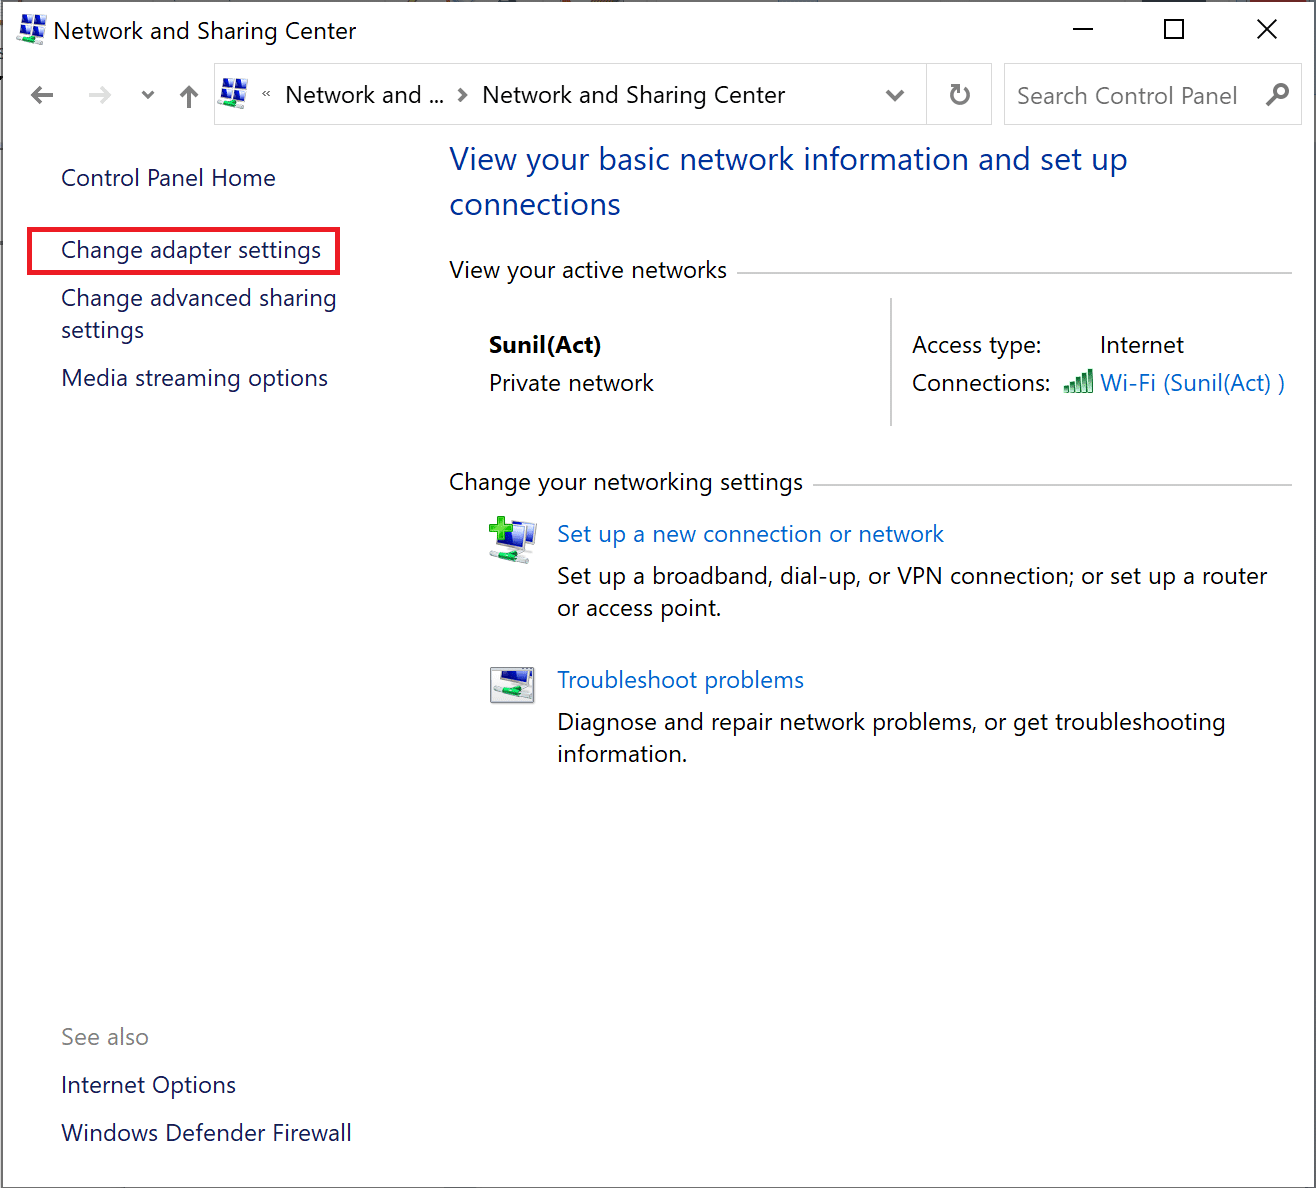
3. No, klik op de Adaptaasjes ynstellings wizigje option at the left sidebar.
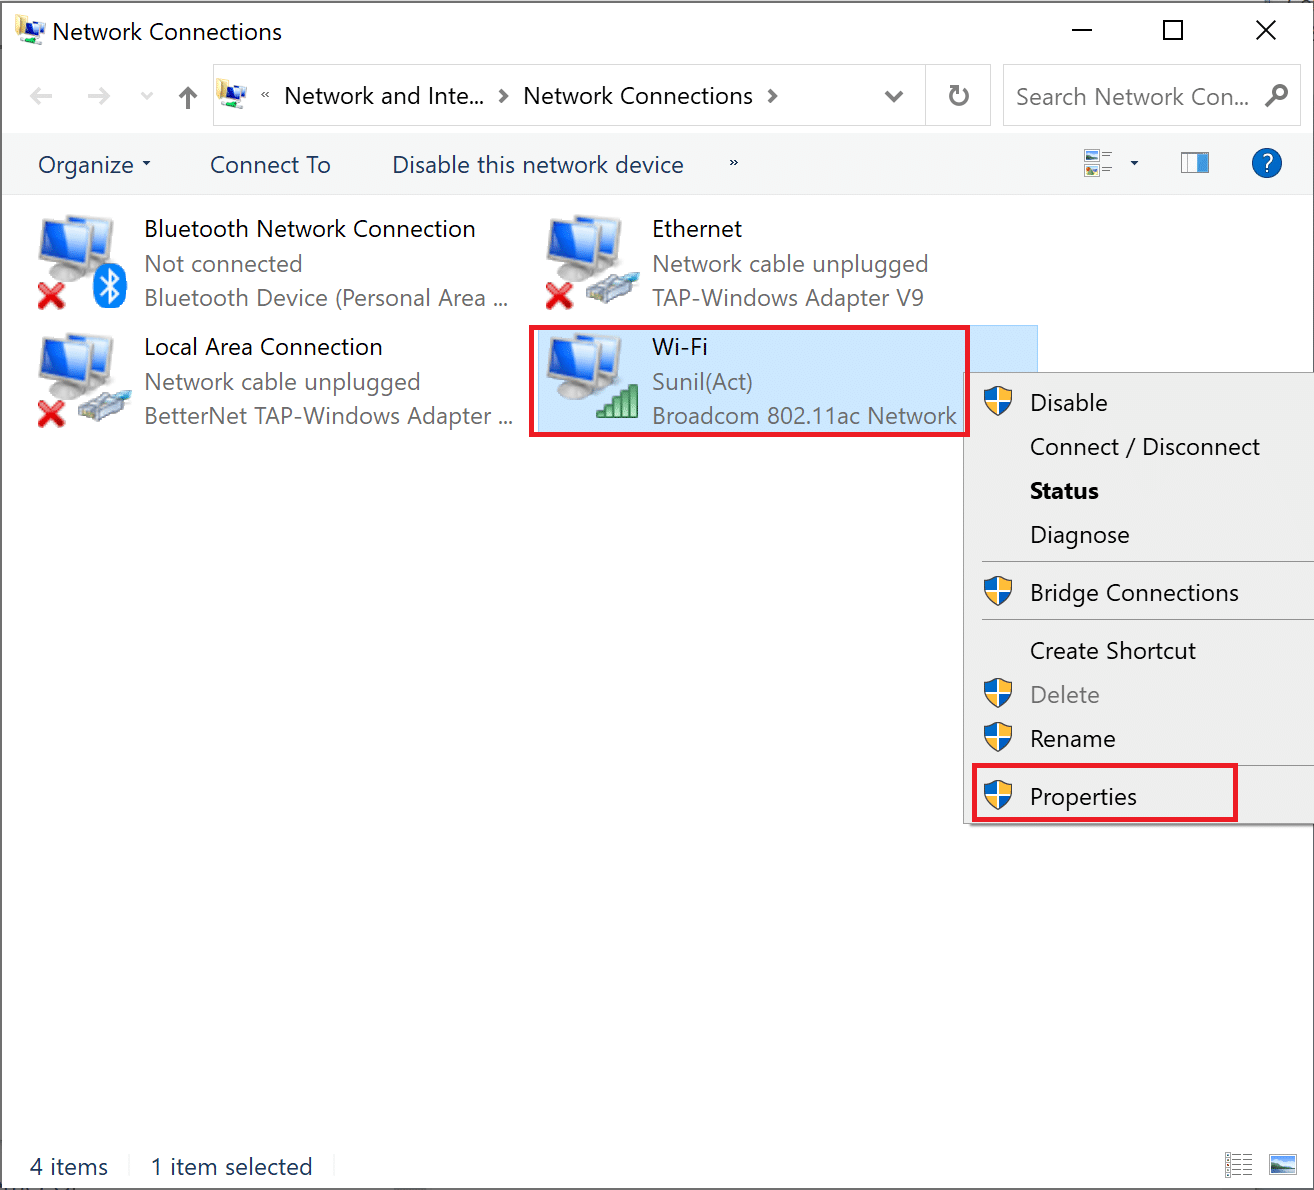
4. Next, right-click on your currently active internet connection and select eigenskippen, lykas markearre.
5. In the Properties window, double-click on Internet Protokol Ferzje 4 (TCP / IPv4).
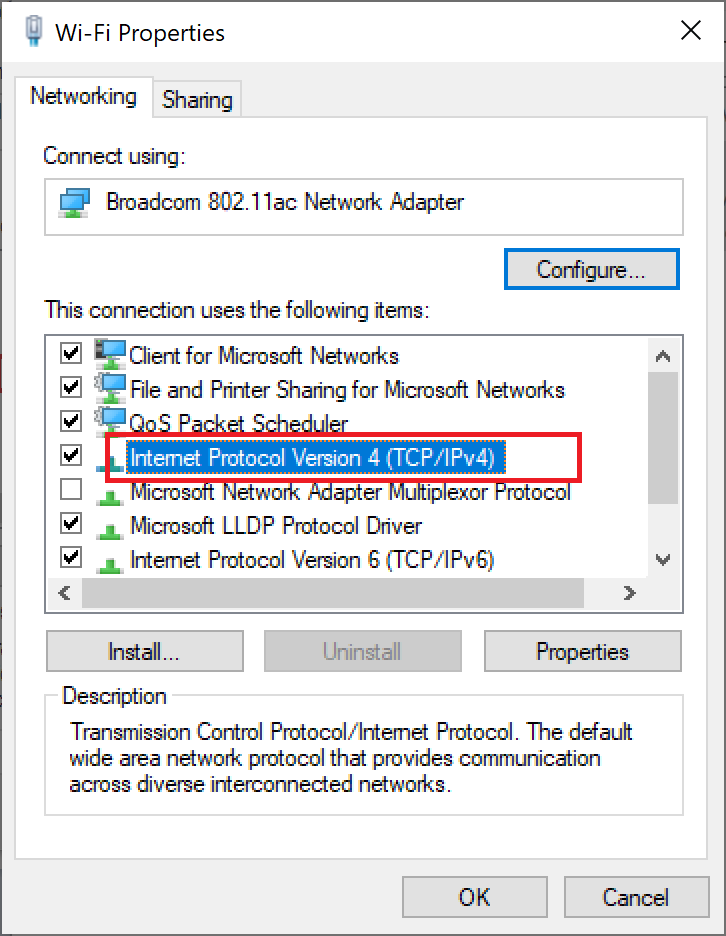
6. Next, check the options titled Krij automatysk in IP-adres en Brûk de folgjende DNS-tsjinneradressen, lykas markearre.
6a. For the Preferred DNS server, enter the Google Public DNS address as: 8.8.8.8
6b. And, In the Alternatyf DNS-tsjinner, enter the other Google Public DNS as: 8.8.4.4
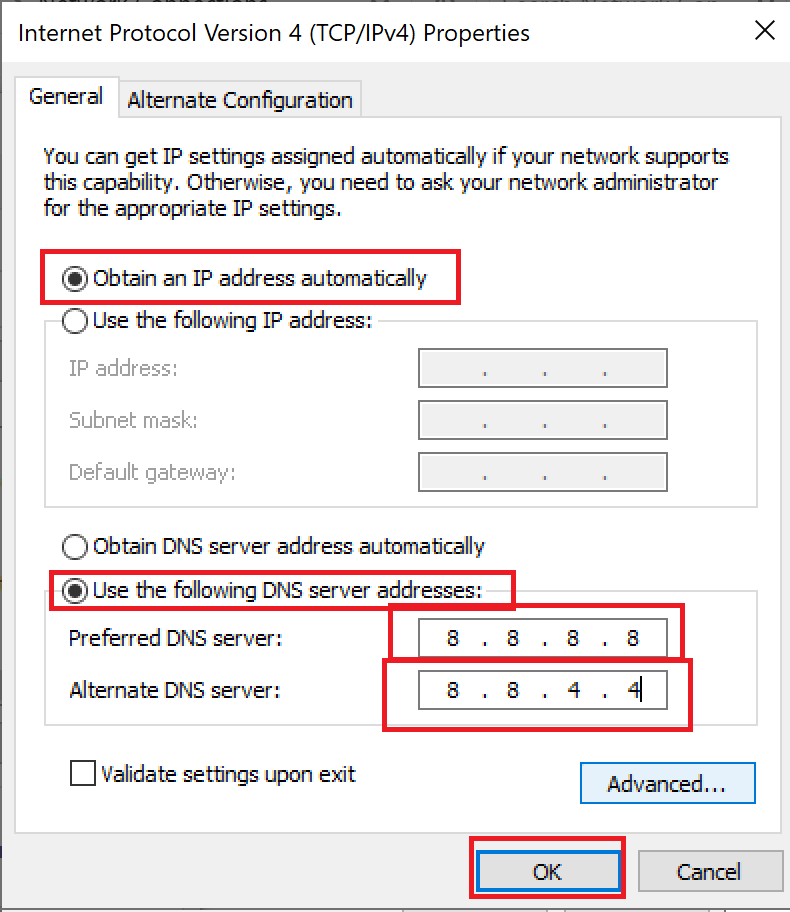
7. As lêste, klikje op OK to save the changes and reboot de PC.
Method 6: Restart DNS Cache
You can follow these steps to restart DNS cache.
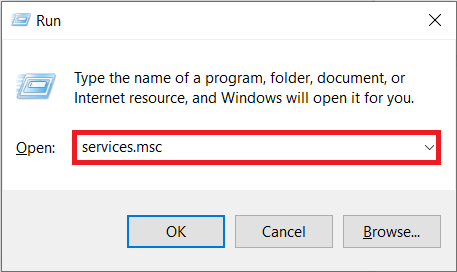
1. Druk op de Windows + R-kaaien tegearre te iepenjen run dialoochfinster.
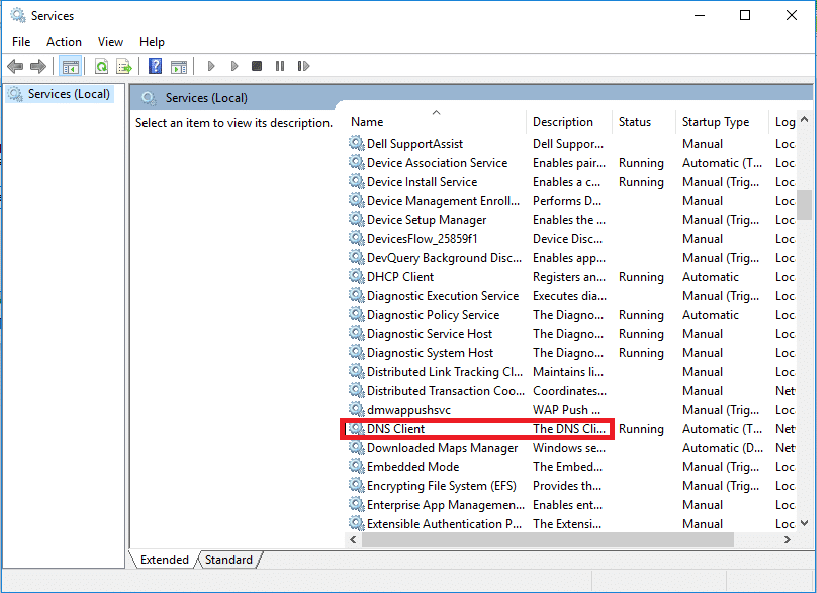
2. Then type services.msc en drukke de Enter kaai iepenje Tsjinsten finster.
3. Right-click on DNS-kliïnt en selektearje Restart.
Noat: If you find no restart option and unable to restart it from this method, you do not need to worry. You just need to open an elevated Command Prompt on your system.
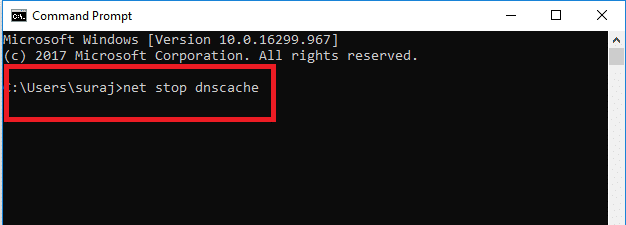
4. Typ de folgjende befel en drukke de Enter kaai.
net stop dnscache
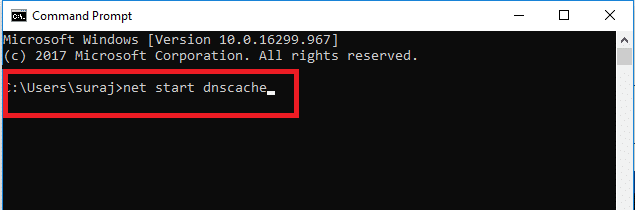
5. To start it again, type the given befel en rekke de Enter kaai.
net start dnscache
Lês ek: Hoe kinne jo netwurkynstellingen weromsette op Windows 10
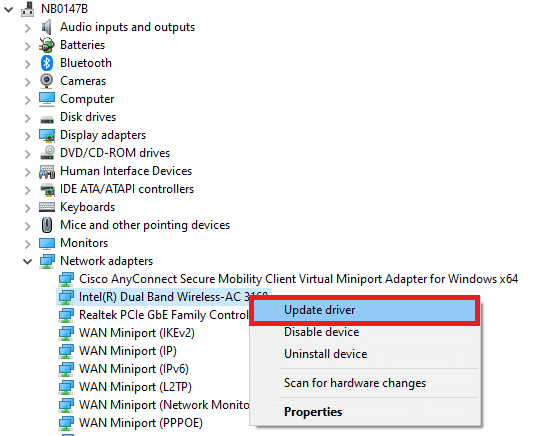
Method 7: Update Network Driver
Outdated network drive also can cause server IP address could not be found error. If you do not have the latest driver versions installed, then this may create bugs and can result in the unstable network connection. So, updating your network driver is necessary for a good network connection. Read our guide to update network drivers on Windows 10.
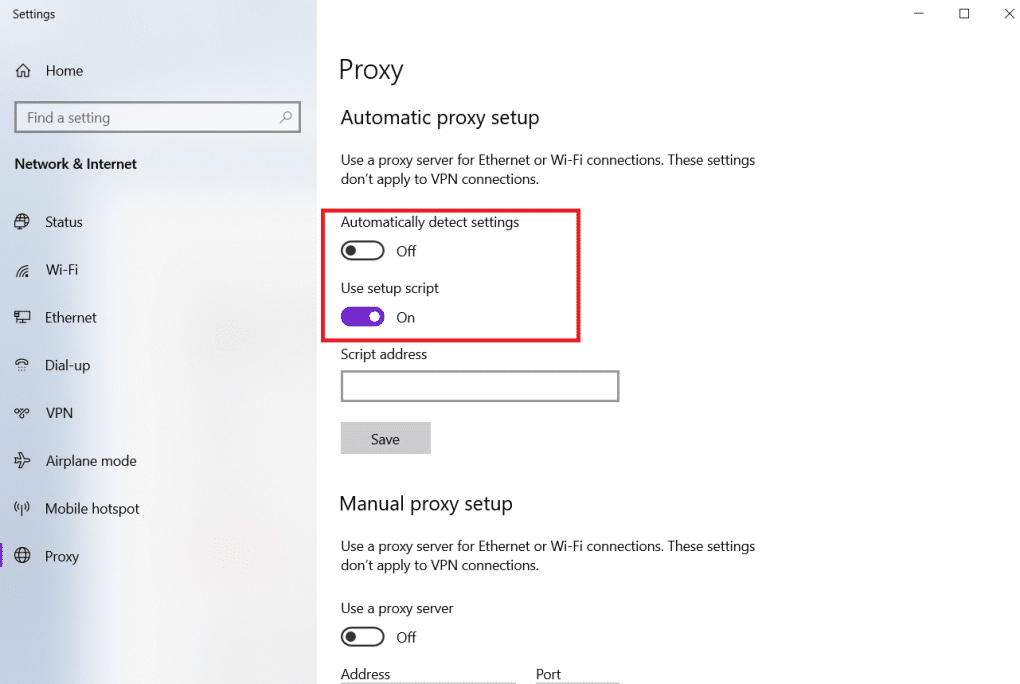
Method 8: Verify Proxy Settings
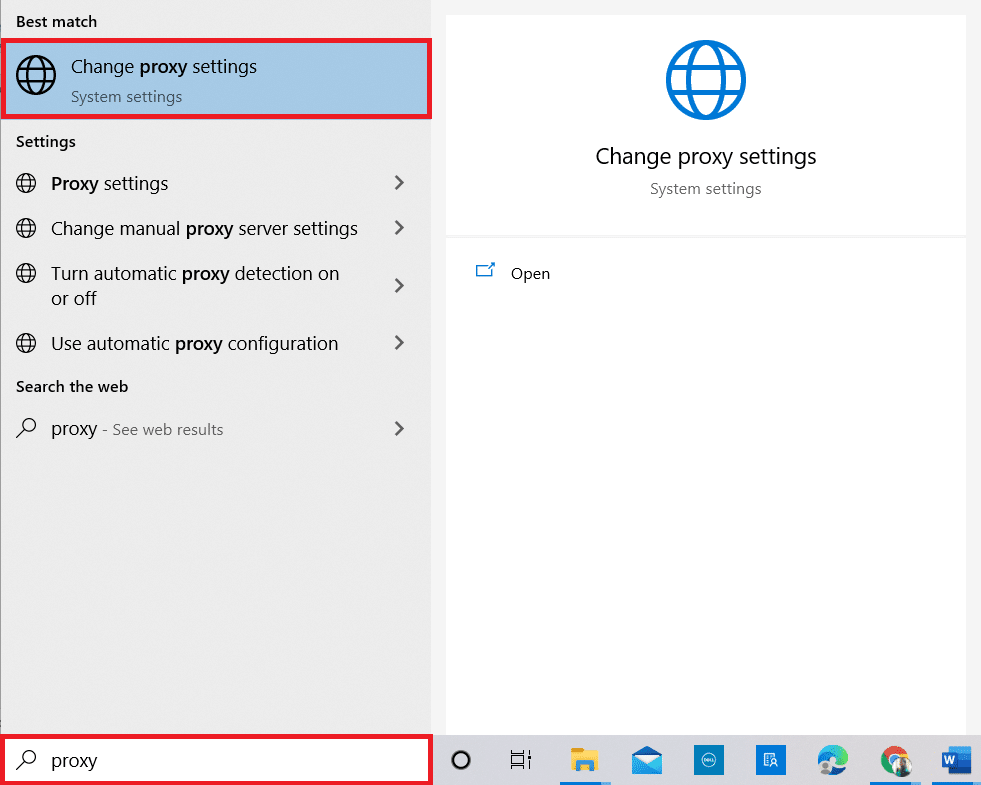
If you are using a proxy server, then using a particular proxy can create issues with your internet. You can change your proxy server to solve this problem. Follow the steps listed below to verify proxy settings.
1. Hit de Windows key en type Proxy en klikje op Feroarje proxy-ynstellings út de sykresultaten.
2. Here, switch on the toggle for Automatysk ynstellings fêststelle.
recommended:
We hope that you learned how to fix server IP address could not be found on Windows 10. Feel free to reach out to us with your queries and suggestions via the comments section below. Let us know what you want to learn about next.

