If you are quarantined in your home or cannot leave your place, definitely Netflix will be the right choice for passing time. Netflix is known for its unlimited streaming service of movies, TV series and programs with high quality to its subscribers. It can be accessed in multiple devices with amazing catalogue and subtitles. However, you cannot access your Netflix account when you receive Netflix error code UI3012 or UI3010. This error code UI3010 arises due to network restrictions and browser conflicts. Nevertheless, there are so many troubleshooting methods that will help you fix the error. This is a very common problem encountered by users in different browsers on Windows 10. So, what are you waiting for? Continue reading the article as we are here to help you out of the struggle.
Mar a shocraicheas tu mearachd Netflix UI3010
Here are some reasons that cause Netflix error code UI3010. Analyze them deeply so that you can follow appropriate troubleshooting methods.
- Issues in the Wi-Fi network.
- Còmhstri router.
- Network restrictions.
- Incompatible/outdated drivers.
- Corrupt cache in your browser.
- VPN or proxy network interference.
- Corrupt cookies and cache in Netflix.
In this section, we have compiled a list of methods that will help you fix Netflix error code UI3010. The methods are arranged in such a way that you can attain easier and faster results. Follow them in the same order to troubleshoot the problem quickly.
Dòigh 1: Fuasgladh dhuilgheadasan bunaiteach
Before you follow the advanced methods here are some basic troubleshooting steps that will help you fix the error code with simple hacks.
1. Make sure you have the super-fast internet speed to enjoy 4K video services. Run a SpeedTest. If you detect your network is very slow, then contact your Internet Service Provider.
2. Improve the Neart Wi-Fi by placing your device as close to the router as possible.
3. Make sure your device does not have electrical or magnetic interference.
4. Connect to a different network using a Wi-Fi an hotspot.
If you did not get any fix for error code UI3010 by following these basic troubleshooting steps, then move ahead to the next method.
Method 2: Re-login Netflix
Any temporary glitches in Netflix login can be resolved by logging in again. This fixes the majority of general issues associated with the browser version of Netflix. To re-login to the application, follow the below-mentioned instructions.
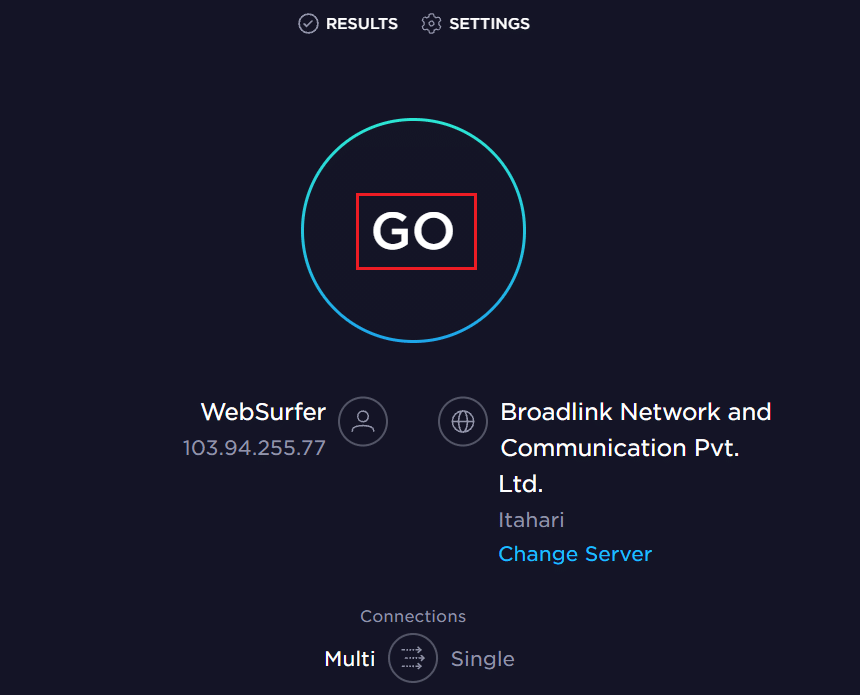
1. Launch Netflix and in the top right corner of the screen, click on Soidhnig a-mach.

2. Once you have signed out of your Netflix account, wait for 30 seconds or reboot your computer. Click on Log a-steach.
3. Taidhp do teisteanasan and check if you face error code UI3010 again.
Cuideachd Leugh: Mar a dh’ atharraicheas càileachd bhidio Netflix air do choimpiutair
Dòigh 3: Ath-thòisich an router
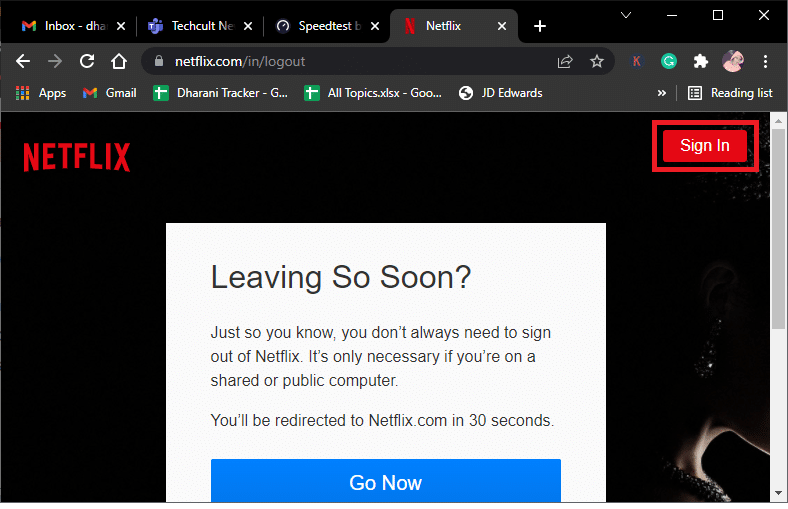
Restarting your router will help you fix all internet issues associated with Netflix. This process is also called as Power Cycle of the router. Follow the below-listed instructions to reset connection settings, exclude malicious network attacks, and remove other unwanted connected devices from the network.
Note: Ma tha thu a’ cleachdadh inneal combo modem càball / router Wi-Fi, lean na ceumannan dìreach airson aon inneal.
1. Lorg an Putan Cumhachd aig cùl an router agad.
2. Brùth am putan aon uair gu cuir dheth e.
3. A-nis, dì-cheangal agad Càball cumhachd router agus feitheamh gus an tèid an cumhachd a dhrèanadh gu tur bho na capacitors.
4. An uairsin, ath-cheangail a ' càball cumhachd agus cuir air adhart e às deidh mionaid.
5. Fuirich gus an tèid an ceangal lìonra ath-stèidheachadh agus feuch ri clàradh a-steach a-rithist.
Dòigh 4: Cuir à comas VPN
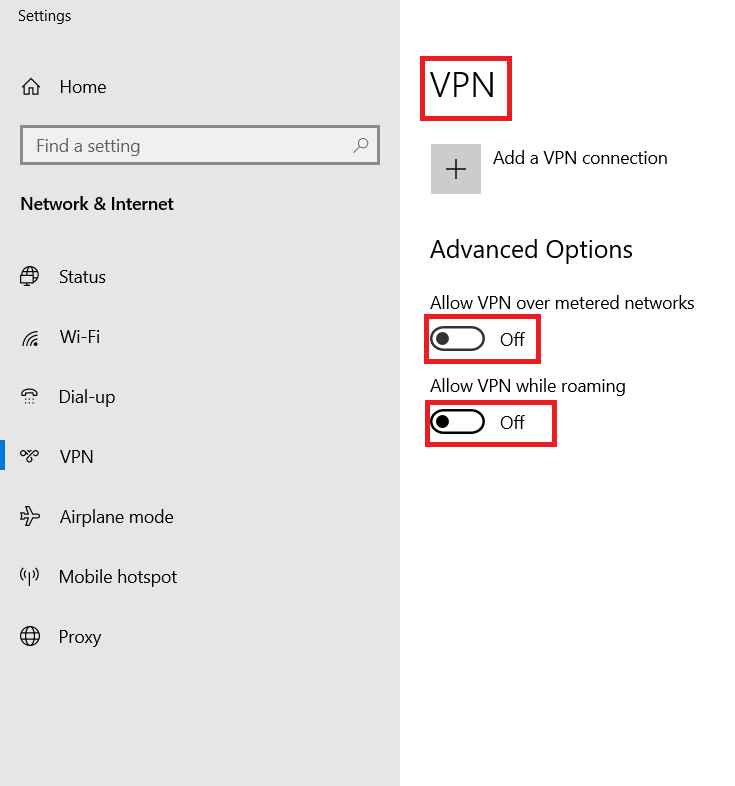
The Virtual Private Network (VPN) can interfere with the Netflix servers and the network connection. Try disabling the VPN network in your Windows 10 computer by following the below-mentioned instructions.
1. Buail an Iuchair Windows agus a 'sgrìobhadh Suidhichidhean VPN anns a’ bhàr sgrùdaidh. Cliog air Open.

2. Disconnect the active VPN seirbheis agus cuir dheth an t-seirbheis Roghainnean VPN.
Cuideachd Leugh: How to Use Netflix Party to Watch Movies with Friends
Dòigh 5: Cuir à comas neach-ionaid
A proxy server acts as an intermediate connection between your computer and the internet. The proxy server requests the websites, servers, and other services on the network based on your inputs. However, this may interfere with internet accessing applications or programs like Netflix. Hence try disabling this proxy server by following the below-mentioned instructions.
1. Ar-a-mach bho Netflix and make sure you close all the background processes related to Netflix from Task Manager.
2. Buail an Iuchair Windows, seòrsa neach-ionaid, agus cliog air Open.

3. Here, toggle OFF the following settings.
- Lorg suidhichidhean gu fèin-ghluasadach
- Cleachd sgriobt rèiteachaidh
- Cleachd frithealaiche progsaidh
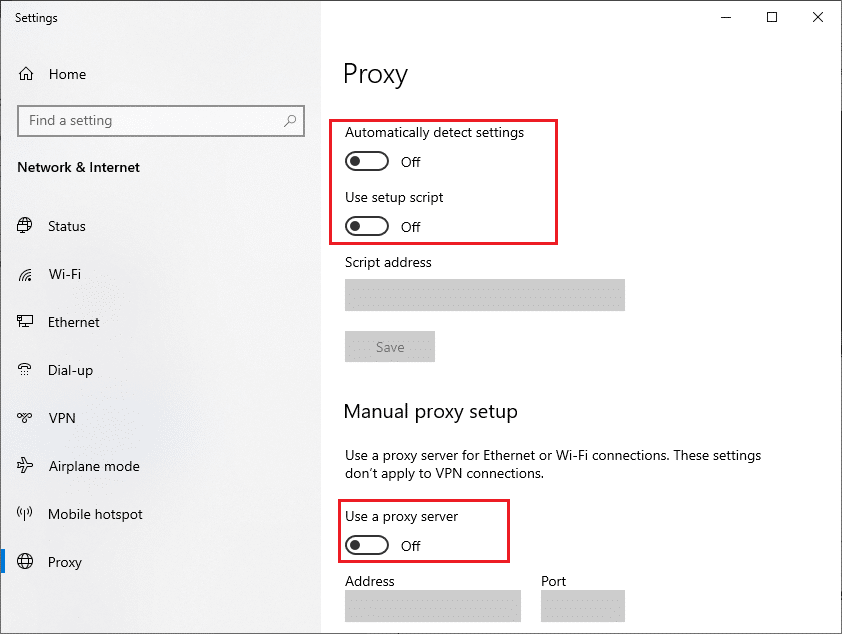
4 . Now, launch Netflix again and try if you can access it without any errors.
Method 6: Remove Netflix Cookies
If the browser version of Netflix has any corrupt cache or cookies, you will face Netflix error UI3010. Follow the below-mentioned instructions to remove Netflix cookies from any browsers you use.
1. Seòl gu Netflix briosgaidean soilleir duilleag sa bhrobhsair lìn agad.
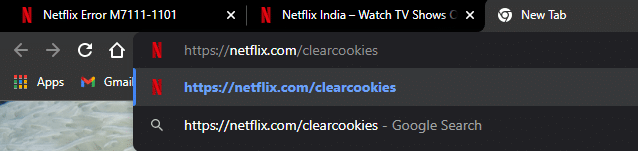
2. All the cookies will be cleared from the site and now you have to Log a-steach again with your login credentials.

3. Finally, check if you have fixed Netflix error UI3010 on your PC.
Cuideachd Leugh: Mar as urrainn dhut faclan-faire a chaidh a shàbhaladh a thoirt a-mach à Google Chrome
Dòigh 7: Glan tasgadan brabhsair
To improve your browsing data, browsers store cache memory. So, next time you visit the same website again, you need to wait for a long time for responses. But, when these browser caches are corrupt, you may face so many errors and problems. In that case, clear the browser cache by following the steps as instructed. Since Google Chrome, Microsoft Edge, and Firefox are mostly preferred by users, we have compiled steps for all of them. Follow the steps according to your browser.
Option I: On Google Chrome
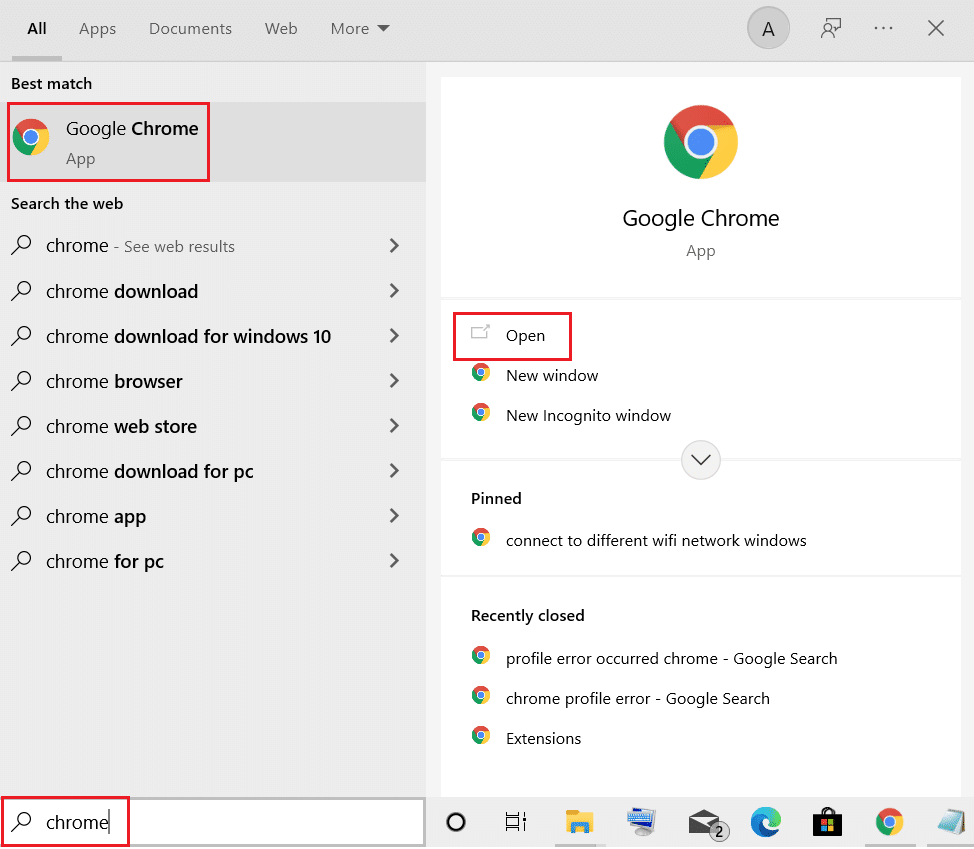
1. Buail an Iuchair Windows, seòrsa Chrome, agus cliog air Open.
2. An uairsin, cliog air an ìomhaigh trì-dotagach > Barrachd innealan > Fuasgladh dàta brabhsaidh ... mar a chithear gu h-ìosal.
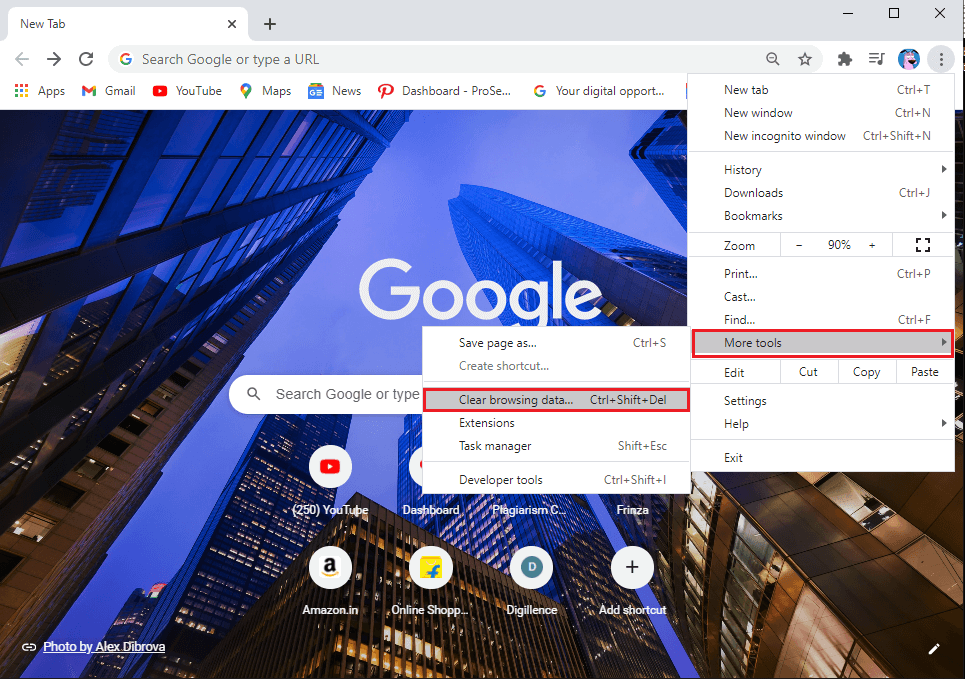
3. Thoir sùil air na roghainnean a leanas.
- Briosgaidean agus dàta làraich eile
- Ìomhaighean glèidhte agus faidhlichean
4. A nis, tagh an Fad na h-ùine roghainn airson Raon-tìm.
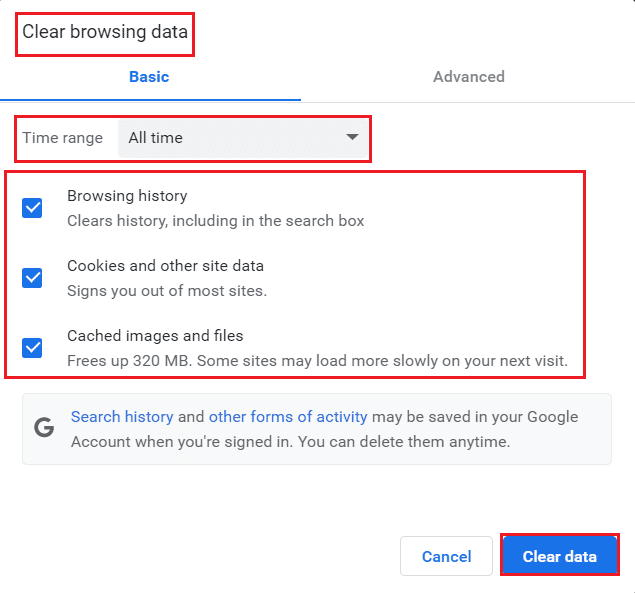
5. Mu dheireadh, cliog air Dàta soilleir.
Option II: On Microsoft Edge
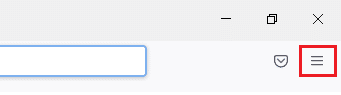
1. Cuir air bhog an Microsoft Edge brabhsair agus cliog air an three-dotted icon.
![]()
Note: You can directly navigate the page to delete browsing history in Edge by typing iomall: // settings / clearBrowserData sa bhàr-rannsachaidh.

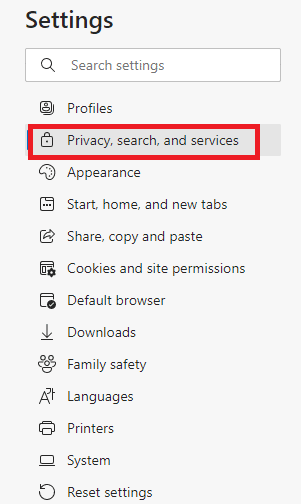
2. Seòl chun an Prìobhaideachd, sgrùdadh, agus seirbheisean roghainn.
3. Scroll down the right screen and click on Tagh dè a ghlanadh.
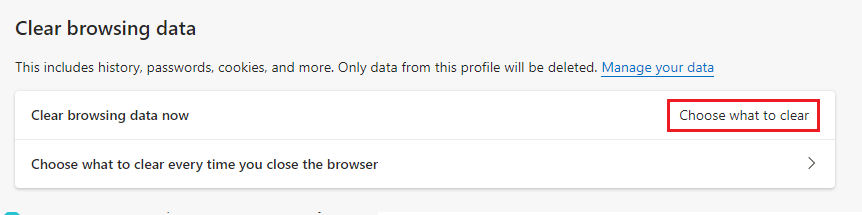
4. Anns an ath uinneig, tagh na bogsaichean a rèir do roghainnean coltach Browsing history, Cookies and other site data, Cached images and files, etc, and click on Soilleir a-nis.
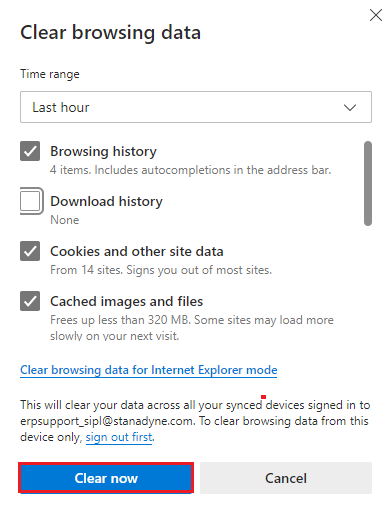
5. Finally, all your browsing data will be cleared now.
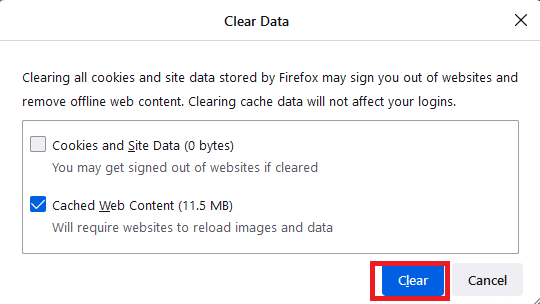
Option III: On Mozilla Firefox
1. Fosgail an Mozilla Firefox brabhsair.
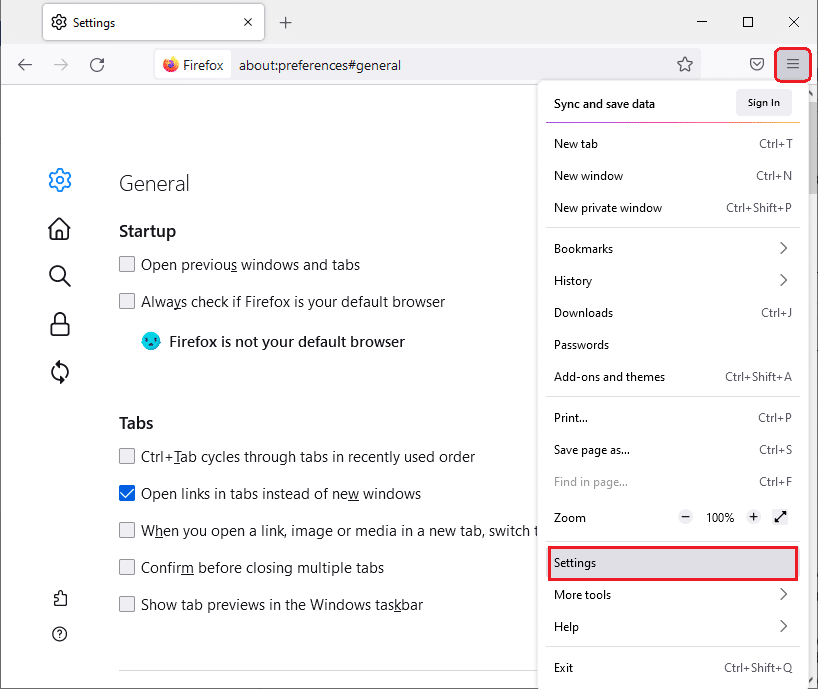
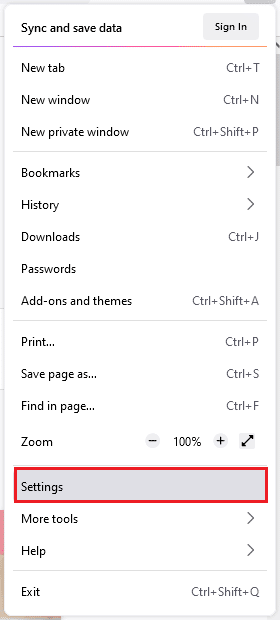
2. Cliog air a 'phutan Menu ìomhaigh aig oisean gu h-àrd air an làimh dheis den sgrion.
![]()
3. Tagh roghainnean roghainn bhon chlàr tuiteam-sìos.
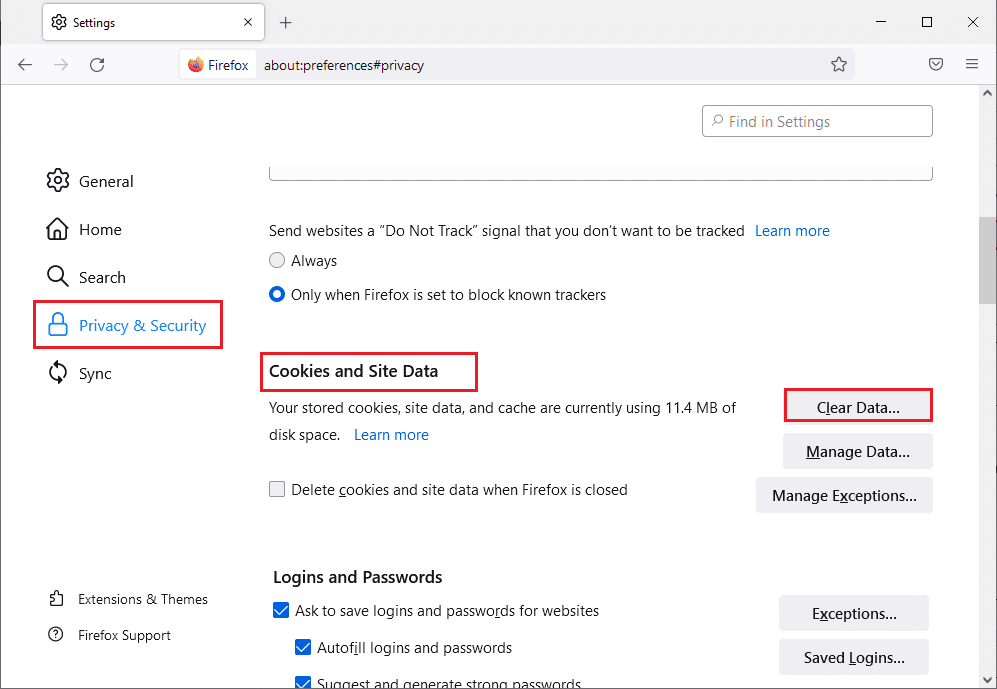
4. Seòl chun an Prìobhaideachd & tèarainteachd roinn agus cliog air Dàta soilleir Anns a’ Briosgaidean agus dàta làraich taice.
5 . Uncheck the Briosgaidean agus dàta làraich box and check Susbaint lìn glèidhte bogsa.
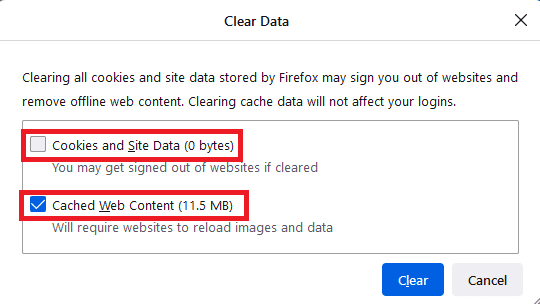
6. Mu dheireadh, cliog air an Adhar soilleir button to clear the Firefox cached cookies.
Method 8: Disable Browser Extensions (If Applicable)
Browser extensions help you enjoy a lot of additional features on your computer with the help of associated add-ons. Yet, when these extensions are outdated or incompatible with the browser application you use, you may face a lot of errors like Netflix error F7121 1331 P7 or UI3010. To resolve this, follow the below-mentioned steps to disable extensions in your respective browsers.
Option I: Disable Chrome Extensions
1. Launch Chrome agus a 'sgrìobhadh chrome: // extensions in Bàr URL. Buail Cuir a-steach iuchair gus liosta fhaighinn de na leudachaidhean stàlaichte gu lèir.
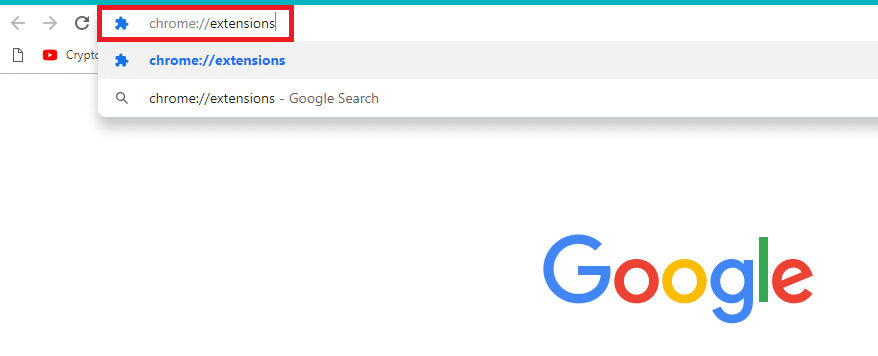
2.Switch dheth a ' toggle airson a ' leudachan (me Gràmar airson Chrome) a dhì-chomasachadh.
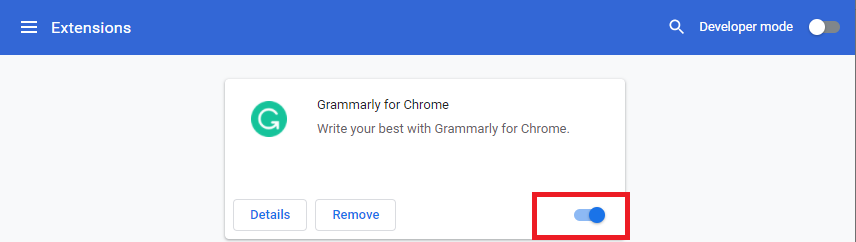
3. Ùraich am brabhsair agad agus faic a bheil a’ mhearachd air a nochdadh a-rithist no nach eil.
4. Dèan a-rithist na tha gu h-àrd ceumannan gus na leudachain a chuir dheth aon às deidh aon gus faighinn a-mach a bheil a’ mhearachd air a cheartachadh no nach eil.
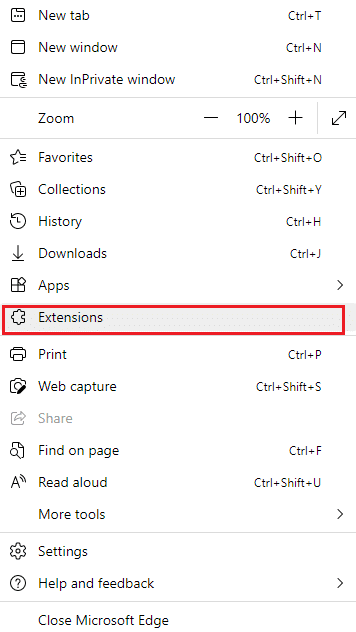
Option II: Disable Edge Extensions
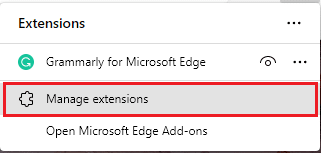
1. Launch Brabhsair Edge agus cliog air ìomhaigh trì-dotagach.
![]()
Note: To skip the long steps to reach the extensions page, type iomall: // leudachain / anns a’ bhàr sgrùdaidh agus buail Cuir a-steach.
2. Cliog air leudachain.
3. Select any extension and click on Stiùirich leudachaidhean.
4. Tog dheth the extension and check if you face the error again.
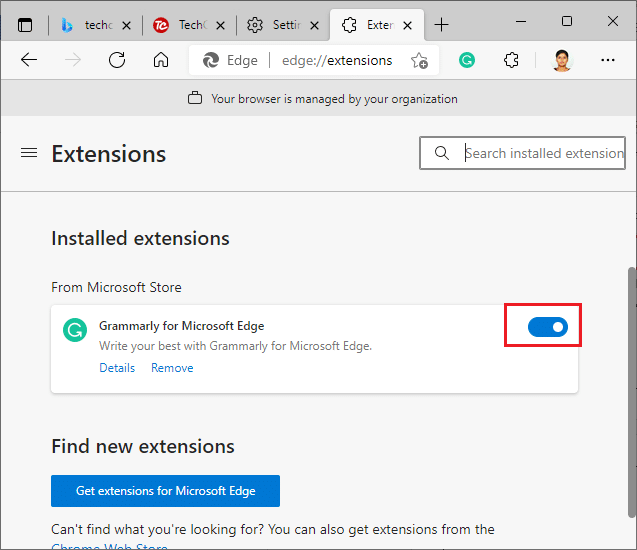
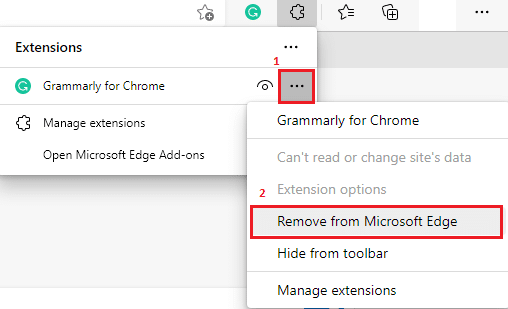
5. Mar an ceudna, Dhì-cheadachadh all the extensions one by one and simultaneously check if the error recurs. If you find the error does not pop up after removing any particular extension, then uninstall it completely from your browser.
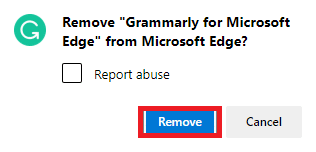
6. Select the respective extension and click on the ìomhaigh trì-dotagachS an Iar- Tagh an Remove from Microsoft Edge roghainn.
7. Dearbhaich an luath le bhith a 'briogadh air Thoir air falbh.
Cuideachd Leugh: Ceartaich Mearachd STATUS BREAKPOINT ann an Microsoft Edge
Option III: Disable Firefox Extensions
1. Launch Firefox agus cliog air Menu ìomhaigh.

2. Tagh an Add-ons agus cuspairean roghainn.
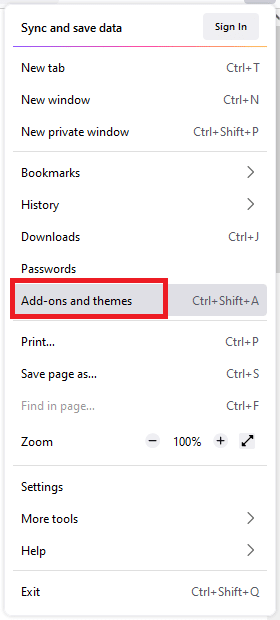
3. Cliog air leudachain agus tog dheth the extensions.
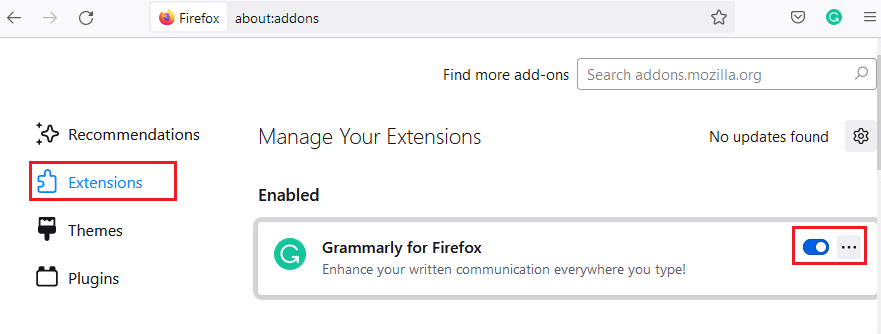
4. Disable all the extensions one by one and check which is causing the issue by checking it repeatedly.
5. Finally, if you have identified which extension is causing you the trouble, click on the ìomhaigh trì-dotagach corresponding to it and select the Thoir air falbh roghainn.
![]()
Method 9: Turn Off Do Not Track in Browsers
Browsers and sites track your activity and browsing data to advertise similar contents on the web page you visit on the internet. This happens when you have enabled Na dèan tracadh settings in your browser. Few users have reported that disabling this setting has helped them to resolve Netflix error code NSES-404 or UI3010.
Option I: On Google Chrome
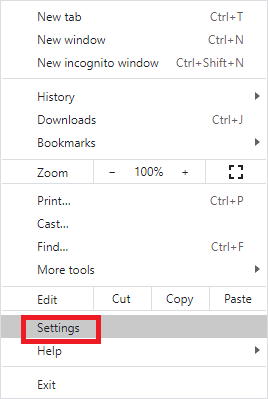
1. Open Chrome agus cliog air ìomhaigh trì-dotagach.
![]()
2. Cliog air roghainnean.
3. Cliog air Tèarainteachd agus Prìobhaideachd.
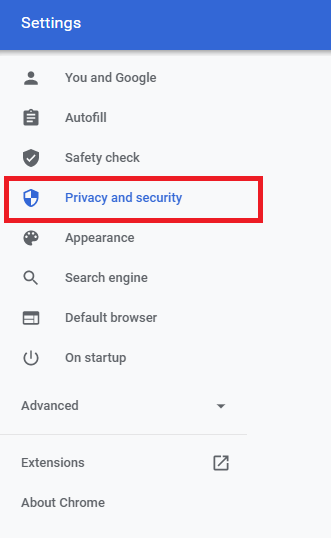
4. Tagh an Briosgaidean agus dàta làraich eile.
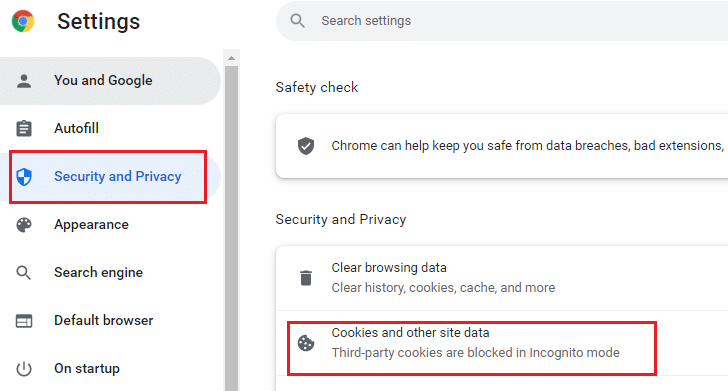
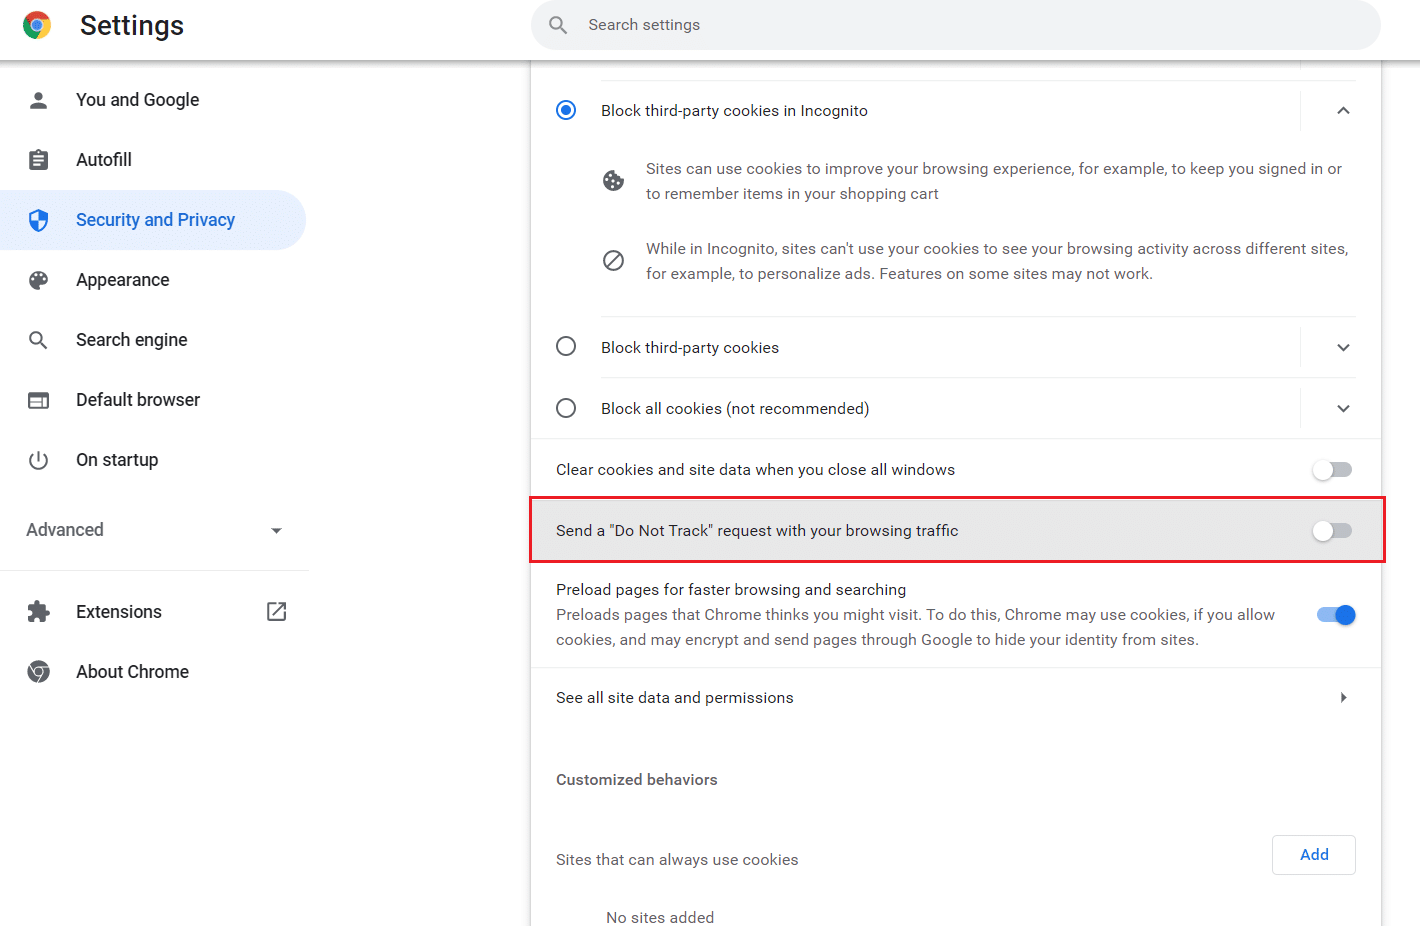
5. Anns a Suidhichidhean coitcheann window, toggle off the setting Clear cookies and site data when you close all windows.
Option II: On Microsoft Edge
1. Seòl gu roghainnean in Edge by clicking on the ìomhaigh trì-dotagach.
![]()
2. Seòl chun an Prìobhaideachd, sgrùdadh, agus seirbheisean.

3. Scroll down the right screen and in the Prìobhaideachd menu, toggle off Send “Do Not Track” requests.

Option III: On Mozilla Firefox
1. Launch Firefox agus cliog air Menu mar a chithear.
2. In the drop-down menu, select the roghainnean roghainn.
3. Cliog air a 'phutan Prìobhaideachd & tèarainteachd tab, and scroll down to click on the an-còmhnaidh putain rèidio.
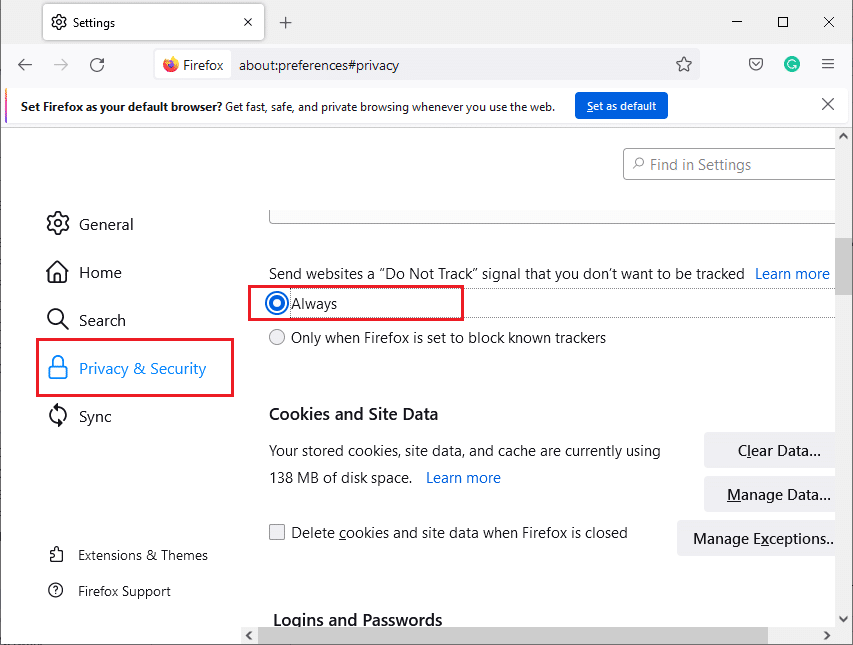
Cuideachd Leugh: Fix Firefox is Not Responding
Method 10: Reinstall Browser
If you have not attained any fix for Netflix error code UI3010 after removing the browser cache and incompatible extensions, then try reinstalling the browser as the final try. The steps to reinstall any browser is common and thus for illustration, we have used Google Chrome as an example. Follow the steps according to your browser.
Note: seo Google Chrome air a ghabhail mar eisimpleir.
1. Buail an Iuchair Windows, seòrsa aplacaidean agus feartan, agus cliog air Open.
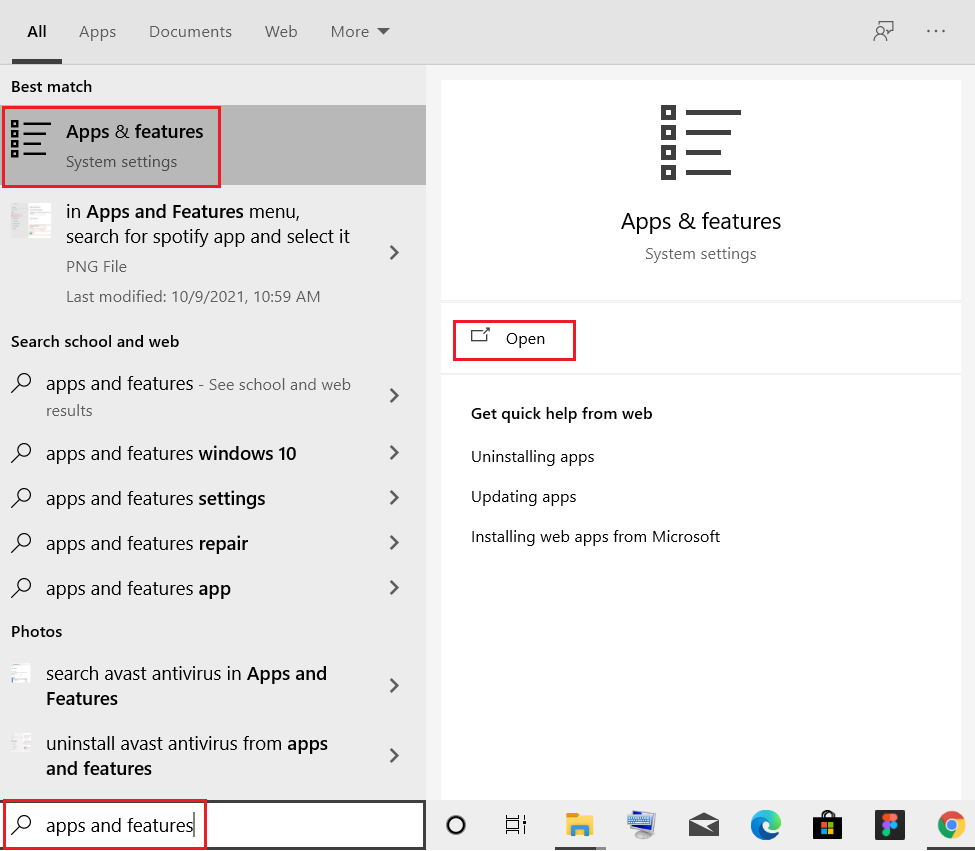
2. Lorg airson Chrome in Rannsaich an liosta seo achadh.
3. An uairsin, tagh Chrome agus cliog air dì-stàlaich putan air a thaisbeanadh air a shoilleireachadh.
4. A-rithist, cliog air dì-stàlaich gus dearbhadh.
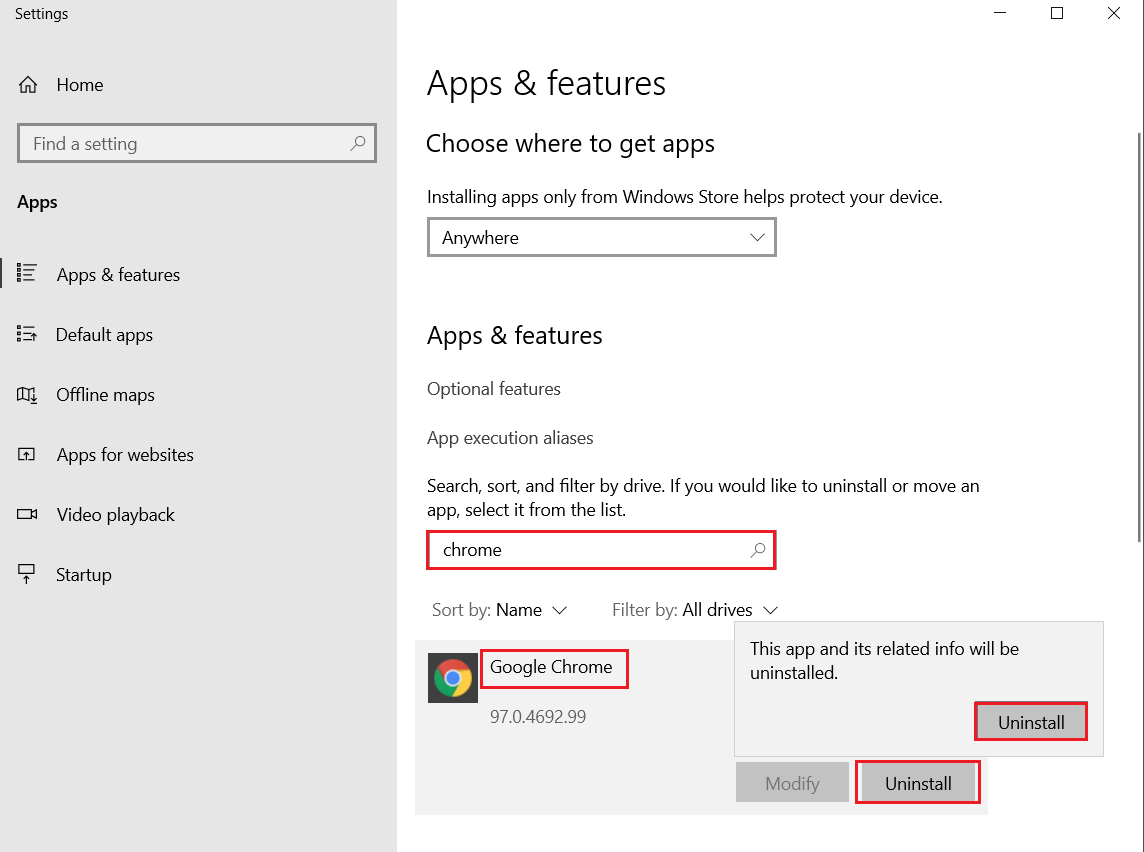
5. A-nis, brùth an Iuchair Windows, seòrsa % localappdata%, agus cliog air Open a dhol gu AppData ionadail pasgan.
6. Fosgail an Ghoogle pasgan le bhith a’ briogadh dùbailte air.
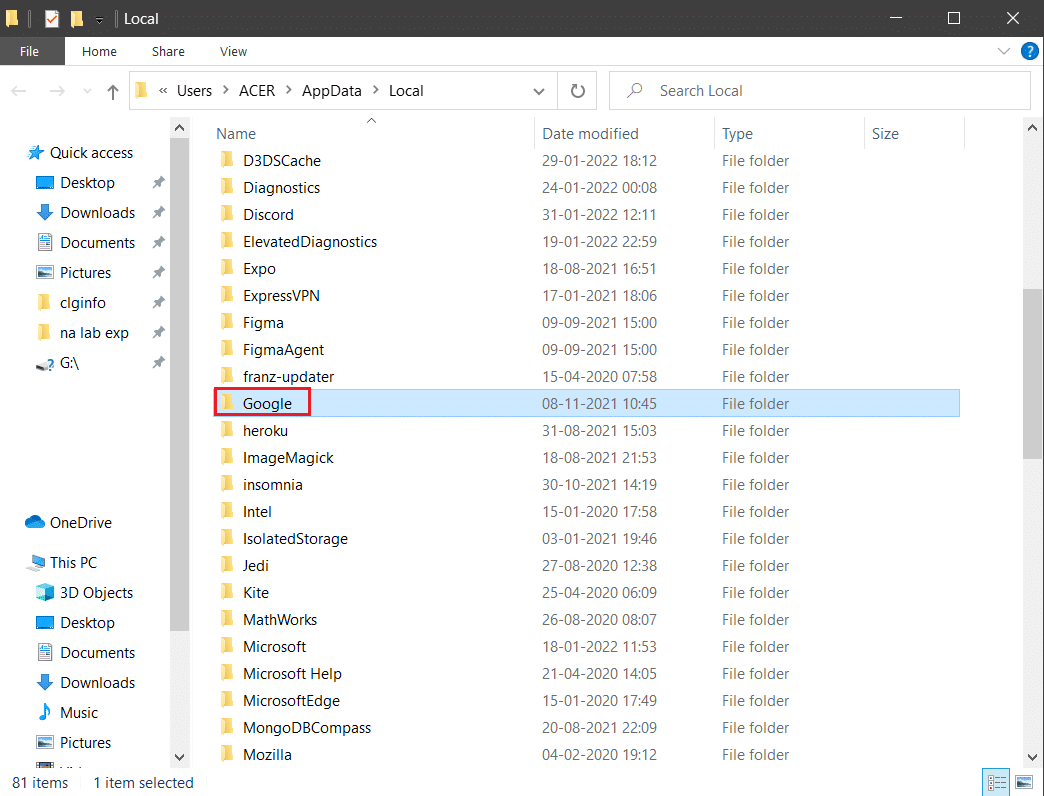
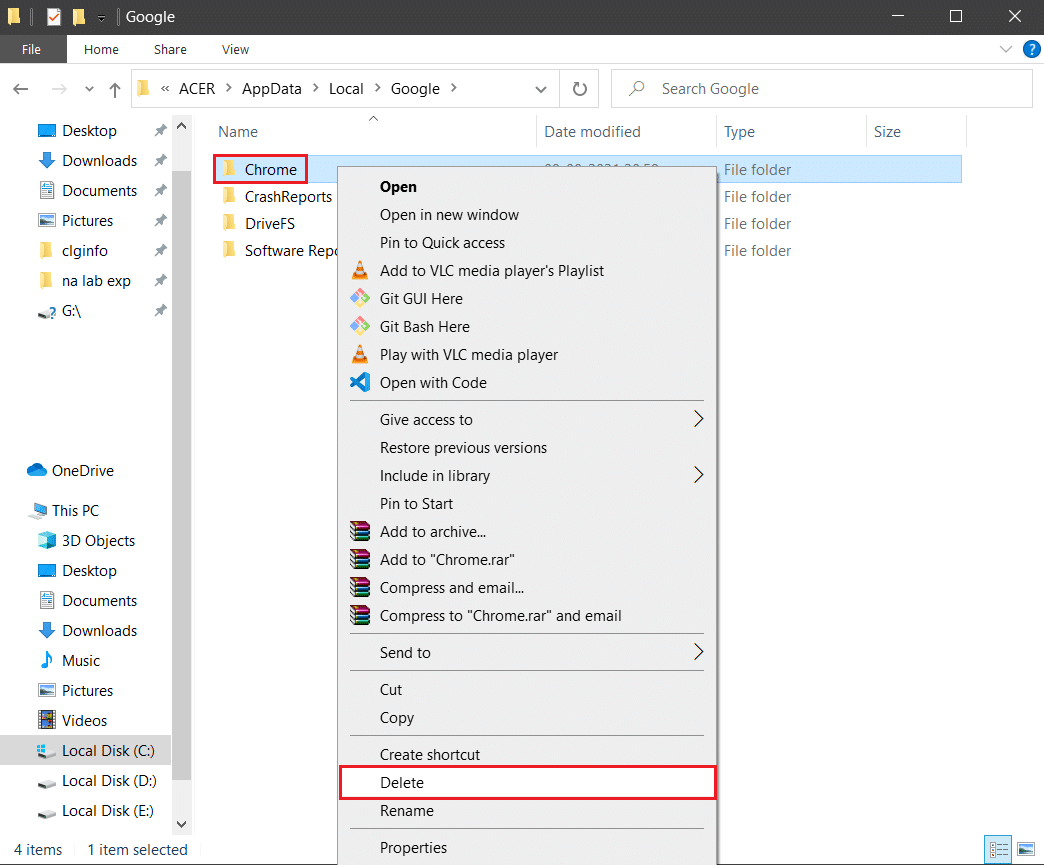
7. Dèan briogadh deas air an Chrome pasgan agus tagh an Sguab às roghainn mar a chithear gu h-ìosal.
8. A rithist, buail an Iuchair Windows, seòrsa % a ’%, agus cliog air Open a dhol gu AppData Roaming pasgan.
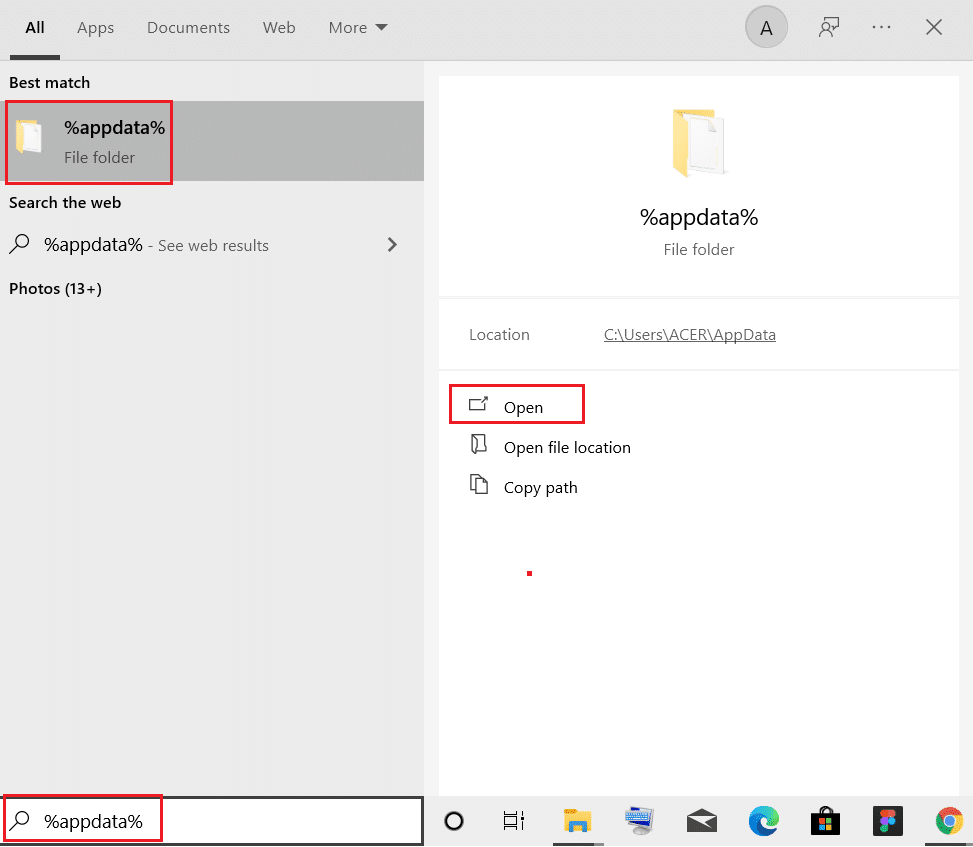
9. A rithist, theirig gu na Ghoogle agus a sguabadh às a ' Chrome pasgan mar a chithear ann ceumannan 6 - 7.
10. Mu dheireadh, ath-thòisich do PC.
11. Air adhart, luchdaich sìos an an tionndadh as ùire of Google Chrome mar a chithear.
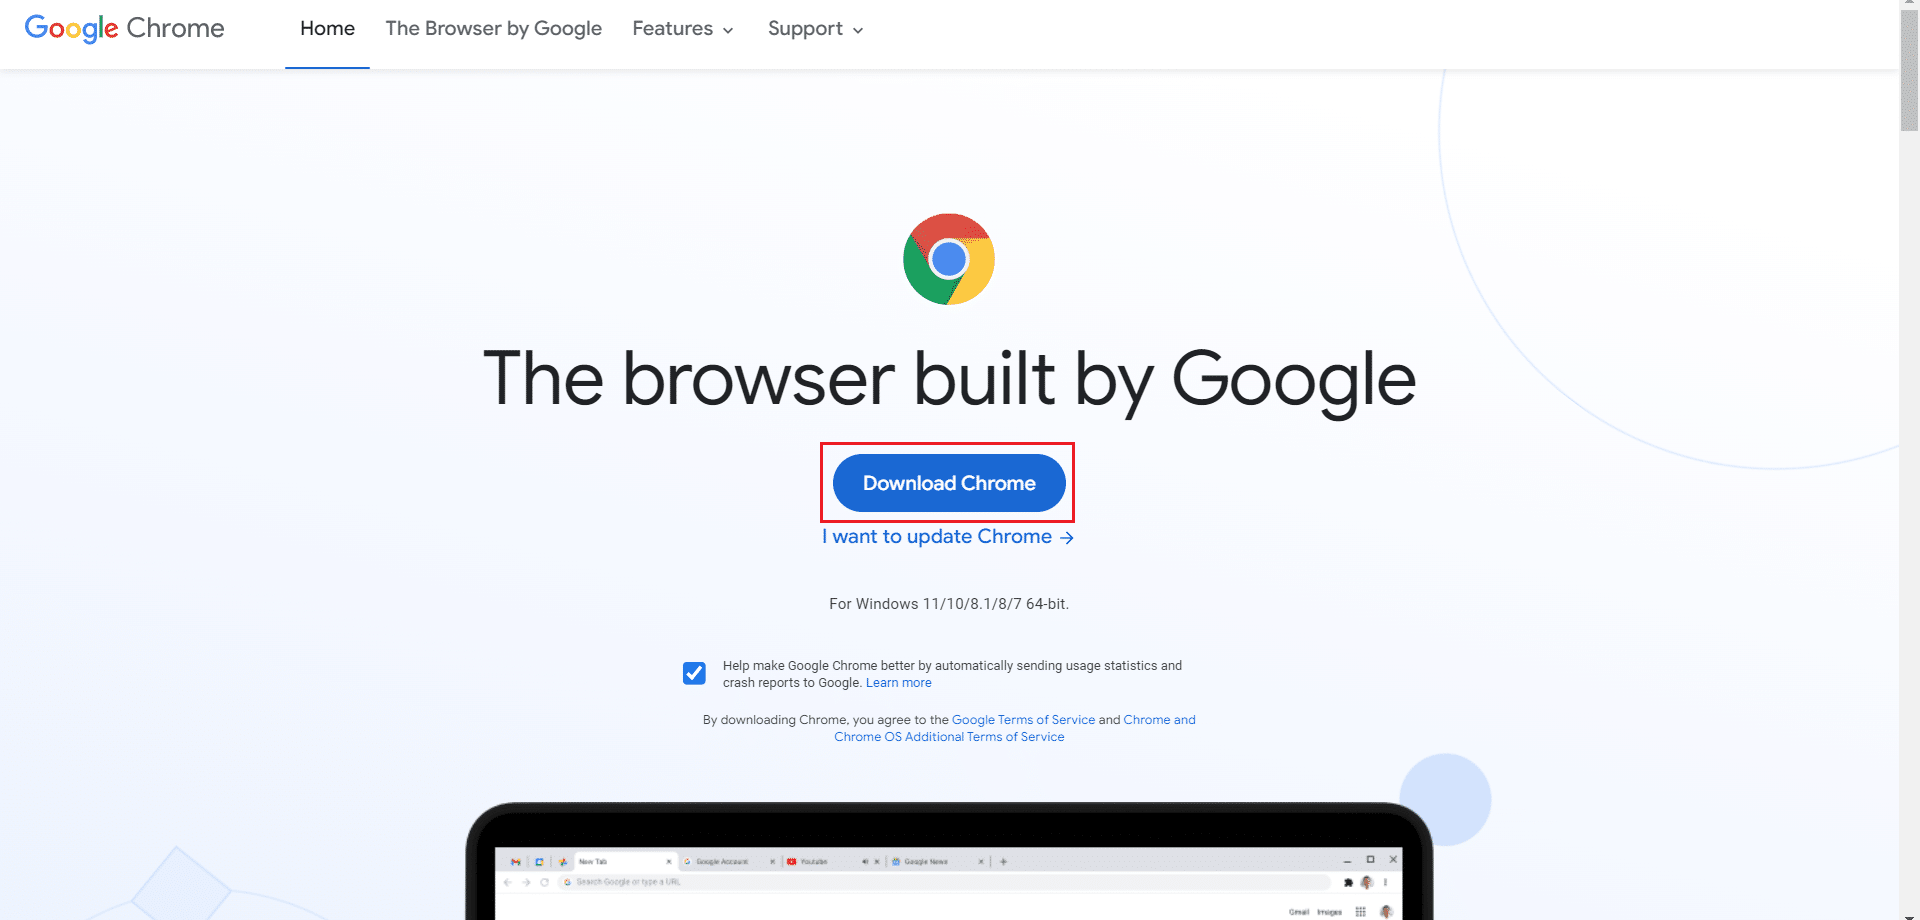
12. Ruith an faidhle rèiteachaidh agus lean an stiùireadh air-sgrion gu Chrome a stàladh.
Cuideachd Leugh: Mar as urrainn dhut Netflix a shruthladh ann an HD no Ultra HD
Method 11: Reset Network
The network reset method should be considered as the last option to resolve Netflix error code UI3010. Any custom DNS changes in the network will trigger connectivity issues in browsers. This removes all the network adapters installed in your PC along with their settings. All the stored settings are stored to default settings.
Note: To perform a Network reset, make sure your PC runs in Windows 10 version 1607 or later. To check your version, follow this path. Roghainnean> Siostam> Mu dheidhinn. Once you have reset your network, you have to reinstall all networking software like VPN clients or Virtual switches.
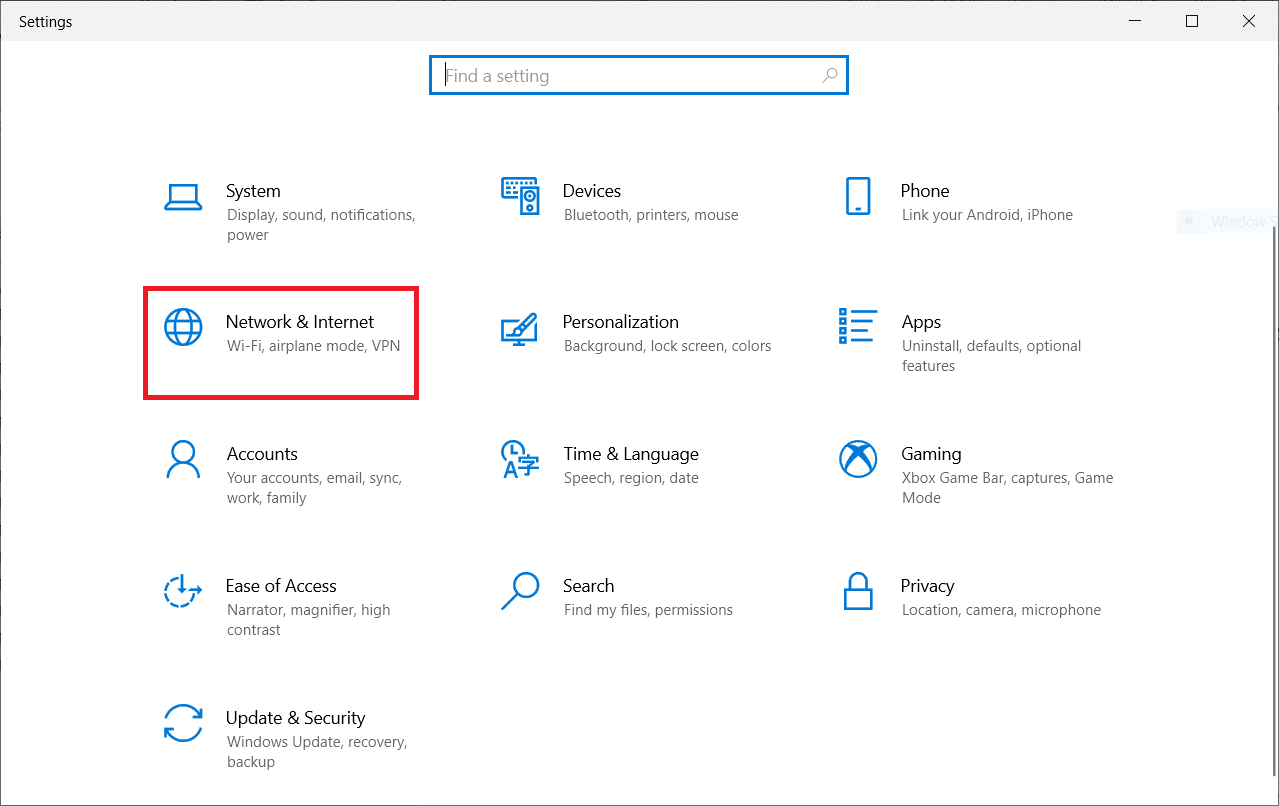
1. Brùth agus gleidhidh Iuchraichean Windows + I. còmhla gus fhosgladh Roghainnean Windows.
2. Cliog air Lìonra & Eadar-lìn.
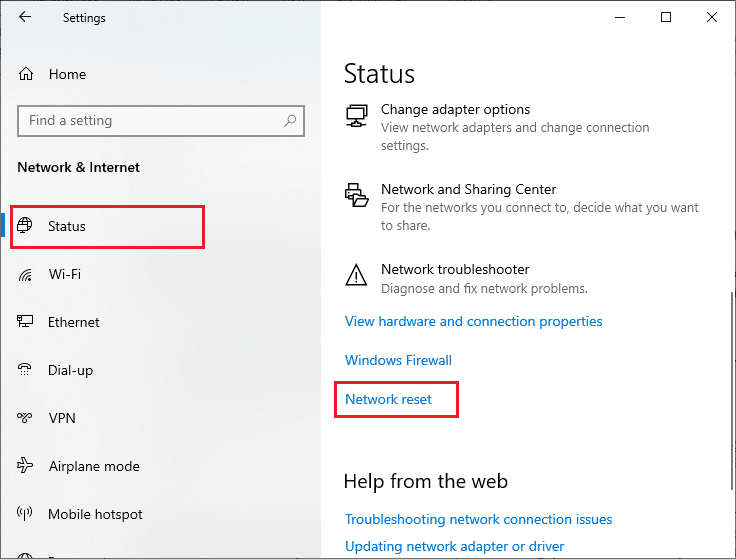
3. Cliog air a 'phutan inbhe tab agus briog air Ath-shuidheachadh lìonra.
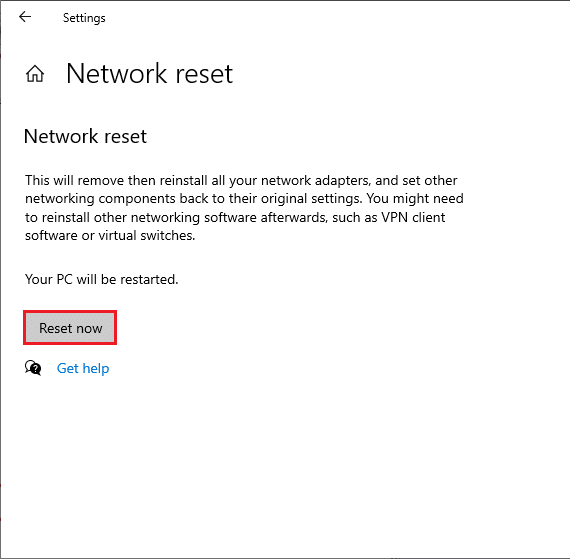
4. Dearbhaich an luath le bhith a 'briogadh air Aisig a-nis.
Still, if you face the error again, perform a system restore of your Windows 10 PC and if you assume any abnormal connectivity issues, contact your Internet Service Provider (ISP) immediately.
Air a mholadh:
Tha sinn an dòchas gun robh an stiùireadh seo cuideachail agus gum b’ urrainn dhut a chàradh Netflix error UI3010. Let us know which method worked for you the best. Feel free to reach out to us with your queries and suggestions via the comments section below.
 on Windows 10")
