If you have recently updated your Windows 10 or have just upgraded to Windows 10, you may experience that the time is slightly incorrect and you need to configure the date & time in Windows 10. But don’t worry, there are many ways to Change Date and Time in Windows 10 easily. You can configure the date and time via Control Panel or in Windows 10 Settings, but you must be signed in as Administrator to configure these settings. So without wasting any time, let’s see How to Change Date and Time in Windows 10 using the below-listed tutorial.

4 Ways to Change Date and Time in Windows 10
Asegúrate de crear un punto de restauración por se algo falla.
Method 1: How to Change Date and Time in Windows 10 using Control Panel
1. Tipo controlar in Windows 10 Search then clicks on Panel de control a partir do resultado da busca.

2. Agora fai clic en "Reloxo e rexión"a continuación fai clic en "Data e hora".
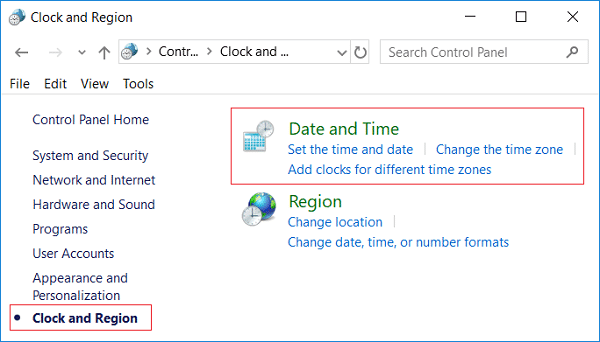
3. Under Date and Time window, click “Cambiar data e hora".
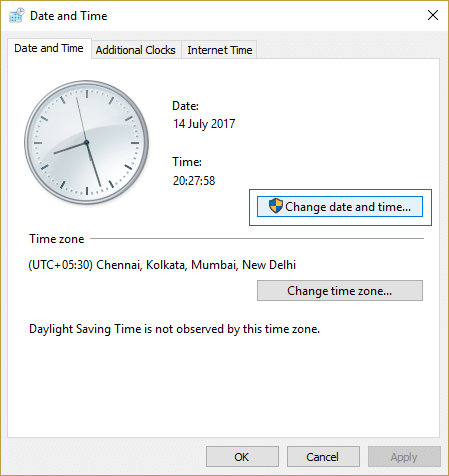
4. This will open the Date and Time Settings window, so configure the date and time accordingly and click OK.
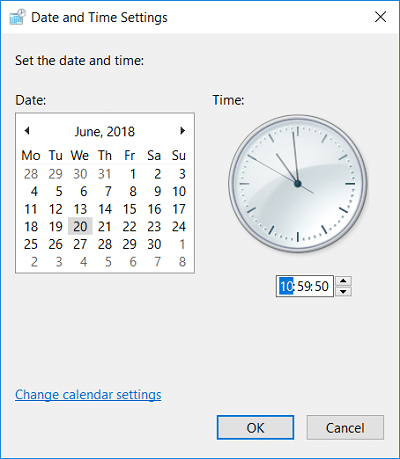
Nota: You could change the current hour, minute, seconds and AM/PM for time settings. And as far as the date is considered you could change the month, year, and current date.
5. Click Apply, followed by Aceptar.
Method 2: How to Change Date and Time in Windows 10 Settings
1. Preme a tecla Windows + I para abrir Configuración prema en Tempo e Lingua.
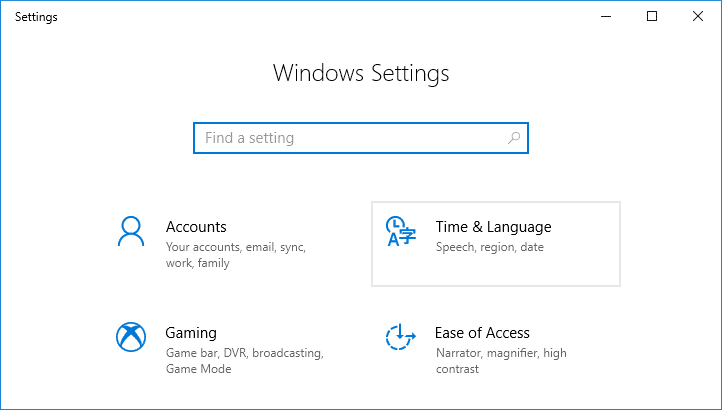
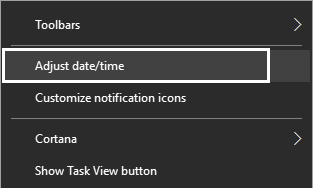
Nota: Or you could right-click on Data e hora on the taskbar then select Axustar data/hora.
2 Asegúrese de que select Date & time no menú da esquerda.
3. Now to change date & time, apaga o toggle which says “Establecer a hora automaticamente".
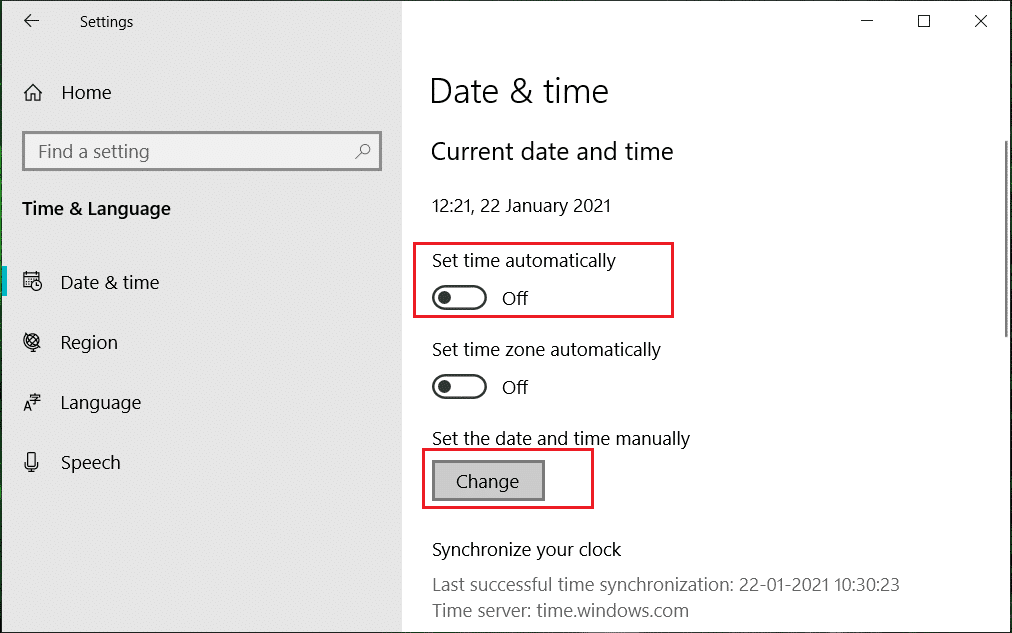
4. Then click on “Cambiar”Baixo Cambiar data e hora.
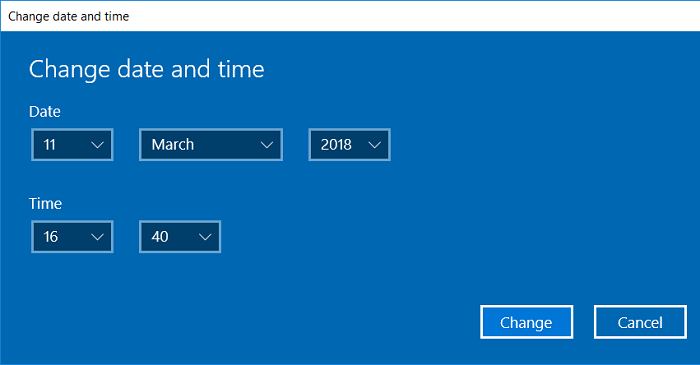
5. A continuación, change the date, month, and year to correct number. Similarly set the time to the correct, current hour, minute, and AM/PM then click Cambio.
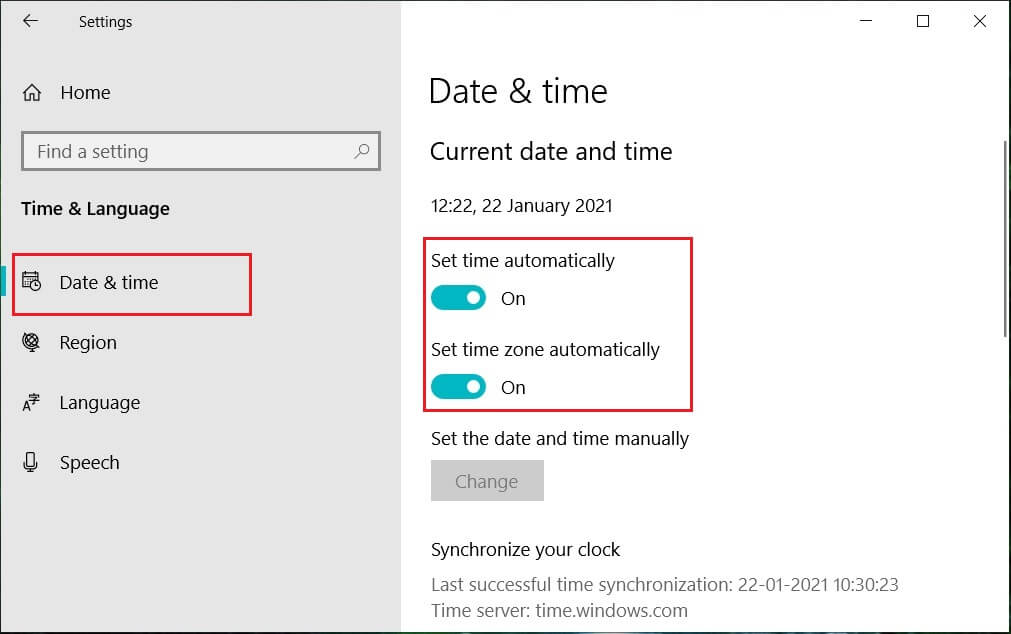
6. If you like Windows to automatically synchronize the system clock time with internet time servers, then again turn ON the “Establecer a hora automaticamente"Cambiar.
Method 3: How to Change Date and Time in Windows 10 using Command Prompt
1. Abre o símbolo do sistema. O usuario pode realizar este paso buscando 'cmd' e logo prema Intro.

2. Type the following command into cmd and hit Enter:
To see the current date: date /t
To Change the current date: date MM/DD/YYYY
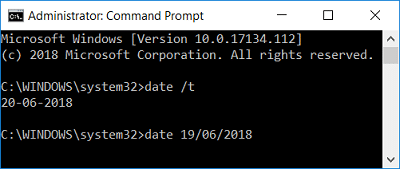
Nota: MM is the month of the year, DD is the day of the month, and YYYY is the year. So if you want to change the date to 15th March 2018, then you need to enter: date 03/15/2018
3. Type the following command into cmd and hit Enter:
To see the current time: time /t
To Change the current date: time HH:MM
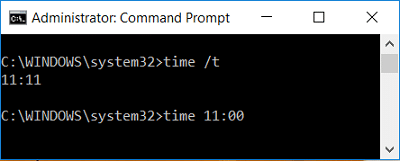
Nota: HH are the hours, and MM are the minutes. So if you want to change the time to 10:15 AM then you need to use the command: time 10:15, similarly if you want to change the time to 11:00 PM then enter: time 23:00
4. Close Command Prompt and reboot your PC to save changes.
Method 4: How to Change Date and Time in Windows 10 using PowerShell
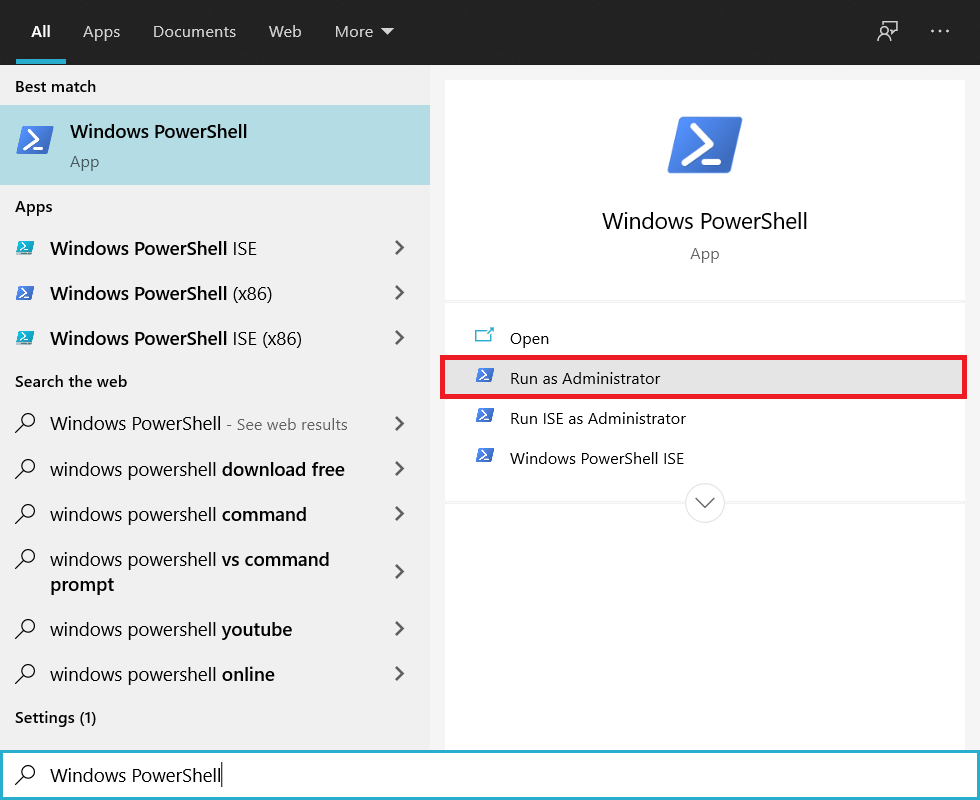
1. Tipo PowerShell in Windows Search then right-click on PowerShell from the search result and select Executar como administrador.
2. Now type the following command and hit Enter:
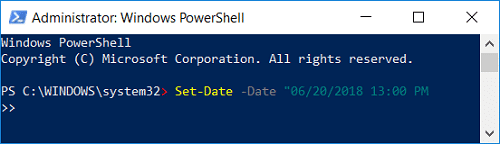
To Change date and time using the 24-hour format: Set-Date -Date “MM/DD/YYYY HH:MM
To Change date and time in AM: Set-Date -Date “MM/DD/YYYY HH:MM AM
To Change date and time in PM: Set-Date -Date “MM/DD/YYYY HH:MM PM
Nota: Replace MM with the actual month of the year, DD with the day of the month, and YYYY with the year. Similarly, replace HH with the hours and MM with the minutes. Let’s see an example of each one of the above command:
To Change date and time using the 24-hour format: Set-Date -Date “03/15/2018 21:00
To Change date and time in AM: Set-Date -Date “03/15/2018 06:31 AM
To Change date and time in PM: Set-Date -Date “03/15/2018 11:05 PM
3. Close PowerShell when finished and reboot your PC to save changes.
Recomendado:
That’s it you have successfully learned How to Change Date and Time in Windows 10 but if you still have any questions regarding this tutorial then feel free to ask them in the comment’s section.

