Windows 10 has a serious bug since it’s inception which makes text blurred on users PC and the problem is faced system-wide by the user. So it doesn’t matter if you go to System Settings, Windows Explorer or Control Panel, all the text will be somewhat blurred because of the DPI Scaling Level for Displays feature in Windows 10. So today we are going to discuss How To Change DPI Scaling Level for Displays in Windows 10.
Cambiar o nivel de escala de DPI para pantallas en Windows 10
Asegúrate de crear un punto de restauración por se algo falla.
Method 1: Change DPI Scaling Level for Displays Using Settings App
1. Press Windows Key + I to open Settings and then click on Sistema.

2. From the left-hand menu, make sure to select Mostrar.
3. If you have more than one display, then select your display at the top.
4. Agora baixo Cambia o tamaño do texto, das aplicacións e doutros elementos, seleccione o DPI percentage dende o despregable.
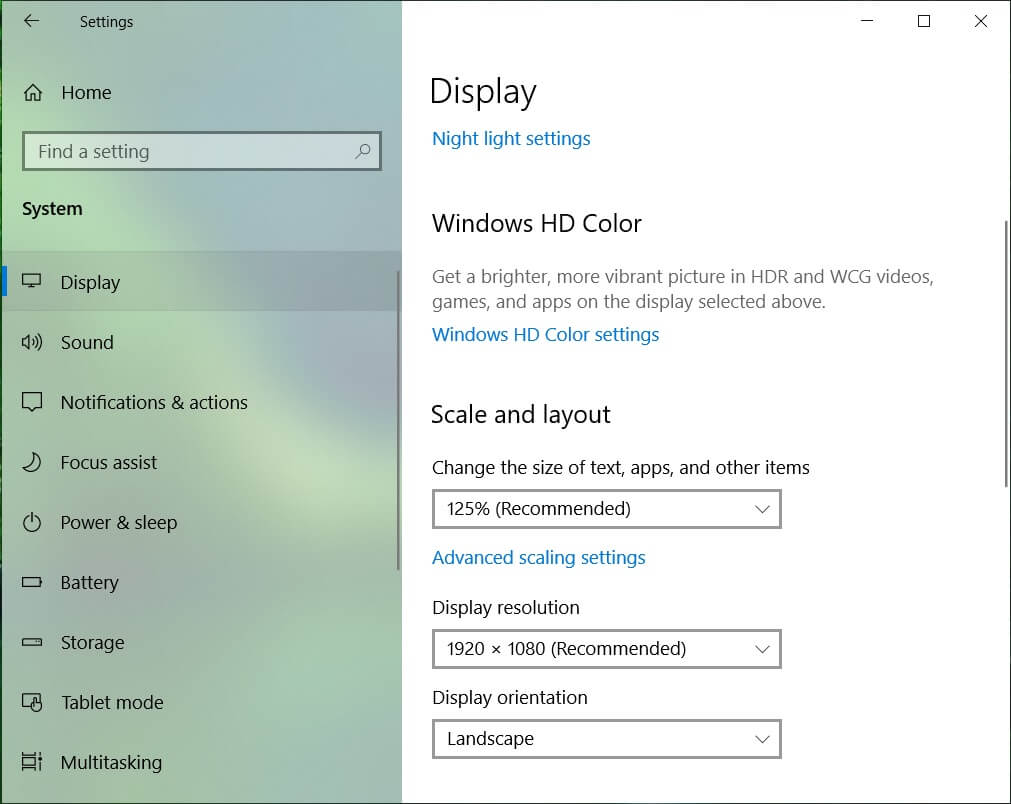
5. Click on the Sign out now link to save changes.
Method 2: Change Custom DPI Scaling Level for All Displays in Settings
1. Press Windows Key + I to open Settings and then click on Sistema.
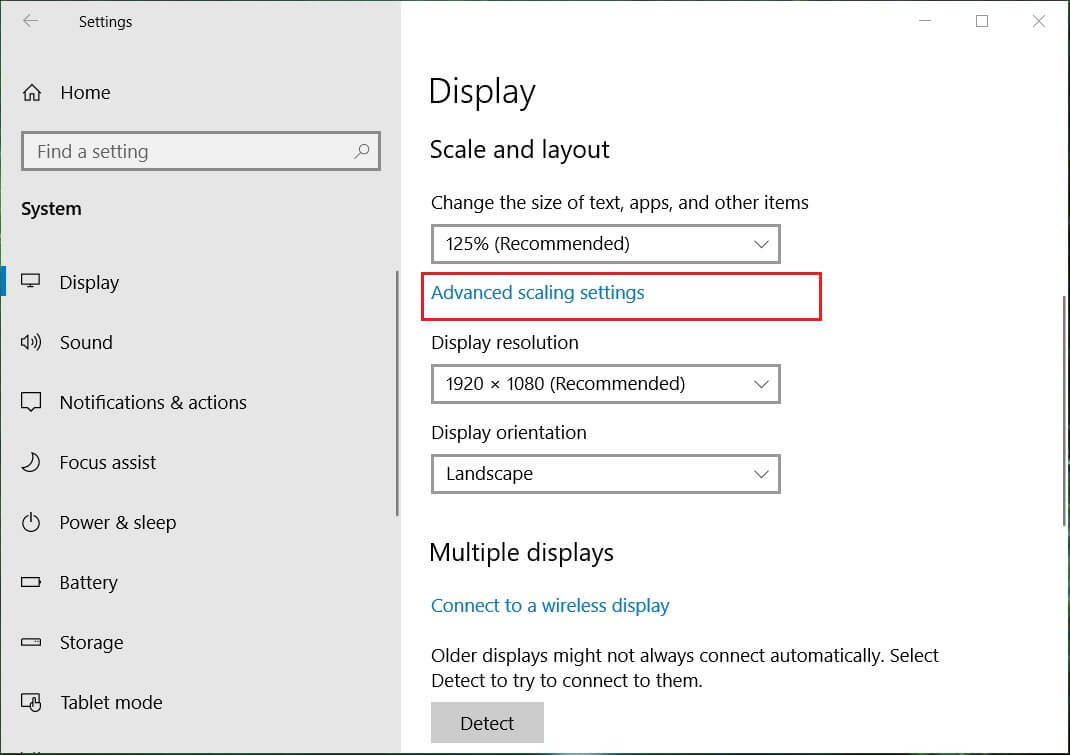
2. From the left-hand menu, make sure to select Mostrar.
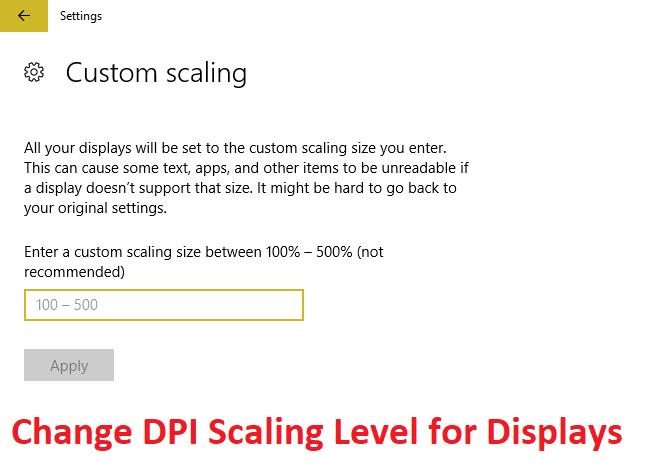
3. Now under Scale and layout click Custom scaling.
4. Enter a custom scaling size between 100% - 500% for all the displays and click on Apply.

5. Click on Sign out now to save changes.
Method 3: Change Custom DPI Scaling Level for All Displays in Registry Editor
1. Prema a tecla Windows + R e despois escriba regedit e presione Enter.

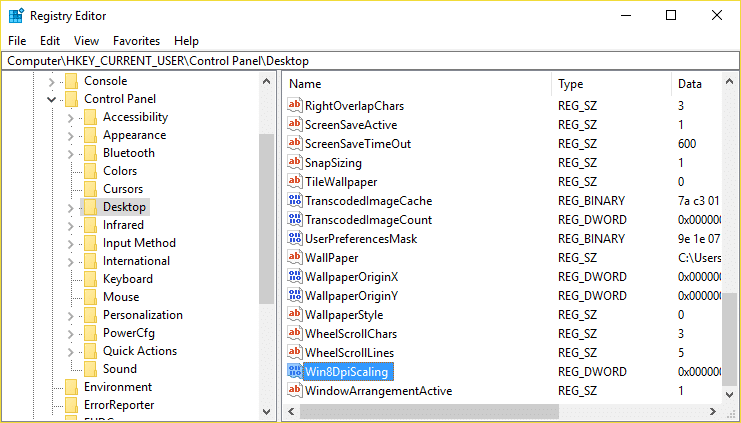
2. Navigate to the following Registry key:
HKEY_CURRENT_USERControl PanelDesktop
3. Make sure you have highlighted Escritorio in the left window pane and then in the right window pane double click on LogPixels DWORD.
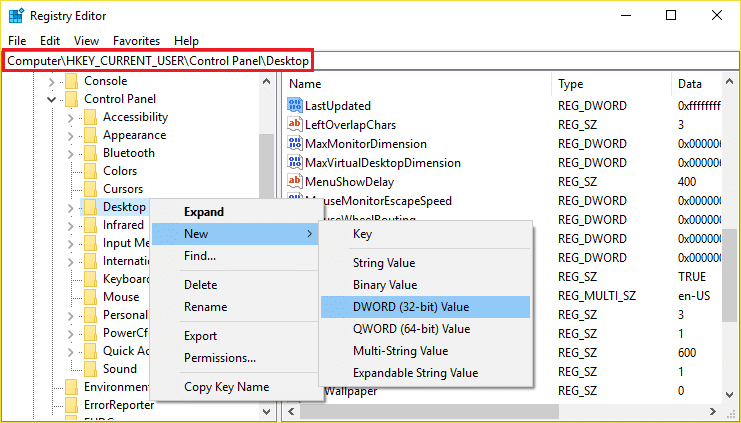
Nota: If the above DWORD doesn’t exist, you need to create one, right-click on Desktop and select New > DWORD (32-bit) value. Name this newly created DWORD as LogPixels.
4. Seleccionar Decimal under Base then change its value to any of the following data and then click OK:
| DPI Scaling Level |
Datos de valor |
| Smaller 100% (default) | 96 |
| Medium 125% | 120 |
| Larger 150% | 144 |
| Extra Large 200% | 192 |
| Custom 250% | 240 |
| Custom 300% | 288 |
| Custom 400% | 384 |
| Custom 500% | 480 |
![]()
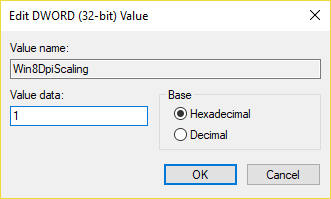
5. Again make sure Desktop is highlighted and in the right window pane double click on Win8DpiScaling.
Nota: If the above DWORD doesn’t exist, you need to create one, right-click on Desktop and select New > DWORD (32-bit) value. Name this DWORD as Win8DpiScaling.
6. Now change its value to 0 if you have chosen 96 from the above table for LogPixels DWORD but if you have chosen any other value from the table then set its valor a 1.
7. Click OK and close Registry Editor.
8. Reinicie o PC para gardar os cambios.
Recomendado:
Iso é o que aprendeu con éxito How To Change DPI Scaling Level for Displays in Windows 10 pero se aínda tes algunha dúbida sobre esta publicación, non dubides en preguntalas na sección de comentarios.
")
