Cando set up a new Windows 10 PC, one of the things you’ll need to do is select a username. During setup, you may pick a random or temporary username, but over time you may consider changing it for different reasons.
For some users, changing their username is a privacy concern, especially if they’re using their devices in public areas. For others, a username may help them differentiate between multiple users on the same PC.

While it’s possible to change your username on Windows 10, it’s not as straightforward a process as you may think.
How To Change a Username On Windows 10
You can change your username on Windows 10 whether you’re using a local or Microsoft account. The username is part of the identity that allows you to sign in and access your files, documents, and apps on your PC.
To change your username, you can use either the Settings app or the Control Panel.
Change Username On Windows 10 Using Settings
If you sign into Windows 10 using a Microsoft account, the account displays the username as it’s saved in the cloud. However, if you set up Windows 10 without a Microsoft account, you’re using a local account to sign in.
You can change your username on Windows 10 through the Settings app, but you’ll have to update the online account settings to reflect the change.
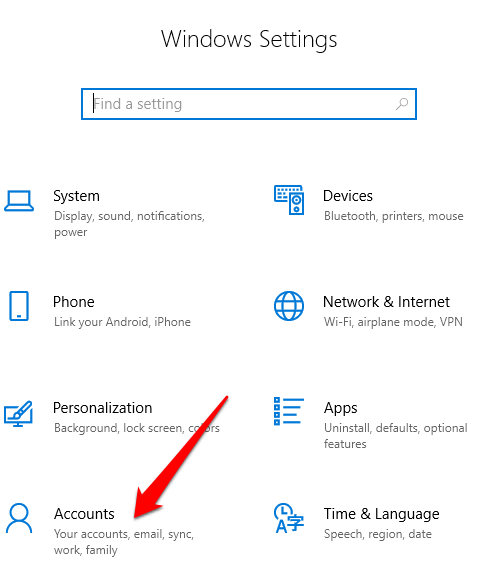
- prema Inicio > Configuración > Contas.
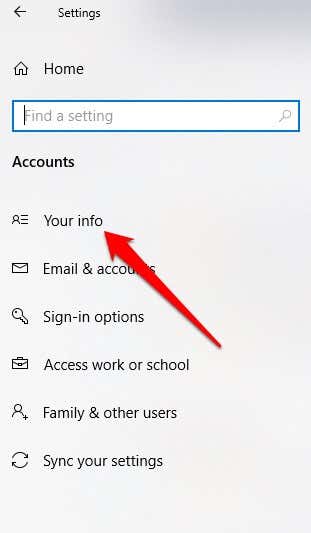
- prema A túa información.
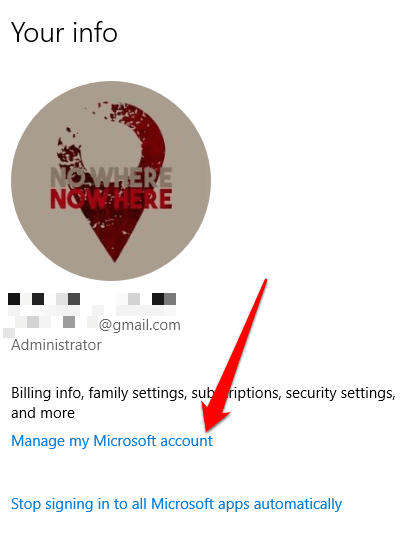
- A continuación, fai clic Xestionar a miña conta de Microsoft.
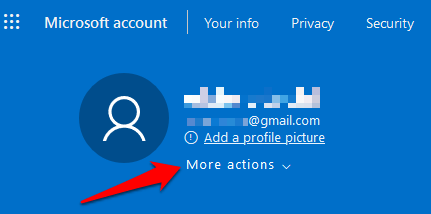
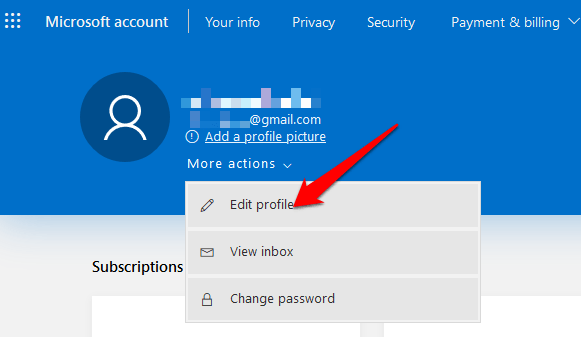
- Sign in using your username and password. Click Máis accións under the account picture.
- A continuación, fai clic Editar perfil.
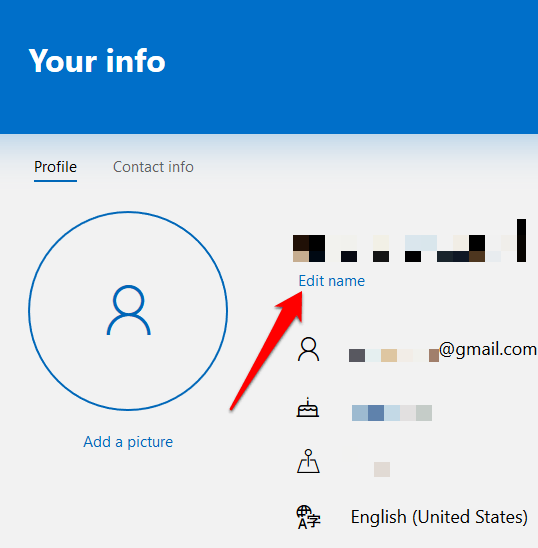
- prema Editar o nome.
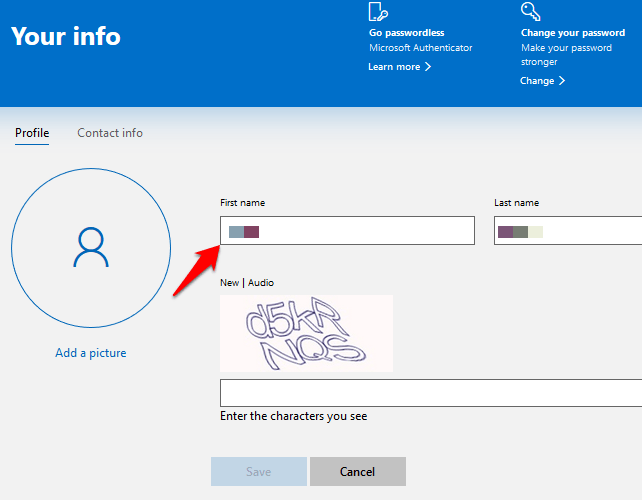
- Confirm the new name to change your username, verify that you’re not a robot, and then click gardar. Reboot your PC to enable the changes.
Your Windows 10 username will be updated, but it won’t instantly sync and apply to all your devices. Plus, the username and last name in your email account and other Microsoft services will change after the new username settings are applied.
Change Username On Windows 10 Using Control Panel
For local account users, the best way to change a username on Windows 10 is to use the Control Panel. This method takes three different approaches. You can change your username through:
- Contas de usuario
- With Computer Management
- Using netplwiz
How To Use User Accounts To Change Username
Through the user accounts settings, you can also create and control all user accounts with different access roles and permission levels. This allows you to share your device with others in the home or office.
Each user gets their own personal space with custom settings for their desktop and private storage for their files that’s different from another user’s storage area. In the case of family members, especially for kids, you can use a Conta Microsoft Family a keep them from accessing content on your device or inappropriate content on the web.
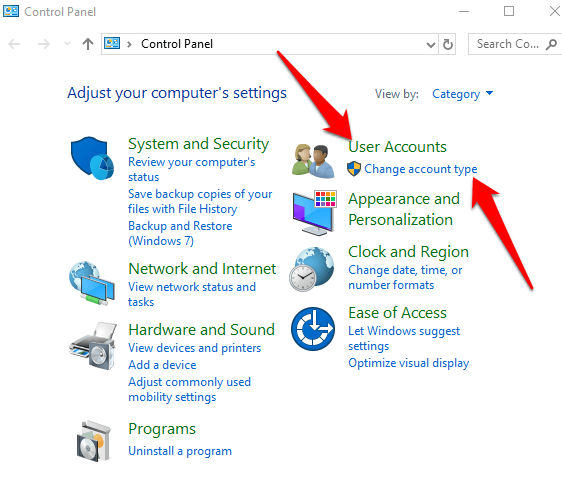
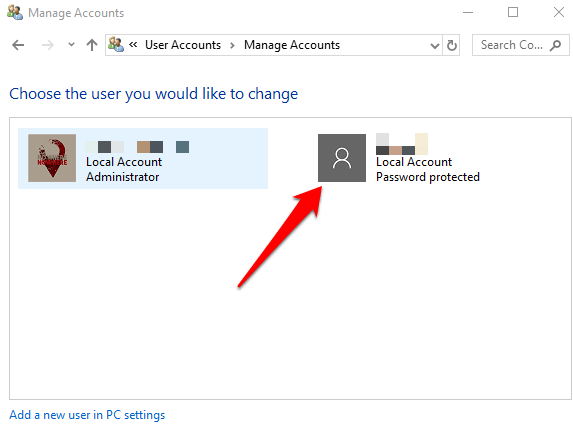
- To change your username on Windows 10 using User Accounts settings, open the Panel de control e prema Cambiar o tipo de conta opción baixo Contas de usuario.
- preme o conta local whose username you want to change.
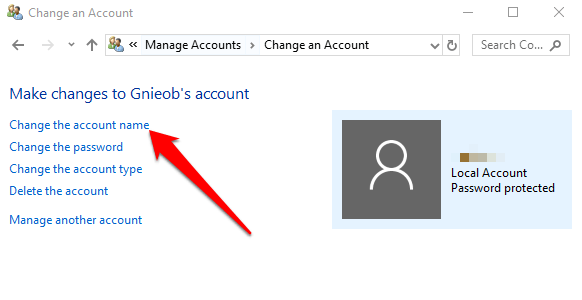
- A continuación, fai clic Cambia o nome da conta.
- Change the username and then click Cambiar nome.
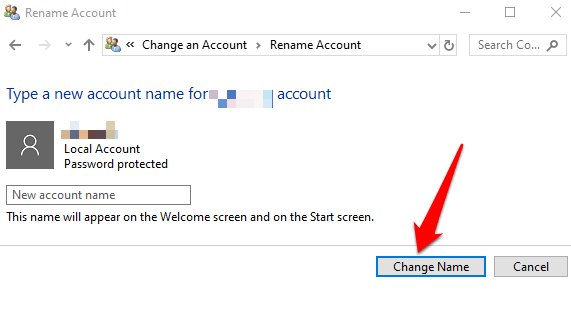
Sign out and then sign back in to enable the changes.
How To Use Computer Management To Change Username
Computer Management in Windows 10 is a set of tools that help you manage, monitor, or optimize your PC’s tasks and performance, security, and other improvements. You can use it to manage local users and groups if you need more options related to the local computer than what User Accounts offers.
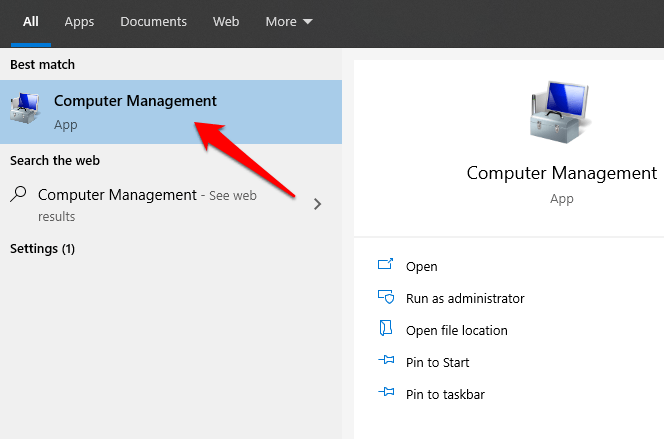
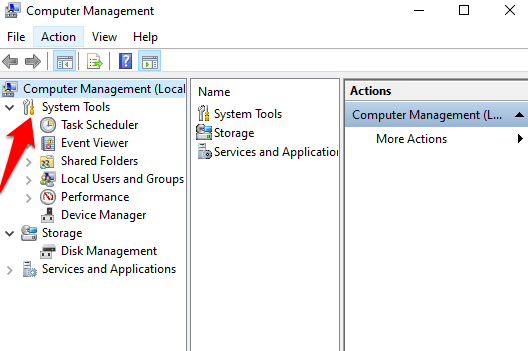
- To use Computer Management, click comezo e escribe Xestión de computadores in the search box. Select the top result to open the Computer Management console.
- Fai clic para expandir Ferramentas do sistema categoría.
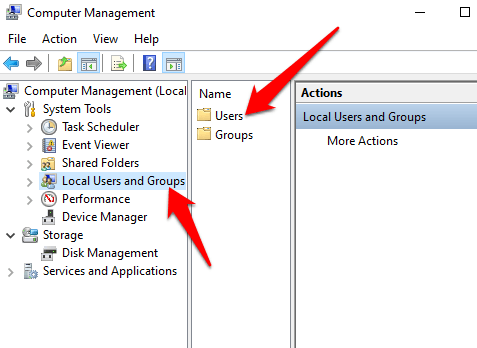
- prema Usuarios e grupos locaise prema dúas veces Usuarios.
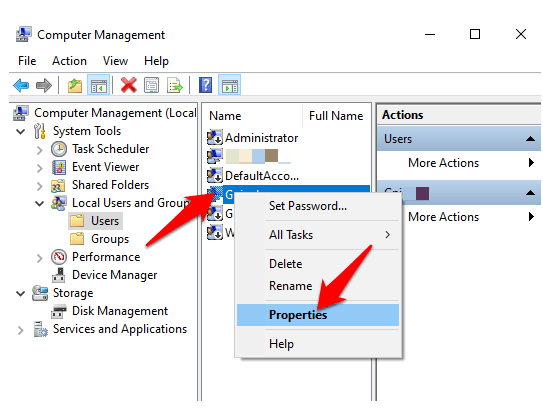
- Fai clic co botón dereito no rato conta whose username you want to change and select Propiedades.
- A continuación, faga clic no botón xeral Tab
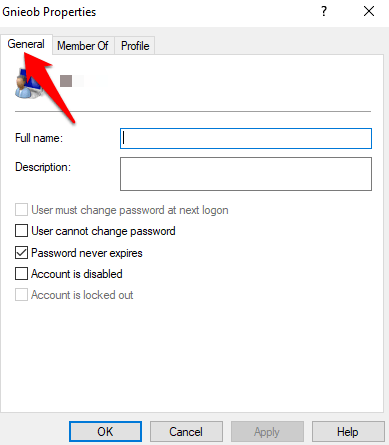
- Enter the new username in the Nome completo campo e faga clic Aplicar> Aceptar.
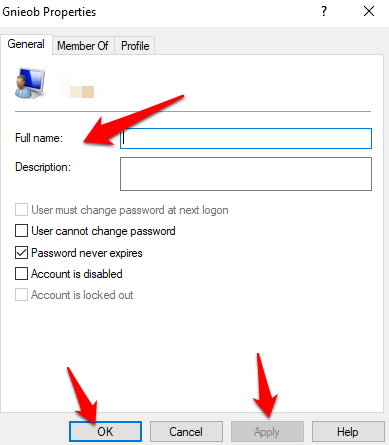
- Once you’re done, sign out and restart your PC to apply the new username.
How To Use Netplwiz To Change Username
Netplwiz is an executable file that gives you control over all the user accounts in your PC. You can use the tool to change and update your username.
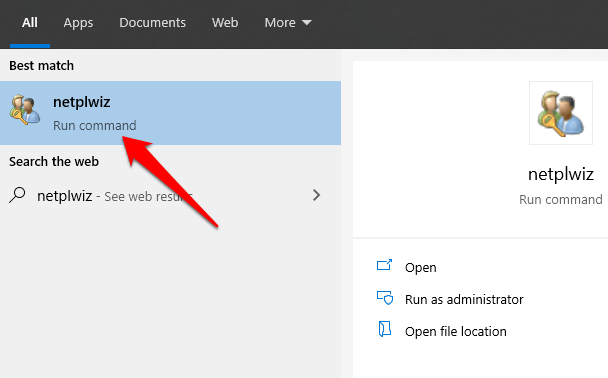
- tipo netplwiz in the search box and click on the relevant search result to open the legacy User Accounts settings.
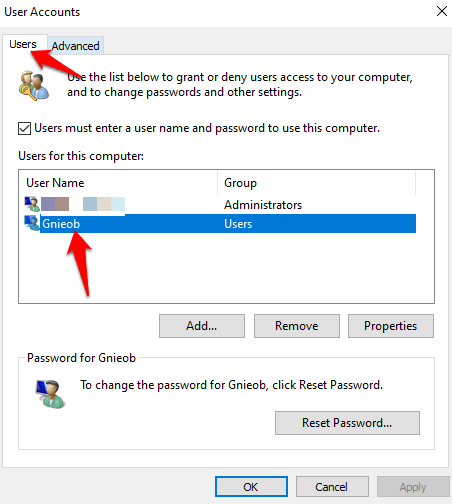
- prema Usuarios and select the user account whose username you’d like to change.
- A continuación, fai clic Propiedades. You can choose to update the user name field and change your nickname. Once completed, confirm the new username in the Full Name field, and click Aplicar> Aceptar.
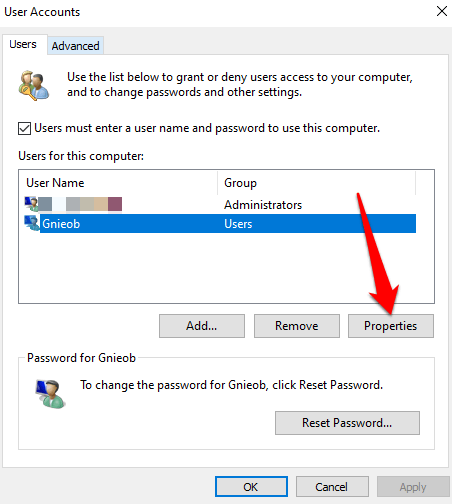
Sign out, restart your PC, and the new username will be displayed on your computer.
Crear unha nova conta de usuario
If you want to clear any traces of the previous username, you can create a new user account with a new username, and then move all your files to the new user account.
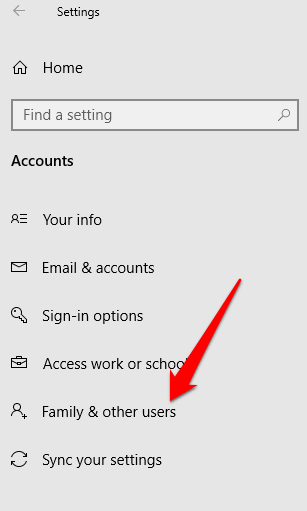
- To create a new user profile, click Inicio > Configuración > Contas > Familia e outros usuarios.
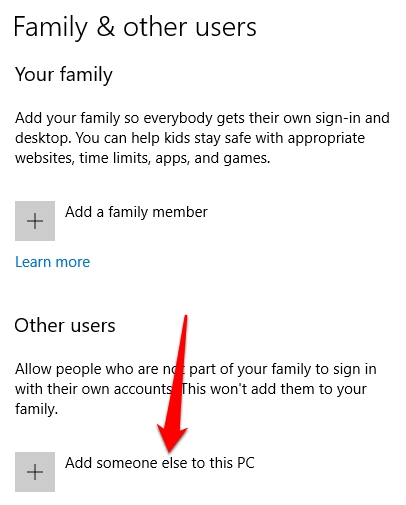
- prema Engade outra persoa a este PC.
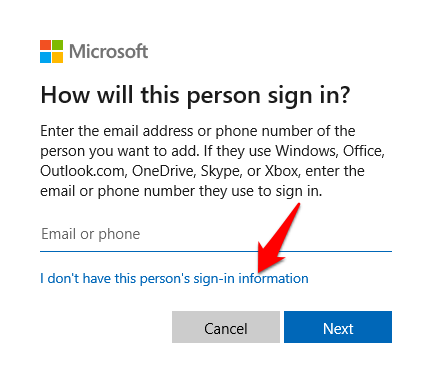
- A continuación, fai clic Non teño información de inicio de sesión desta persoa.
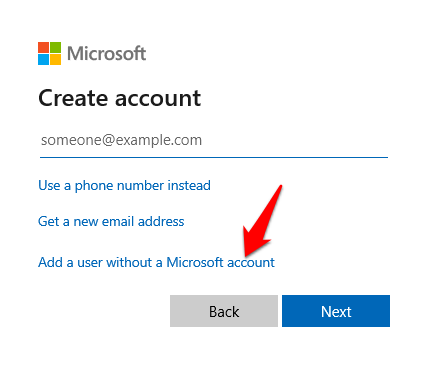
- prema Engade un usuario sen conta de Microsoft.
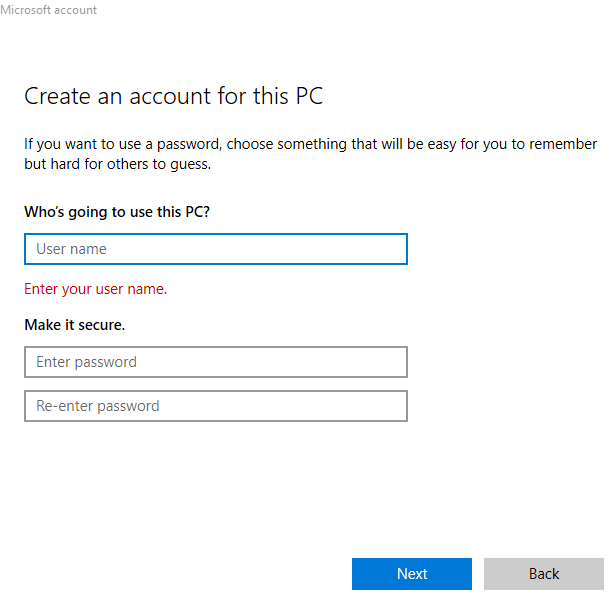
- Escriba un nome de usuario Contrasinale seleccione o preguntas de seguridade. Prema seguinte.
- You can also give the account administrator privileges to move your files. To do this, click Outros usuarios and select the user account you’ve just created. Click Cambiar o tipo de conta. Faga clic na Tipo de conta drop-down and then click Administrador. Prema OK e reinicie o PC.
Don’t Stay Tied To One Username
Usernames need not be cast in stone. If you want to change your username on Windows 10, you can do it without jumping through hoops. We also have guides to help you change your username on Spotify change your Skype name.
Were you able to change your username on Windows 10 using the methods above? Share with us in a comment below.

