How to fix Printer not activated Error Code 20: If you’re facing the error message “Printer not activated – Error Code 20” then you’re at the right place as today we are going to see how to fix the issue. The issue is generally seen in systems in which user have upgraded from earlier version of Windows or using the QuickBooks software. In anyway case, let’s see how to fix Printer not activated Error Code 20 with the help of the below-listed guide.
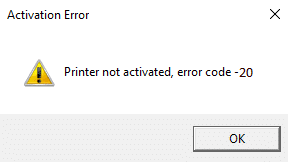
How to fix Printer not activated Error Code 20
જો કંઈક ખોટું થાય તો પુનઃસ્થાપિત બિંદુ બનાવવાની ખાતરી કરો.
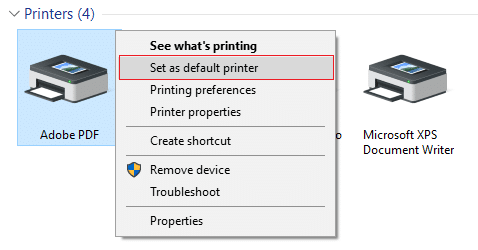
Method 1: Set the Default Printer
1.Type control in Windows Search then click on નિયંત્રણ પેનલ.

2. ક્લિક કરો હાર્ડવેર અને સાઉન્ડ અને પછી પસંદ કરો ઉપકરણો અને પ્રિન્ટરો.

3.Right-click on your printer and select Set as a default printer.
4. ફેરફારો સાચવવા માટે તમારા PC ને પુનઃપ્રારંભ કરો.
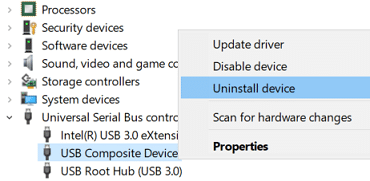
Method 2: Re-install the USB Composite Device from Device Manager
1.Windows Key + R દબાવો પછી ટાઈપ કરો devmgmt.msc અને Enter દબાવો.

2.વિસ્તૃત કરો Universal Serial Bus Controllers.
3. પર જમણું-ક્લિક કરો USB Composite Device અને પસંદ કરો અનઇન્સ્ટોલ કરો.
4.If asks for confirmation select Yes/OK.
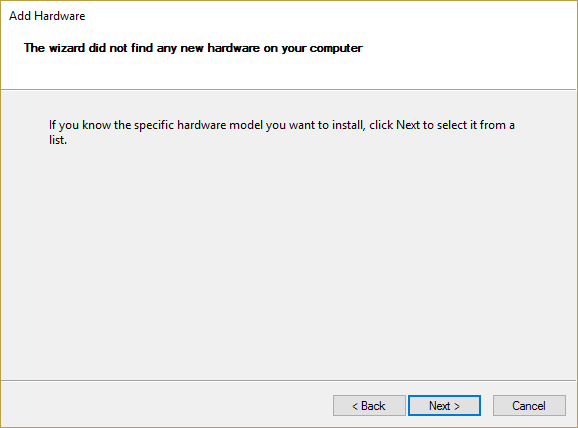
5.Disconnect the Printer USB from the PC and then reconnect it.
6.Follow the instructions in the Found New Hardware wizard ડ્રાઇવરો ઇન્સ્ટોલ કરવા માટે.
7.Right-click the printer icon, and then click પરીક્ષણ પૃષ્ઠ છાપો to print a Windows self-test page.
8. ફેરફારો સાચવવા માટે તમારા PC ને પુનઃપ્રારંભ કરો.
પદ્ધતિ 3: પ્રિન્ટર ટ્રબલશૂટર ચલાવો
1.type “troubleshooting” in Windows Search bar and click on મુશ્કેલીનિવારણ.

6. આગળ, ડાબી વિન્ડો ફલકમાંથી પસંદ કરો બધુજ જુઓ.
7. પછી મુશ્કેલીનિવારણ કમ્પ્યુટર સમસ્યાઓની સૂચિમાંથી પસંદ કરો પ્રિન્ટર.
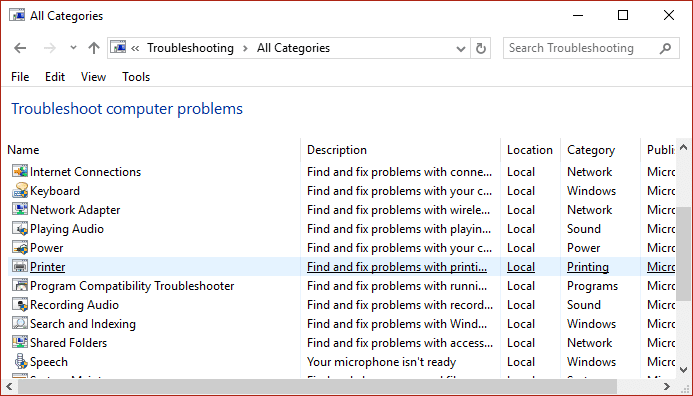
8.ઓન-સ્ક્રીન સૂચનાને અનુસરો અને પ્રિન્ટર ટ્રબલશૂટરને ચાલવા દો.
9.Restart your PC and you may be able to Fix Printer not activated Error Code 20.
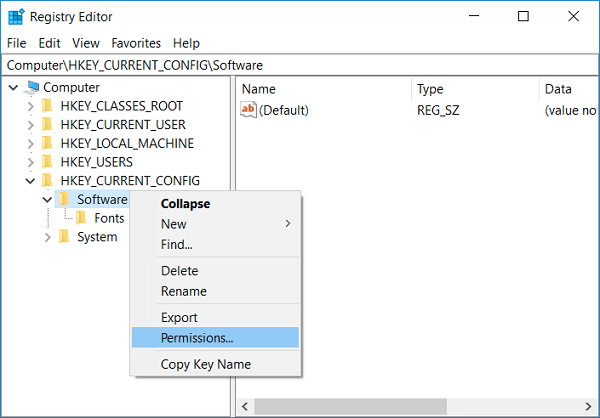
પદ્ધતિ 4: રજિસ્ટ્રી ફિક્સ
1.Windows Key + R દબાવો પછી ટાઈપ કરો regedit અને રજિસ્ટ્રી એડિટર ખોલવા માટે એન્ટર દબાવો.

2. નીચેની રજિસ્ટ્રી કી પર નેવિગેટ કરો:
HKEY_CURRENT_CONFIGSoftware
3.Right-click on Software folder then select પરવાનગી.
4.Now in the permission window, ensure that Administrator and users છે સંપૂર્ણ નિયંત્રણ checked, if not then checkmark them.
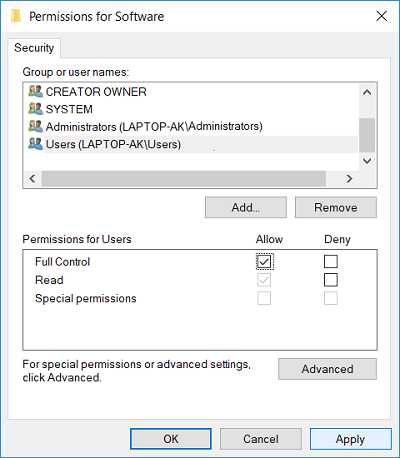
5. ઓકે પછી લાગુ કરો ક્લિક કરો.
6.Restart your PC to save changes and see if you’re able to fix the issue.
Method 5: Grant Permission using PowerShell
1.પ્રકાર પાવરશેલ Windows શોધમાં પછી રાઇટ-ક્લિક કરો પાવરશેલ અને પસંદ કરો સંચાલક તરીકે ચલાવો.
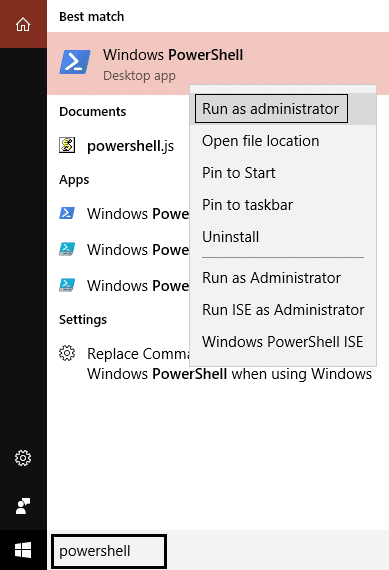
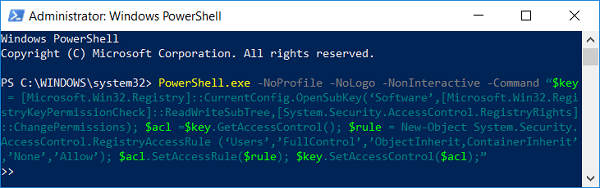
2.Now type the following command in PowerShell and hit Enter:
PowerShell.exe -NoProfile -NoLogo -NonInteractive -Command “$key = [Microsoft.Win32.Registry]::CurrentConfig.OpenSubKey(‘Software’,[Microsoft.Win32.RegistryKeyPermissionCheck]::ReadWriteSubTree,[System.Security.AccessControl.RegistryRights]::ChangePermissions); $acl =$key.GetAccessControl(); $rule = New-Object System.Security.AccessControl.RegistryAccessRule (‘Users’,’FullControl’,’ObjectInherit,ContainerInherit’,’None’,’Allow’); $acl.SetAccessRule($rule); $key.SetAccessControl($acl);”
3. ફેરફારો સાચવવા માટે તમારા PCને રીબૂટ કરો.
Method 6: Reinstall QuickBook
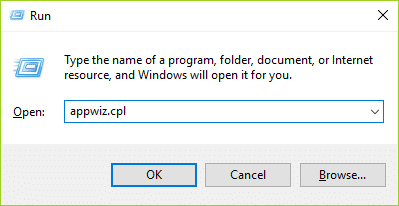
1.Windows Key + R દબાવો પછી ટાઈપ કરો appwiz.cpl અને Enter દબાવો.
2.Find QuickBook from the list and uninstall it.
3. આગળ, download QuickBooks from here.
4.Run the installer and follow on-screen instructions to install QuickBook.
5.તમારા પીસીને રીસ્ટાર્ટ કરો.
આગ્રહણીય:
તે તમે સફળતાપૂર્વક કર્યું છે Fix Printer not activated Error Code 20 પરંતુ જો તમને હજુ પણ આ પોસ્ટ સંબંધિત કોઈ પ્રશ્નો હોય તો ટિપ્પણી વિભાગમાં તેમને પૂછવા માટે નિઃસંકોચ.

