It’s possible to install and use the Linux बैश खोल on your Windows 10 PC. This is a Linux subsystem that runs on your PC without installing Linux on a virtual machine.
With this Linux Bash shell on Windows 10, you can run various Linux commands and apps (not the graphical ones) on your Windows PC. Also, you have the option to install your favorite Linux distribution, including Ubuntu.
In this guide, we’ll focus on installing Linux’s Ubuntu distribution on Windows 10.
चरण 1: विंडोज़ सुविधाओं में लिनक्स सक्षम करें
प्रदर्शन करने के लिए पहला कदम अपने विंडोज 10 पीसी पर लिनक्स के लिए विंडोज सबसिस्टम को सक्षम और स्थापित करना है। आप इसे विंडोज फीचर्स पैनल से कर सकते हैं।
This option only works for the 64-bit versions of Windows 10. Check what bit version your PC runs आपके आगे बढ़ने से पहले।
यदि आपका पीसी विंडोज 64 का 10-बिट संस्करण चलाता है, तो इन चरणों का पालन करें:
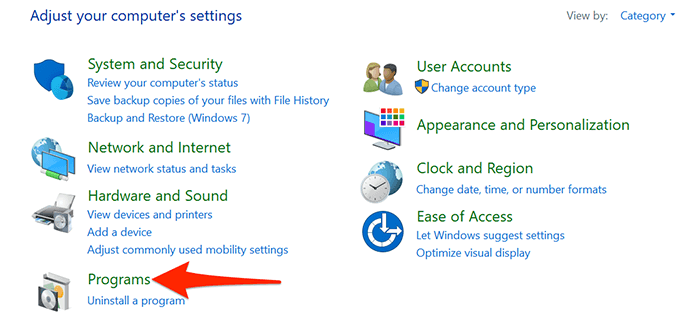
- Open Control Panel on your PC.
- चुनते हैं प्रोग्राम्स मुख्य नियंत्रण कक्ष विंडो पर।
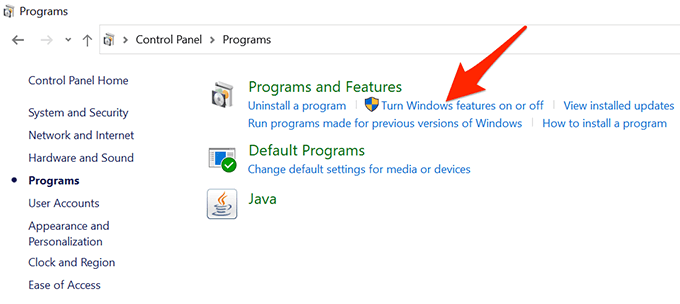
- निम्न स्क्रीन पर, चुनें पर या बंद Windows सुविधाओं को चालू करें से कार्यक्रम और विशेषताएं अनुभाग।
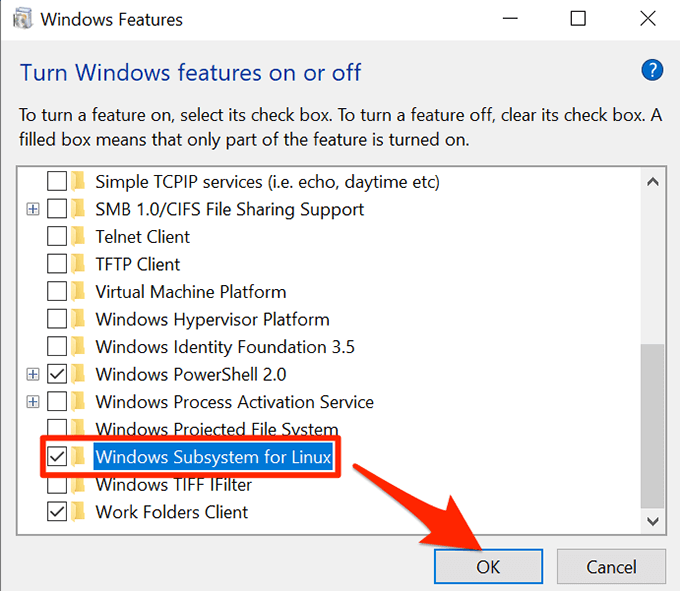
- में विंडोज सुविधाएँ खुलने वाली विंडो, नीचे स्क्रॉल करें और सक्षम करें लिनक्स के लिए विंडोज सबसिस्टम विकल्प.
- चुनते हैं OK अपने परिवर्तनों को सहेजने के लिए विंडो के नीचे।
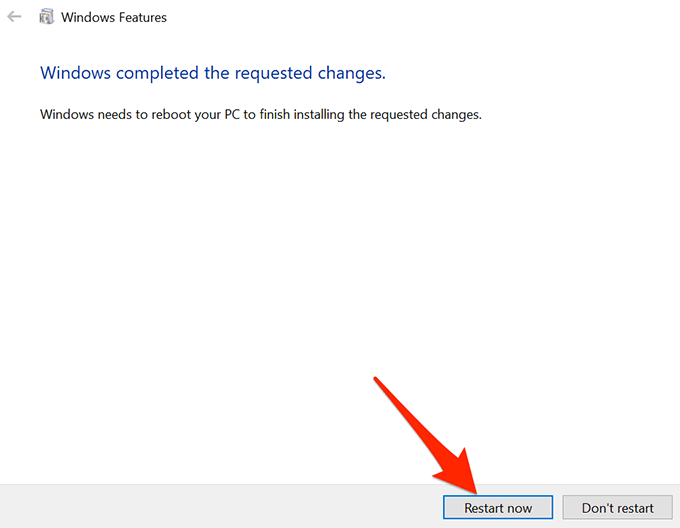
- विंडोज़ आपको परिवर्तनों को प्रभावी बनाने के लिए अपने कंप्यूटर को रीबूट करने के लिए कहेगा। चुनना अब फिर से शुरू करें अपने पीसी को रिबूट करने के लिए।
Step 2: Download and Install a Linux Distribution on Your PC
Now that Windows Subsystem for Linux is installed, download your favorite Linux distribution and install it on your PC. You can install more than one Linux distro available on the Microsoft Store.
We’ll install the Ubuntu distro in the following steps.
- When your PC boots back up after the last step in the above section, open the प्रारंभ मेनू, खोजें माइक्रोसॉफ्ट स्टोर, और चुनें माइक्रोसॉफ्ट स्टोर खोज परिणामों में

- में दुकान, चुनते हैं Search at the top-right corner and type Ubuntu. You may enter any other Linux distro name here if you want.
- चुनते हैं Ubuntu खोज परिणामों में

- On Ubuntu’s app screen, select स्थापित करें to install this Linux distribution on your PC. Windows will install this distro as if you’re installing any other Store app.

- Close Microsoft Store when Ubuntu is installed.
Step 3: Configure the Linux Bash Shell on Windows 10
The Linux Bash shell is now installed on your PC, and you’re ready to start using it.
When you run the shell for the first time, it’ll ask you to configure a few options. Here’s how to launch and configure the shell:
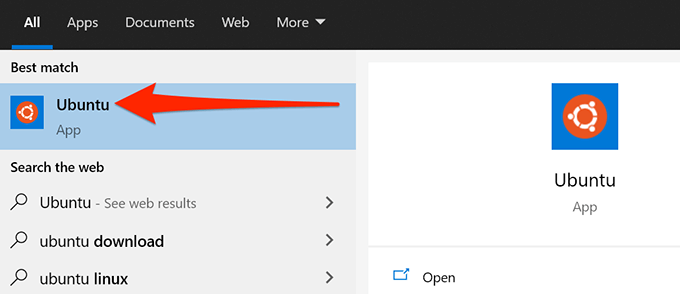
- ओपन प्रारंभ मेनू, खोजें Ubuntu, और चुनें Ubuntu खोज परिणामों में
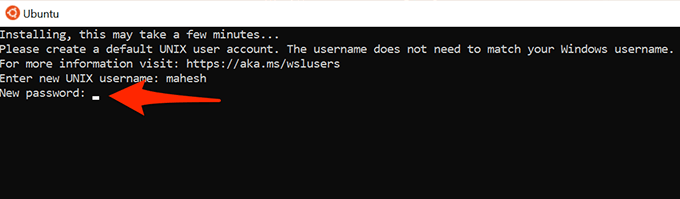
- When Ubuntu opens, it’ll start configuring some of its options automatically. Wait for this to finish.
- जब आप देखते हैं Enter new UNIX username prompt, type the username you’d like to use with the Bash shell. This username can be different from the one you use with your Windows user account. Then, press दर्ज.

- Ubuntu then asks you to create a password for the shell. Type a password and press दर्ज.
- Type the password again and press दर्ज.
- The window will display various messages. At the bottom of these messages, you’ll see the username you just created and your PC’s name.

- You can now start running Linux commands on your PC.
Step 4: Start Using Linux Bash Shell Commands on Windows 10
The Linux Bash shell is now fully configured, and you can start running your commands in it. If you aren’t sure what commands to start with, the following will give you some ideas.
Note that each command that starts with sudo will require you to enter the password you created in the above section. This is because these commands need admin privileges to run.
1. Update Package List
आदेश: उपयुक्त sudo- मिल अद्यतन

This command updates the packages list for your specific Linux distribution. Keep in mind that this command doesn’t actually install any updates; it only updates the list.
2. सॉफ़्टवेयर अद्यतन स्थापित करें
आदेश: उपयुक्त - मिल sudo का उन्नयन
Use this command to get updates for the apps installed on your Linux distribution.
3. Install a New Program
आदेश: sudo apt-get install PackageName
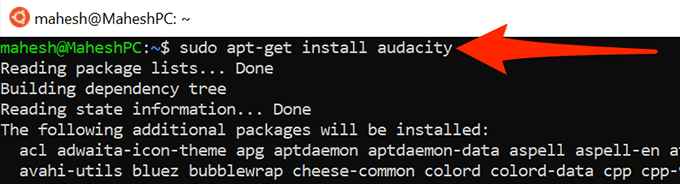
This command helps you install a program on your Linux distribution. Replace पैकेज का नाम in the command with the name of the program you want to install.
For example, to install धृष्टता, you’d use the following command:
sudo apt-get install दुस्साहस
4. Remove an Installed Program
आदेश: sudo apt-get remove PackageName
To get rid of a program from your Linux distribution, use this command replacing पैकेज का नाम with the name of the program you want to remove.
5. Edit a Text File
आदेश: nano FileName.txt

This command opens Ubuntu’s built-in text editor to let you edit the specified file. Make sure to replace फ़ाइल नाम with the actual name of the file you want to edit.
6. List the Contents of a Directory
आदेश: ls (that’s a small L)
Use this command to display the contents of your current working directory.
7. Change the Current Directory
आदेश: cd Path
To change your current working directory, run this command replacing पथ with the full path to the directory you want to make your new working directory.
8. Download Files From the Internet
आदेश: wget url
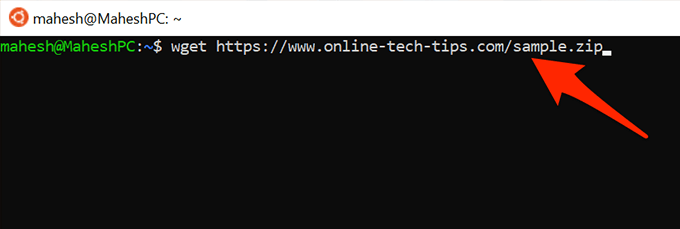
You can download files from the internet to your computer with this command. Simply replace the यूआरएल in the command with the web address of the file you wish to download.
9. Clear the Terminal Screen
आदेश: स्पष्ट
This command clears everything in your Terminal window and lets you start typing commands from scratch. Use this when your Terminal screen is too cluttered.
10. Quit the Terminal
आदेश: निकास
This command closes the Terminal window. Use this when you’ve finished working with your commands.
And those are some of the essential commands you should learn to get started with the Linux Bash shell on your Windows 10 PC. We hope this guide helps you out.
