Whenever we think we have enough space on our hard drive, we somehow find enough stuff to load it with and run out of space real soon. And all we know at the end of the story is that we desperately need more space on the drive because we already have a ton of more pictures, videos, and apps. So, if you need to make space on your drive, here are a few ways that you can use to clean up your hard disk and optimize your space utilization to make room for new stuff and save yourself from having to buy another drive already.
What is actually taking up your hard disk space?
Now, before you clean up some space on your drive, you probably need to figure out which files are actually eating up all your disk space. This crucial information is made available to you by Windows itself which provides a disk analyzer tool to find which files you need to get rid of. To analyze your disk space,
1. Nyem ntawm qhov Start icon ntawm lub taskbar.
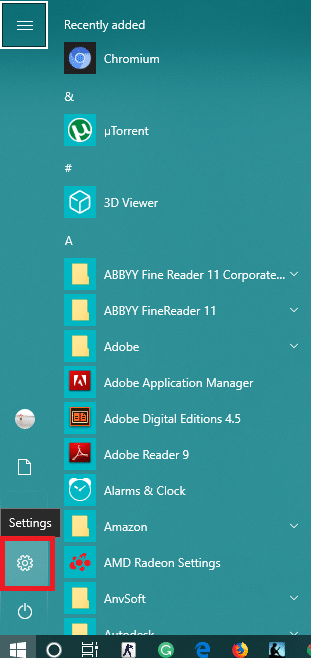
2. Nyem ntawm qhov iav icon qhib chaw thiab tom qab ntawd nyem rau 'system'.

3. Xaiv 'cia’ from the left pane and under ‘Chaw Cia Hauv Zos" select the drive you need to check the space.
4. Wait for the storage usage to load. Once loaded, you will see which type of files use what amount of disk space.
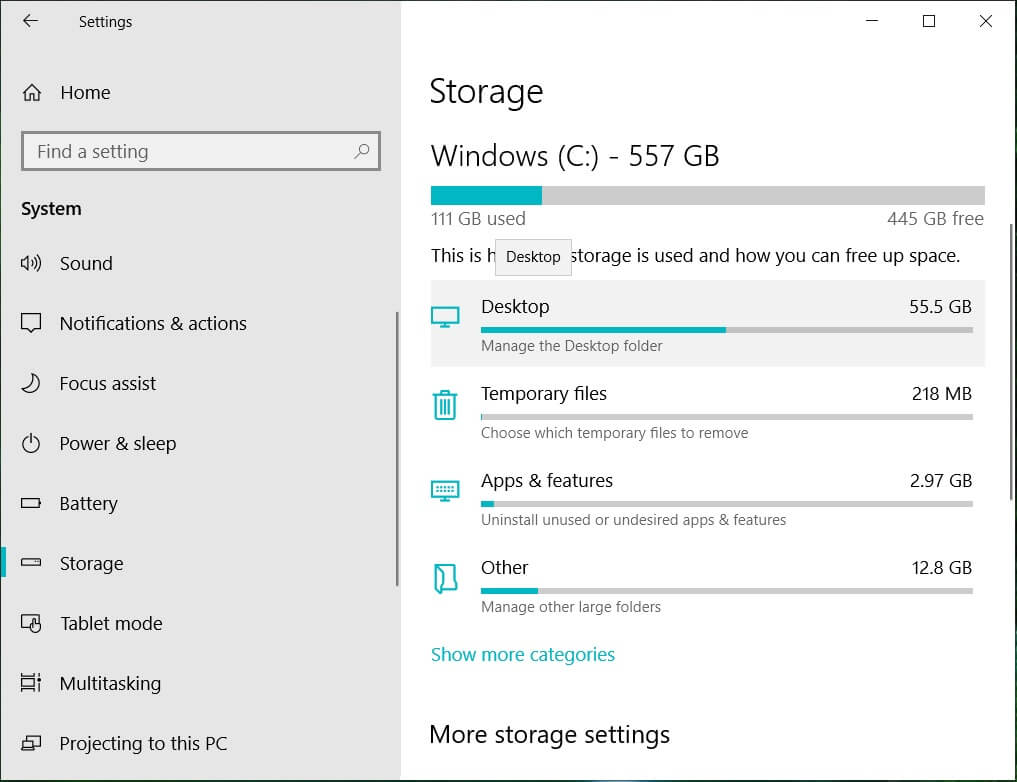
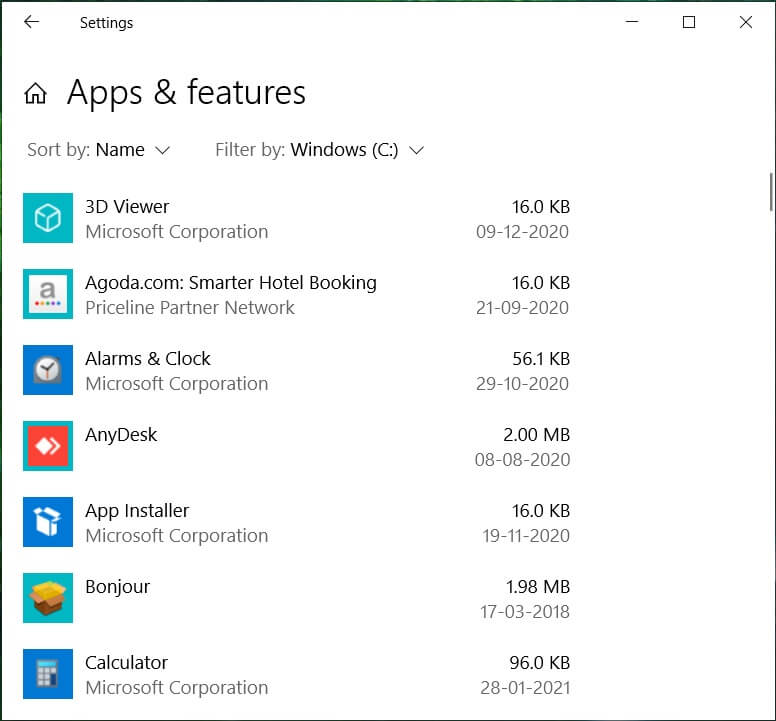
5. Furthermore, clicking on a particular type will give you even more detailed storage usage information. For instance, the ‘Apps & Kev Ua Si’ section will give you the details of how much space each app occupies on your disk.
Additionally, you can find out the space occupied by different programs on your computer from Control Panel.
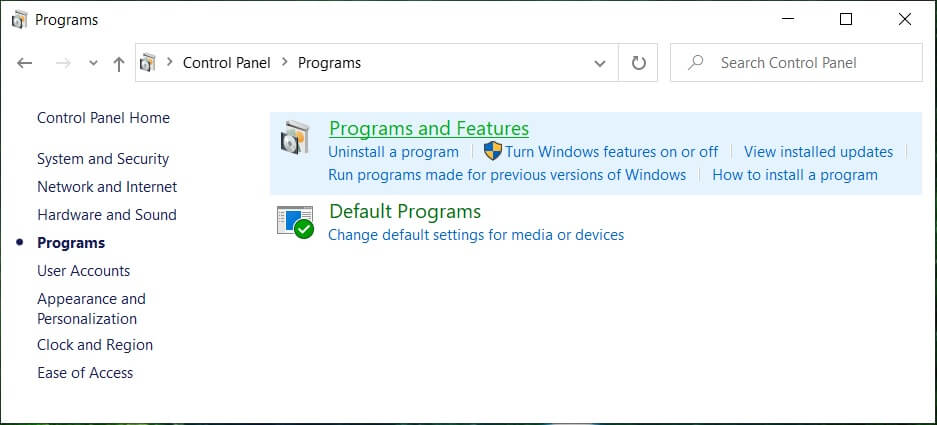
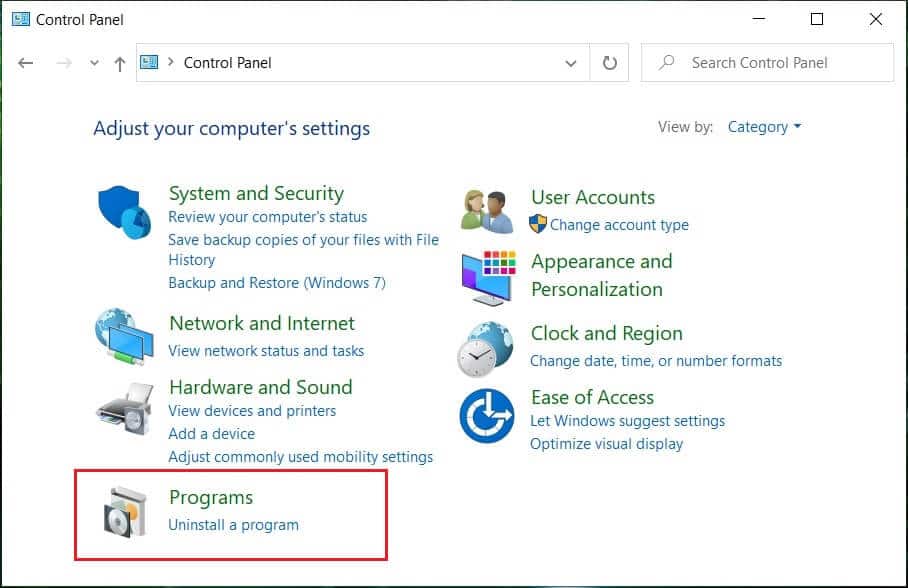
1. Press Windows key + R then type tswj and hit Enter to open ‘Control Vaj Huam Sib Luag'.

2. Now, click on ‘Programs'thiab ces'Cov khoos kas thiab cov yam ntxwv'.
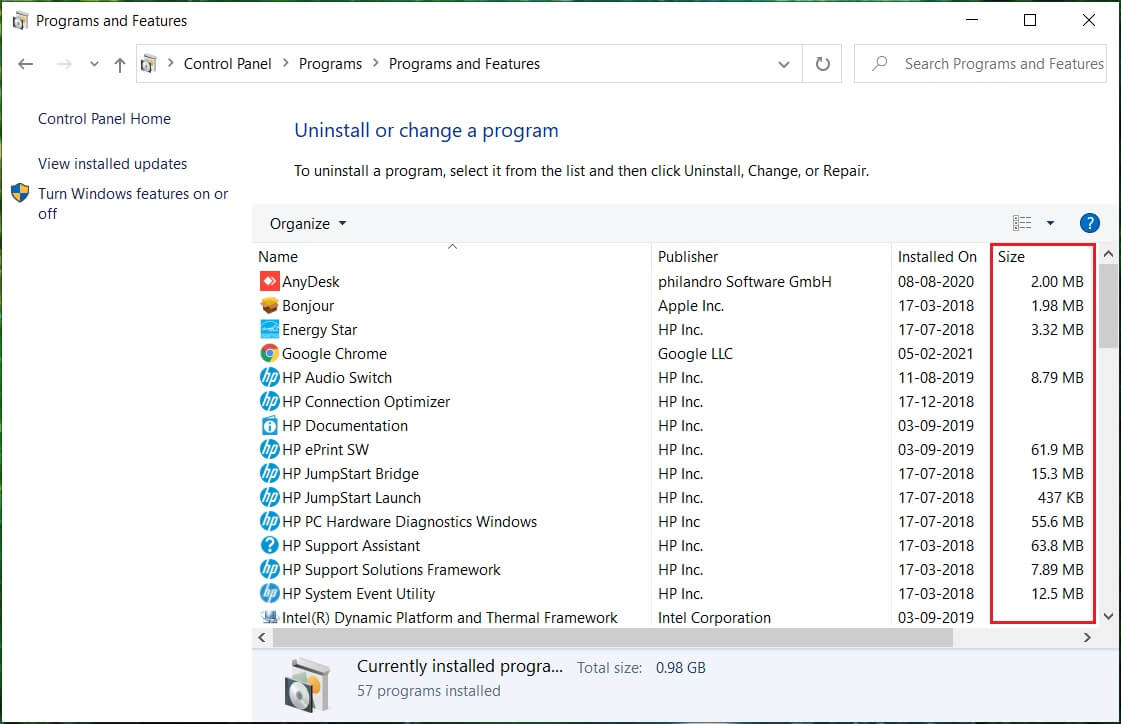
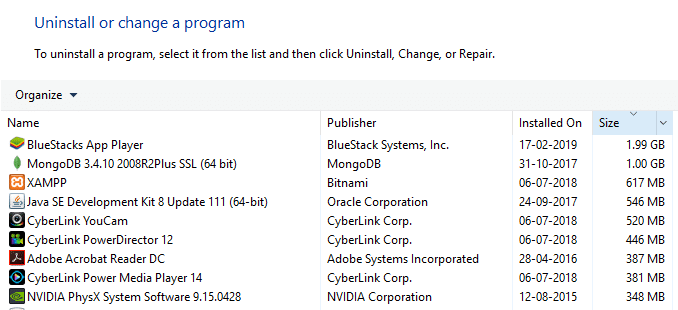
3. You now have the entire list of programs on your computer and how much space each of them occupies.
Apart from the Windows built-in analyzer, many third-party disk space analyzer apps like WinDirStat can help you find out how much disk space different files use with a more detailed view. Now that you know exactly what is taking up most of your disk space, you can easily decide what you want to remove or delete. To free up space on your hard disk, use the given methods:
10 Txoj Kev Kom Dawb Up Hard Disk Space Ntawm Windows 10
Nco ntsoov tsim qhov taw tes rov qab tsuas yog thaum muaj qee yam yuam kev.
Method 1: Delete Junk Windows Files using Storage Sense
As the first step, let us delete the temporary files saved on our computers which are useless for us, using Storage Sense built-in Windows feature.
1. Nyem ntawm qhov Pib lub cim ntawm lub taskbar.
2. Nyem ntawm qhov iav icon qhib chaw and go to ‘system'.
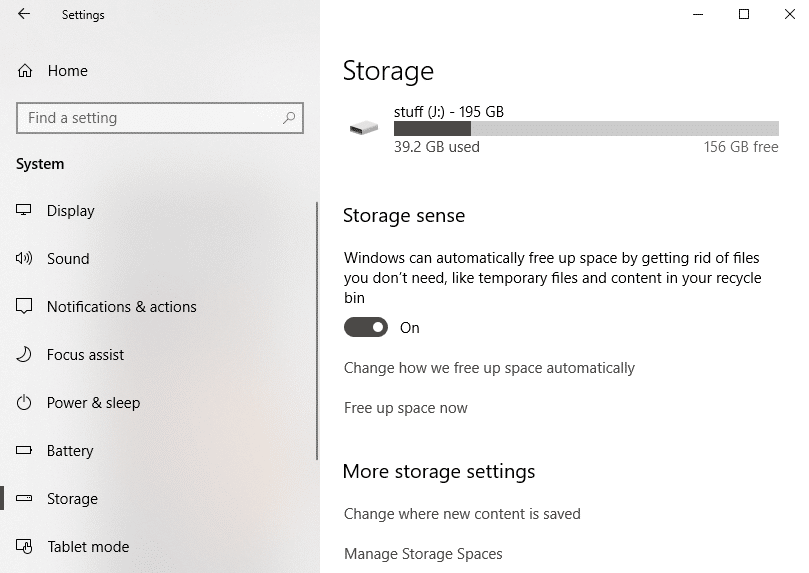
3. Xaiv 'Cia' from the left pane and scroll down to ‘Kev Cia Siab'.
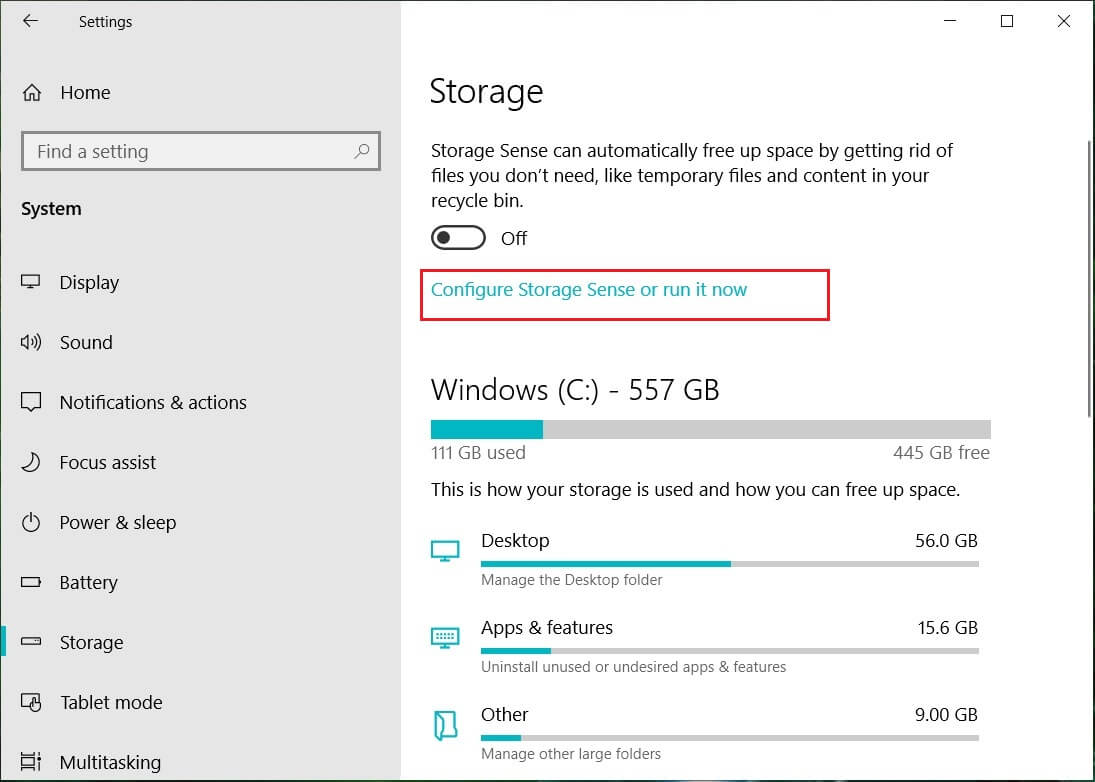
4. Under ‘Kev Cia Siab" nias ntawm 'Hloov li cas peb tso dawb chaw seem'.
5. Make sure that ‘Tshem tawm cov ntaub ntawv ib ntus uas kuv cov apps tsis siv’ option is soj ntsuam.
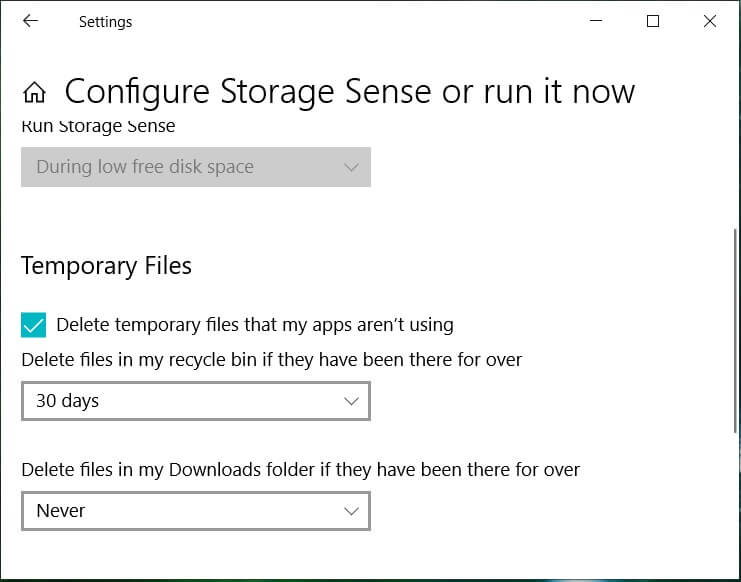
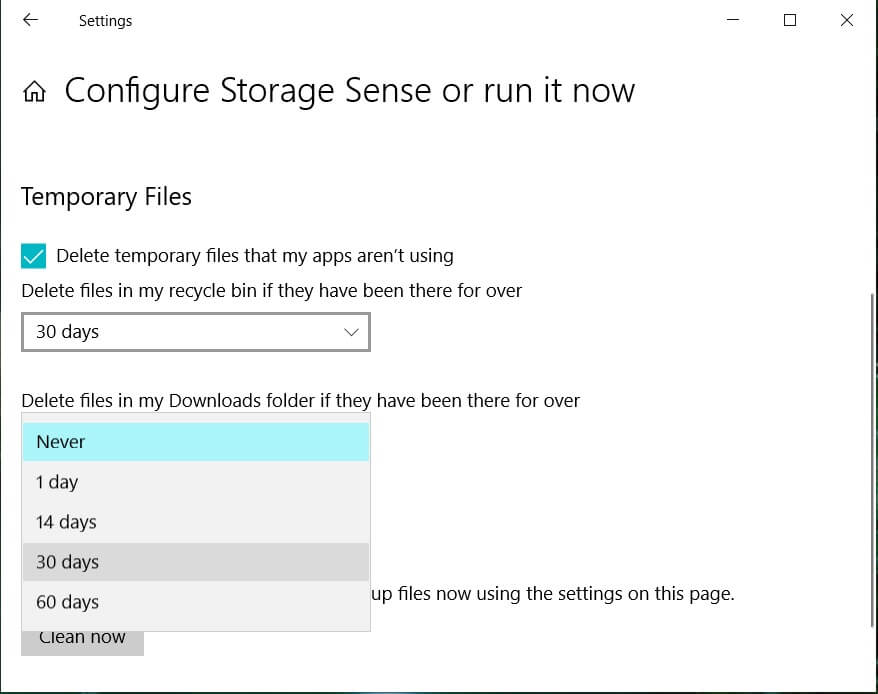
6. Decide how frequently you want to delete the files in the recycle bin and downloads folder and select the relevant option from the drop-down menu. You can select between the options: Never, 1 day, 14 days, 30 days and 60 days.
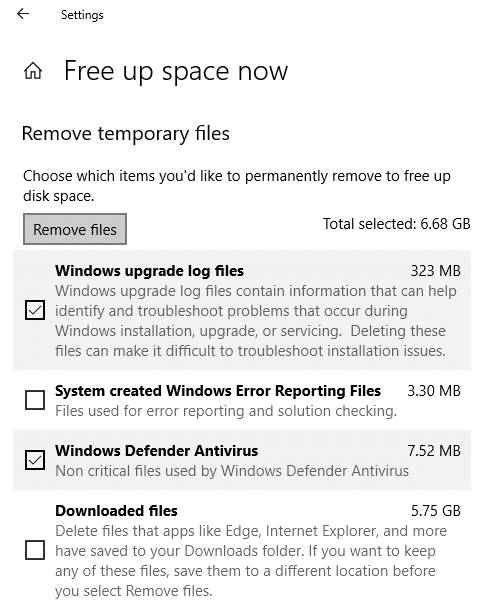
7. To instantly free up disk space used by temporary files by clicking on ‘Ntxuav tam sim no’ button under ‘Free up space now’.
8. Yog tias koj xav tau set up automatic clean-up process once every particular number of days, you can set it up by turning on ‘Storage Sense’ on the top of the page.
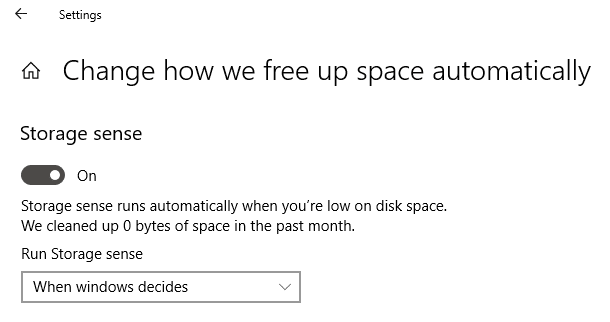
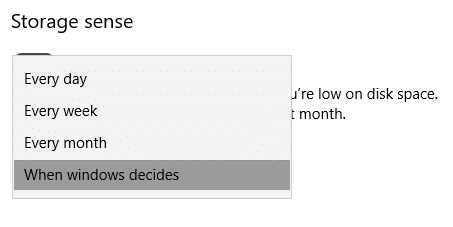
9. You can decide when the storage maintenance is carried by choosing between Every day, Every week, Every month and When Windows decides.
Method 2: Delete Temporary Files using Disk Cleanup
Disk cleanup is a built-in tool on Windows that will let you delete the required unnecessary and temporary files depending upon your need. To run disk cleanup,
1. Nias Windows Key + I qhib chaw nyem rau System icon.
2. Xaiv 'cia’ from the left pane and scroll down to ‘Cia kev nkag siab'.
3. Nyem rau 'Tsis muaj chaw seem tam sim no’. Then wait for scanning to complete.
4. From the list, select the files you would like to delete, such as downloads, thumbnails, temporary files, recycling bin, etc.
5. Nyem rau 'Tshem cov ntaub ntawv’ button to free up the total selected space.
Alternatively, to run disk cleanup for any particular drive using the given steps:
1. Press Windows Key + E to open Files Explorer.
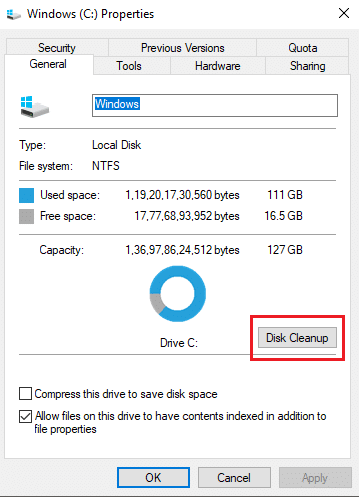
2. Under ‘This PC’ right-click nyob rau hauv cov tsav you need to run disk cleanup and select Zog.

3. Sub 'General'tab, nias rau'Disk ntxuav'.
4. Select the files that you want to delete from the list like windows update cleanup, download program files, recycle bin, temporary internet files, etc. and nias rau OK.
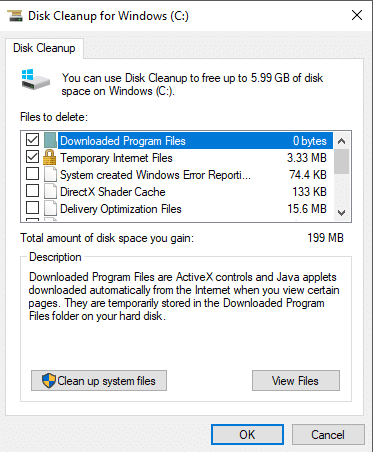
5. Nyem rau 'Rho tawm cov ntaub ntawv’ to confirm the deletion of the selected files.
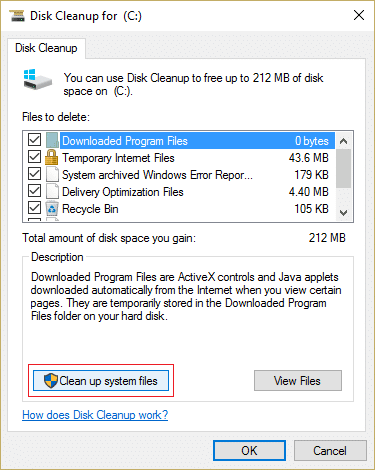
6. Next, click on ‘Tu cov ntaub ntawv kaw lus'.
7. Unnecessary files from that particular drive will be removed, freeing up space on your disk.
Rau cov neeg siv Qhov System Restore uas siv Duab ntxoov ntxoo luam, Koj ua tau delete its junk files to free up more space on your drive.
1. Press Windows Key + E to open Files Explorer.
2. Under ‘This PC’ right-click nyob rau hauv cov tsav you need to run disk cleanup and select Zog.
3. Sub 'General'tab, nias rau'Disk Cleanup'.
4. Now click on ‘Tu cov ntaub ntawv kaw lus'.
5. Switch to the ‘Ntau Cov Kev Xaivtab.
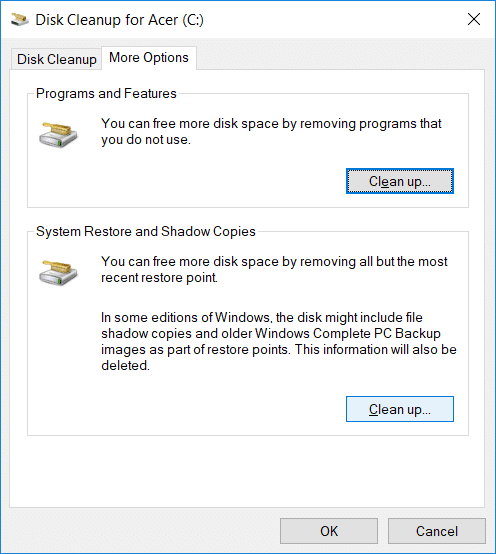
6. Under ‘System Restore and Shadow Copies'section, nyem rau'Clean up…'.
7. Nyem rau 'Rho tawm’ to confirm the deletion.
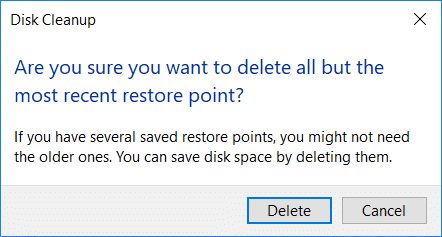
8. All junk files will be deleted.
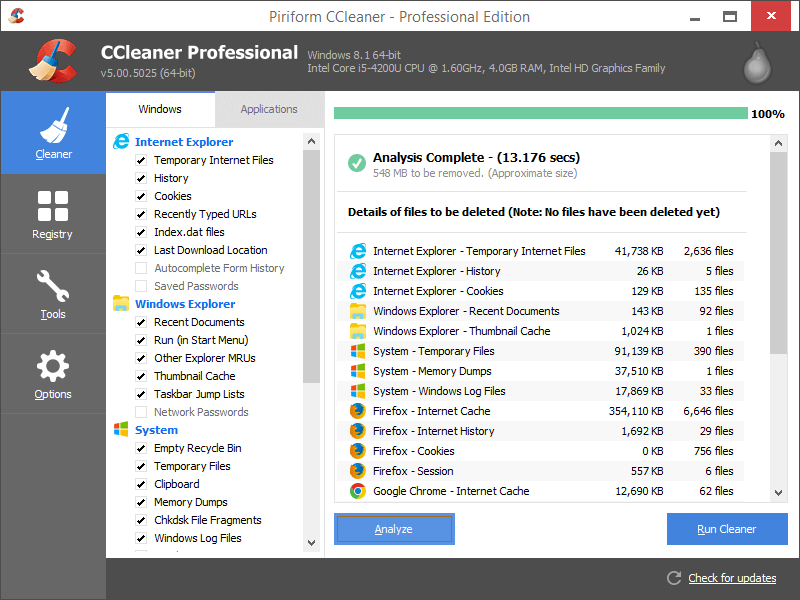
Method 3: Delete Temporary Files used by Programs using CCleaner
The above two methods that we used to free up space occupied by the temporary files actually includes only those temporary files which are not used by other programs. For example, the browser cache files that your browser uses to speed up website access time will not be deleted. These files may actually take up a huge space on your disk. To free up such temporary files, you need to download a third-party app like CCleaner. CCleaner can be used to delete all temporary files, including those left out in the disk cleanup process like Temporary Internet Files, History, Cookies, Index.dat files, Recent Documents, Search Autocomplete, other Explore MRUs, etc. This program will efficiently free up quite some space on your disk.
Method 4: Uninstall Unused Apps and Programs to Free Up Hard Disk Space
We are all guilty of having tens of apps and games on our computer that we don’t even use anymore. Having these unused apps takes up a lot of space on your disk that could otherwise be used for more important files and apps. You should uninstall and get rid of these unused apps and games to free up a whole lot of space on your disk. To uninstall apps,
1. Nias Windows Key + Kuv to open Settings then click on ‘apps'.
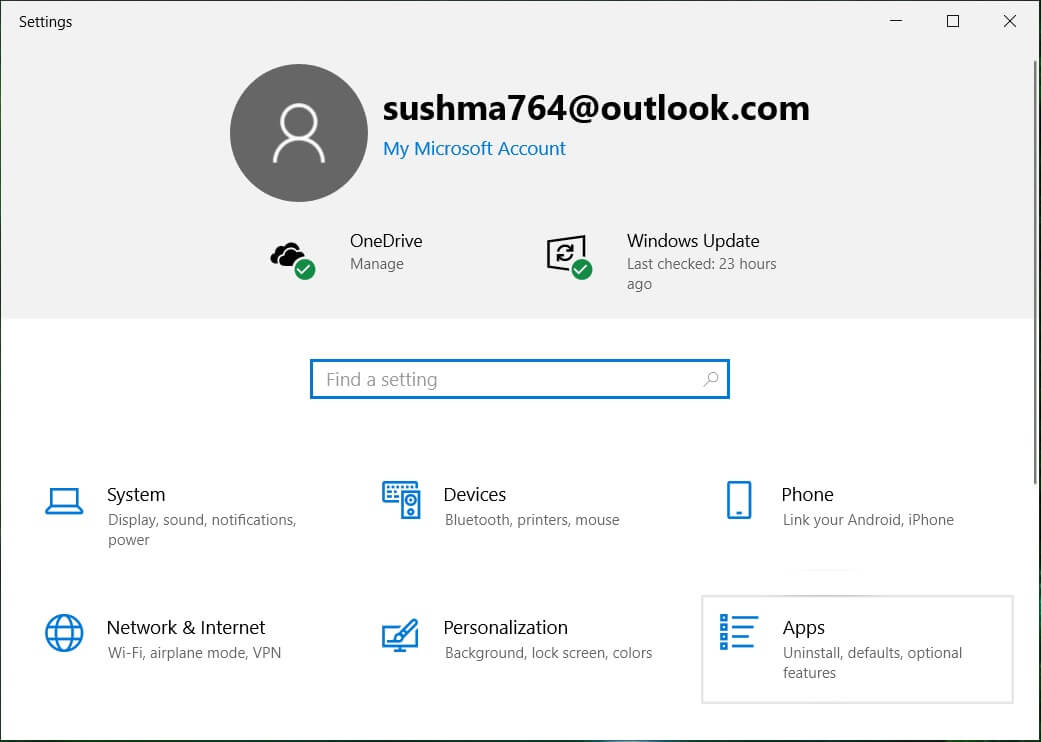
2. Nyem rau 'Apps thiab nta’ from the left pane.
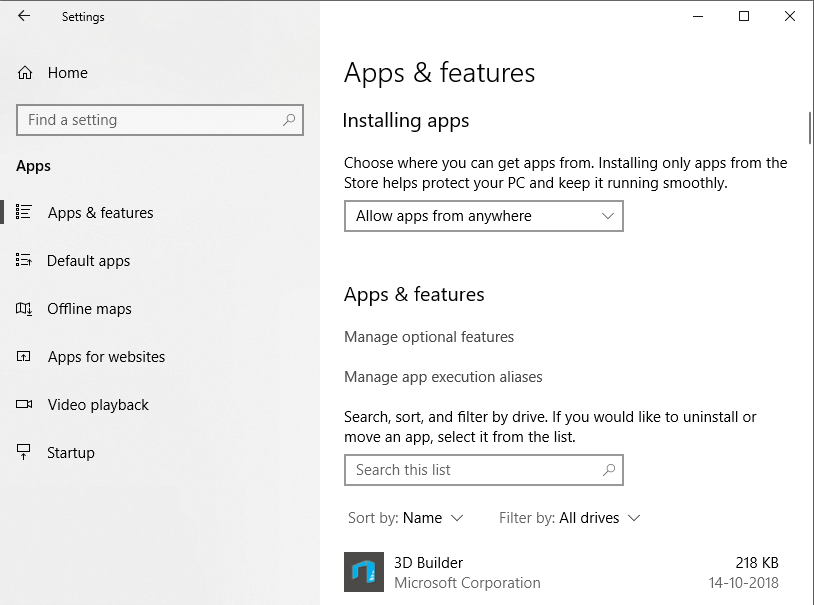
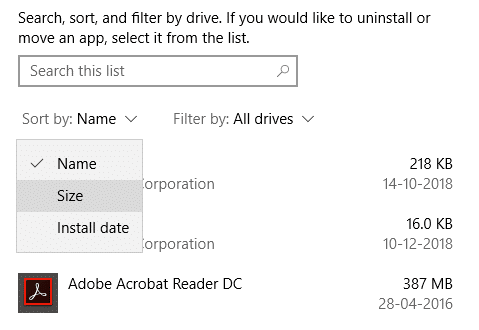
3. Here, you can sort the list of apps using their size to determine which apps occupy most of the space. To do this, click on ‘Tsi yog:’ then from the drop-down menu and select ‘loj'.
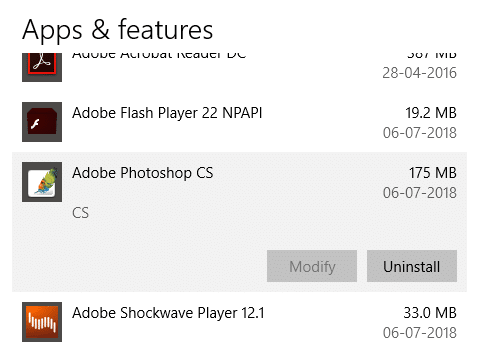
4. Click on the app that you want to uninstall and click on ‘uninstall'.
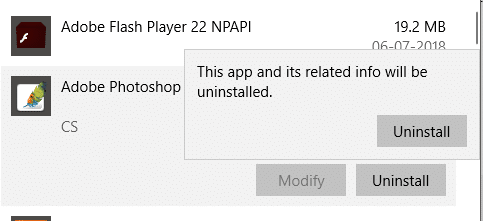
5. Nyem rau 'uninstall’ again to confirm.
6. Using the same steps, you can uninstall all unnecessary apps ntawm koj lub computer.
Note that you can also uninstall apps using Control Panel.
1. Type control panel in the search field located on your taskbar and click on it to open ‘Control Vaj Huam Sib Luag'.

2. Nyem rau 'Programs'.
3. Under ‘Kev pab cuam thiab nta’, click on ‘Uninstall ib qho program'.
4. Here, you can sort the apps according to their size by clicking on ‘loj’ attribute heading.
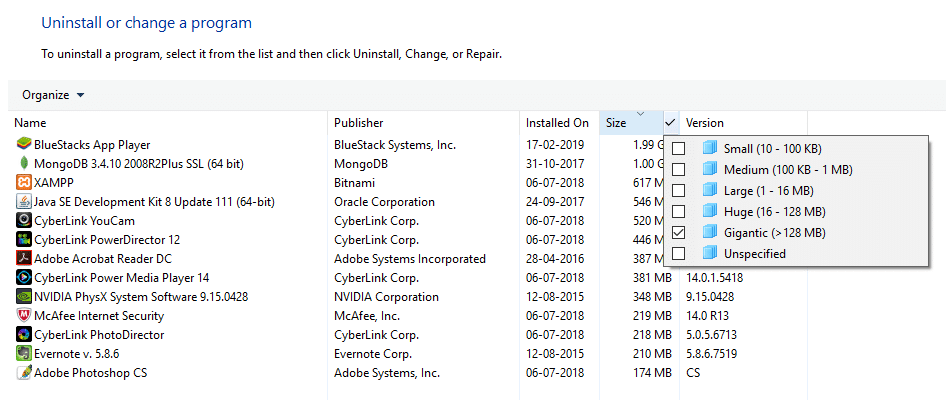
5. Also, you can filter out the small, medium, large, huge and gigantic sized apps. For this, click on the down arrow beside 'loj' thiab xaiv the relevant option.
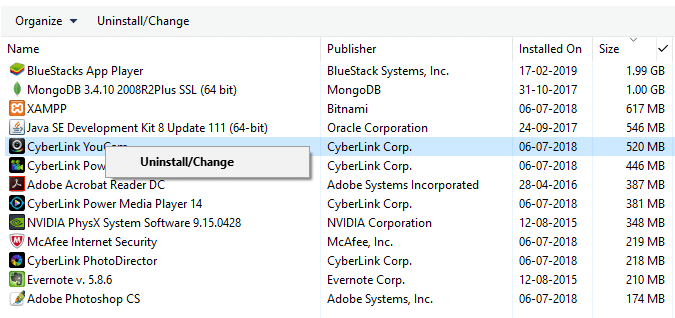
6. Txoj cai-nias rau ntawm app thiab nyem rau ntawm 'uninstall’ to uninstall any app and click on ‘Yes’ in the User Account Control window.
Method 5: Delete Duplicate Files to Free Up Hard Disk Space
While copying and pasting different files on your computer, you might actually land up with multiple copies of the same file, located at different places on your computer. Deleting these duplicate files can also free up space on your disk. Now, finding different copies of a file on your computer manually is nearly impossible, so there are a few third-party apps that you can use to do this. Some of them are Duplicate Nqus tsev vacuum Pro, CCleaner, Auslogics Luam theej tawm cov ntaub ntawv, Thiab lwm yam
Method 6: Store Files on the Cloud
Using Microsoft’s OneDrive to save files can save you some space on your local disk. The ‘Cov ntaub ntawv On-Demand’ feature of OneDrive available on Windows 10 which is a really cool feature that lets you access even those files which are actually stored on the cloud from your File Explorer. These files will not be stored on your local disk and can be downloaded directly from your File Explorer whenever needed, without having to sync them. Hence, you can store your files on the cloud if you are running out of space. To enable OneDrive Files On-Demand,
1. Nyem ntawm qhov cloud icon in the notification area of your taskbar to open OneDrive.
2. Then click on ‘ntau'thiab xaiv'chaw'.

3. Hloov rau Chaw tab thiab kos cim 'Save space and download files as you see them’ box under the Files On-Demand section.
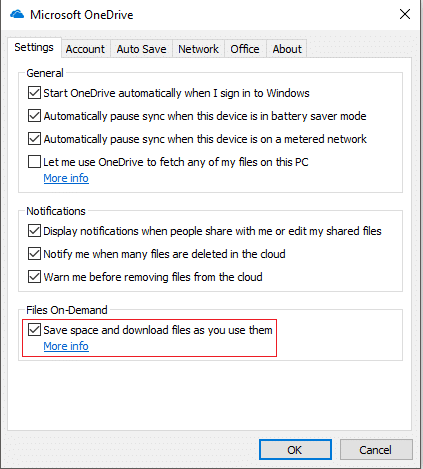
4. Click on OK, and Files On-Demand will be enabled.
To save space on your computer,
1. Open the File Explorer and select ‘OneDrive’ from the left pane.
2. Right-click on the file you want to move to OneDrive and select ‘Dawb chaw seem'.
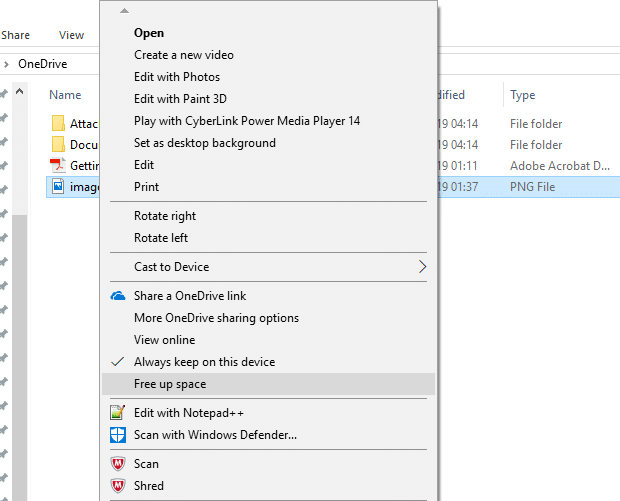
3. You use these steps to move all the required files to OneDrive, and you can still access these files from your File Explorer.
Method 7: Disable Hibernation on Windows 10
The hibernation feature on Windows 10 allows you to power off your computer without losing your work so that whenever it’s switched on again, you can start from where you left. Now, this feature comes to life by saving the data on your memory to the hard disk. If you immediately need some more space on your disk, you can disable this feature to Free Up Hard Disk Space on Windows. For this,
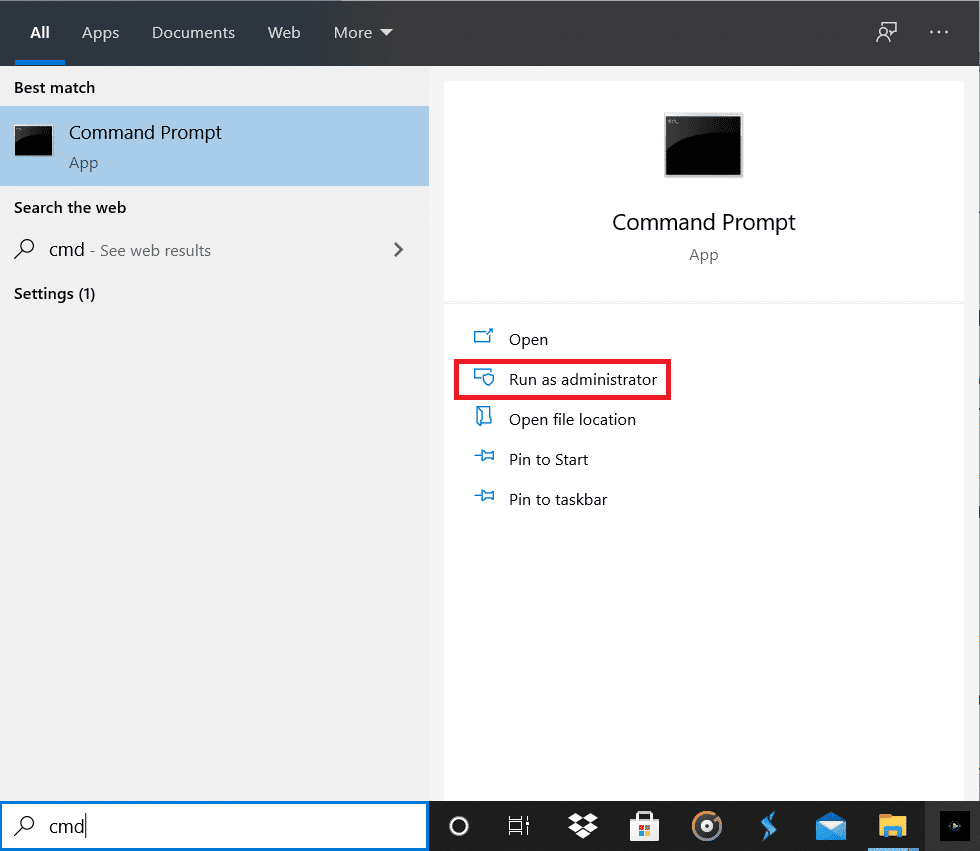
1. In the search field on your taskbar, type txib kiag.
2. Right-click on Command Prompt shortcut and select ‘Khiav raws li cov thawj coj'.
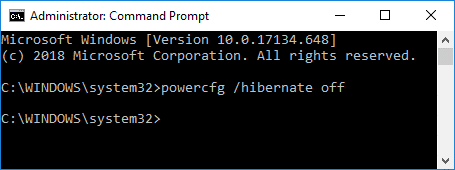
3. Khiav txoj cai nram qab no:
powercfg / hibernate tawm
4. Yog tias koj xav tau enable hibernate again in the future, run the command:
powercfg / hibernate tawm
Method 8: Reduce the disk space utilized by System Restore
This is another feature that you can trade-off for disk space. System Restore uses a lot of disk space for saving system restore points. You can reduce the amount of space System Restore occupies on your disk if you can survive with fewer system restore points to restore your system. To do this,
1. Right-click on ‘Lub PC'thiab xaiv'Properties'.
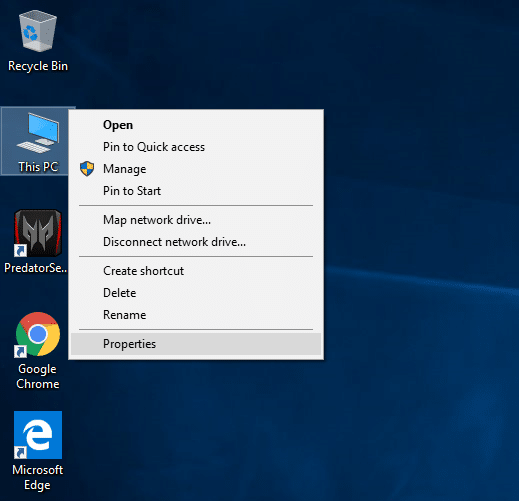
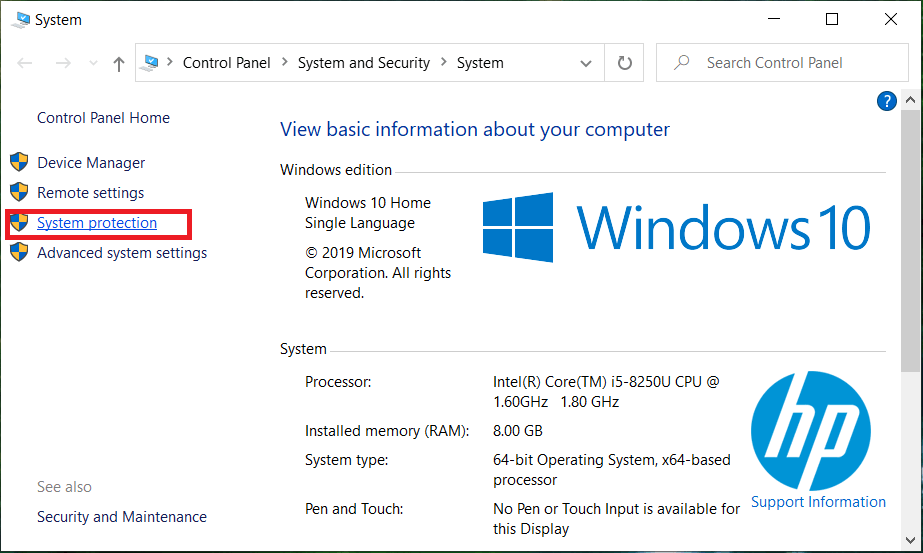
2. Nyem rau 'Kev Tiv Thaiv Zog’ from the left pane.
3. Now switch to System Protection tab and click on ‘configure'.
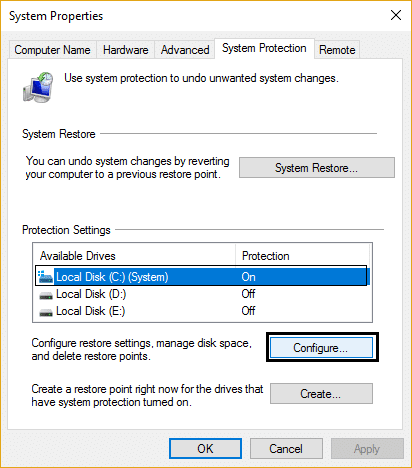
4. Adjust to the desired configuration and click on OK.

5. You can also click on ‘Rho tawm'ua delete all restore points if you don’t need them.
Method 9: Compress Windows 10 Installation to Free Up Disk Space
In case you still need more space and have no other option left, use this method.
1. Make a backup of your PC as modifying system files may be risky.
2. In the search field on your taskbar, type txib kiag.
3. Right-click on Command Prompt shortcut and select ‘Khiav raws li cov thawj coj'.
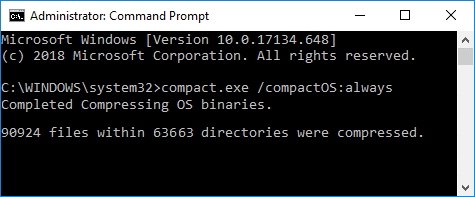
4. Khiav txoj cai nram qab no:
compact.exe /compactOS:always
5. To revert the changes in the future, run the following command:
compact.exe /compactOS:never
Method 10: Move files and apps to External Hard Drive
If you need even more space on your computer, you can use an external hard drive. You can move your files and apps to an external drive to free up hard disk space on Windows 10. While moving files and apps to an external drive is easy, you can also configure it to save the new content to the new location automatically.
1. Nkag mus rau Settings > System > Storage.
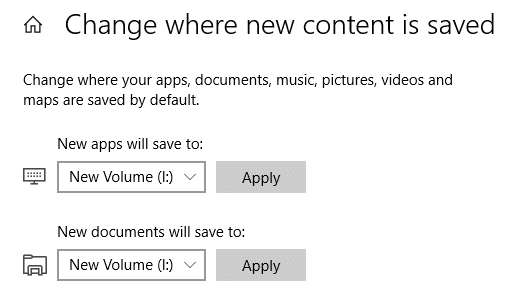
2. Nyem rau 'Hloov qhov chaw tshiab uas tau txais kev cawmdim’ under ‘More storage settings’.
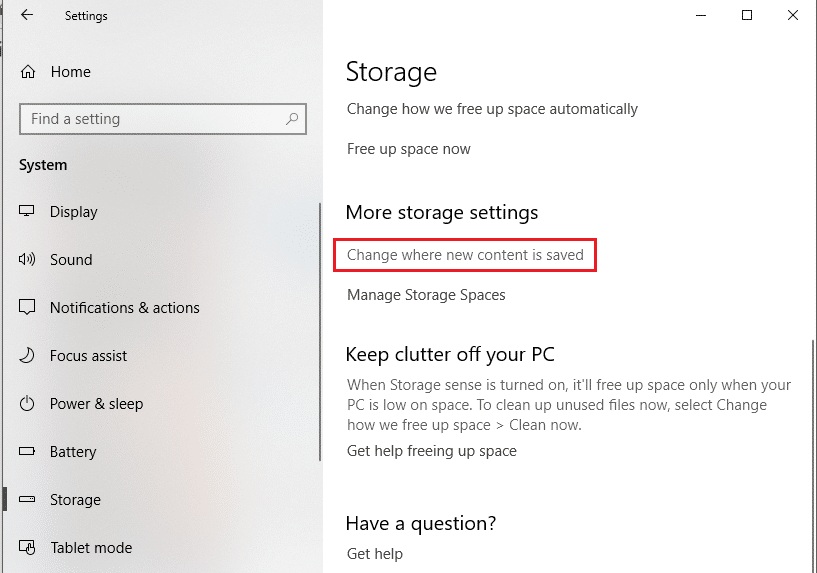
3. Select the desired location from the list and click on ‘thov'.
So these were a few ways in which you can free up space on your hard disk.
pom zoo:
Kuv vam tias tsab xov xwm no yuav pab tau thiab tam sim no koj tuaj yeem yooj yim Free Up Hard Disk Space On Windows 10, but if you still have any questions regarding this guide then feel free to ask them in the comment’s section.

