Creating Full System Image Backup in Windows 10: Imagine, if your hard drive suddenly fails or your PC or desktop gets formatted? How would you react if some virus or malware attacks your files or you accidentally delete some important files? Of course, you will lose all your data, important files and documents unexpectedly. So, the best way to protect your data during such circumstances is taking a complete backup ntawm koj lub cev.
What is a Backup?
The backup of the system means copying of data, files, and folders into chaw cia sab nraud for instance, on the cloud where you can restore your data if in any case it gets lost due to virus/malware or accidental deletion. To restore your complete data, backup is necessary or else you may lose some core essential data.
Acknowledging Windows 10 Backup Calibre
To restore your complete data, time to time backup is necessary; otherwise, you may lose some relevant data. lub qhov rais 10 provides you with salient ways to attain backup of your system which includes copying files manually on some external storage, on clouds by using in-built System Image Backup tool or any third-party apps.
Windows have two types of backup:
System Image Backup: System image backup includes backing up everything available on your drive including apps, drive partition, settings, etc. System Image Backup prevents the hassle of reinstalling Windows and applications if in any case, the PC or desktop gets formatted or any virus/malware attacks it. It is advisable to create System Image backup three or four times a year.
Cov ntaub ntawv thaub qab: File Backup includes copying of data files like documents, photos and others alike. It is advisable to create File Backup regularly to prevent loss of any important data.
In this article, we will focus only on System Image Backup. There are several ways to create Backup. You can create a backup manually or by using the System Image tool. But creating a Backup using System Image tool is considered to be the best method.
Creating a Full System Image Backup in Windows 10
Nco ntsoov tsim qhov taw tes rov qab tsuas yog thaum muaj qee yam yuam kev.
Method 1: Create Backup manually by copying files
To create Backup, manually follow the below steps:
- Plugin the external device (hard disk, pen drive which should have enough space).
- Visit each folder and drive whose Backup you want to create.
- Copy the content of the drive to the external drive.
- Remove the external drive.
Cons ntawm txoj kev no:
- Siv sijhawm ua haujlwm: you must visit every folder and drive manually.
- Needs your full attention: you may miss some folders which may lead to loss of your relevant data.
Method 2: Create a Full Back up using System Image tool
To create a full backup using System Image tool, follow the below steps:
1.Plug in your external storage device (Pen Drive, hard disk, etc.) or which should have enough space to hold all the data.
Nco ntsoov: Make sure it has sufficient space to hold all of your data. It is recommended to use at least a 4TB HDD for this purpose.
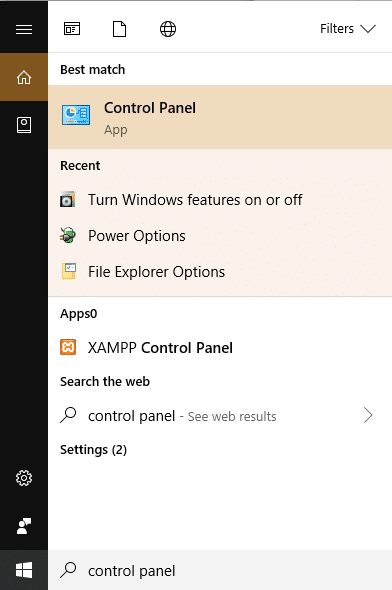
2.Open lub Control Vaj Huam Sib Luag (By searching it under the search box available at left bottom corner).
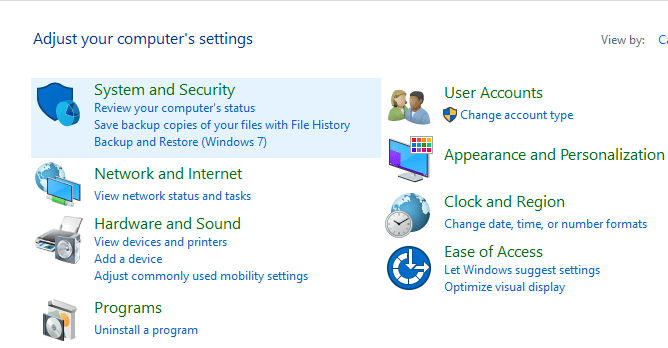
3.Kwm rau Qhov System thiab Kev Ruaj Ntseg under Control Panel.
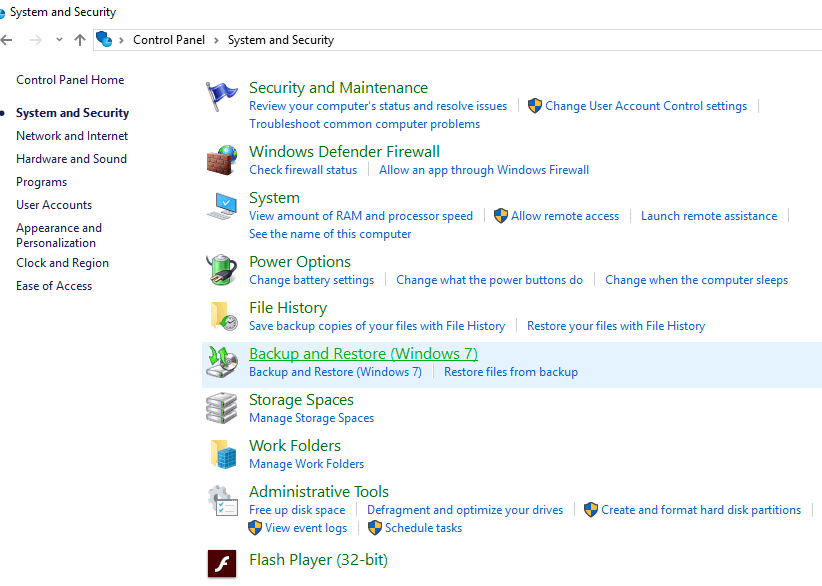
4.Kwm rau Backup and Restore (Windows 7). (Ignore the “Windows 7” label)
5. Nyem rau “Create A System Image” from the top left corner.
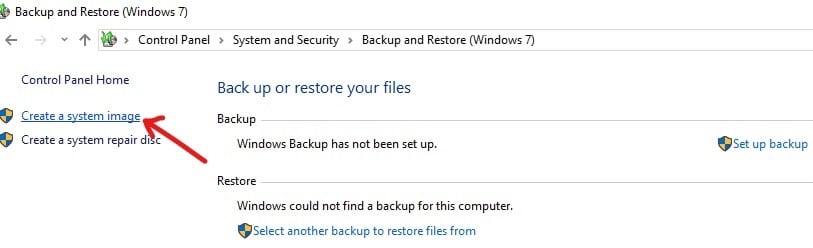
6.“looking for backup devices…” window will appear.
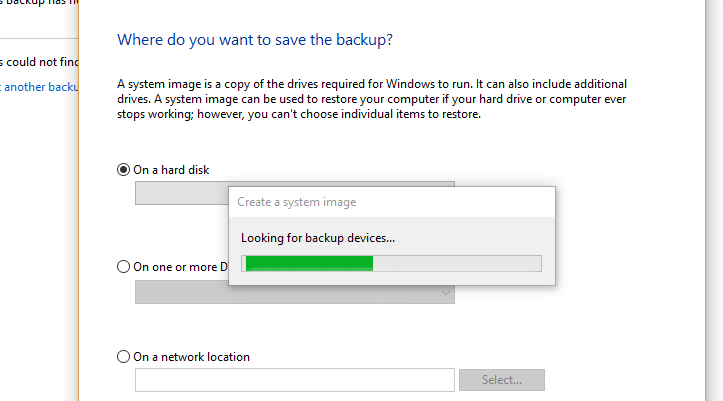
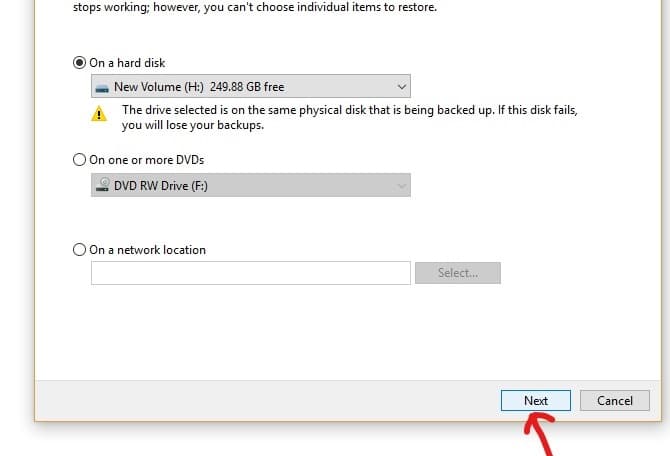
7.Under “Where do you want to save the backup” window choose “Ntawm lub hard disk. "
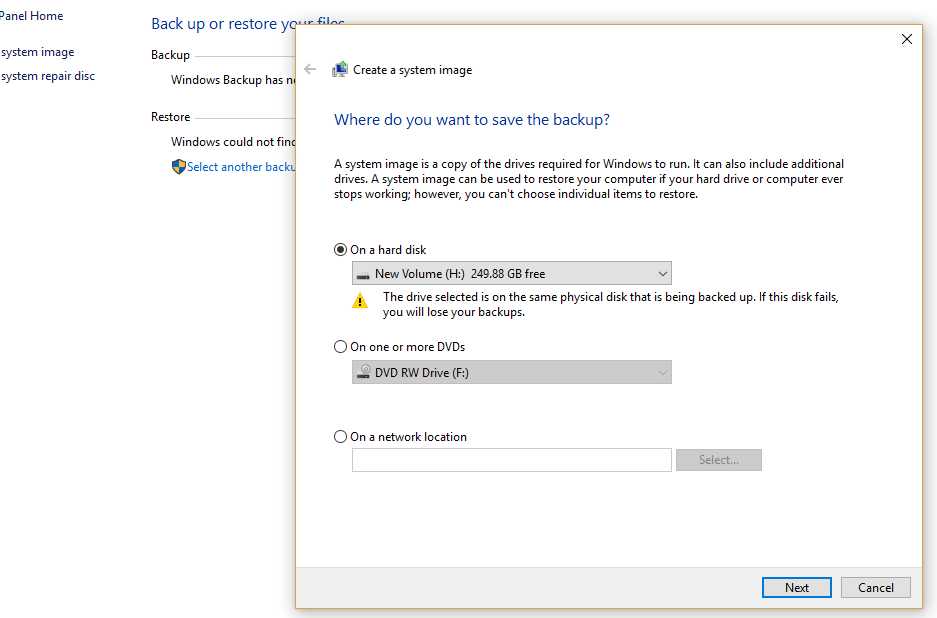
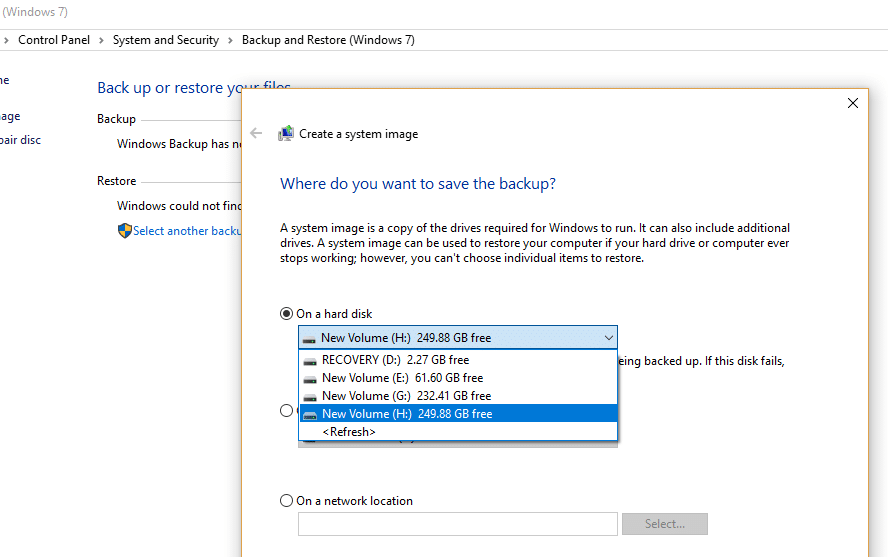
8.Choose the appropriate drive where you want to create the Backup using the dropdown menu. It will also show how much space is available in each drive.
9.Click lub Tom ntej no khawm available at bottom right corner.
10.Under “Which drive do you want to include in the backup?" choose any additional device which you may want to include in the Backup.
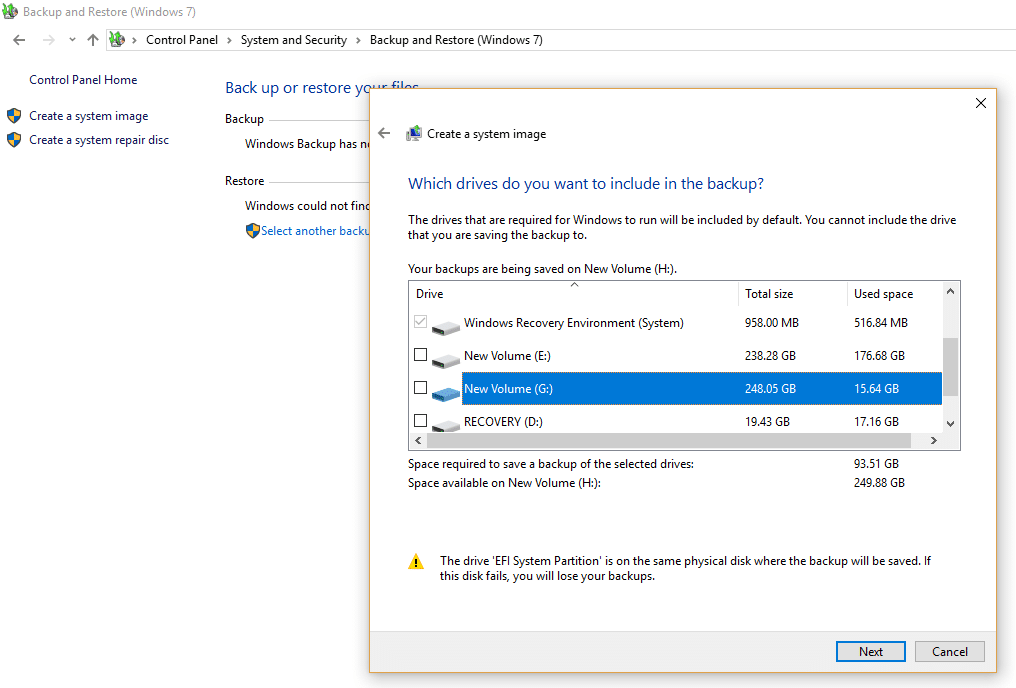
11.Click rau ntawm Tom ntej no khawm.
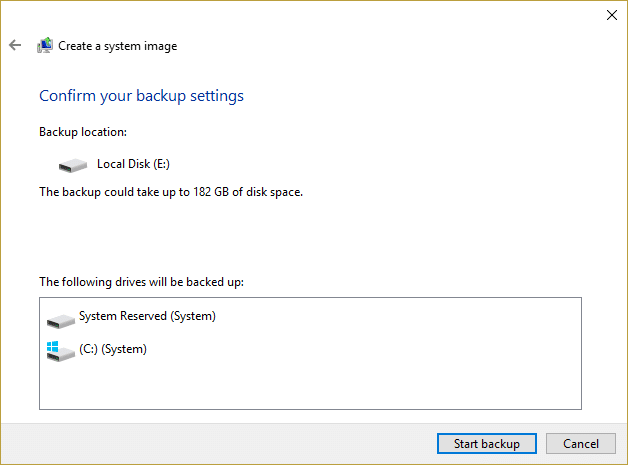
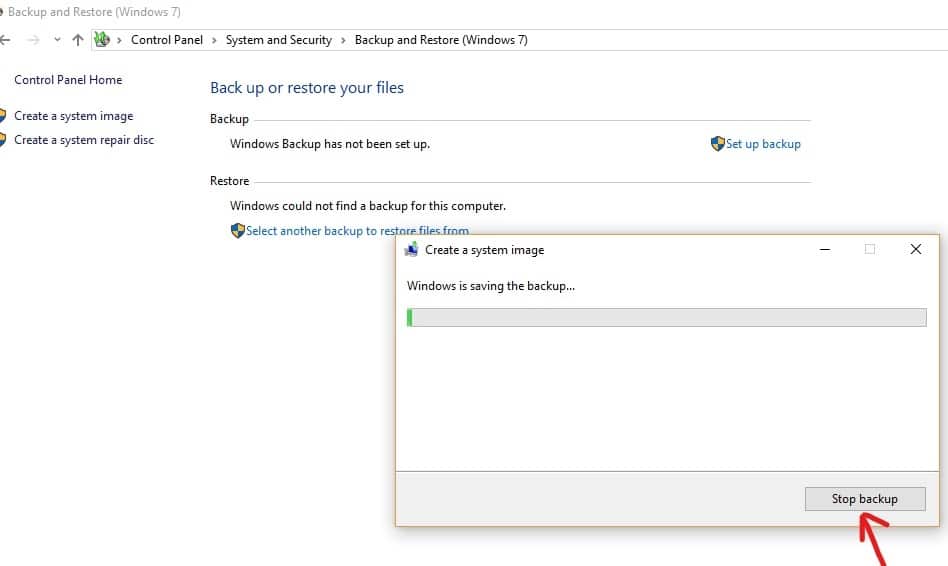
12.Tom ntej no, nyem rau ntawm qhov Pib thaub qab khawm.
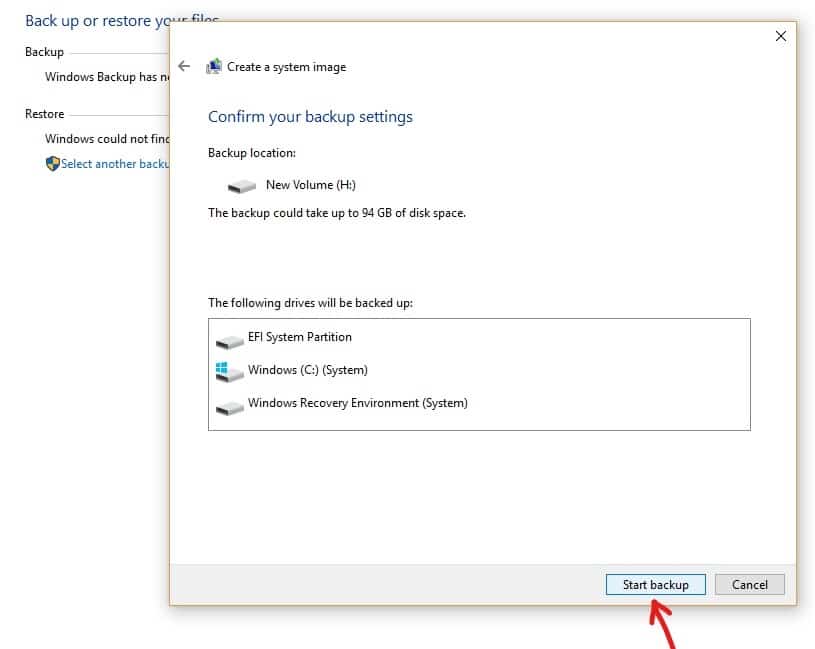
13.Your device Backup will start now, including hard drive, drive partitions, applications everything.
14.While device backup is in progress, below box will appear, which will make sure that Backup is creating.
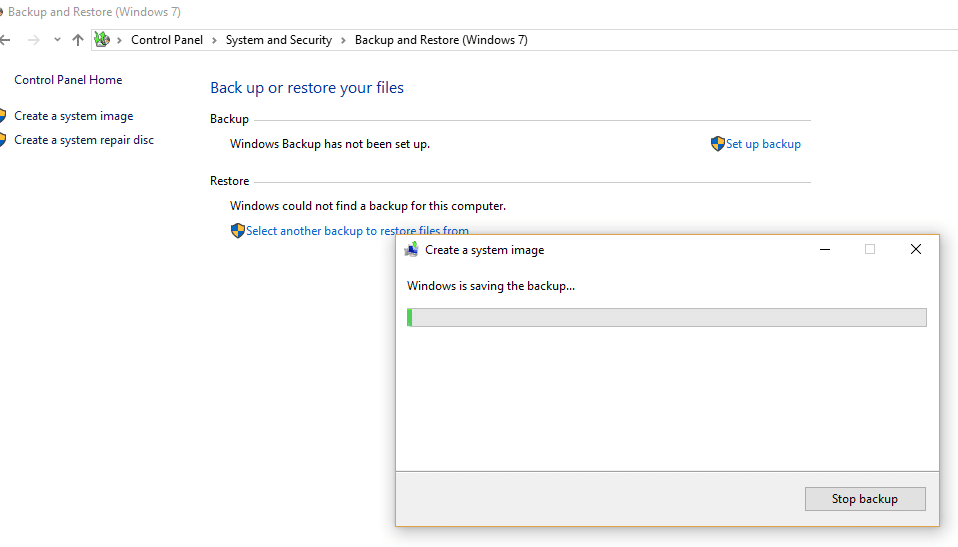
15.If you want to stop backup at any point of time, click on “Stop Backup".
16.The Backup may take a few hours. It may also slow down the PC, so it always advisable to create Backup when you are not doing anything on PC or Desktop.
17.The System Image tool uses “Duab Ntxoo Daim” technology. This technology allows you to create a backup in the background. In the meantime, you can continue using your PC or Desktop.
18.When the backup process completes, you will be asked if you want to create a System Repair Disc. This can be used to restore a backup in case your device is not able to start correctly. If your PC or Desktop has an optical drive, create the System Repair Disc. But you can skip this option as it is not necessary.
19.Now your Backup is finally created. All you must do now is remove the external storage device.
Restore the PC from a System Image
In order to get into the recovery environment for restoring the image you have build, steps you need to follow are –
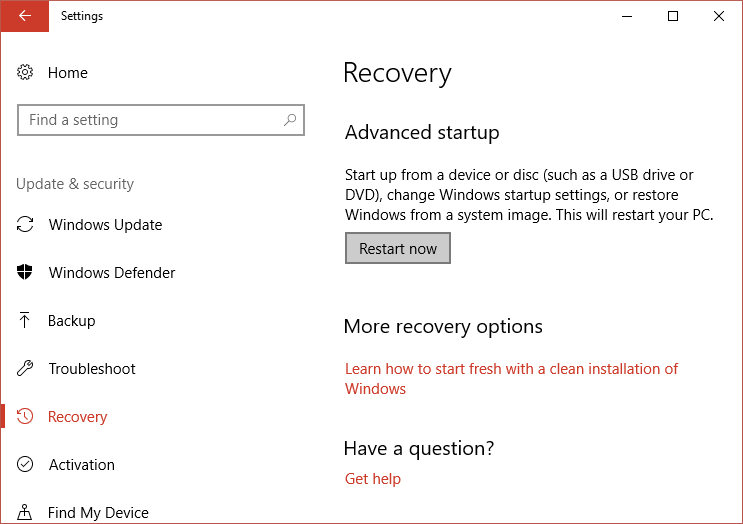
1.Press Windows Key + I to open Settings then click on “Hloov Kho & Ruaj Ntseg”Icon.
![]()
2.Now from the left-hand side menu make sure to select Rov qab.
3.Next, under Pib kev pib section click on “Pib dua tam sim no"Khawm.
4.If you can’t access your system then boot from Windows disc to restore your PC using this System Image.
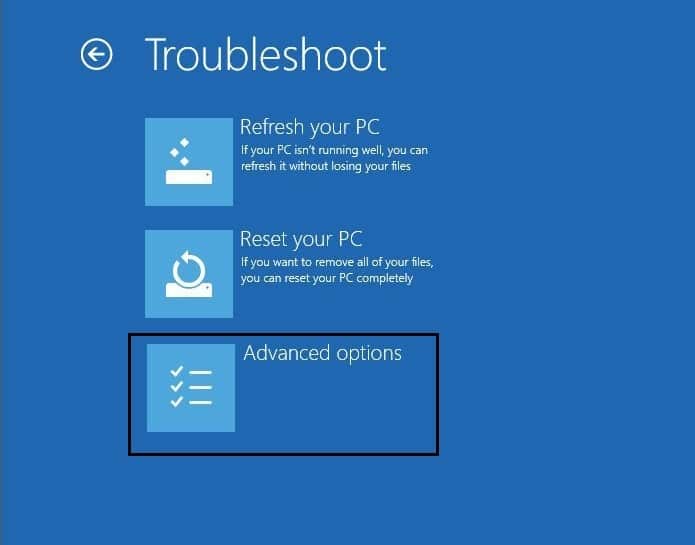
5.Tam sim no los ntawm Xaiv ib qho kev xaiv vijtsam nyem rau Txheeb

6.Click Advanced xaiv on Troubleshoot screen.
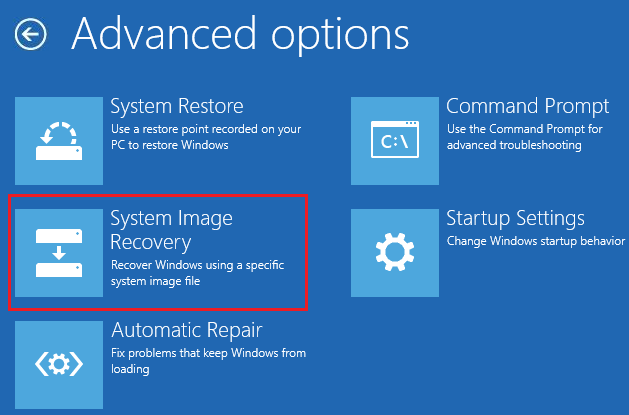
7.Select System Image Rov qab los los ntawm cov npe ntawm cov kev xaiv.
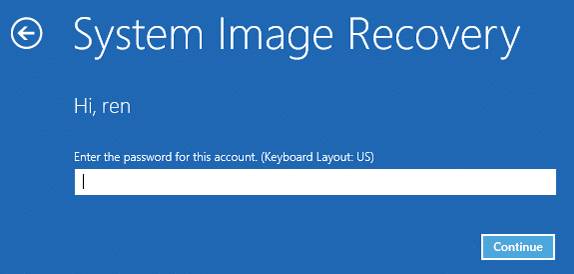
8.Xaiv koj neeg siv tus account and type in your Microsoft account password mus ntxiv.
9.Your system will reboot and prepare for rov qab hom.
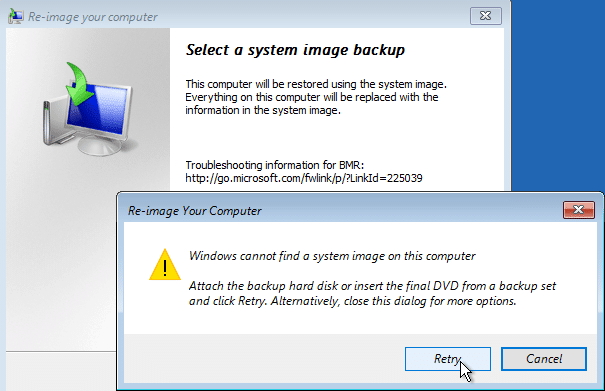
10.This will open System Image Recovery Console, xaiv rho tawm if you are present with a pop up saying Windows cannot find a system image on this computer.
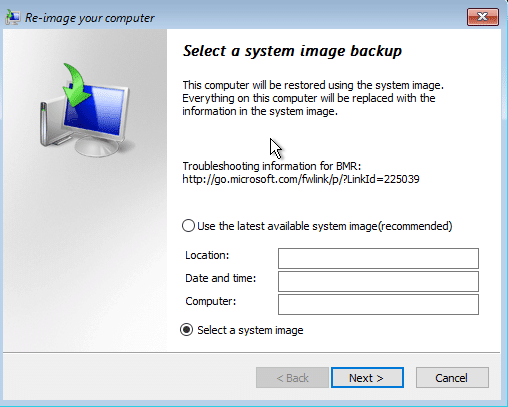
11.Now checkmark Xaiv ib daim duab system backup thiab nias Next.
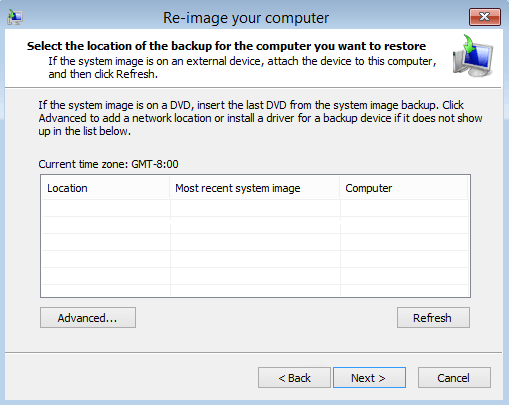
12.Insert your DVD or external Hard disk which contains the duab duab and the tool will automatically detect your system image then click Tom ntej.
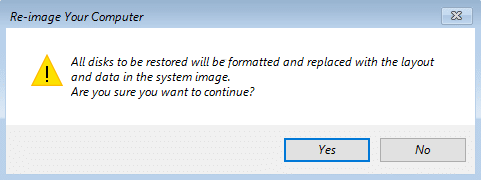
13.Tam sim no nyem Tag ces nias Yog to continue and wait for the system to recover your PC using this System image.
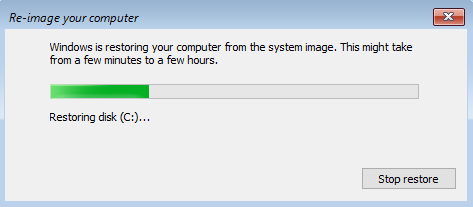
14.Wait while the restoration takes place.
Why is System Image Backup the De-Facto?
System Image Backup is very useful for the security of both your PC as well as the data which is requisite on your part. As we know, day-to-day new updates of Windows are releasing in the market. No matter how much ignorant we are towards upgrading the system, at some point in time it becomes necessary for us to upgrade the system. At that time, System Image Backup helps us to create a backup of the previous version. This way, we can recover our files if something goes wrong. For example: maybe a new version may not support the format of the file. It is also recommended to create a backup if you want quick recovery of your system from failures, malware, virus or any other problem harming it.
pom zoo:
So, there you have it! Never have a problem in Creating a Full System Image Backup in Windows 10 with this ultimate guide! If you still have any queries regarding this guide then feel free to ask them in the comment’s section.

