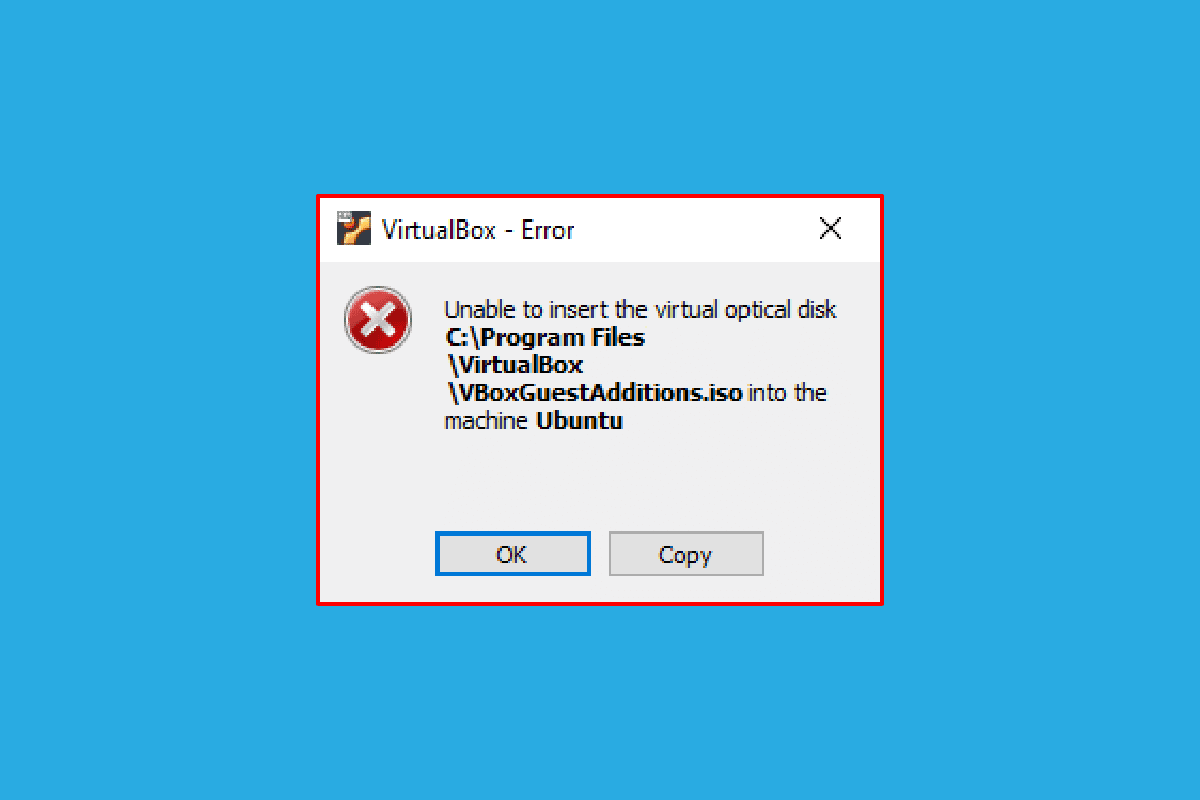
Have you ever come across the Unable to insert the virtual optical disk error? Users, who have a VirtualBox and are trying to create a virtual machine may be accustomed to this message. VirtualBox is open-source software for the x86 computing architecture used to deploy servers, desktops, and embedded operating systems as VMs or Virtual Machines. By definition, the Virtual Optical Disk file simply means that it is a .iso image containing a complete copy of the contents of a CD or DVD. The complete structure of the file along with the contents is stored in this file. The Virtualbox unable to insert virtual optical disk error message may pop up due to a few glitches in the settings. If the VirtualBox is not properly set up on your PC, you may see this error. The article aims to provide methods to clear this issue on various platforms.
How to Fix Virtualbox Unable to Insert Virtual Optical Disk
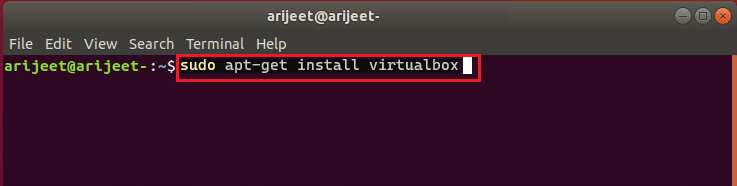
The method to install Virtualbox on a Linux PC is discussed in this section.
1. Qhib Terminal from the menu, type the following command and press the Sau key to install VirtualBox.
sudo apt-get install virtualbox
2. Enter login password of your PC in the field and press the Sau tus yuam sij.
3. Hom y nyob rau hauv lub Koj puas xav mus ntxiv? section thiab nias lub Sau tus yuam sij.
4. Wait till the installation is complete, type virtualbox, thiab nias qhov Sau key to open the VirtualBox.
Method 1: On Ubuntu OS
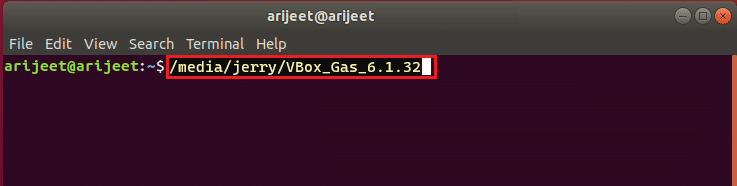
The following steps describe the method to clear the issue on VirtualBox in the Ubuntu OS.
1. Qhib Terminal on your PC, type the following command, and press the Sau tus yuam sij.
/media/jerry/VBox_Gas_6.1.32
2. Type the following command and press the Sau tus yuam sij to run the file.
./VBoxLinuxAdditions.run
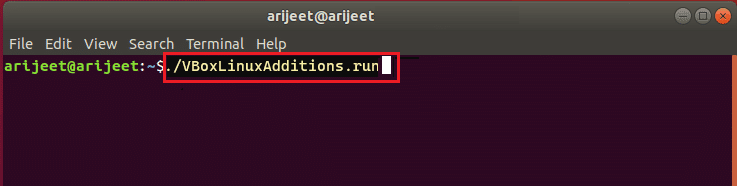
3. If you see the output message below, the installation is successful.
Running kernel modules will be replaced when the system is restarted
Method 2: On Other Ubuntu OS Versions
The following steps can be followed to fix the Virtualbox unable to insert virtual optical disk error if the OS of the VirtualBox is either Ubuntu 20, Ubuntu 21, or Ubuntu 22.
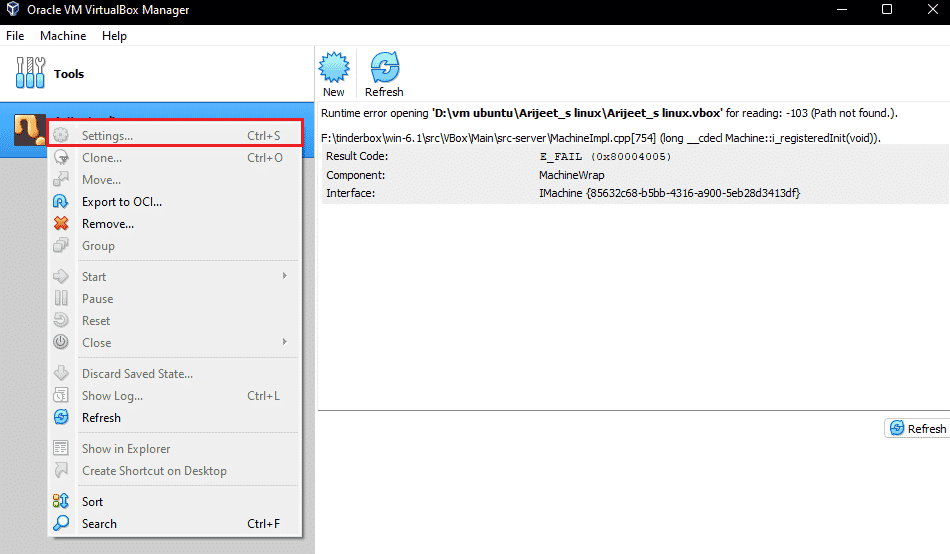
1. Qhib VirtualBox VM settings.
2. Txoj cai-nyem rau Controller: IDE nyob rau hauv lub cia ntu thiab nyem rau ntawm Remove disk from virtual drive kev xaiv.
Nco ntsoov: Yog hais tias lub Remove disk from virtual drive option is not available, click on Tshem tawm cov ntawv txuas kev xaiv.
3. Nias rau Force Unmount khawm ntawm tus VirtualBox- Question qhov rais.
4. Qhib Terminal on your PC from the home menu.
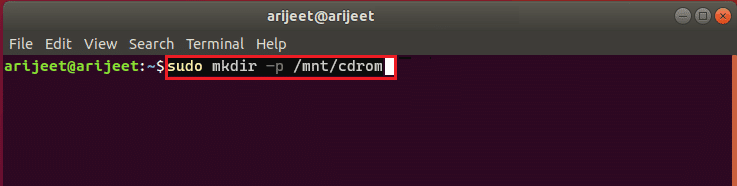
5. Type the following command and press Sau key to create a directory for mounting the Guest Additions installation CD.
sudo mkdir –p /mnt/cdrom
6. Type the following command and press Sau tus yuam sij to mount the files to the created directory.
sudo mount /dev/cdrom/mnt/cdrom
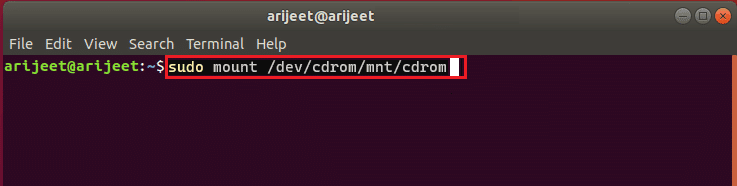
Nco ntsoov: If the command doesn’t work, type the command as sudo mount –o loop /dev/cdrom/mnt/cdrom.
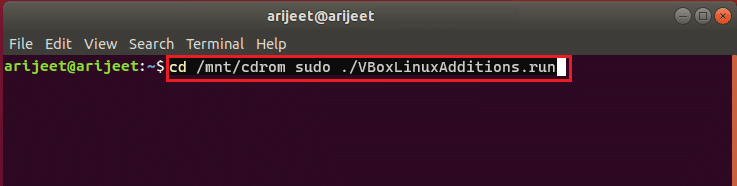
7. Type the following command and press the Sau yuam kom khiav lub Guest Additions installation software in the directory to fix the Unable to insert the virtual optical disk error.
cd /mnt/cdrom sudo ./VBoxLinuxAdditions.run
Kuj nyeem: How to Install GCC on Ubuntu
Method 3: On macOS/Linux OS
The following steps can be used to fix the Virtualbox unable to insert virtual optical disk error in VirtualBox with macOS or Linux OS. The steps mentioned are considering a macOS VirtualBox and the steps can be used on Linux OS VirtualBox.
Step I: Alter Settings in Virtual Machine
As a first step, alter the settings of the Virtual Machine by following the steps below.
1. Turn off the macOS Virtual Machine.
2. Txoj cai-nyem rau macOS Virtual Machine device in the left pane of the Tus Thawj Tswj VirtualBox.
3. Nias rau chaw kev xaiv ntawm cov zaub mov saum toj kawg nkaus.
4. Nias rau cia tab on the left pane of the window.
5. Txoj cai-nyem rau Controller: IDE thiab nyem rau ntawm Adds optical drive icon
6. Nias rau Leave empty khawm ntawm tus VirtualBox- Question qhov rais.
7. Xaiv VBoxGuestAdditions.iso kev xaiv nyob hauv Rhais drop-down ntawv qhia zaub mov thiab nyem rau ntawm qhov OK khawm.
Step II: Run the VBox File
The next step is to run the VBox file on the Virtual Machine.
1. Turn on macOS Virtual Machine.
2. Double click on VBox_Gas to open the optical disk.
3. Then, double click on VBoxDarwinAdditions.pkg to run the file.
Step III: Enter Recovery Mode
The third step in this option is to enter into the recovery mode to tweak the changes to fix the Virtualbox unable to insert virtual optical disk error on your PC.
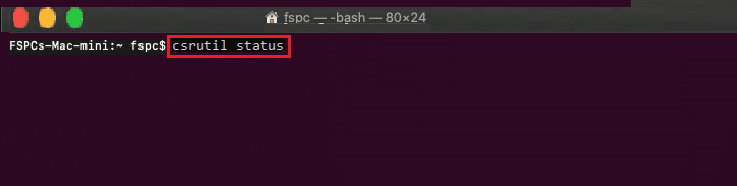
1. qhib lub Terminal in macOS from the menu, type the csrutil xwm txheej command, and press the Sau tus yuam sij to check the status of the SIP.
2. Nias F12 yuam sij to direct you to the Virtual machine’s BIOS setting.
3. Xaiv Boot Manager option using the arrow keys.
4. Xaiv EFI Internal Shell kev xaiv thiab nias Esc qhov tseem ceeb qhib lub ESI Internal Shell nplig.
5. Khiav FS2 command to open FS2 interactive Shell.
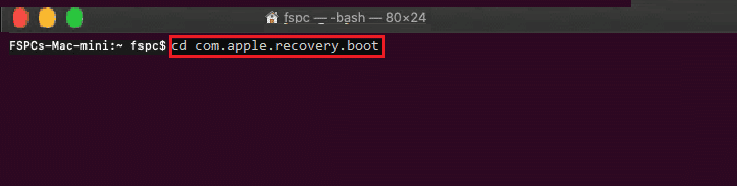
6. Ntaus cov hauv qab no hais kom ua thiab nias Sau tus yuam sij to go to the recovery boot image directory.
cd com.apple.recovery.boot
7. Ntaus cov lus txib dir thiab nias qhov Sau key to view if the kernelcore cov ntaub ntawv muaj.
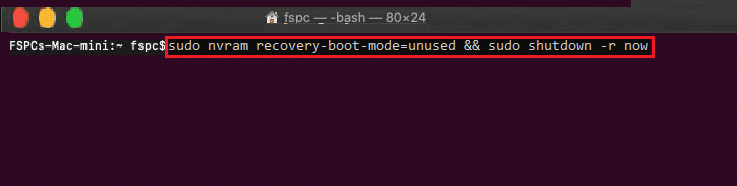
8. qhib lub Terminal window, type the command, and press the Sau key to restart the macOS virtual machine in recovery mode.
sudo nvram recovery-boot-mode=unused && sudo shutdown –r now
Kuj nyeem: Fix Cannot be Opened Because the Developer Cannot be Verified in Mac
Step IV: Disable macOS SIP
The SIP software or System Integrity Protection in the macOS would not allow you to perform any unauthorized codes on the PC. To fix the Virtualbox unable to insert virtual optical disk error, you have to disable the software to fix the issue.
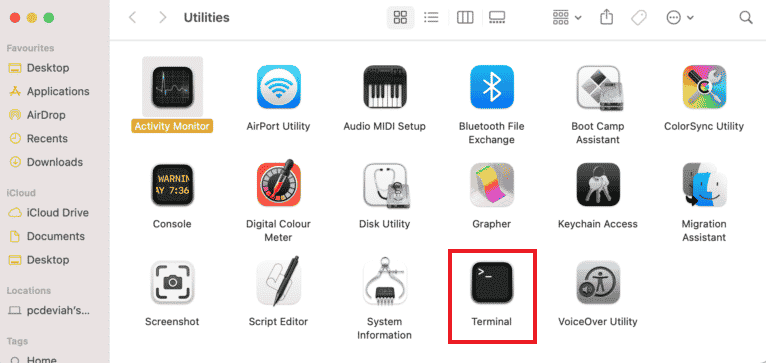
1. Qhib macOS Cov Kev Siv lub qhov rais thiab nyem rau ntawm qhov Terminal kev xaiv.
2. Nias rau Terminal kev xaiv hauv ntawv qhia zaub mov.
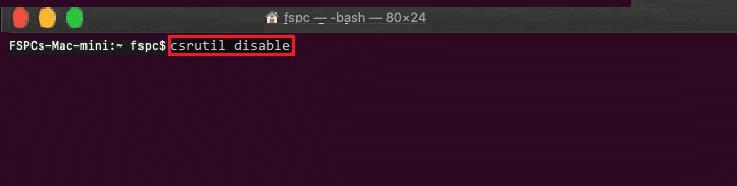
3. Ntaus tus csrutil lov tes taw hais kom ua thiab nias lub Sau tus yuam sij to turn off the SIP.
4. Nias rau mac icon thiab nias rau Pib dua option to restart the PC.
Step V: Add VBox Guest Additions CD
The final step is to add the Virtual Machine as a new program to the PC to fix the Unable to insert the virtual optical disk error.
1. Type the following command and press the Sau tus yuam sij to enable admin privileges to the folder.
/ System / Qiv / Txuas Ntxiv /
2. Nias rau Devices tab and install VBox Guest Additions CD in the macOS Virtual Machine.
Cov Lus Nquag Nug (FAQ)
Q1. Is it free to use VirtualBox?
Ans. The open source machine platform provides a free virtual machine license to people for educational and evaluation use.
Q2. Why does the Unable to Insert the Virtual Optical Disk error pop up?
Ans. This error may occur either due to the glitches on the PC. If the VirtualBox is not properly set up on your PC, this error may pop up.
pom zoo:
The method to fix Virtualbox unable to insert virtual optical disk error in various OS is discussed in this article. Please let us know your suggestions and queries on the topic dealt with in the comments section.

