How to fix Printer not activated Error Code 20: If you’re facing the error message “Printer not activated – Error Code 20” then you’re at the right place as today we are going to see how to fix the issue. The issue is generally seen in systems in which user have upgraded from earlier version of Windows or using the QuickBooks software. In anyway case, let’s see how to fix Printer not activated Error Code 20 with the help of the below-listed guide.
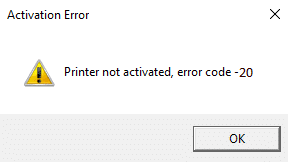
How to fix Printer not activated Error Code 20
Nco ntsoov tsim qhov taw tes rov qab tsuas yog thaum muaj qee yam yuam kev.
Method 1: Set the Default Printer
1.Type control in Windows Search then click on Tswj vaj huam sib luag.

2.Click Kho vajtse thiab suab ces xaiv Li thiab Tshuab Luam Ntawv.

3.Txoj cai-nias ntawm koj lub tshuab luam ntawv thiab xaiv Teem raws li lub tshuab luam ntawv default.
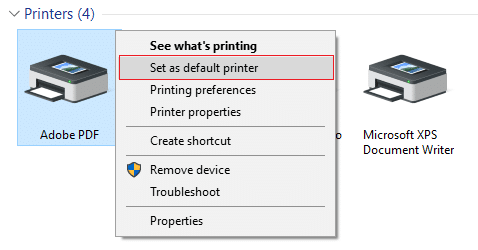
4.Restart koj lub PC kom txuag tau cov kev hloov pauv.
Method 2: Re-install the USB Composite Device from Device Manager
1.Nias Windows Key + R ces ntaus devmgmt.msc thiab ntaus nkag.

2. nthuav dav Universal Serial Bus Controllers.
3. Right-click rau USB Composite Device thiab xaiv Uninstall.
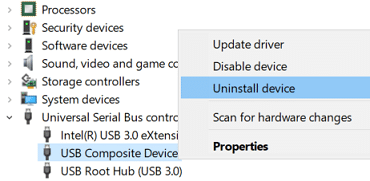
4.If asks for confirmation select Yes/OK.
5.Disconnect the Printer USB from the PC and then reconnect it.
6.Follow the instructions in the Found New Hardware wizard rau nruab cov tsav tsheb.
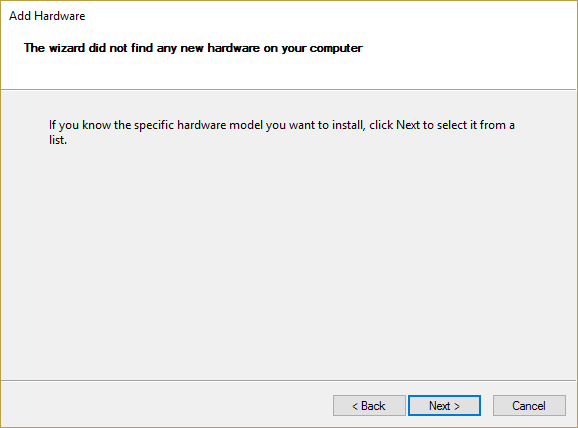
7.Right-click the printer icon, and then click Luam Ntawv Nplooj to print a Windows self-test page.
8.Restart koj lub PC kom txuag tau cov kev hloov pauv.
Txoj Kev 3: Khiav lub tshuab luam ntawv Troubleshooter
1.type “troubleshooting” in Windows Search bar and click on Kev daws teeb meem.

6.Tom ntej no, los ntawm sab laug lub qhov rais pane xaiv Saib tag nrho.
7.Tom qab ntawd los ntawm Troubleshoot computer teeb meem daim ntawv xaiv Tshuab Luam Ntawv.
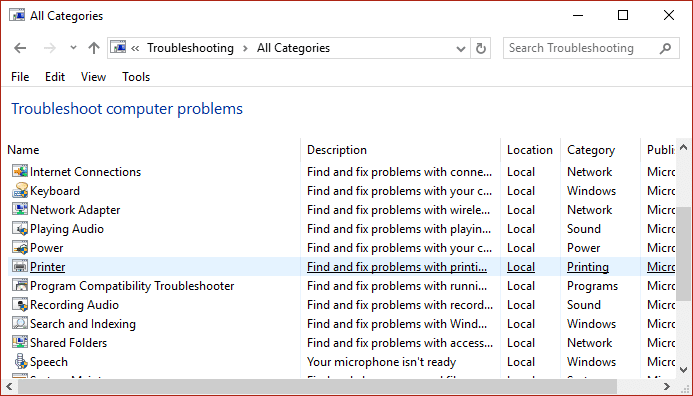
8. Ua raws li cov lus qhia ntawm lub vijtsam thiab cia lub tshuab luam ntawv teeb meem khiav.
9.Restart your PC and you may be able to Fix Printer not activated Error Code 20.
Method 4: Registry Fix
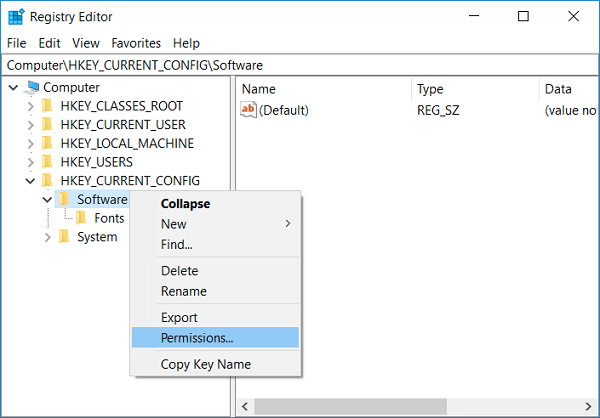
1.Nias Windows Key + R ces ntaus regedit thiab ntaus Enter kom qhib Registry Editor.

2.Nav mus rau tus yuam sij npe hauv qab no:
HKEY_CURRENT_CONFIGSoftware
3.Right-click on Software folder then select Kev Tso Cai.
4.Now in the permission window, ensure that Administrator and users muaj Tag Nrho Control checked, if not then checkmark them.
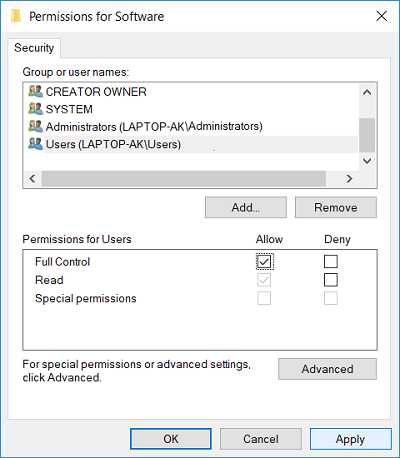
5.Nias Thov ua raws li OK.
6.Restart your PC to save changes and see if you’re able to fix the issue.
Method 5: Grant Permission using PowerShell
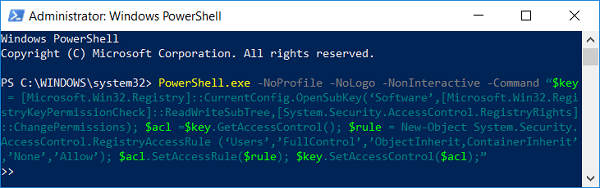
1. Hom powershell hauv Windows Search ces right-click on PowerShell thiab xaiv Khiav li tus Administrator.
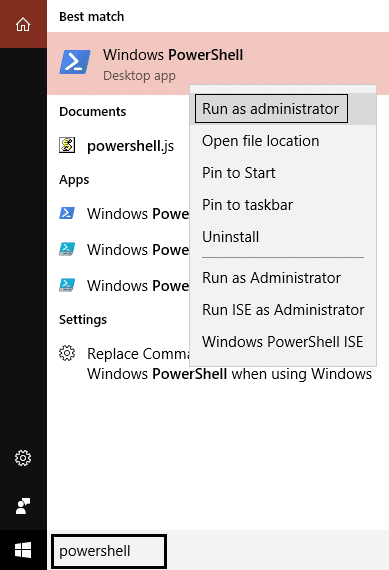
2.Now type the following command in PowerShell and hit Enter:
PowerShell.exe -NoProfile -NoLogo -NonInteractive -Command “$key = [Microsoft.Win32.Registry]::CurrentConfig.OpenSubKey(‘Software’,[Microsoft.Win32.RegistryKeyPermissionCheck]::ReadWriteSubTree,[System.Security.AccessControl.RegistryRights]::ChangePermissions); $acl =$key.GetAccessControl(); $rule = New-Object System.Security.AccessControl.RegistryAccessRule (‘Users’,’FullControl’,’ObjectInherit,ContainerInherit’,’None’,’Allow’); $acl.SetAccessRule($rule); $key.SetAccessControl($acl);”
3.Reboot koj lub PC kom txuag tau cov kev hloov pauv.
Method 6: Reinstall QuickBook
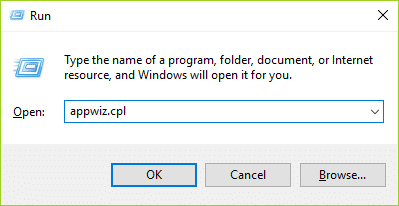
1.Nias Windows Key + R ces ntaus appwiz.cpl thiab ntaus nkag.
2.Find QuickBook from the list and uninstall it.
3. Tom ntej no, download QuickBooks from here.
4.Run the installer and follow on-screen instructions to install QuickBook.
5.Restart koj lub PC.
pom zoo:
Qhov ntawd yog nws koj tau ua tiav Fix Printer not activated Error Code 20 tab sis yog tias koj tseem muaj lus nug txog qhov kev tshaj tawm no ces xav nug lawv hauv cov lus ntu.

