Is your Facebook account secured? If not then you risk losing your account to hackers. If you don’t want this to happen then you need to make sure that your Facebook account is more secure by following this article.
Social media handles have become a significant part of everyone’s life and all of us display more than half of our lives on social media. Social platforms such as Facebook have always dominated the market with its presence. But there are several instances where users’ accounts get hacked due to slight negligence.
Facebook has provided a variety of security features for its users to avoid data theft. These features guarantee the safety of the user’s information and prevent easy access to their data. With the following steps, you can protect your Facebook account from some common threats.
How To Make Your Facebook Account More Secure
The different methods that you can use to secure your Facebook account from being stolen or preventing theft of your personal and private information are listed below:
Step 1: Choose A Strong Password
When you make a Facebook account, you are asked to create a password so that next time when you log in to your account again, you can use the registered email id and the password created earlier to login to your account.
So, setting a strong password is the first step in making your Facebook account more secure. A secure password must fulfill the conditions mentioned below:
- It should be at least 2 to 14 characters long
- It should contain mix characters like alphanumeric
- Your password should not have any personal information
- It would be best if you used a new password and not the one which you have used before for any other account
- You can take the help of a lo lus zais generator or manager to choose a secure password
So, if you are creating an account and want to set the password, follow the steps mentioned below:
1.Open Facebook by using link facebook.com. The page shown below will open:
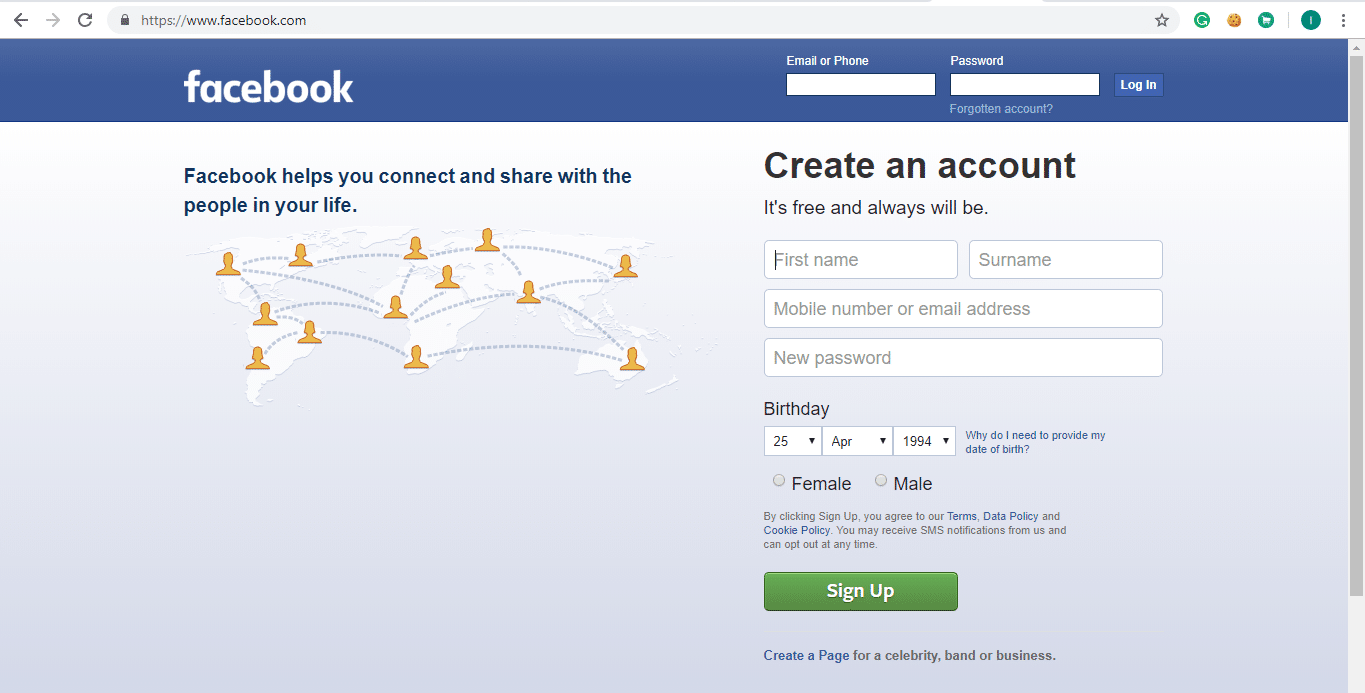
2.Enter the details like First name, Surname, Mobile number or email address, password, Birthday, gender.
Nco ntsoov: Create a new password following the conditions mentioned above and make a secure and robust password.
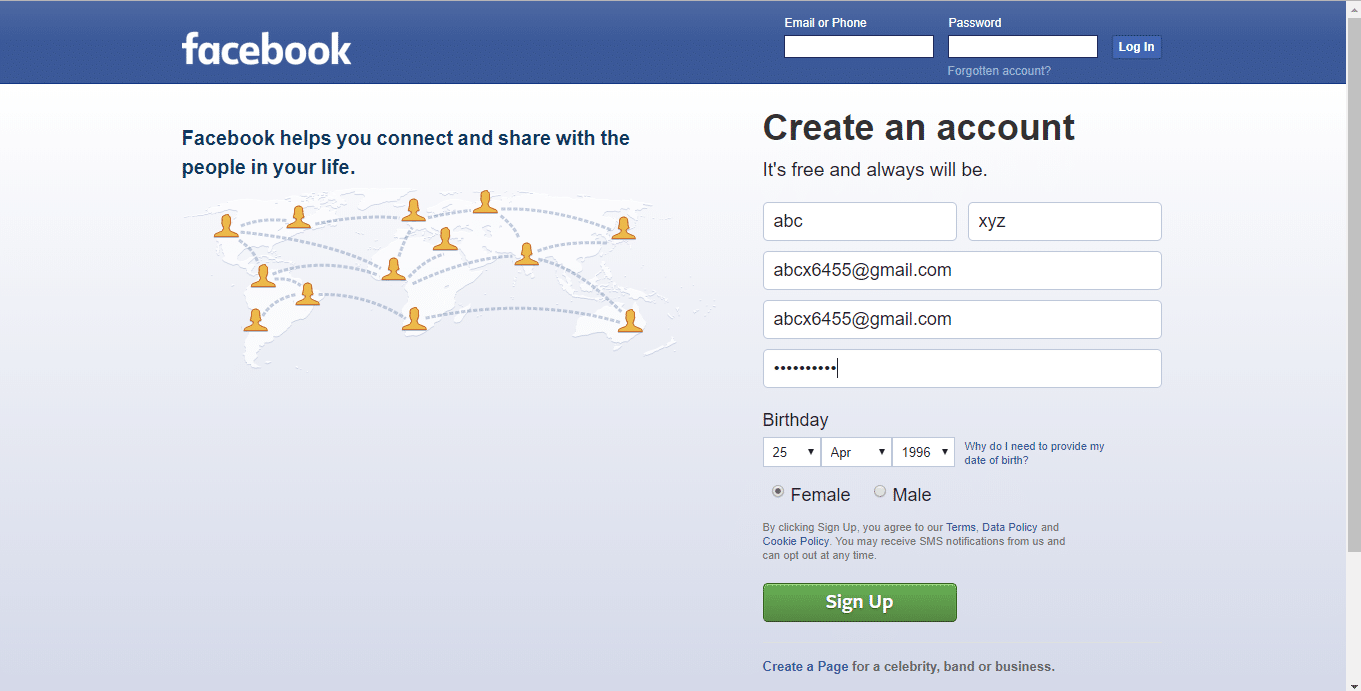
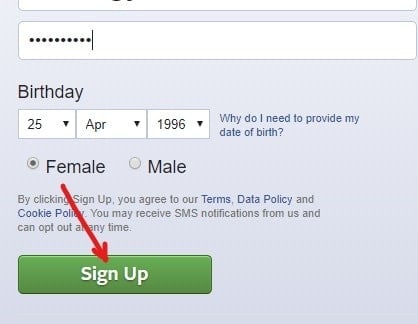
3.After filling the details click on the Sau Npe khawm.
4.Security check dialog box will appear. Xaiv lub thawv tom ntej I’m not a robot.
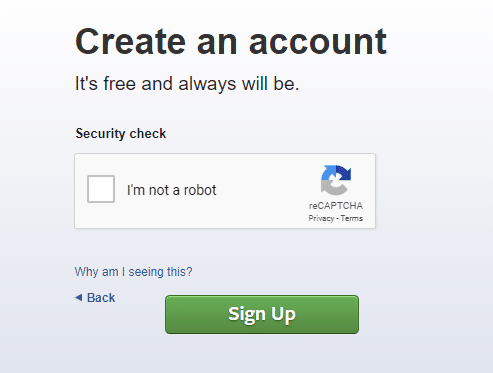
5.Again click on the Sau Npe khawm.
6.You will be asked to confirm your email address.
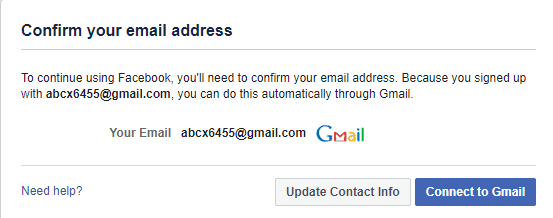
7.Open your Gmail account and confirm it.
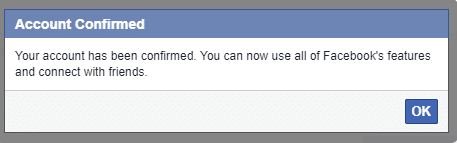
8.Your account will be verified and click on the OK khawm.
After completing the steps mentioned above, your Facebook account is created with a secure password.
But, if you already have a Facebook account and you want to change your password to make it more secure, follow the steps mentioned below:
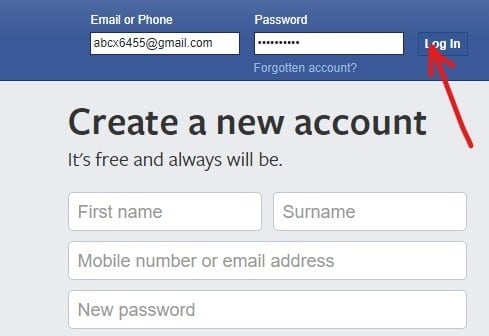
1.Open Facebook by using the link facebook.com, The page shown below will open.
2.Login to your Facebook account by entering your email chaw nyob lossis xov tooj thiab cov lo lus zais ces nias rau ntawm ID nkag mus button next to the password box.
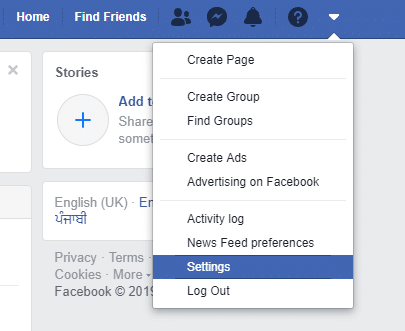
3.Your Facebook account will open. Choose the chaw option from the dropdown menu from the top-right corner.
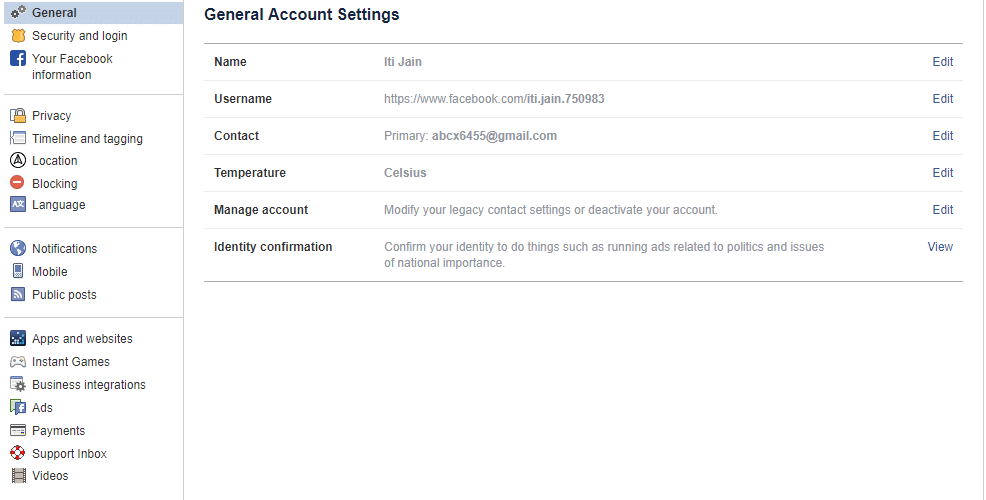
4.The settings page will open up.
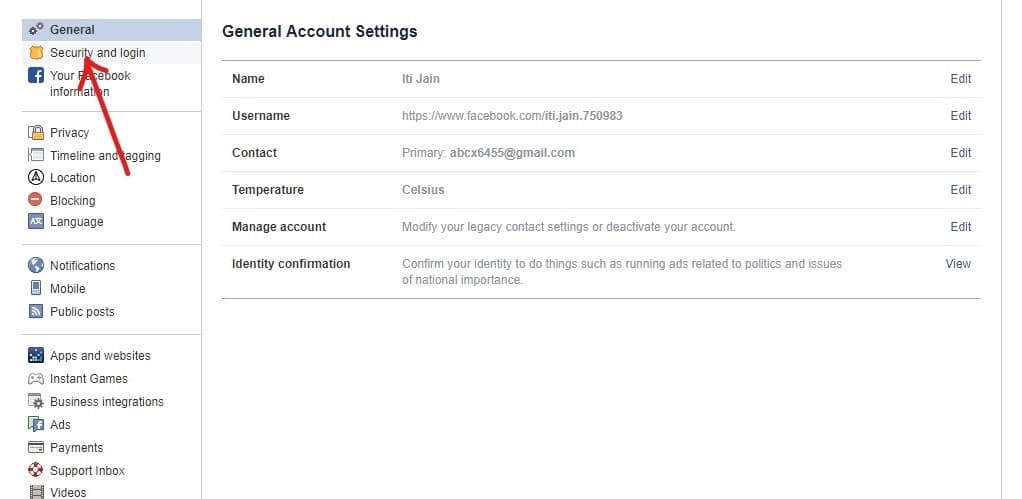
5.Click rau ntawm Kev ruaj ntseg thiab tus ID nkag mus option from the left panel.
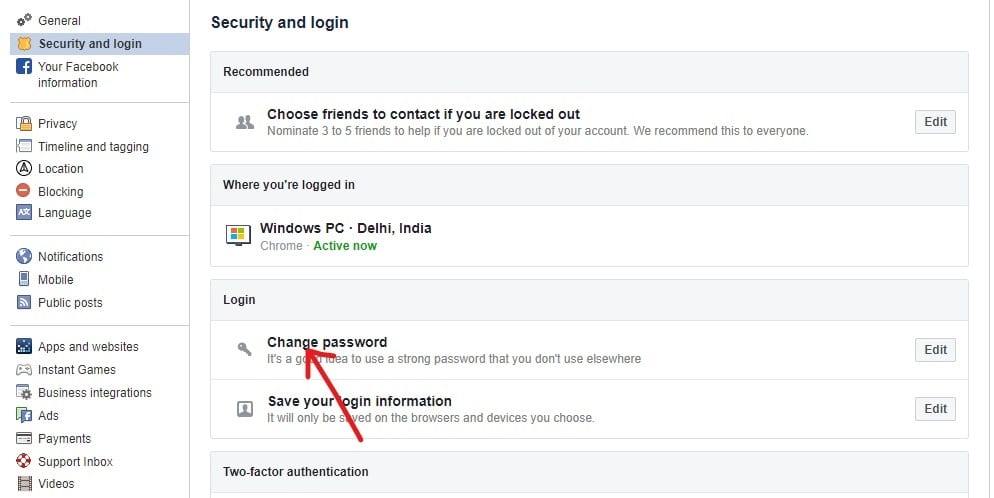
6.Under Login, click on Hloov lo lus zais.
7. Nkag mus rau current password and new password.
Nco ntsoov: The new password you will be creating should be secure, so tsim tus password that follows the conditions mentioned saum toj no and make a strong and secure password.
8.If you get a daj tick sign below your new password, it means your password is strong.
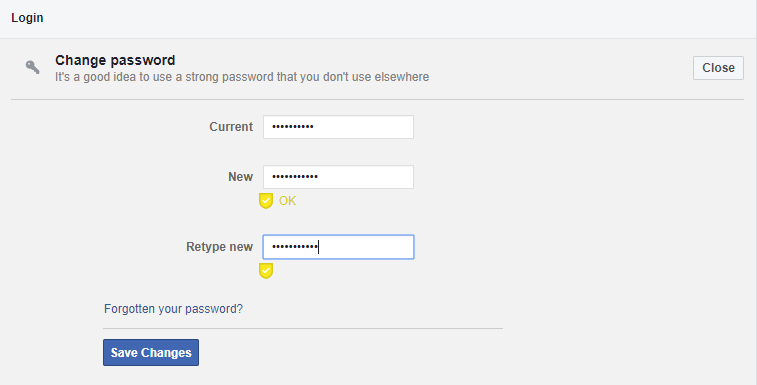
9.Click rau ntawm Txuag Cov Kev Hloov.
10.You will get a dialog box confirming that the password is changed. Choose any option from the box and then click the Mus button or click on the X khawm txij puag saum toj mas kaum.
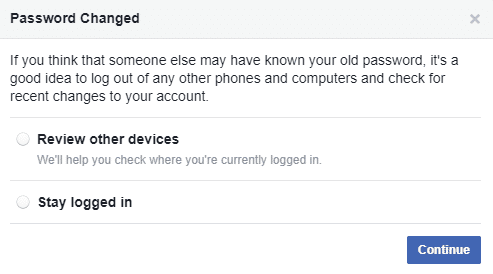
After completing the steps, your Facebook is now more secure as you have changed your password to a more secure one.
Kuj nyeem: Hide Your Facebook Friend List from Everyone
Step 2: Use Login approvals
Setting or creating a strong password is not enough to make your Facebook account more secure. Facebook has added a new two-step authentication feature, which is called “Login Approvals” and can prove beneficial for a more secure Facebook Account.
You need to enable this feature if you want to make your Facebook account more secure. You can enable this feature following the steps mentioned below:
1.Open Facebook by using link facebook.com. The page shown below will open.
2.Log in to your Facebook account by entering your email address or phone number and password. Now click on the Login button.
3.Your Facebook account will open. Choose the chaw xaiv los ntawm dropdown zaub mov.
4.Chaw nplooj yuav qhib.
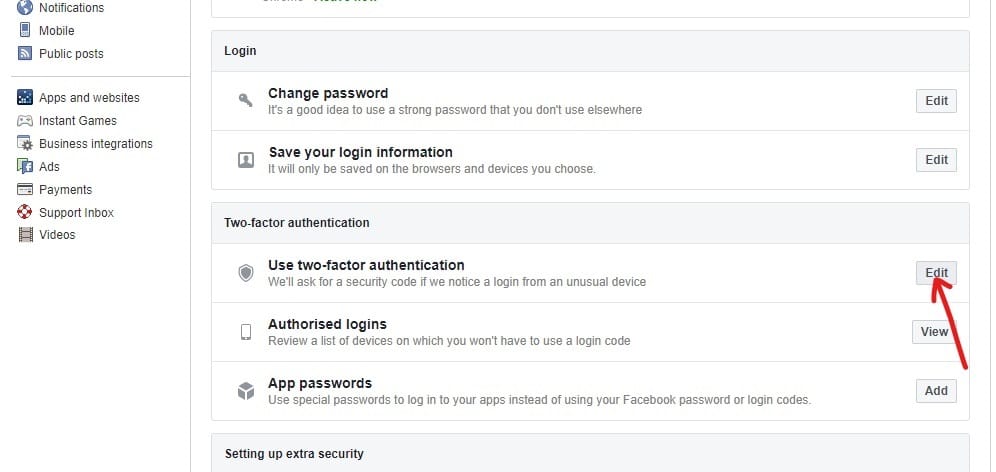
5.Kwm rau Kev ruaj ntseg thiab tus ID nkag mus option from the left panel.
6. Hauv qab Ob qhov zoo sib xws, nyem rau ntawm Kho kom raug neeg button next to the Use two-factor authentication option.
7.Kwm rau tau pib.
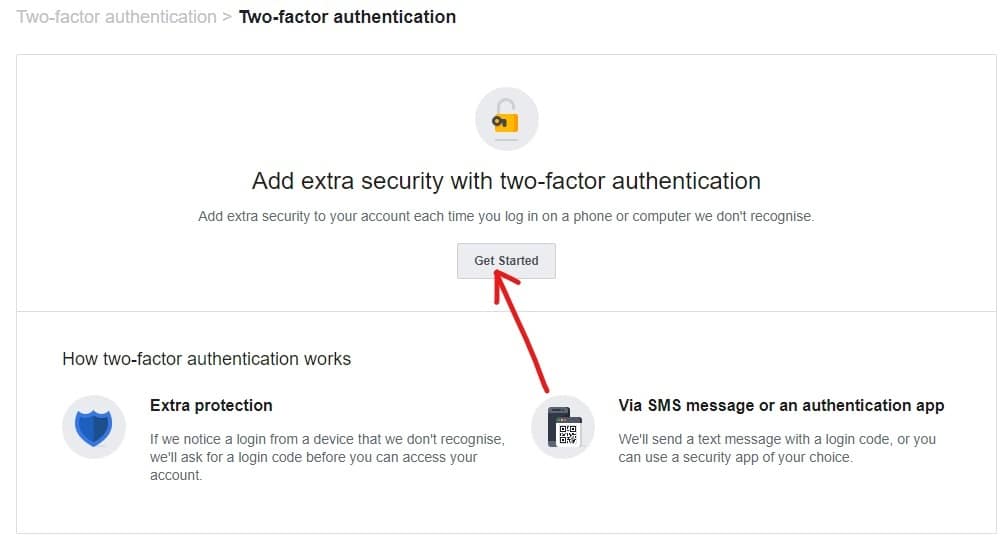
8.The dialog box will appear in which you will be asked to choose a Security method, and you will be given two choices either by Ntawv Xov Xwm lossis los ntawm Authentication App.
Nco ntsoov: If you do not want to add your phone number on Facebook, then choose the second option.
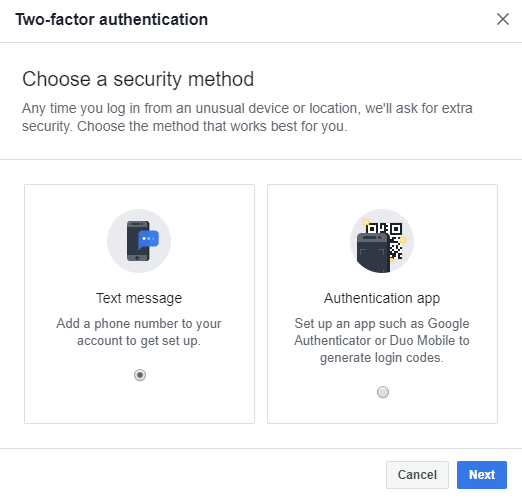
9.After choosing any one option, click on the Tom ntej no khawm.
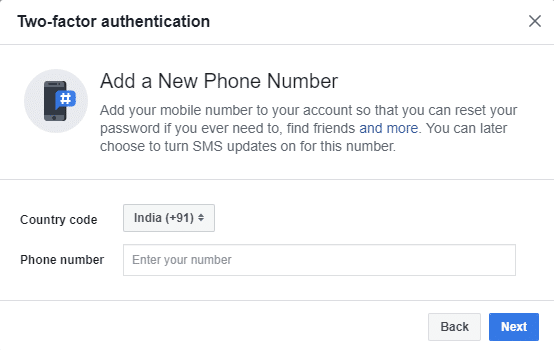
10.In the next step, you need to provide your phone number if you have chosen the Cov ntawv xov xwm option. Enter the phone number and click on the Tom ntej no khawm.
11.A verification code will be sent to your phone number. Enter it in the space provided.
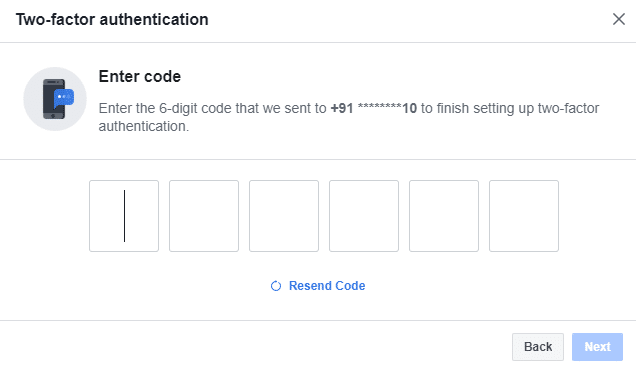
12.After entering the code, click on the Tom ntej no button, and your two-factor authentication will be activated. Now, whenever you log in to Facebook, you will always get a verification code on your verified phone number.
13.But, if you have chosen the Authentication App instead of Text message, then you will be asked to set up two-factor authentication using any third-party app. Scan the QR code using a third-party app that you want to use as an authentication app.
Nco ntsoov: If your third party app is not available to scan the QR code, then you can also enter the code given in the box next to the QR code.
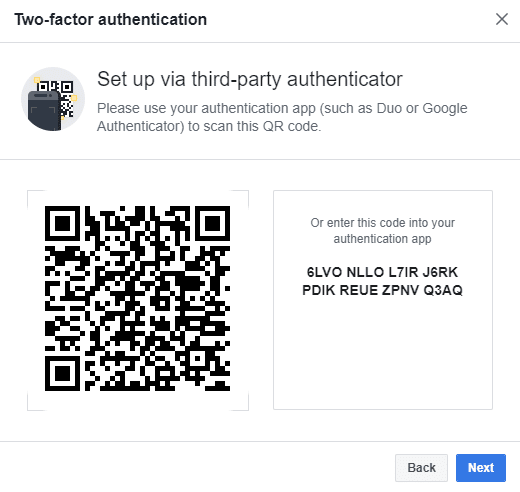
14. Tom qab scanning or entering the code, nyem rau ntawm Tom ntej no khawm.
15.You will be asked to enter the code received on your authentication app.
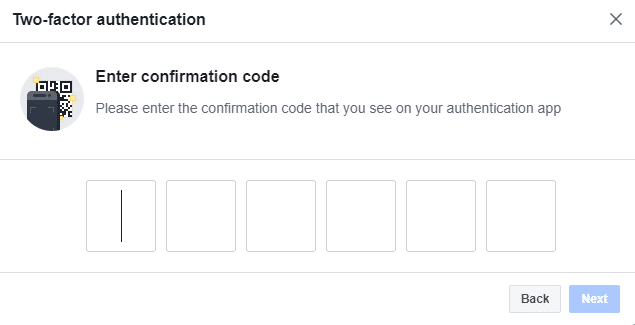
16.After entering the code, click on the Tom ntej no button and your two-factor authentication will be qhib rua.
17.Now, whenever you will log in to Facebook, you will get a verification code on your selected authentication app.
Step 3: Enable Login Alerts
Once you enable login alerts, you will be notified if anyone else tries to log in to your account using an unrecognized device or browser. Also, it allows you to check the machines where you are logged in, and if you find out that any of the devices listed are unrecognized, you can immediately log out your account from that device remotely.
But to use Login alerts, you will have to first enable them. To allow login alerts follow the steps mentioned below:
1.Open Facebook by using link facebook.com. The page shown below will open.
2.ID nkag mus to your Facebook account using your email address or phone number and the password. Tom ntej no, nyem rau ntawm qhov Tus ID nkag mus khawm next to the password box.
3.Your Facebook account will open. Choose chaw from the dropdown menu on the right top corner.
4.From the Settings page click on the Kev ruaj ntseg thiab tus ID nkag mus option from the left panel.
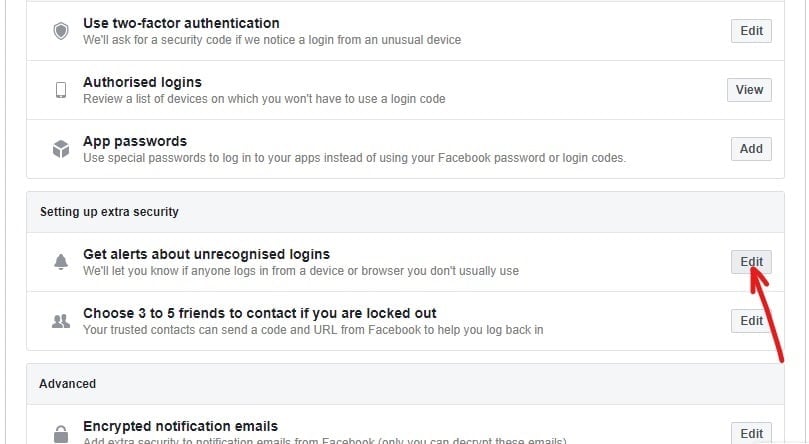
5. Hauv qab Setting up extra security, nyem rau ntawm Kho kom raug neeg khawm tom ntej no mus rau Get alerts about unrecognized logins kev xaiv.
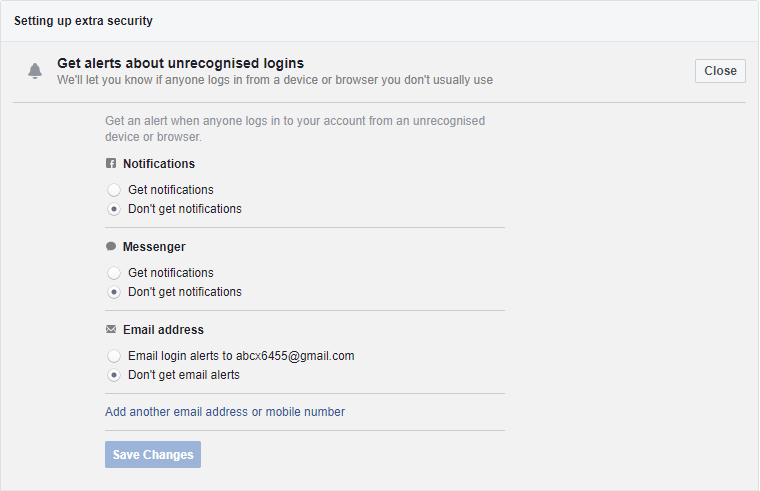
6.Now you’ll get four options for getting cov ntawv qhia. These four options are listed below:
- Get notifications on Facebook
- Get notifications on Messenger
- Get notifications on the registered Email address
- You can also add your Phone number to get notifications via text messages
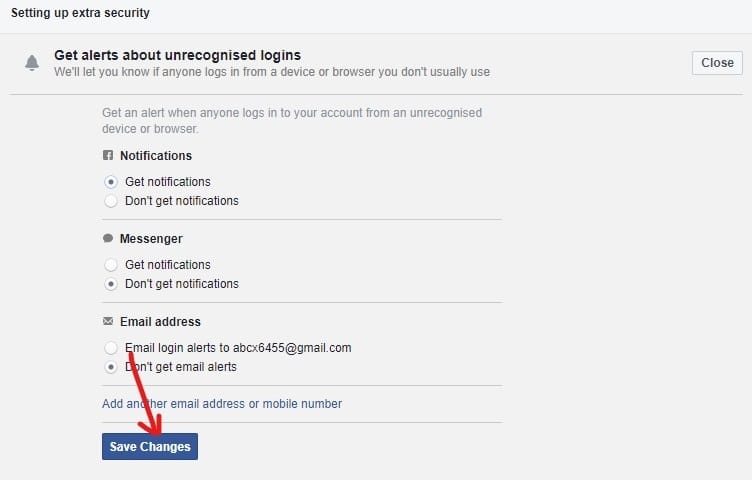
7.Choose any one of the given options to get notifications. You can select the option by clicking on the checkbox next to it.
Nco ntsoov: Koj kuj tseem tuaj yeem xaiv more than one option to get notifications.
8.After choosing your desired option, click on the Txuag hloov khawm.
After completing the steps mentioned above, your Login Alerts will be activated.
If you want to check from which devices your account is logged in, follow below steps:
1. Xaiv chaw from the dropdown menu on the top right corner.
2. Nkag mus rau Kev ruaj ntseg thiab tus ID nkag mus then under “Where You’re Logged in option,” you can see the names of all the devices where your account is logged in.
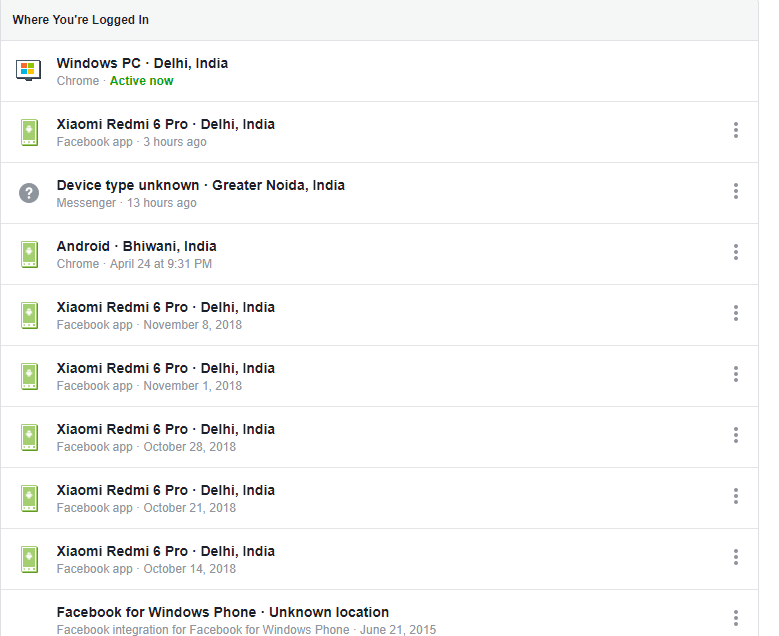
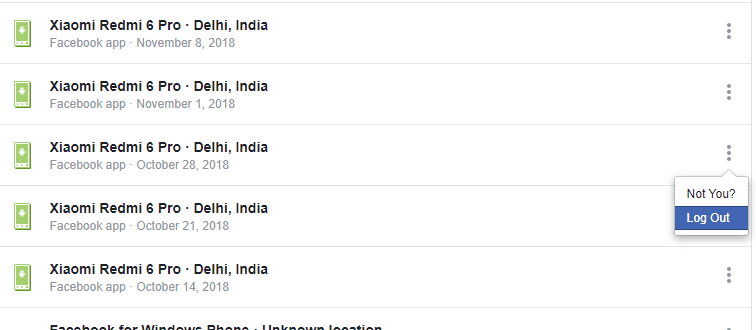
3. If you see an unrecognized device, ces koj tuaj yeem log tawm from that device by clicking on the peb dots icon next to that device.
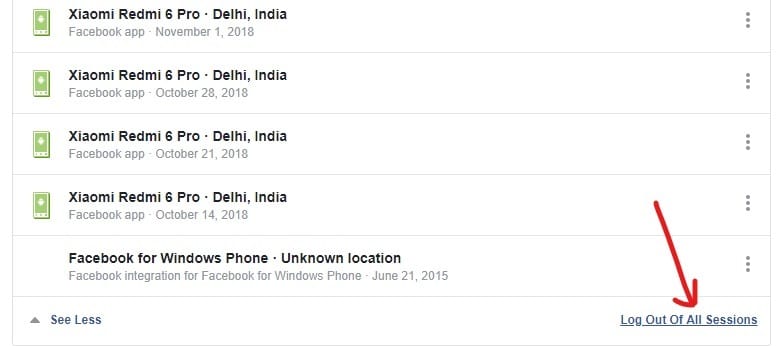
4. If you do not want to check every device, then you log tawm from all the devices by clicking on the Log Out of All Sessions option.
Step 4: Audit the Apps or Websites that have Permission to access your Facebook Account
Sometimes, when you are using an app or website, you’ll be asked to sign in by creating a new account or sign in using your Facebook account. This is because such apps or websites have permission to access your Facebook account. But these apps & sites can serve as a medium to steal your private data.
To avoid this, you can select which apps or websites can have access to your Facebook account. To remove the suspicious apps or websites follow the steps mentioned below:
1. Qhib Facebook by using link www.facebook.com. The page shown below will open.
2. Koj yuav tsum ua login to your Facebook account los ntawm kev nkag mus rau koj email address or phone number and password.
3. Your Facebook account will open. Choose chaw from the dropdown menu in the top right corner.
4.From the Settings page click on Apps thiab websites option from the left panel.
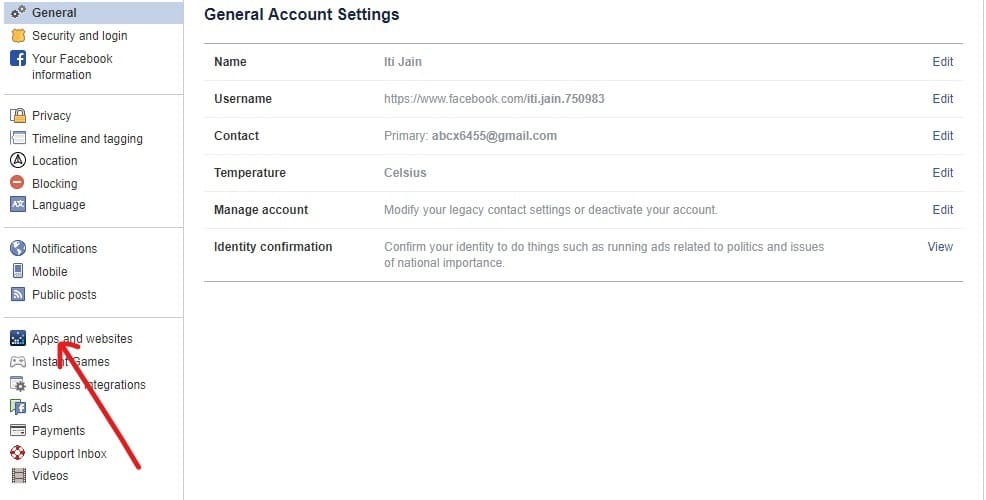
5. You will see all the active apps thiab websites that are using your Facebook account as the login account.
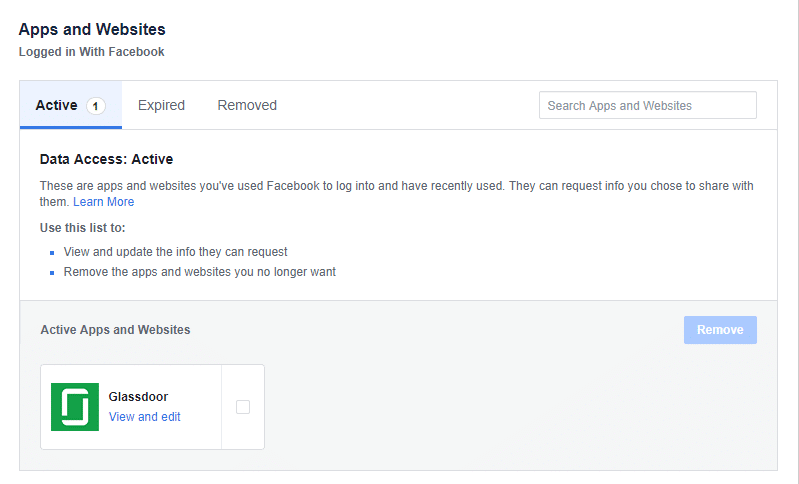
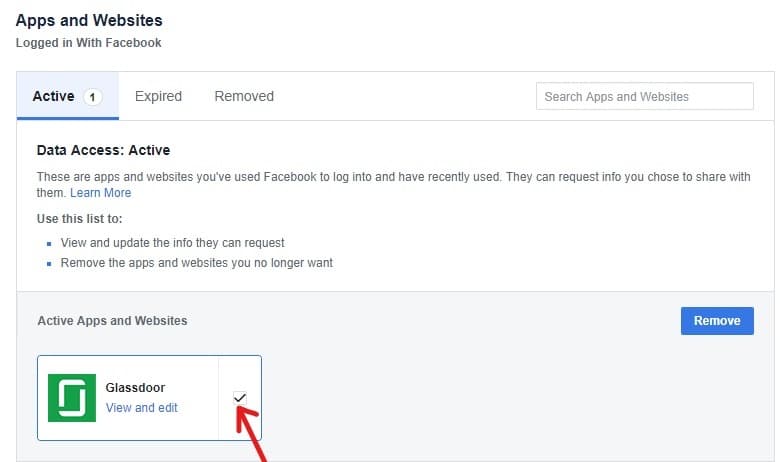
6. Yog tias koj xav tau remove any app or website, xaiv lub thawv next to that app los yog website.
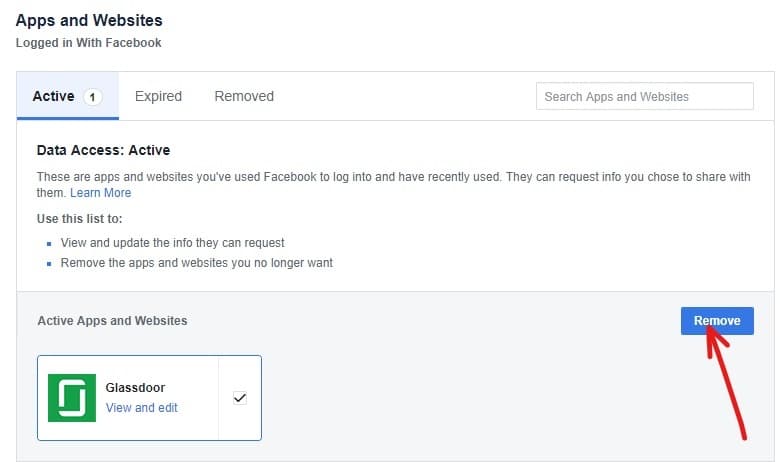
7.Finally, click on the tshem tawm khawm.
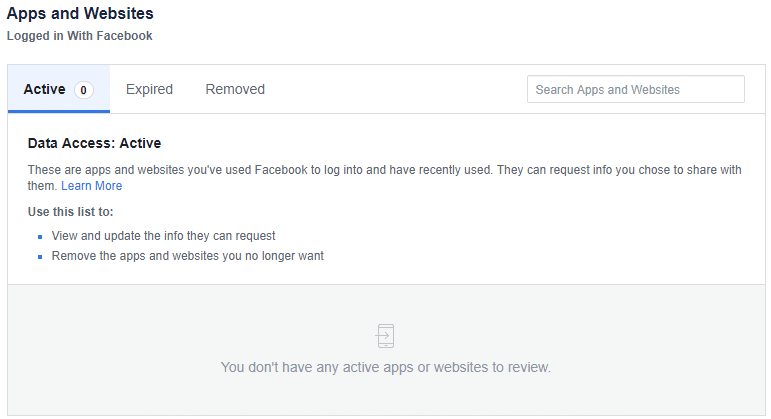
8.After completing the steps mentioned above, all the apps or websites you have chosen to remove will be deleted.
Step 5: Secure Browsing
Secure browsing plays a vital role in securing your Facebook account. By enabling secure browsing, you will be browsing your Facebook from a secure browser, which will help you to keep your Facebook account secure from spammers, hackers, viruses, and malware.
You need to enable secure browser by following the steps mentioned below:
1.Open Facebook by using link www.facebook.com. The page shown below will open.
2.You will have to teev nyob rau hauv to your Facebook account by entering your email address or phone number and password.
3.Your Facebook account will open. Choose chaw from the dropdown menu from the top right corner.
4.Click rau ntawm Kev xaiv kev ruaj ntseg los ntawm cov laug vaj huam sib luag.
5.Checkmark Kev tshawb xyuas ruaj ntseg option then click on the Txuag hloov khawm.
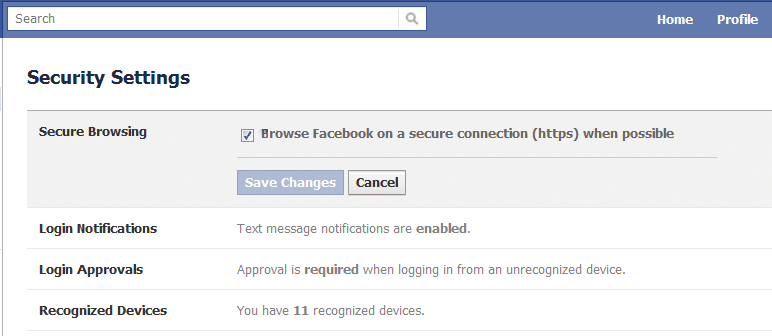
After completing all the steps, your Facebook account will always open in a secure browser.
pom zoo: Phau Ntawv Qhia Qhov Kawg Los Tswj Koj Tus Kheej Facebook Chaw
That’s it, I hope this article was helpful and now you will be able to make your Facebook account more secure in order to protect it from hackers.

