Are you facing issues with Realtek High Definition Audio Driver? Is Realtek HD Audio Manager missing from your Windows 10 Taskbar? Or there is no sound coming from your speakers in Windows 10? If you are finding the answer to the above questions, then you’re in the right place as today we will see How to Fix Realtek High Definition Audio Driver Issue.
Realtek HD Audio Manager is one of the best tools available for managing all your audio/sound needs in Windows 10. But what happens when you can’t find the Realtek HD Audio Manager icon on the Taskbar? Most of the users facing this issue complain that they are only having this issue after the Windows 10 upgrade or update.
There can be numerous underlying causes for this issue, but the main problem seems to be corrupt or outdated Realtek audio drivers. And if that’s the case, this issue can be fixed by re-installing Realtek audio drivers. Anyway, without wasting any time, let’s see How to Fix Realtek High Definition Audio Driver Issue.
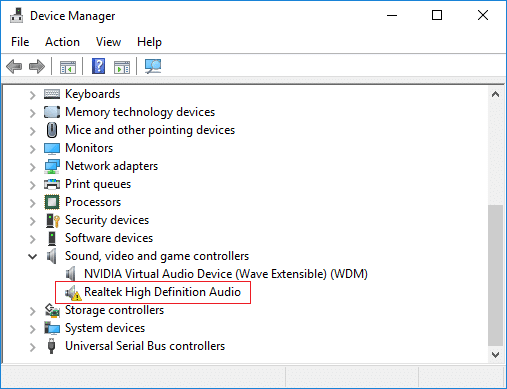
Jegyzet: Open Device Manager by pressing Windows Key + R then type devmgmt.msc and hit Enter. Next, expand Sound, video and game controllers and then check if you can see a sárga felkiáltójel tovább "Realtek High Definition Audio“. If you can see the yellow exclamation mark then its confirm that this is a driver issue.
Fix Realtek High Definition Audio Driver Issue
Győződjön meg róla, hogy hozzon létre egy visszaállítási pontot arra az esetre, ha valami baj lenne.
Method 1: Reinstall Realtek HD Audio Drivers
1. Open your favourite web browser, then navigate to this website.
https://www.realtek.com/en/component/zoo/category/pc-audio-codecs-high-definition-audio-codecs-software
2. Make sure to download the proper driver according to your system architecture.
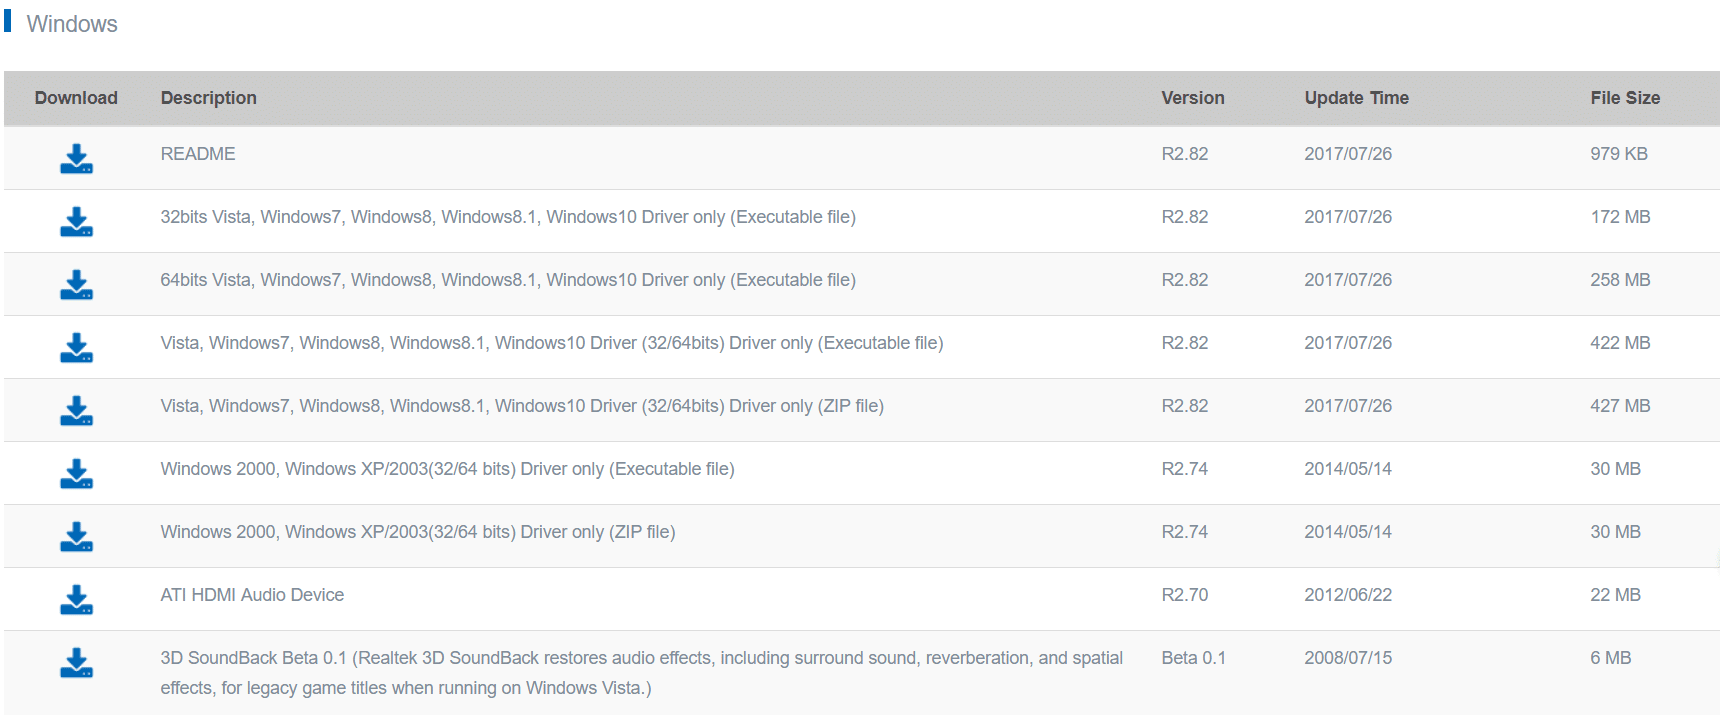
3. Once the file is downloaded, double-click on the setup file and follow the on-screen instructions to install the latest Realtek High Definition Audio drivers.
Method 2: Manually Update Realtek Audio Drivers
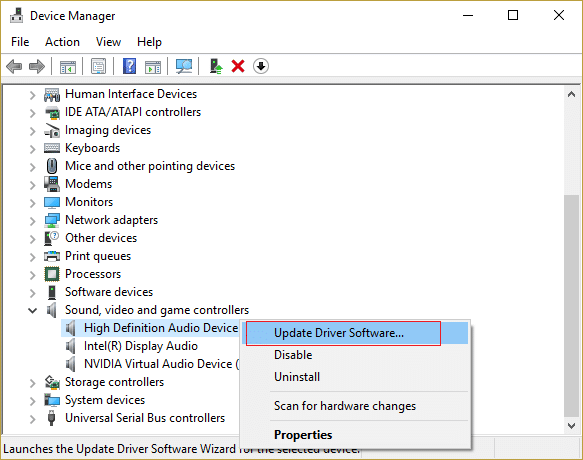
1. Nyomja meg a Windows Key + R billentyűket, majd írja be devmgmt.msc és nyomja meg az Enter billentyűt a megnyitáshoz Eszközkezelő.

2. Expand “Hang-, video- és játékvezérlők” and then right-click on “Realtek High Definition Audio” & select Illesztőprogram frissítése.
3. On the next window, click on “Automatikus keresés a frissített illesztőprogramok számára".

4. In case you already have the updated driver, then the following window will appear. If not then Windows will automatically update Realtek Audio drivers to the latest update available.
5. Once finished, reboot your PC to save changes.
If you’re still facing the Realtek High Definition Audio Driver Issue then you need to manually update the drivers, follow this:
6. If it wasn’t able to update your drivers then again right-click on “Realtek High Definition Audio” & select Illesztőprogram frissítése.
7. Ezúttal válassza a lehetőséget "Keresse meg a számítógépemet az illesztőprogramokhoz."

8. Ezután válassza a „Hadd válasszak a számítógépem illesztőprogramjai közül."

9. Válassza ki a megfelelőt gépkocsivezető a listából és kattintson a gombra Következő.
10. Hagyja befejezni a folyamatot, majd indítsa újra a számítógépet.
11. Alternatively, go to your manufacturer’s website and download the latest drivers.
3. módszer: A régebbi hangkártyát támogató illesztőprogramok telepítéséhez használja a Legacy hozzáadása lehetőséget
1. Nyomja meg a Windows Key + R billentyűkombinációt, majd írja be a „devmgmt.msc” (idézőjelek nélkül), és nyomja meg az Enter billentyűt az Eszközkezelő megnyitásához.
2. In Device Manager, select Hang-, video- és játékvezérlők majd kattintson rá Művelet > Régi hardver hozzáadása.
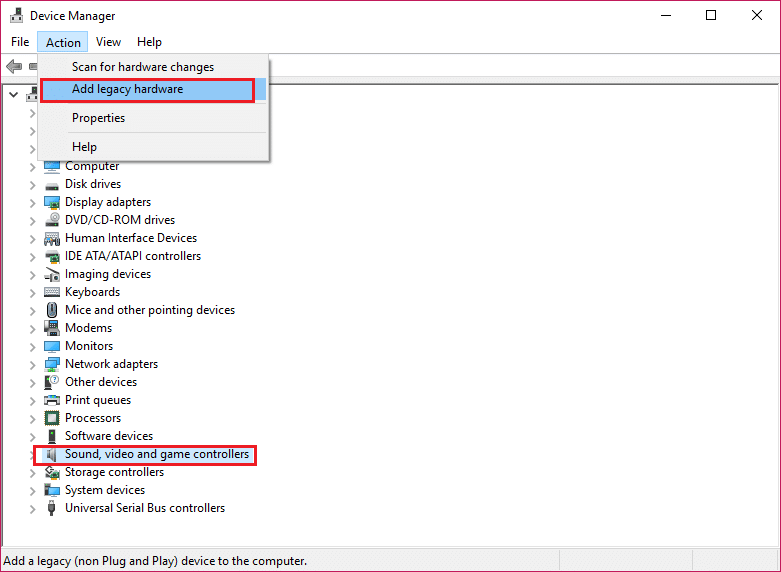
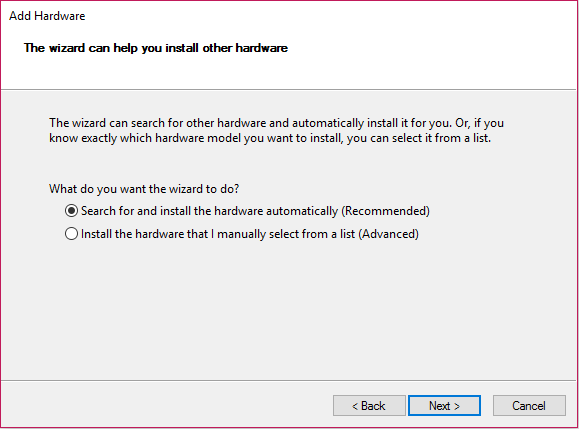
3. kettyenés Következő, válassza ki 'A hardver automatikus keresése és telepítése (ajánlott). "
4. Reboot your system to save changes and see if you’re able to Fix Realtek High Definition Audio Driver Issue.
Method 4: Uninstall Realtek High Definition Audio Driver
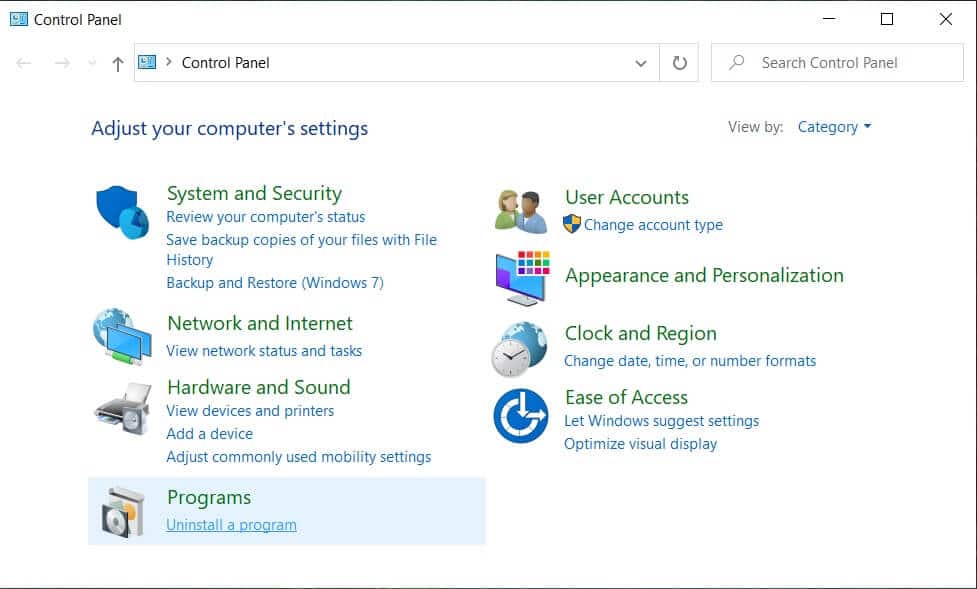
1. Keresse meg a vezérlő panel from the Start Menu search bar and click on it to open the Kezelőpanel.

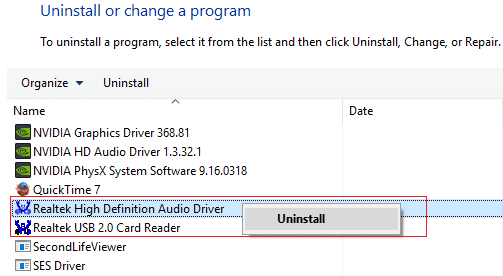
2. Kattintson Uninstall a program majd keresse meg Realtek High Definition Audio Driver bejegyzés.
3. Kattintson rá a jobb gombbal, és válassza ki Uninstall.
4. Indítsa újra a számítógépet, és nyissa meg Eszközkezelő.
5. Kattintson a Művelet, majd a „Vizsgálja meg a hardver változásait."

6. A rendszer automatikusan elindul install the Realtek High Definition Audio Driver.
Method 5: Disable Microsoft UAA Bus Driver for High Definition Audio
1. Nyomja meg a Windows Key + R billentyűket, majd írja be devmgmt.msc és a megnyitáshoz nyomja meg az Enter billentyűt Eszközkezelő.
2. Bontsa ki Rendszereszközök és kattintson a jobb gombbal Microsoft UAA Bus Driver for High Definition Audio majd válassza ki Disable.
3. Most látogassa meg Realtek to download the latest driver, and it should now install without any problem.
Ajánlott:
Ez az, amit sikeresen megtanultál How to Fix Realtek High Definition Audio Driver Issue de ha továbbra is kérdései vannak ezzel az oktatóanyaggal kapcsolatban, nyugodtan kérdezze meg őket a megjegyzés szakaszban.

