Enable or Disable Secure Login in Windows 10: Secure Login is a security feature of Windows 10 which when enabled requires users to press Ctrl + Alt + delete on the lock screen before they can sign in using their username and password in Windows 10. Secure Sign just adds an extra layer of security to your sign-in screen which is always a good thing to make your PC is more secure. The main problem occurs when a virus or malware programs mimic a sign-in screen in order to retrieve username & password information from users. In such cases, Ctrl + Alt + delete ensures that you are seeing the authentic sign-in screen.
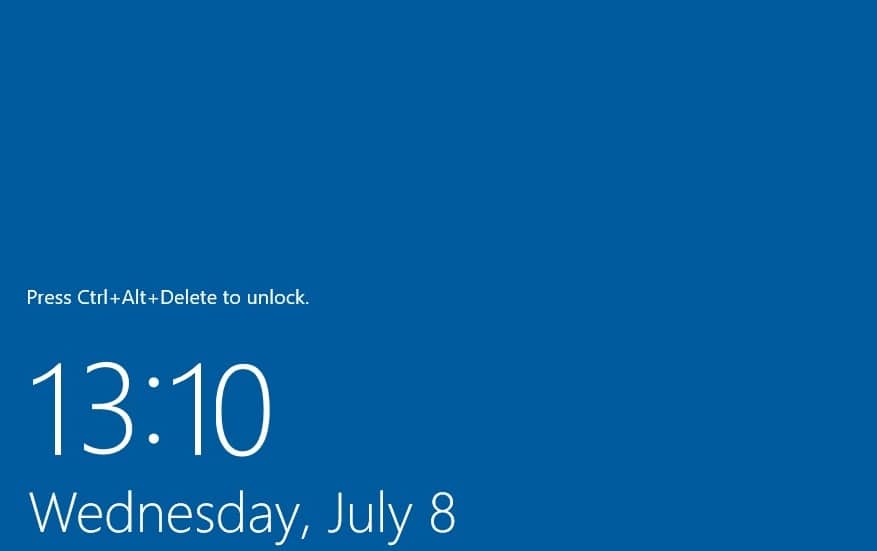
This security setting is disabled by default and thus you need to follow this tutorial in order to enable the secure logon. There are many additionals benefit of using secure logon so it’s recommended you enable it. So without wasting any time let’s see How to Enable or Disable Secure Login in Windows 10 which requires the user to press Ctrl+Alt+Delete on the lock screen before signing in to Windows 10.
Enable or Disable Secure Login in Windows 10
Համոզվեք, որ ստեղծեք վերականգնման կետ, եթե ինչ-որ բան սխալ լինի:
Method 1: Enable or Disable Secure Sign-in in Netplwiz
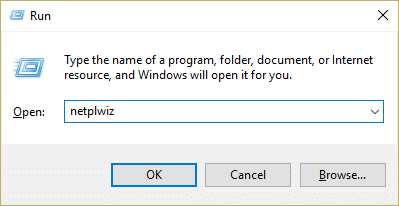
1. Սեղմեք Windows Key + R, ապա մուտքագրեք netplwiz և սեղմեք Enter ՝ բացելու համար Օգտագործողի հաշիվներ:
2. Անցնել Ընդլայնված էջանիշ և checkmark “Require users to press Ctrl+Alt+Delete” box at the bottom under the Secure sign-in to enable secure login in Windows 10.
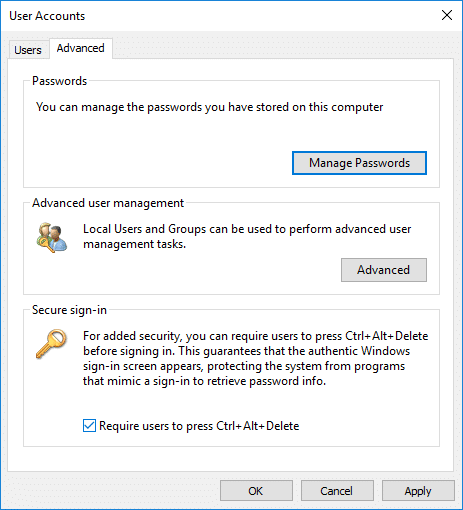
3. Սեղմեք Դիմել, որին հաջորդում է OK:
4.If in future you need to disable secure login then simply ջնջեք "Require users to press Ctrl+Alt+Delete"Տուփը:
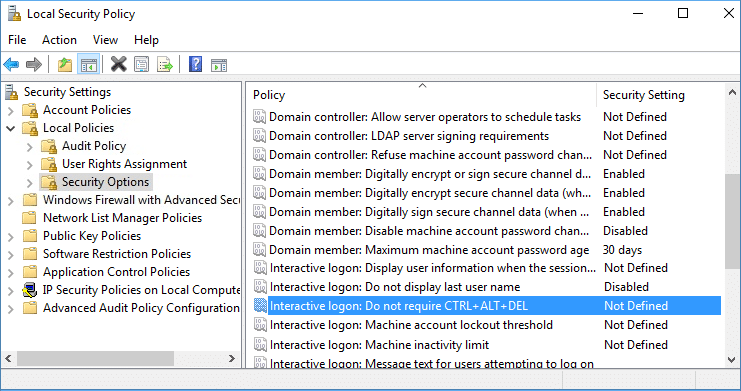
Method 2: Enable or Disable Secure Login in Local Security Policy
Նշում: This method will only work for Windows Pro, Education and Enterprise edition. For Windows 10 Home users, you can follow skip tis method inseatd follow method 3.
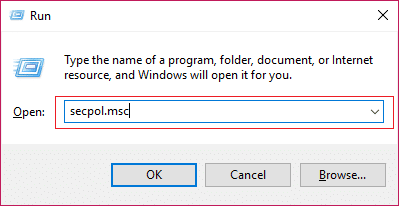
1. Սեղմեք Windows Key + R, ապա մուտքագրեք secpol.msc եւ հարվածել Enter:
2.Navigate to the following policy:
Տեղական քաղաքականություն> Անվտանգության ընտրանքներ
3. Համոզվեք, որ ընտրեք Անվտանգության ընտրանքներ then in the right window pane double-click on “Interactive Logon: Do not require CTRL+ALT+DEL” to open its properties.
4.Now to enable secure login in Windows 10ընտրեք անաշխատունակ այնուհետև կտտացրեք Դիմել, որին հաջորդում է OK:
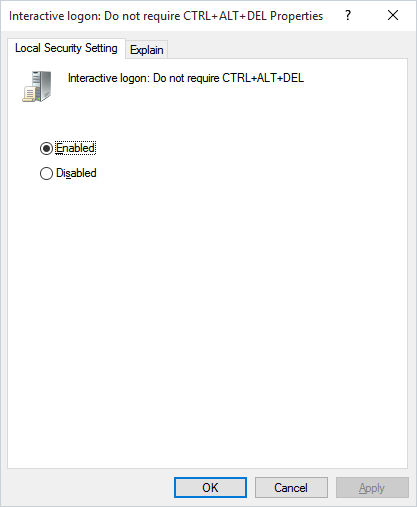
5.If you need to disable secure login then select Enabled and click OK.
6.Close Local Security Policy window and restart your PC.
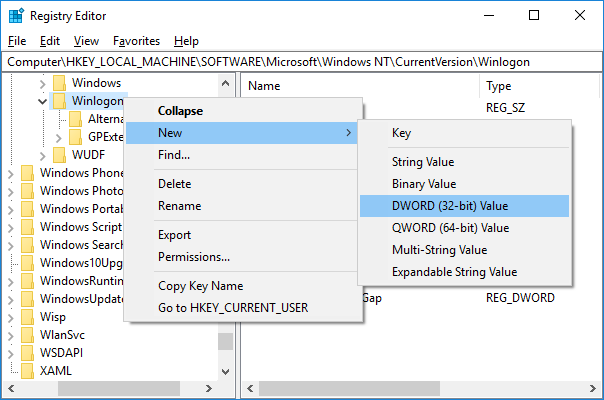
Method 3: Enable or Disable Secure Login in Windows 10 using Registry Editor
1. Սեղմեք Windows Key + R, ապա մուտքագրեք regedit եւ հարվածել Enter:

2. Նավարկեք հետևյալ ռեեստրի բանալի.
HKEY_LOCAL_MACHINESOFTWAREMicrosoftWindows NTCurrentVersionWinlogon
3. Համոզվեք, որ ընտրեք Winlogon այնուհետև աջ պատուհանի պատուհանում կրկնակի կտտացրեք DisableCAD.

Նշում: If you can’t find the DisableCAD then right-click on Winlogon then select Նոր> DWORD (32-բիթանոց) արժեք and name this DWORD as DisableCAD.
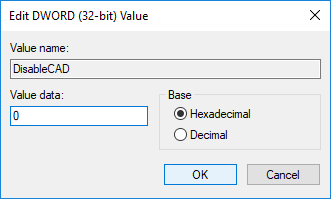
4.Now in the value data field type the following and click OK:
To Disable Secure Logon: 1
To Enable Secure Logon: 0
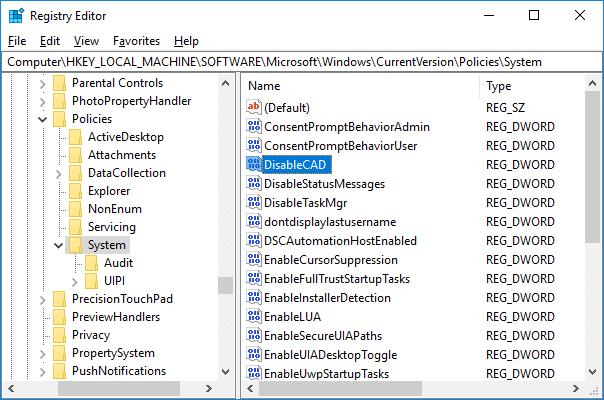
5.Next, navigate to the following registry key and follow the steps 3 & 4 here:
HKEY_LOCAL_MACHINESOFTWAREMicrosoftWindowsCurrentVersionPoliciesSystem
6.Close Registry Editor then restart your PC to save changes.
Խորհուրդ է տրվում:
Դա այն է, որ դուք հաջողությամբ սովորել եք How to Enable or Disable Secure Login in Windows 10 բայց եթե դեռևս ունեք հարցեր այս ձեռնարկի վերաբերյալ, ապա ազատ զգալ հարցրեք նրանց մեկնաբանությունների բաժնում:

![Add a Printer in Windows 10 [GUIDE]](https://lbsite.org/wp-content/uploads/2023/02/Add-a-Printer-in-Windows-10.png "Add a Printer in Windows 10 [GUIDE]")