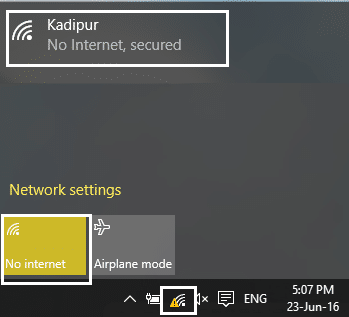
If a WiFi network has the ‘limited connectivity’ sign next to it, it means that you’re connected to the network but do not have access to the internet. The main reason for this issue is that the DHCP server is not responding. And when the DHCP server doesn’t respond the computer automatically assigns an IP address to itself because the DHCP server was unable to assign the IP address. Hence the ‘Limited or No connectivity’ error.
Ուղղել սահմանափակ մուտքի կամ կապի բացակայությունը WiFi-ի հետ կապված խնդիրները
Method 1: Run Network troubleshooter
1. Աջ կտտոցով կտտացրեք այն ցանցի պատկերակ at the taskbar and click on Խնդիրների լուծում:
![]()
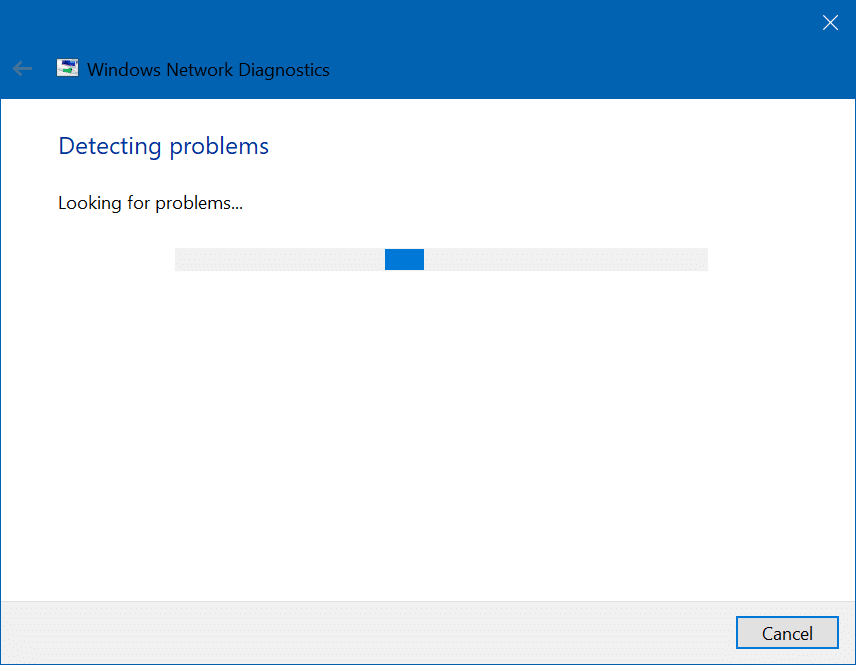
2. The Network Diagnostics window will open. Follow the on-screen instructions to run the Troubleshooter.
Մեթոդ 2. Վերականգնել TCP/IP-ը
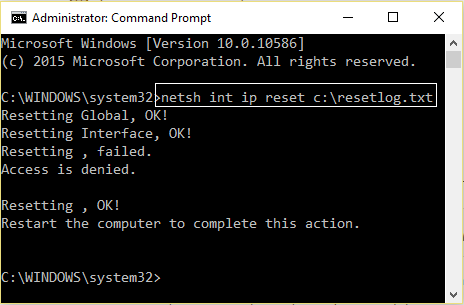
1. Right-click on the Windows button and select “Command Prompt(Admin).”

2. Մուտքագրեք հետևյալ հրամանը. netsh int ip reset c:resetlog.txt
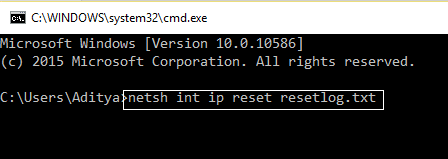
3. If you don’t want to specify the directory path then use this command: netsh int ip վերականգնում resetlog.txt
4. Վերագործարկեք համակարգիչը:
Մեթոդ 3. Փոխեք Bitdefender firewall-ի կարգավորումները (կամ ձեր հակավիրուսային firewall-ը)
1. Open Settings of Bitdefender Internet Security and choose Firewall:
2. Կտտացրեք «Ընդլայնված Կառավարում"Կոճակը:
3. Make sure that “Միացնել ինտերնետ կապի փոխանակումը», ստուգվում է:
ՆՇՈՒՄ: If you don’t have the above setting then disable “Block Internet Connection Sharing” instead of above.
4. Click the OK button to save changes.
5. And if it doesn’t work try disabling your Antivirus Firewall and enabling Windows Firewall.
For maximum people changing firewall settings fixes the limited access or no connectivity WiFi problem, but if it didn’t work for you don’t lose hope we still have a long way to go, so follow the next method.
Method 4: Change adapter settings
1. Open the Bitdefender, then select Protection module եւ սեղմեք այն Firewall feature.
2. Make sure the Firewall is turned ON and then go to the Adapters tab and perform the following changes:
Set Network type to "Home/Office"
Set Stealth Mode to "Off"
Set Generic to "On"
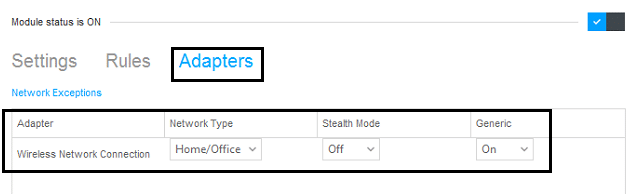
3. Restart your PC to apply these changes.
Method 5: Wake up your Wi-Fi Adapter
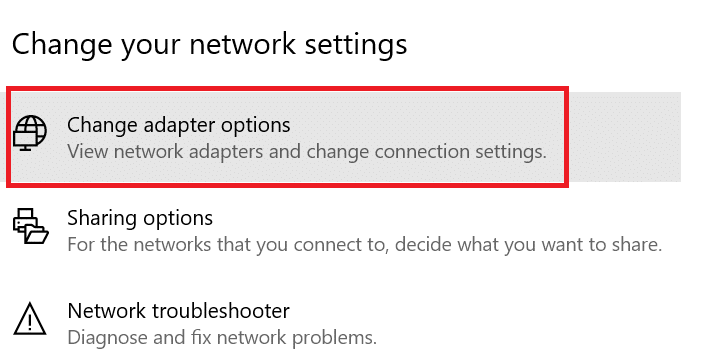
1. Աջ - կտտացրեք on the network icon in the notification area and select բաց Network & Internet Settings.

2. Համաձայն Փոխեք ձեր ցանցային կարգավորումները, սեղմեք Change Adapter Options.
3. Սեղմեք ձեր WiFi ցանց եւ ընտրել Հատկություններ:
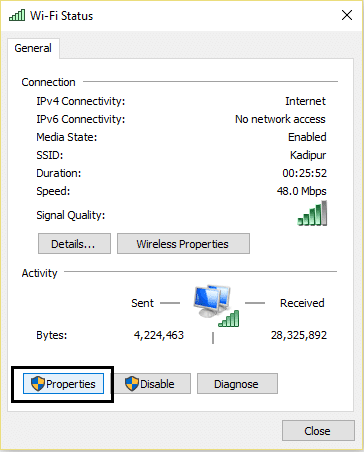
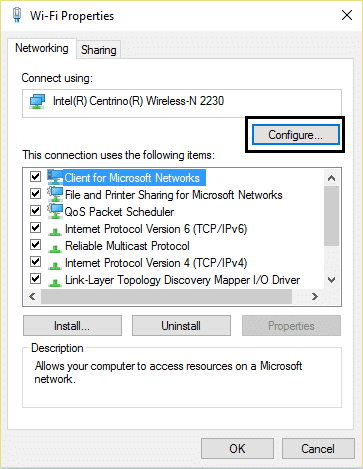
4. Այժմ ներս WiFi-ի հատկությունները սեղմեք Կարգավորել
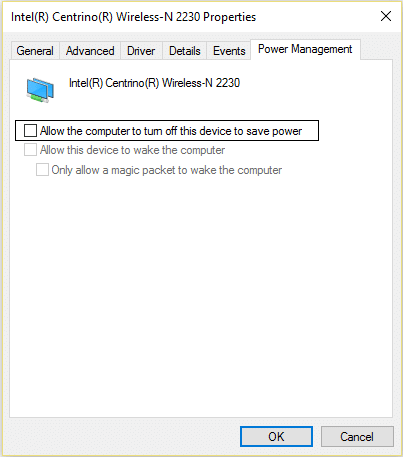
5. Go to the Power Management tab and uncheck “Թույլ տվեք համակարգչին անջատել այս սարքը՝ էներգիա խնայելու համար:"
6. Վերագործարկեք ձեր համակարգիչը:
Մեթոդ 6. Օգտագործեք Google DNS
1. Again go to your Wi-Fi properties.
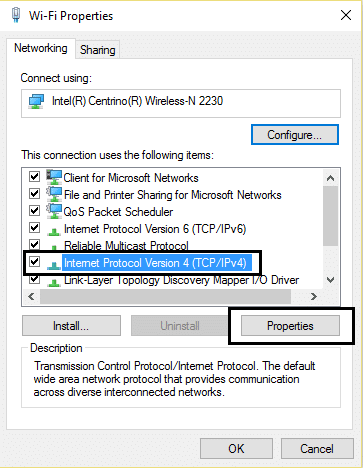
2. Այժմ ընտրեք Ինտերնետային հաղորդակցման տարբերակը 4 (TCP / IPv4) եւ սեղմեք Հատկություններ:
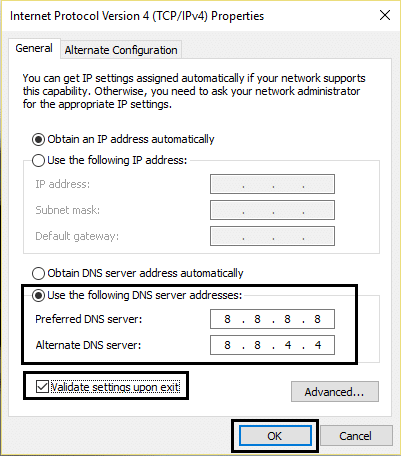
3. Check the box saying “Օգտագործեք հետեւյալ DNS սերվերի հասցեները” and enter the following:
Նախընտրելի DNS սերվեր. 8.8.8.8
Այլընտրանքային DNS սերվերի 8.8.4.4
4. Click OK to save, then click close and մեքենայական ծրագրի կրկնական գործարկումը ձեր ԱՀ:
Method 7: Reset TCP/IP Auto-tuning
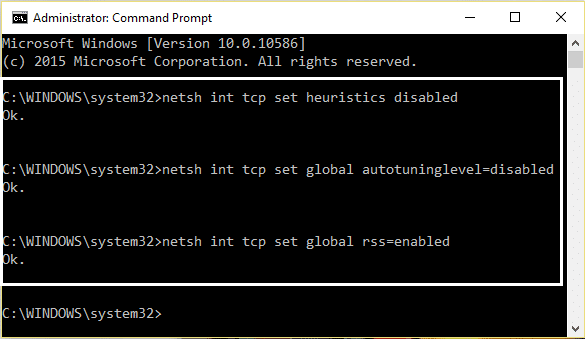
1. Right-click on the Windows key and select “Հրամանի տող (ադմինիստրատոր):"
2. Type the following commands:
netsh int tcp set heuristics disabled
netsh int tcp set global autotuninglevel=disabled
netsh int tcp set global rss=enabled
3. Վերագործարկեք ձեր համակարգիչը:
Method 8: Enable Download over metered connections
1. Սեղմեք Windows բանալին եւ ընտրել Պարամետրեր.
2. Now in settings click on Ցանց և ինտերնետ.

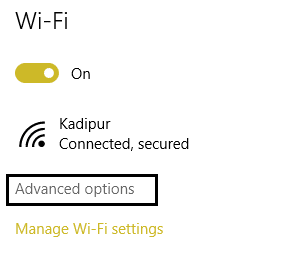
3. Here you will see Ընդլայնված ընտրանքներ, կտտացրեք այն:
4. Համոզվեք, որ ձեր Metered connection is set to ՎՐԱ.
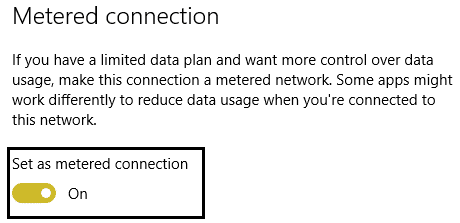
5. Վերաբեռնում փոփոխություններ կատարելու համար:
Yeah, I admit, this is a stupid step but hey for some people it worked out so why not try it and who knows your limited access or no connectivity WiFi issues may be fixed.
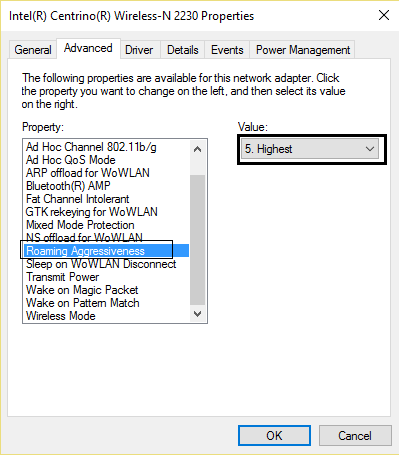
Method 9: Set Roaming Aggressiveness to Maximum
1. Աջ - կտտացրեք on the network icon in the notification area and select բաց Network & Internet Settings.
2. Համաձայն Փոխեք ձեր ցանցային կարգավորումները, սեղմեք Change Adapter Options.
3. Այժմ ընտրեք ձեր Wi-Fi եւ սեղմեք Հատկություններ:
4. Inside Wi-Fi properties click on Կարգավորել
5. Նավարկել the Advanced tab և գտիր Ռոումինգի ագրեսիվություն կարգավորումը:
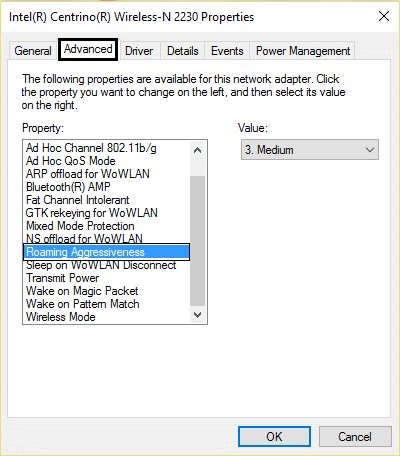
6. Change the value from Medium to Highest եւ սեղմեք OK:
7. Վերաբեռնում փոփոխություններ կատարելու համար:
Մեթոդ 10. Թարմացրեք վարորդներին
1. Սեղմեք Windows + R ստեղնը և մուտքագրեք «devmgmt.msc” in Run dialogue box to open the սարք մենեջեր.

2. Ընդարձակել Ցանցային ադապտերներ, ապա աջ սեղմեք ձեր վրա Wi-Fi կարգավորիչ(օրինակ Broadcom կամ Intel) և ընտրեք Թարմացրեք դրայվերները:

3. In the Update Driver Software Windows, select “Տեսեք իմ համակարգիչը վարորդների համար:"

4. Այժմ ընտրեք «Թույլ տվեք ընտրել իմ համակարգչի վրա սարքերի վարորդների ցուցակից:"

5. Փորձեք թարմացրեք դրայվերները նշված տարբերակներից:
6. If the above didn’t work then go to the արտադրողի կայքը to update drivers: https://downloadcenter.intel.com/
7. Վերաբեռնում փոփոխություններ կատարելու համար:
Դուք կարող եք նաեւ սիրում:
I hope by now any one of the methods must have worked for you to fix limited access or no connectivity WiFi issues. If you still have any queries regarding this guide please feel free to ask them in the comments.
![[SOLVED] keyboard has stopped working on Windows 10](https://lbsite.org/wp-content/uploads/2023/01/Solved-keyboard-has-stopped-working-on-Windows-10.png "[SOLVED] keyboard has stopped working on Windows 10")
