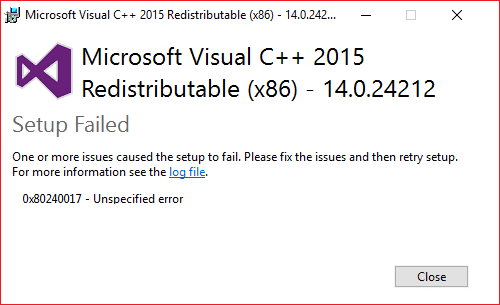
Fix Microsoft Visual C++ 2015 Redistributable Setup Fails Error 0x80240017: If you are facing the error code “0x80240017 – Undefined error” when trying to install Microsoft Visual C++ 2015 Redistributable Setup then don’t worry as today we are going to see how to fix this error. Visual C++ 2015 Redistributable is required for various app or programs to run, and if you don’t have the Redistributable package installed on your PC then you might not be able to access those apps. So without wasting any time let’s see How to Fix Microsoft Visual C++ 2015 Redistributable Setup Fails Error 0x80240017 with the help of the below-listed guide.
Ուղղել Microsoft Visual C++ 2015 Redistributable Setup Fails Error 0x80240017
Համոզվեք, որ ստեղծեք վերականգնման կետ, եթե ինչ-որ բան սխալ լինի:
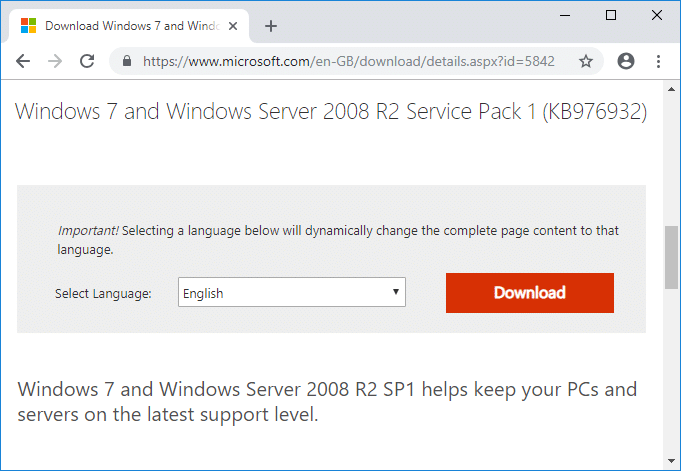
Method 1: Download Windows 7 Service Pack (SP1) Update
Select your Language then click on Ներբեռնման կոճակ. On the next page either select “windows6.1-KB976932-X64"Կամ"windows6.1-KB976932-X86” according to your system architecture.
windows6.1-KB976932-X64 – For 64-bit System
windows6.1-KB976932-X86 – For 32-bit System
Once you have downloaded and install the Windows 7 Service Pack (SP1) Update, simply restart your PC to save changes. Now from Programs and Features window, make sure to completely remove Microsoft Visual C++ 2015 Redistributable package and then follow the below-guide.

1.Download Visual C++ Redistributable for Visual Studio 2015 from Microsoft Website.
2.Select your Լեզու from the drop-down and click on Ներբեռնել.
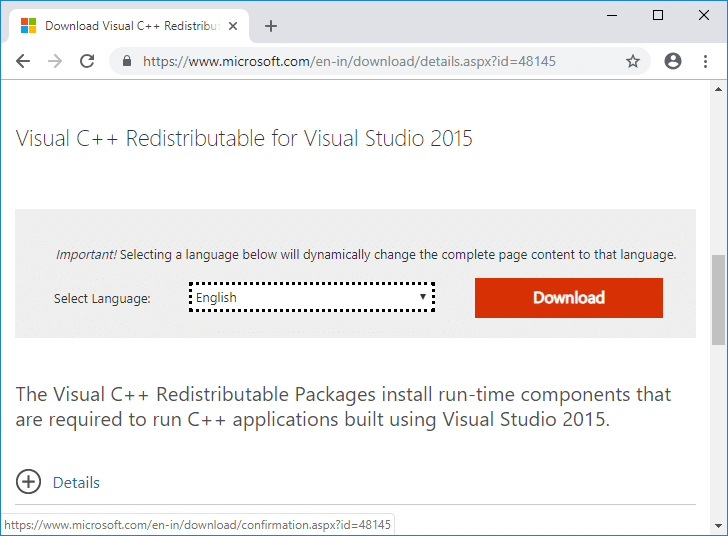
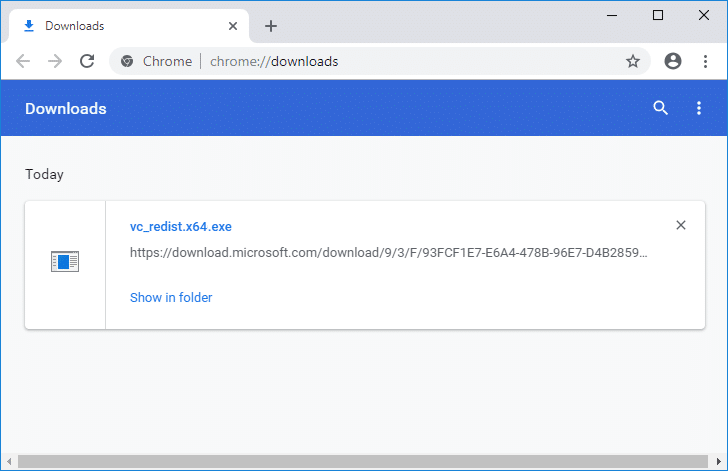
3.Select the vc-redist.x64.exe (for 64-bit Windows) or vc_redis.x86.exe (for 32-bit Windows) according to your system architecture and click Next.
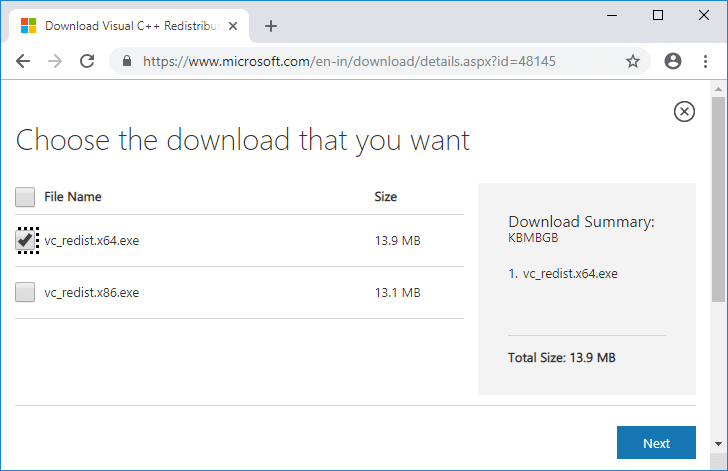
4. Մեկ անգամ սեղմեք հաջորդ the file should start downloading.
5.Double-click on the download file and follow the on-screen instruction to ավարտեք տեղադրումը.
6. Վերագործարկեք ձեր համակարգիչը, որպեսզի պահպանեք փոփոխությունները և տեսնեք, թե արդյոք կարող եք դա անել Fix Microsoft Visual C++ 2015 Redistributable Setup Fails Error 0x80240017.
If you’re still facing the error message then install Microsoft Visual C++ Redistributable Update:
If repairing or re-installing Visual C++ Redistributable for Visual Studio 2015 didn’t fix the problem then you should try to install this Microsoft Visual C++ 2015 Redistributable Update 3 RC from Microsoft website.

Մեթոդ 2. Կատարել մաքուր բեռնախցիկ
Sometimes 3rd party software can conflict with Microsoft Visual C++ and therefore, you may face Setup Fails Error 0x80240017. In order to Ուղղել Microsoft Visual C++ 2015 Redistributable Setup Fails Error 0x80240017, you need to perform a clean boot in your PC and diagnose the issue step by step.

Method 3: Make sure Date and Time of your PC is Correct
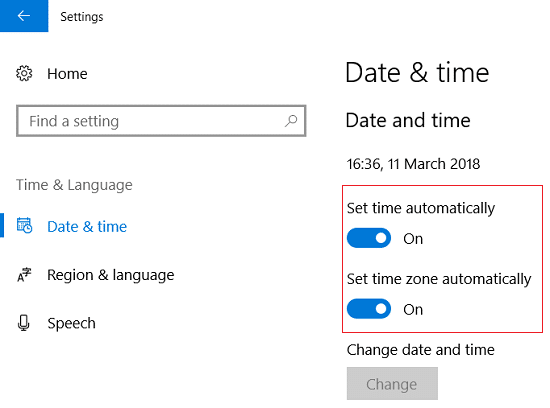
1. Աջ սեղմեք վրա ամսաթիվը եւ ժամը on the taskbar and then select “Կարգավորել ամսաթիվը / ժամը".
2.Make sure to Turn on the toggle for "Set Time Automatically”.
3.For Windows 7, click on “Ինտերնետ ժամանակ” and tick mark on “Համաժամեցեք ինտերնետի ժամանակի սերվերի հետ».
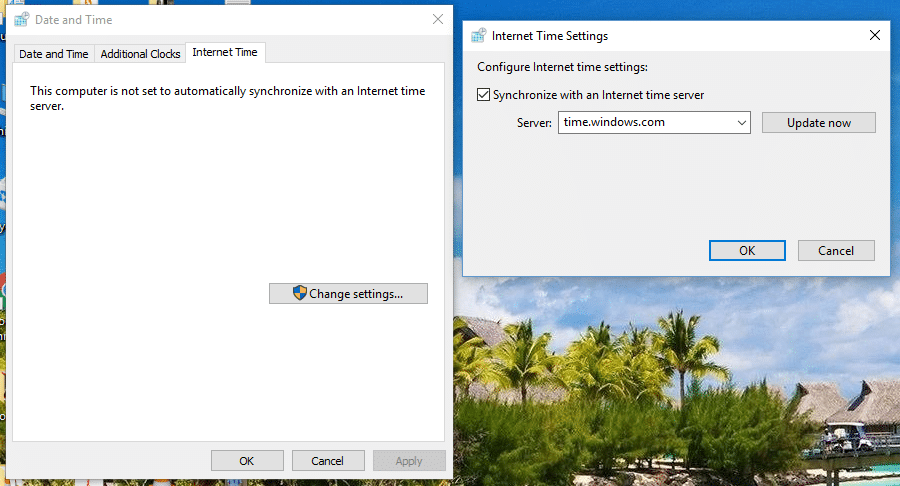
4.Select Server “time.windows.com” and click update and “OK”. You don’t need to complete update. Just click OK.
Setting correct date & time should Fix Microsoft Visual C++ 2015 Redistributable Setup Fails Error 0x80240017, if not then continue.
Method 4: Delete Temporary Files from your PC
1. Սեղմեք Windows Key + R, ապա մուտքագրեք Ջերմ եւ հարվածել Enter:
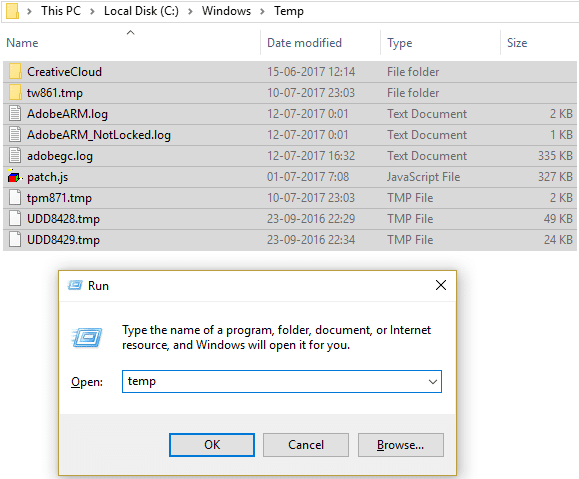
2 սեղմել Շարունակել to open the Temp folder.
3.Select all the files or folders present inside the Temp folder and permanently delete them.
Նշում: To permanently delete any file or folder, you need to press Shift + Del button.
Method 5: Re-register Windows Installer service
1.Press Windows Key + R then type the following and hit Enter:
msiexec / չգրանցել
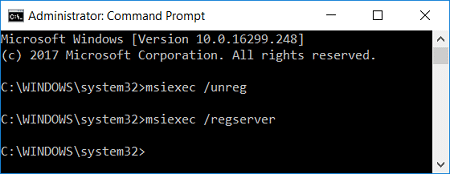
Նշում: When you hit Enter, it won’t show anything so don’t worry.
2.Again open Run dialog box and then type “msiexec / regserver» (առանց չակերտների) և սեղմեք Enter:
3.This would successfully Re-register Windows Installer service and should fix your issue.
Մեթոդ 6. Գործարկել DISM գործիքը
1.Press Windows Key + X and select Հրամանի տող (ադմինիստրատոր):

2. Մուտքագրեք հետևյալ հրամանը cmd-ում և յուրաքանչյուրից հետո սեղմեք enter.
Dism /Առցանց /Cleanup-Image /CheckHealth Dism /Առցանց /Cleanup-Image /ScanHealth Dis /Առցանց /Cleanup-Image /RestoreHealth

3. Թողեք DISM հրամանը գործարկվի և սպասեք, որ այն ավարտվի:
4. Եթե վերը նշված հրամանը չի աշխատում, ապա փորձեք ստորև.
Dism /Image:C:offline /Cleanup-Image /RestoreHealth /Source:c:testmountwindows Dism /Առցանց /Cleanup-Image /RestoreHealth /Աղբյուր:c:testmountwindows /LimitAccess
Նշում: Փոխարինեք C:RepairSourceWindows-ը ձեր վերանորոգման աղբյուրի գտնվելու վայրով (Windows-ի տեղադրում կամ վերականգնման սկավառակ):
5. Վերագործարկեք ձեր համակարգիչը, որպեսզի պահպանեք փոփոխությունները և տեսնեք, թե արդյոք կարող եք դա անել Fix Microsoft Visual C++ 2015 Redistributable Setup Fails Error 0x80240017.
Method 7: Install Windows8.1-KB2999226-x64.msu
1.Make sure to uninstall Visual C++ Redistributable for Visual Studio 2015 from your system.
2.Navigate to the following path:
C:ProgramDataPackage Cache
3.Now here you need to find the path which would resemble something like this:
FC6260C33678BB17FB8B88536C476B4015B7C5E9packagesPatchx64Windows8.1-KB2999226-x64.msu
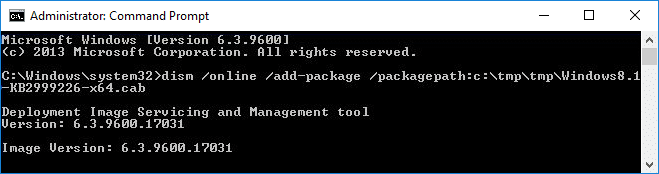
2.Once you find file, open Command Prompt (Admin) and type the following command one by one and hit Enter after each one:
C:
mkdir tmp
mkdir tmptmp
move C:ProgramDataPackage CacheFC6260C33678BB17FB8B88536C476B4015B7C5E9packagesPatchx64Windows8.1-KB2999226-x64.msu c:tmp
expand -F:* c:tmpWindows8.1-KB2999226-x64.msu c:tmptmp
dism /online /add-package /packagepath:c:tmptmpWindows8.1-KB2999226-x64.cab
Նշում: Make sure to Replace “FC6260C33678BB17FB8B88536C476B4015B7C5E9” and file name “Windows8.1-KB2999226-x64.msu” according to your system.
3.Once finished, reboot your PC to save changes.
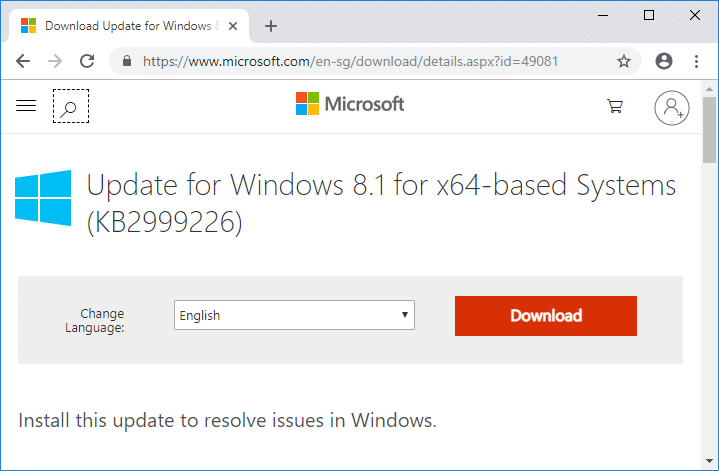
If you’re still facing the issue then you can manually download and install the Windows8.1-KB2999226-x64.msu directly from Microsoft website.
Խորհուրդ է տրվում:
Դա այն է, որ դուք հաջողությամբ սովորել եք How to Fix Microsoft Visual C++ 2015 Redistributable Setup Fails Error 0x80240017 բայց եթե դեռ հարցեր ունեք այս ձեռնարկի վերաբերյալ, ապա ազատ զգալ հարցրեք դրանք մեկնաբանությունների բաժնում:
")
")