While surfing internet in your browser, you may face Server IP address could not be found error. This is a common issue for the Google Chrome users. We bring to you a helpful guide that will fix server IP address could not be found error on Windows 10. So, continue reading!
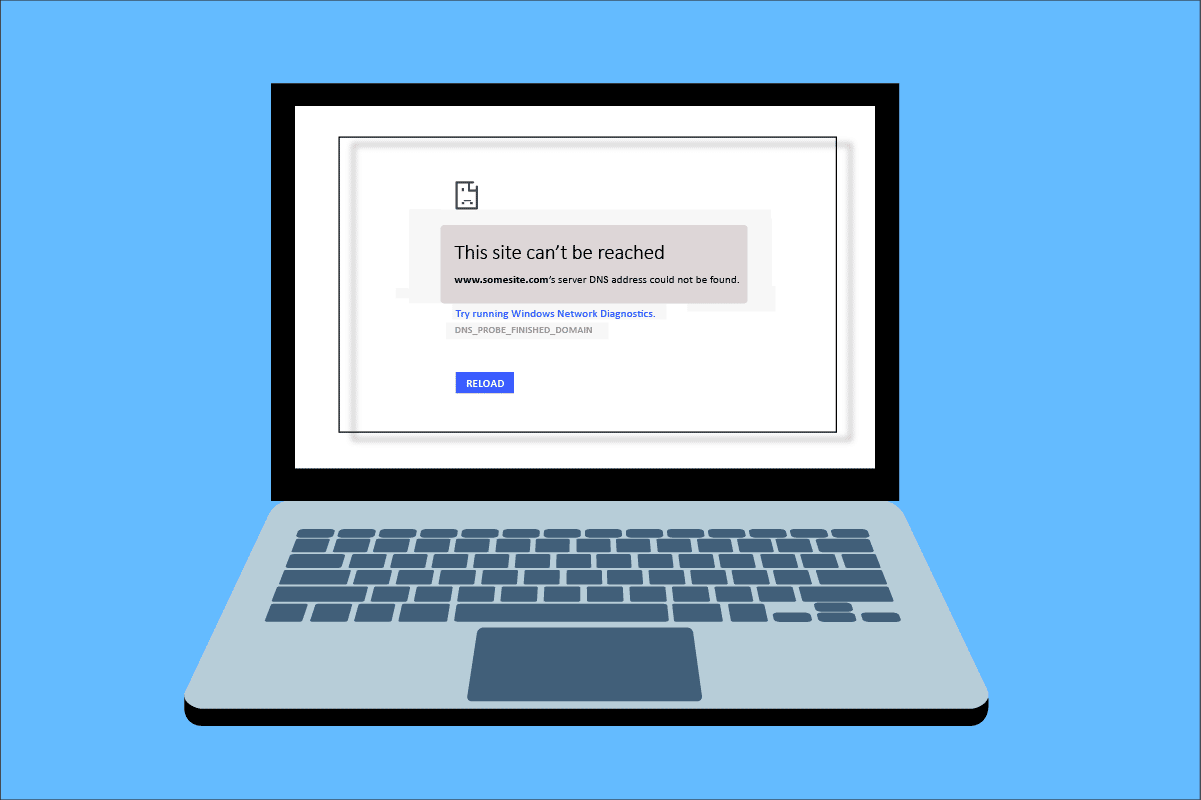
How to Fix Server IP Address Could Not be Found on Windows 10
One of the most popular web browser is Google Chrome. However if you are facing the error while browsing in the Chrome browser, then do not worry! This issue may be caused due to various reasons like;
- Անկայուն ինտերնետ կապ
- Corrupt Browser Cache and Cookies
- Սխալ IP հասցե
- Corrupt DNS Cache
- Outdated Network Drivers
Here, we have listed all possible methods to fix the said issue on Windows 10.
Method 1: Troubleshoot Network Adapter
The said issue may occur due to your network error. You can run the network adapter troubleshooter to fix any errors with your network adapter. Read our guide to troubleshoot network connectivity on Windows 10.

Մեթոդ 2. Մաքրել զննարկիչի քեշը
The cache files in your web browser may get corrupt. You can try to clear the cache and cookies of your browser and try to check if the error still persists or not. Follow these steps to clear browser cache.
1. Գործարկել Chrome browser from Windows search bar as shown.

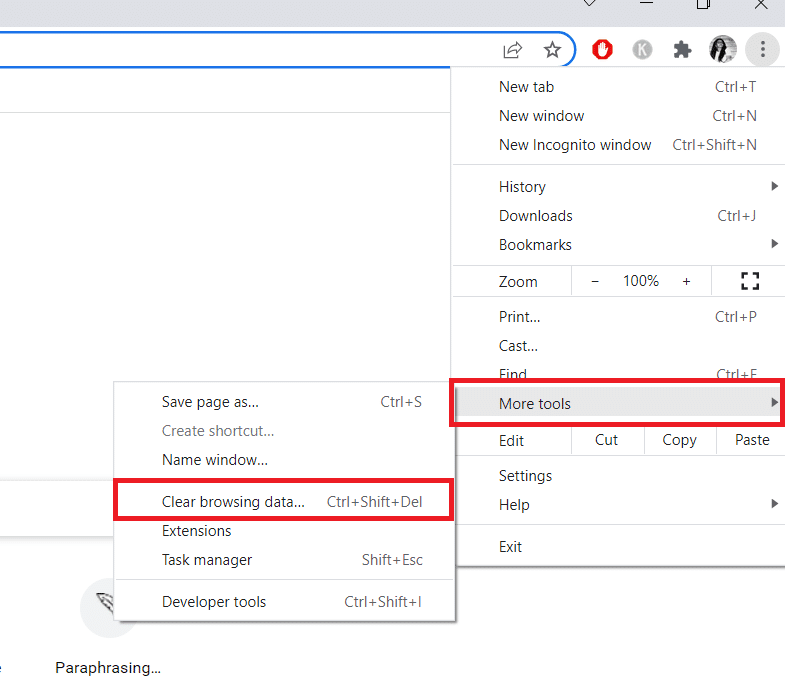
2. Այժմ սեղմեք կոճակի վրա երեք կետավոր պատկերակ վերեւի աջ անկյունում:
3. Այստեղ, սեղմեք Լրացուցիչ գործիքներ տարբերակ.
4. Հաջորդը, սեղմեք Մաքրել զննարկումը տվյալներ… տարբերակ.
Նշում: Դուք կարող եք մուտքագրել chrome: // settings / clearBrowserData in the search bar to launch the browser history page directly.
5. Այստեղ ընտրեք Ժամկետը in the next window. Check the boxes marked:
- Տեղեկանիշներ և կայքի այլ տվյալներ և
- Cached պատկերներ եւ ֆայլեր.
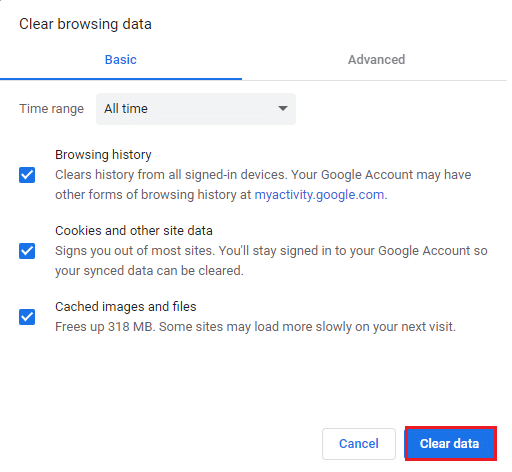
6. Վերջապես սեղմեք Մաքրել տվյալները.
Նաեւ Կարդալ: Fix This Plugin is Not Supported error in Chrome
Մեթոդ 3. Մաքրել DNS քեշը
You can try to clear the DNS cache to fix server IP address could not be found error. Follow our guide to flush and reset the DNS cache in Windows 10.
Method 4: Release and Renew IP Address
Here are the steps to release and renew the IP address.
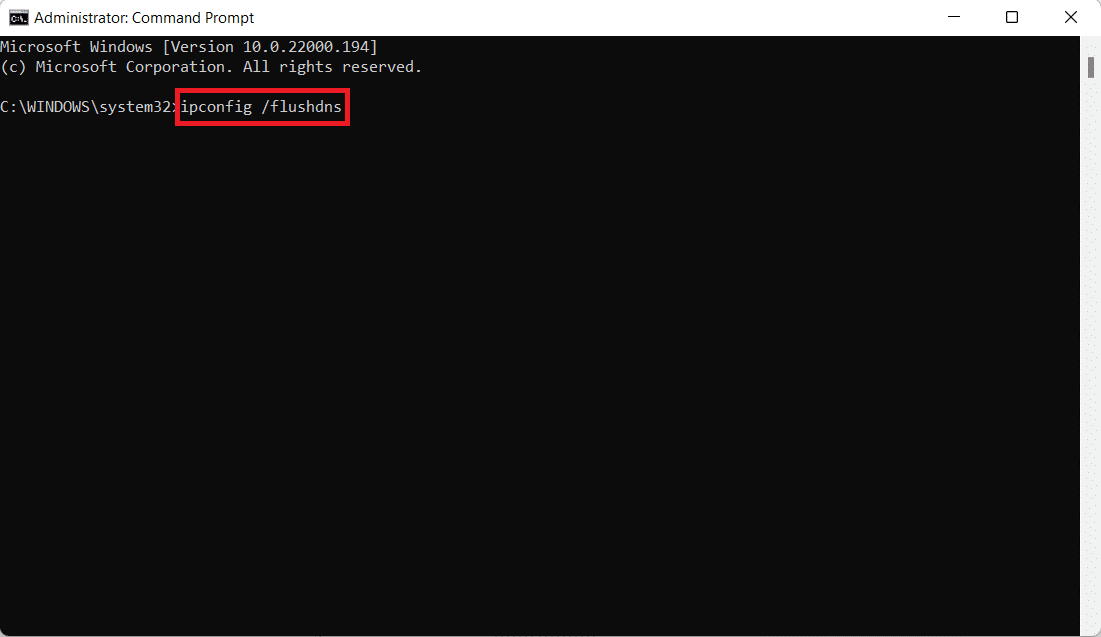
1. Հարվածեք Windows բանալին, տիպ Հրահանգ արագեւ սեղմեք Սկսել որպես ադմինիստրատոր:

2. Firstly you should flush the DNS cache as shown in Մեթոդ 2.
3. Once the above process is complete, type ipconfig / ազատ արձակել եւ սեղմեք այն Մտնել հիմնական.

4. Այնուհետև մուտքագրեք ipconfig / թարմացնել եւ հարվածեց Մտնել to renew your IP.

Նաեւ Կարդալ: Fix No WiFi Networks Found in Windows 10
Method 5: Change DNS Address
Incorrect DNS address also cause this said Chrome error. You can change your DNS address to fix the error. Follow the given steps to change DNS address.
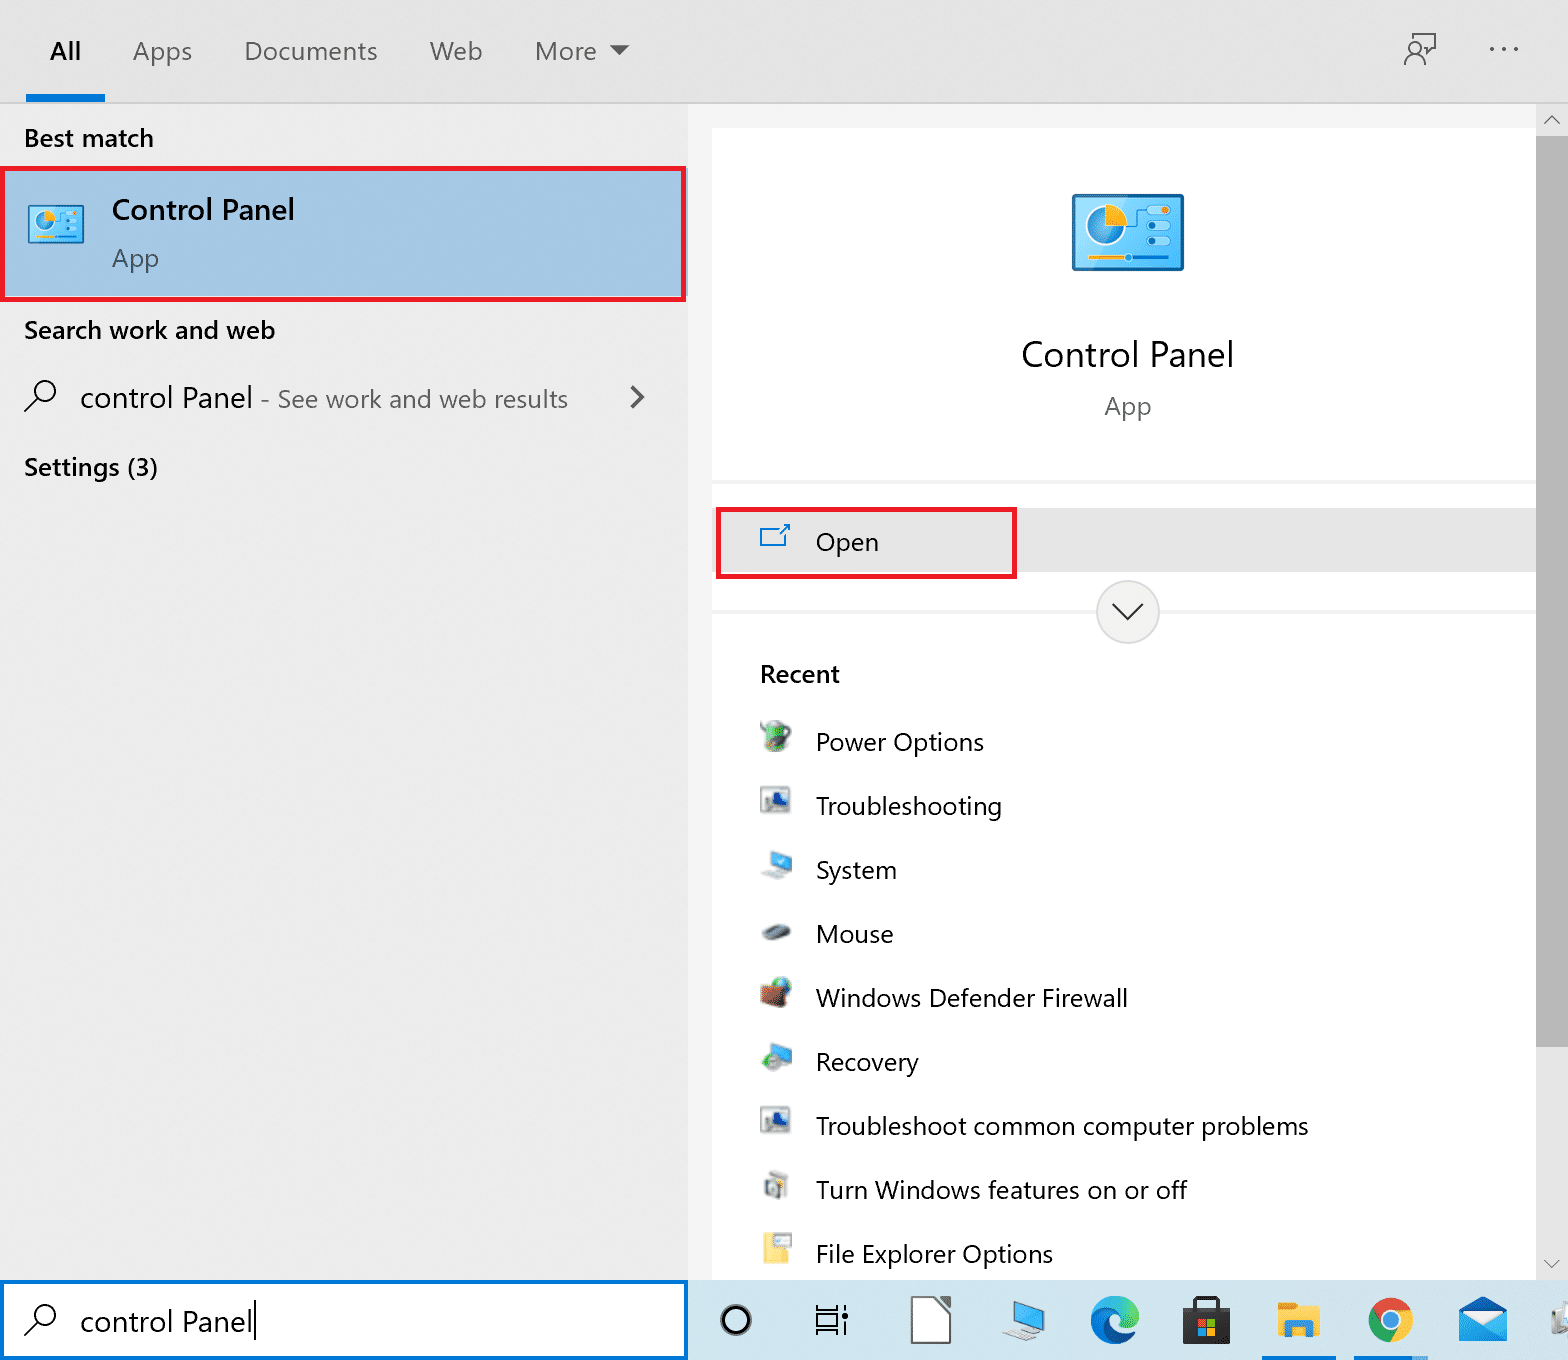
1. Սեղմեք Windows բանալին, տիպ Control Panel եւ սեղմեք բաց.
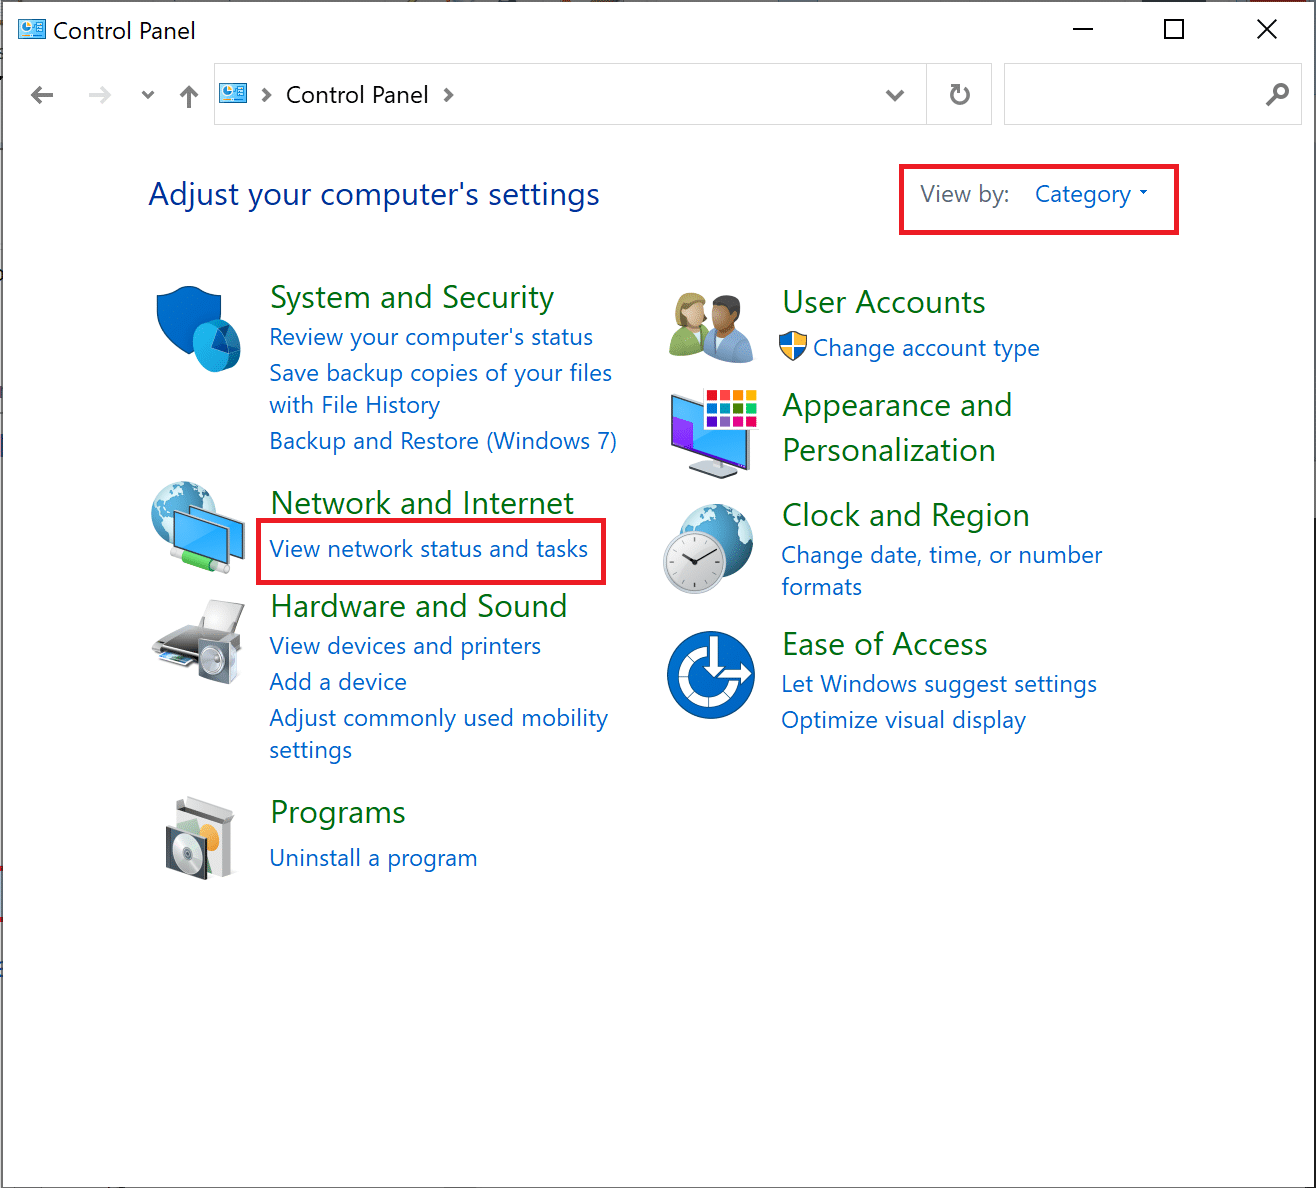
2: Սահմանել Դիտել կողմից > կատեգորիա եւ սեղմեք Դիտեք ցանցի կարգավիճակը և առաջադրանքները.
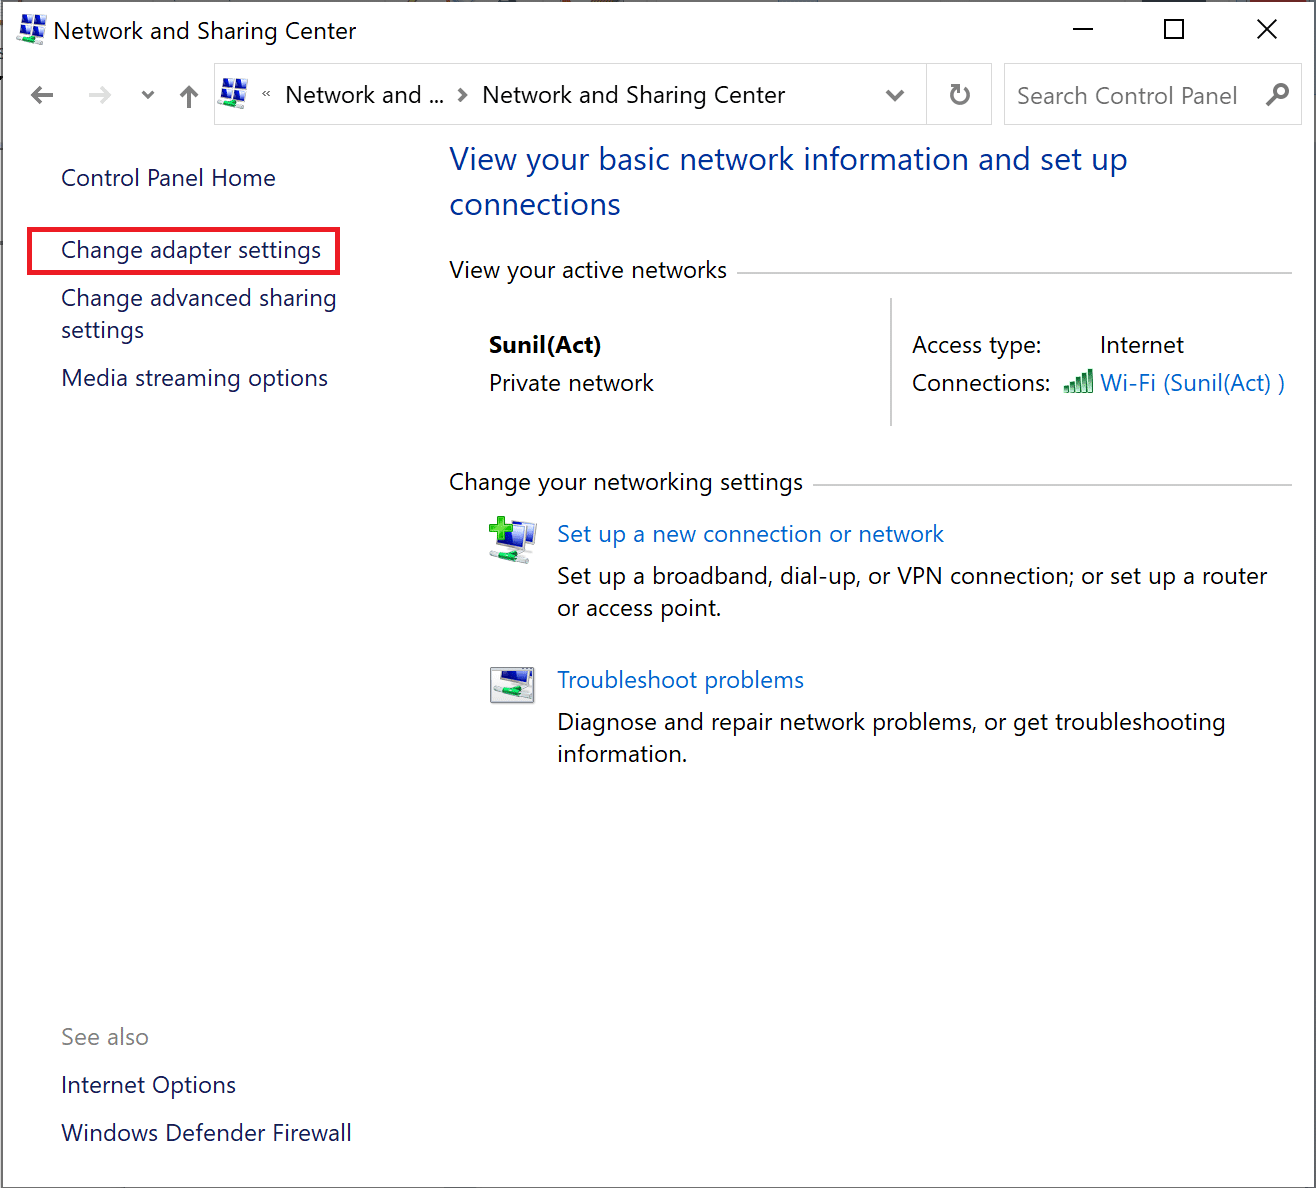
3. Այժմ սեղմեք կոճակի վրա Փոխել ադապտերների պարամետրերը option at the left sidebar.
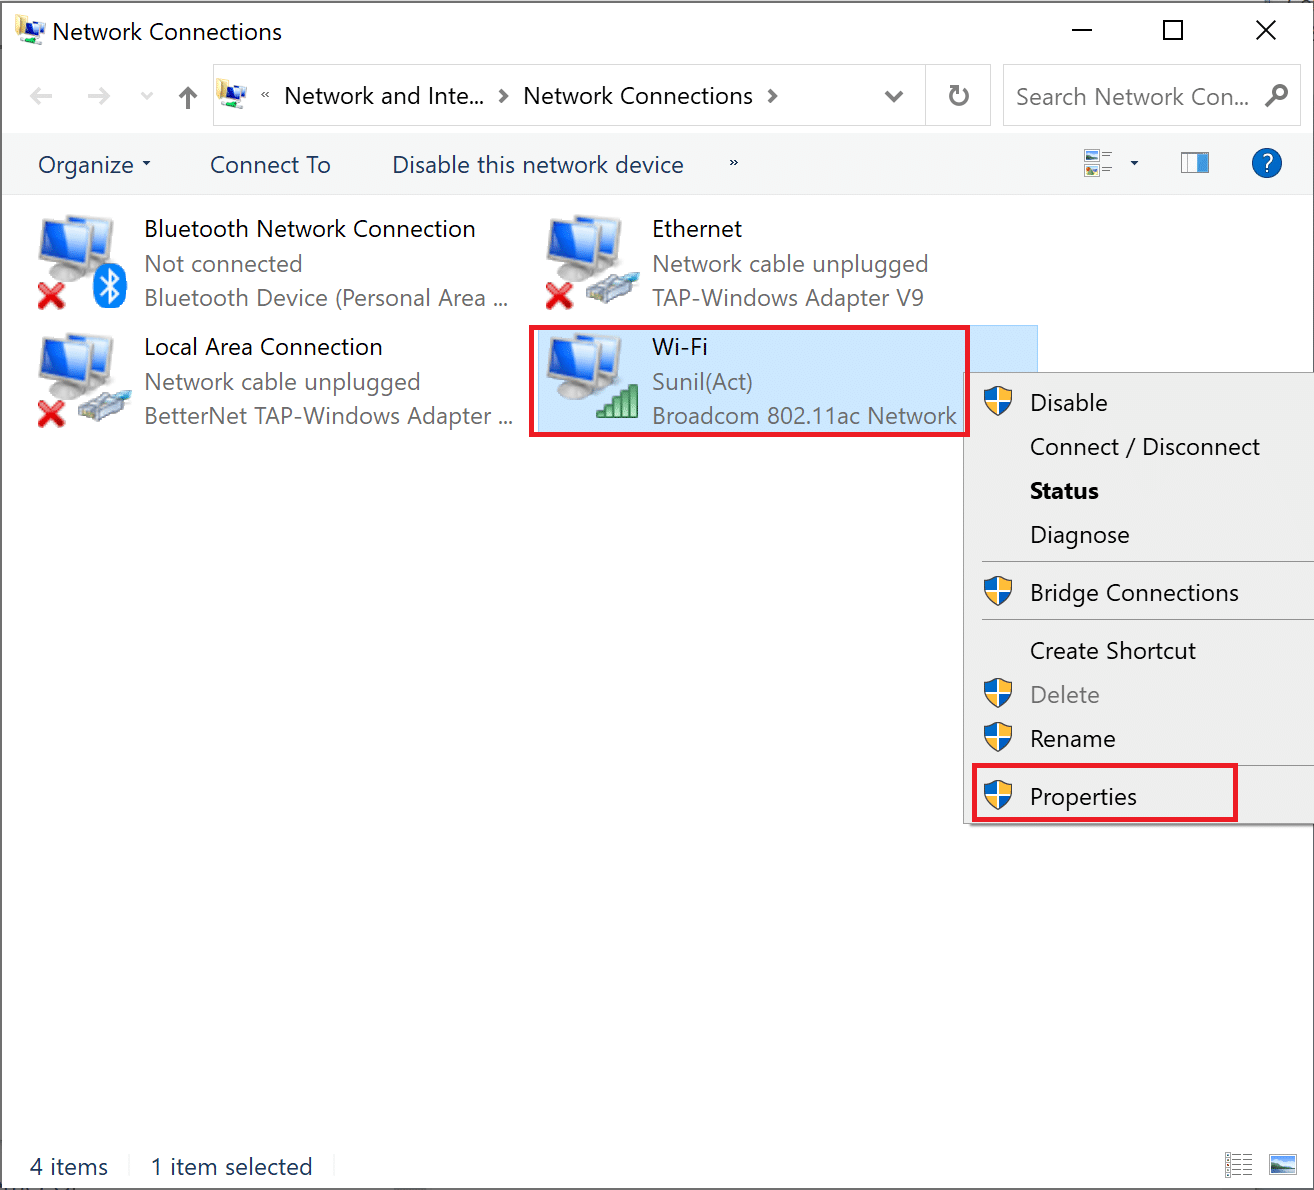
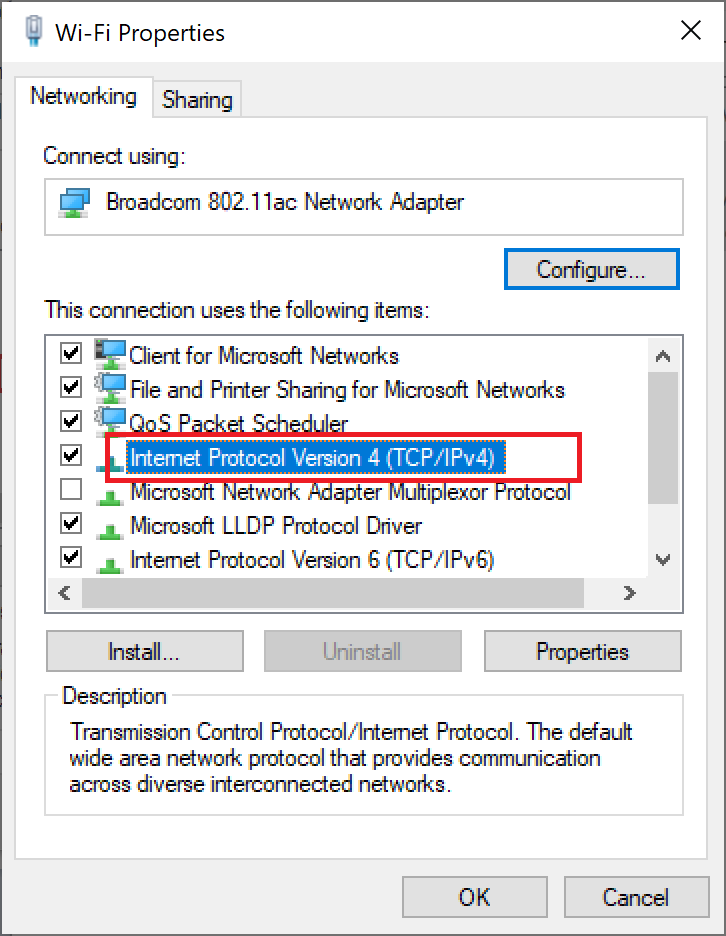
4. Next, right-click on your currently active internet connection and select Հատկություններ, ինչպես ընդգծված է.
5. In the Properties window, double-click on Ինտերնետային հաղորդակցման տարբերակը 4 (TCP / IPv4).
6. Next, check the options titled Ձեռք բերեք IP հասցեի ինքնաբերաբար և Օգտագործեք հետեւյալ DNS սերվերի հասցեները, ինչպես ընդգծված է.
6a. For the Preferred DNS server, enter the Google Public DNS address as: 8.8.8.8
6b. And, In the Այլընտրանքային DNS սերվեր, enter the other Google Public DNS as: 8.8.4.4
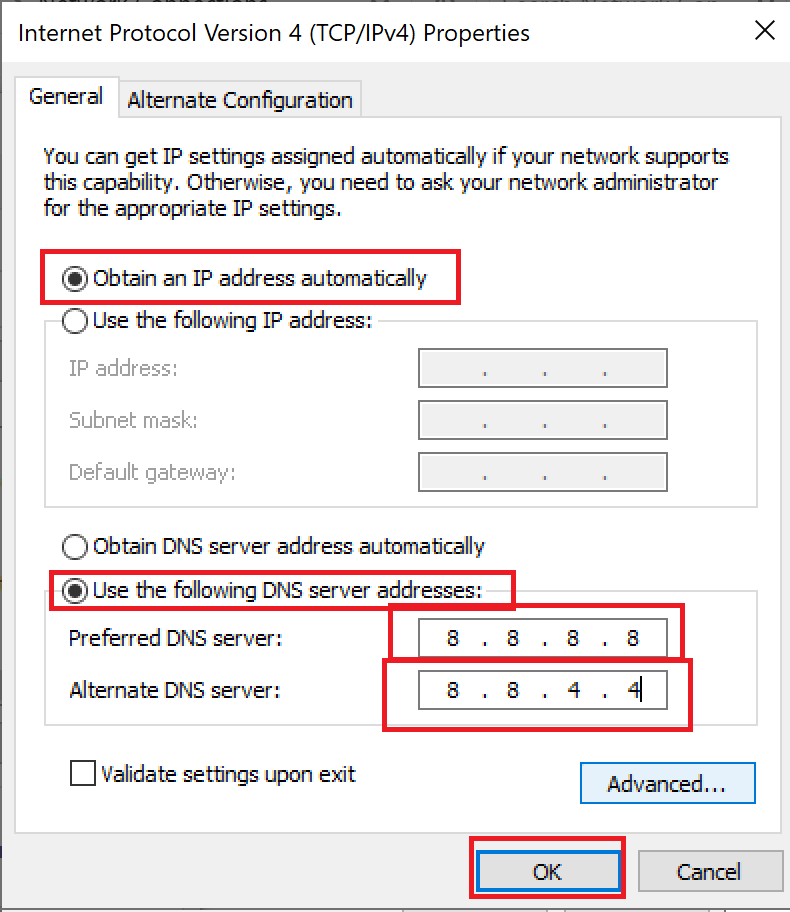
7. Վերջում սեղմեք OK փոփոխությունները պահպանելու համար և վերագործարկեք համակարգիչը.
Method 6: Restart DNS Cache
You can follow these steps to restart DNS cache.
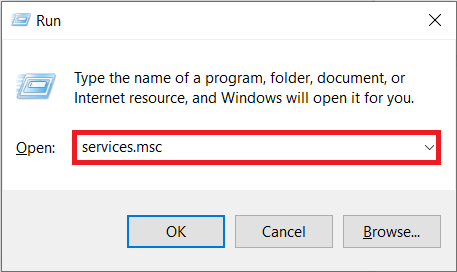
1. Սեղմեք Windows + R ստեղներ միասին բացել Վազում երկխոսության վանդակում:
2. Ապա մուտքագրեք services.msc եւ սեղմեք այն Մուտքի բանալի բացել Ծառայություններ պատուհան.
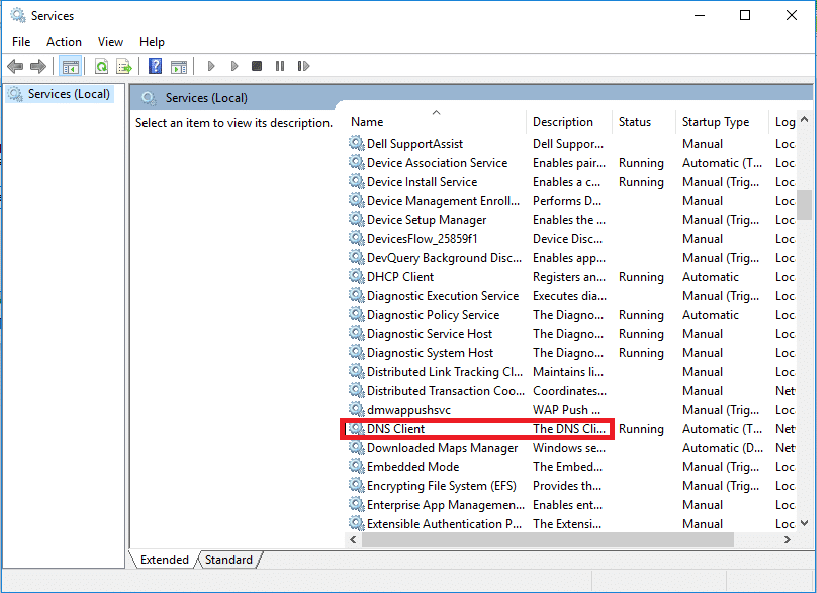
3. Right-click on DNS հաճախորդ եւ ընտրել Վերսկսել.
Նշում: If you find no restart option and unable to restart it from this method, you do not need to worry. You just need to open an elevated Command Prompt on your system.
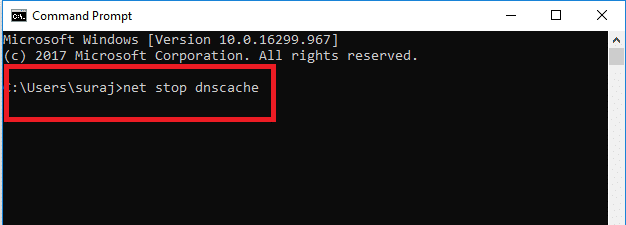
4. Մուտքագրեք հետևյալը հրաման եւ սեղմեք այն Մուտքի բանալի.
զուտ կանգառ dnscache
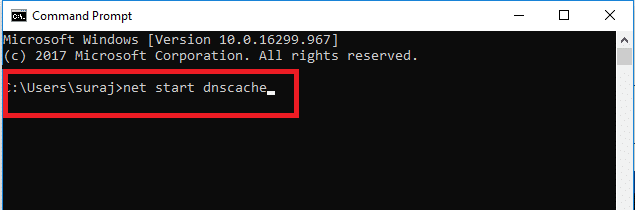
5. To start it again, type the given հրաման եւ հարվածեց Մուտքի բանալի.
զուտ մեկնարկի dnscache
Նաեւ Կարդալ: Ինչպես վերականգնել ցանցի կարգավորումները Windows 10-ում
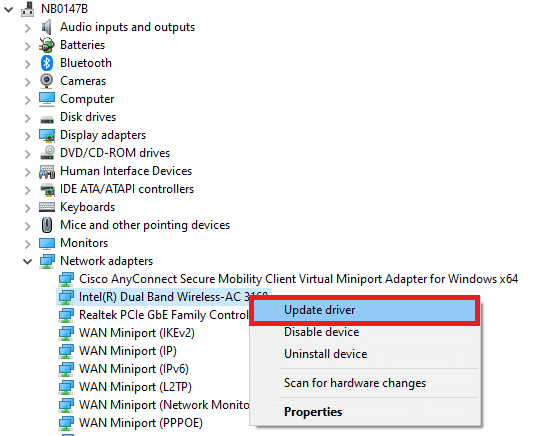
Մեթոդ 7. Թարմացրեք ցանցի վարորդը
Outdated network drive also can cause server IP address could not be found error. If you do not have the latest driver versions installed, then this may create bugs and can result in the unstable network connection. So, updating your network driver is necessary for a good network connection. Read our guide to update network drivers on Windows 10.
Method 8: Verify Proxy Settings
If you are using a proxy server, then using a particular proxy can create issues with your internet. You can change your proxy server to solve this problem. Follow the steps listed below to verify proxy settings.
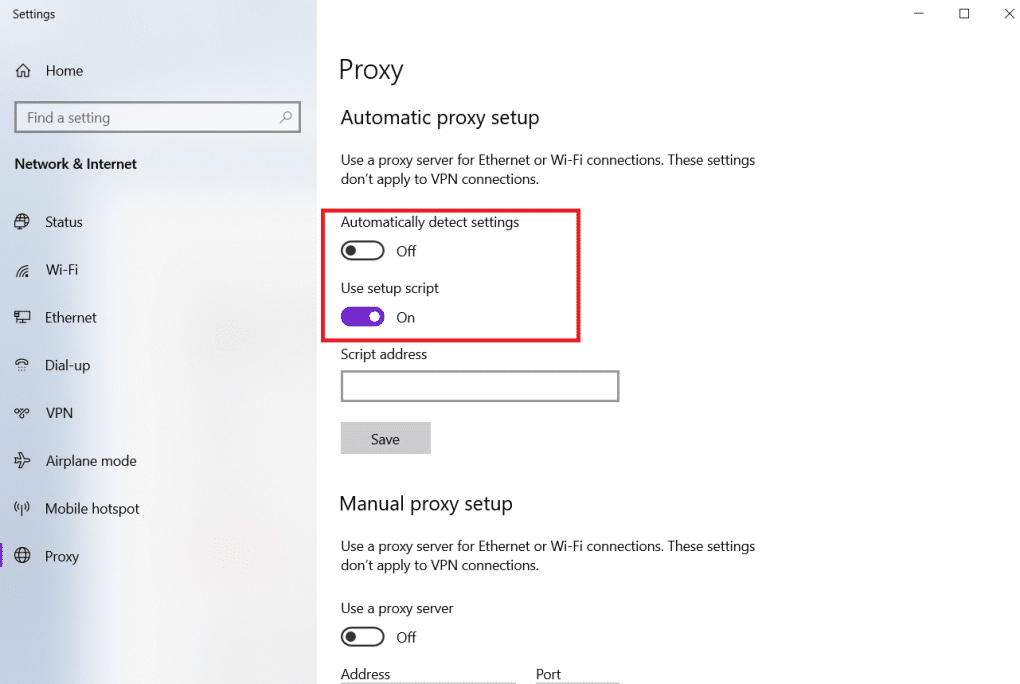
1. Հարվածեք Windows key եւ տեսակը Փոխանորդ եւ սեղմեք Փոխել վստահված անձի կարգավորումները որոնման արդյունքներից:
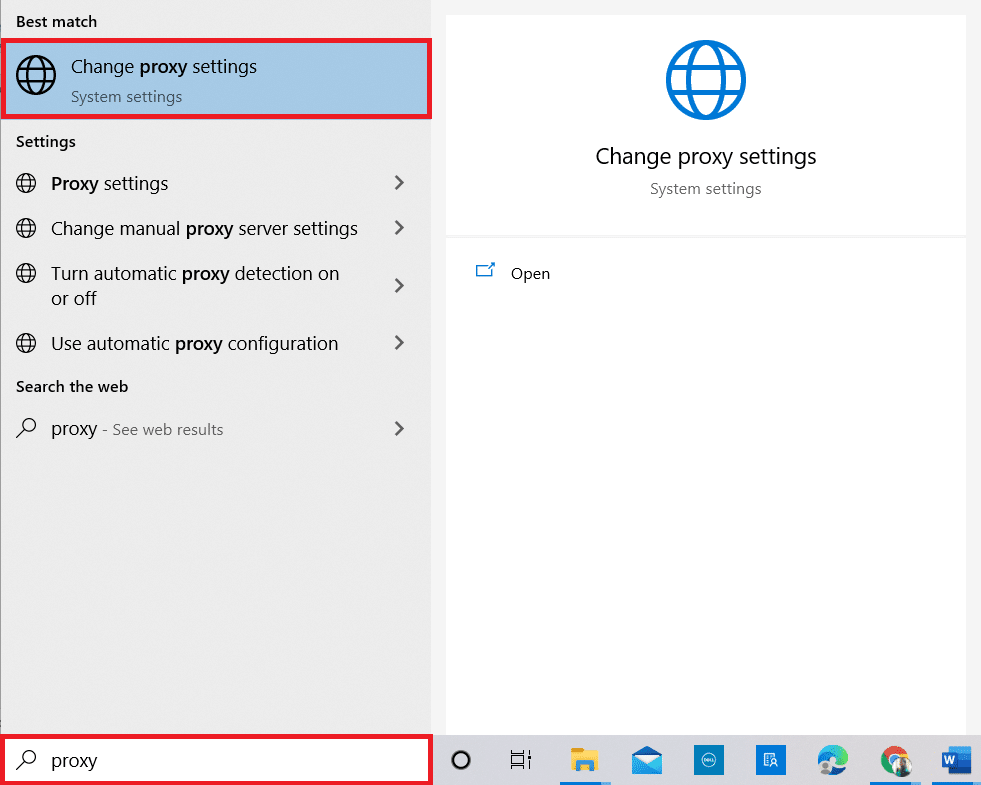
2. Here, switch on the toggle for Ավտոմատ կերպով հայտնաբերել կարգավորումները.
Խորհուրդ է տրվում:
We hope that you learned how to fix server IP address could not be found on Windows 10. Feel free to reach out to us with your queries and suggestions via the comments section below. Let us know what you want to learn about next.

