When you try to install apps on Windows Store, you may face Error Code 0x80073cf9, which can be very frustrating as Windows Store is a reliable source to install apps. If you try to install 3rd party apps from any other source, you risk your machine to malware or infections but what other option you have if you cannot install apps from Windows Store. Well, that’s where you’re wrong this error can be fixed, and that’s what exactly we are going to teach you in this article.
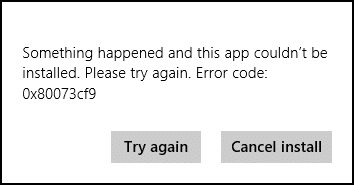
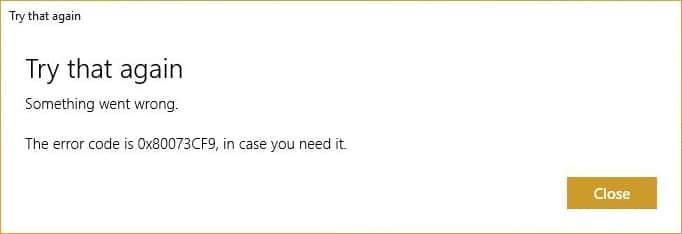
Something happened, and this app couldn’t be installed. Please try again. Error code: 0x80073cf9
There is no single cause as to why this error occurs so that various methods can fix this error. Most of the times it completely depends on the user machine configuration as to which method might work for them, so without wasting any time, let’s see how to fix this error.
Fix Windows 10 Store Error 0x80073cf9
Համոզվեք, որ ստեղծեք վերականգնման կետ, եթե ինչ-որ բան սխալ լինի:
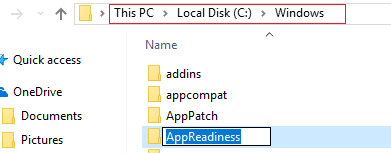
Method 1: Create A Folder AppReadiness
1. Սեղմեք Windows Key + R, ապա մուտքագրեք C: Windows եւ հարվածել Enter:
2. Find the folder AppReadniess in the Windows folder, if you can’t follow the next step.
3. Right-click in an empty area and select Նոր > Թղթապանակ:
4. Name the newly created folder as Հավելվածի պատրաստակամություն եւ հարվածել Enter:
5. Reboot your PC to save changes. Again try to access the Store, and this time it might work perfectly.
Method 2: Reinstall Windows Store
1. Open Command Prompt as an Ադմինիստրատոր

2. Run below PowerShell command
Get-AppxPackage - Բոլոր օգտվողները | Foreach {Add-AppxPackage -DisableDevelopmentMode -Register “$ ($ _. InstallLocation) AppXManifest.xml”}

3. Once done, close command prompt and Restart your PC.
This step re-register Windows Store apps which should automatically Fix Windows 10 Store Error 0x80073cf9.
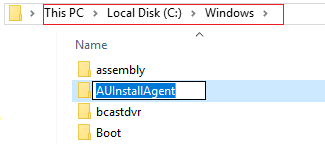
Method 3: Create a folder AUInstallAgent
1. Սեղմեք Windows Key + R, ապա մուտքագրեք C: Windows եւ հարվածել Enter:
2. Find the folder AUInstallAgent in the Windows folder, if you can’t then follow the next step.
3. Right-click in an empty area and select Նոր > Թղթապանակ:
4. Name the newly created folder as AAUInstallAgent եւ հարվածել Enter:
5. Reboot your PC to save changes. This step may fix Windows 10 Store Error 0x80D05001 or 0x80073cf9 but if it didn’t then continue.
Method 4: Allow Full System Access to Packages in AppRepository
1. Սեղմեք Windows + R ստեղնը, ապա մուտքագրեք C:ProgramDataMicrosoftWindows եւ հարվածել Enter:
2. Now double click on AppRepository folder to open it, but you will receive an error:
You have been denied permission to access this folder.
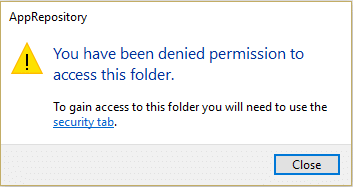
3. This means you need to take ownership of this folder before you can access it.
4. You can take ownership of the folder via the following method: How To Fix Destination Folder Access Denied Error.
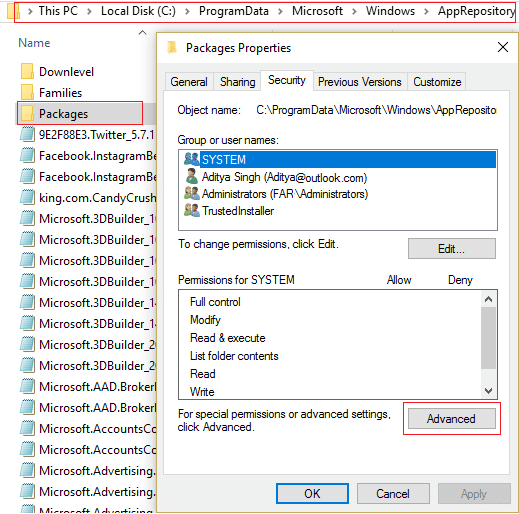
5. Now you need to give the SYSTEM account, and the APPLICATION PACKAGES account full control on the folder C:ProgramDataMicrosoftWindowsAppRepositoryPackages. To this follow the next step.
6. Աջ կտտոցով կտտացրեք այն Packages folder եւ ընտրել Հատկություններ:
7. Ընտրել Անվտանգության ներդիրը եւ ապա սեղմեք Ընդլայնված:
8. In Advanced Security Settings, click Ավելացնել and click on Select a հիմնական.
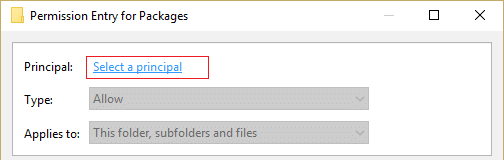
9. Հաջորդը, մուտքագրեք «ԿԻՐԱՌՄԱՆ ԲՈԼՈՐ ՓԱԹԵԹՆԵՐ” (without quote) in the field Enter the object name to select and click OK.
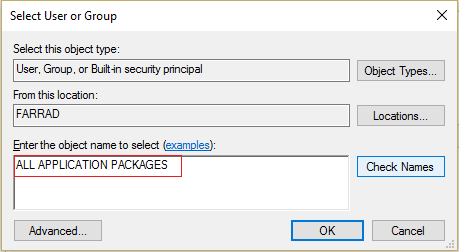
10. Now, on the next window check mark Full control and then click OK.
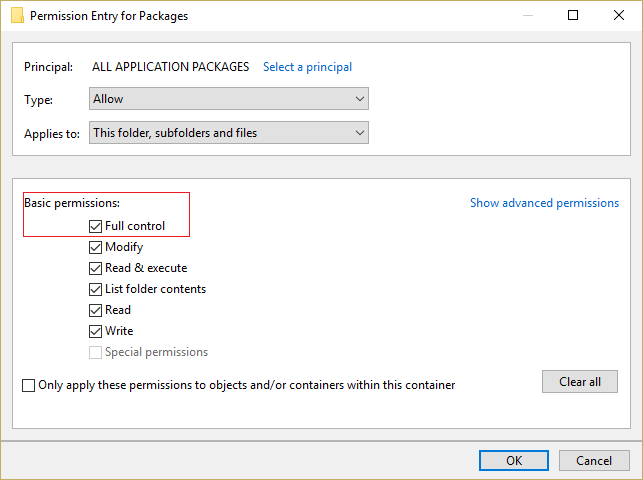
11. Do the same with the SYSTEM account. Reboot your PC to save changes.
Method 5: Rename Software Distribution Folder
1. Press Windows Key + Q to open Charms Bar and type սմ.
2. Right-click on cmd and select Գործարկեք որպես ադմինիստրատոր:
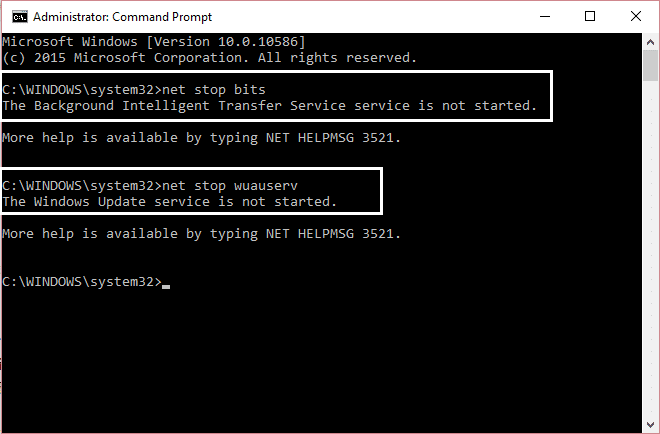
3. Type these commands and hit enter:
net stop wuauserv
ren c:windowsSoftwareDistribution softwaredistribution.old
net start wuauserv
exit
4. Reboot your PC to saves changes and again try to download updates.
Մեթոդ 6. Գործարկել DISM (տեղակայման պատկերի սպասարկում և կառավարում)
1. Սեղմեք Windows Key + X, ապա ընտրեք Հրամանի տող (ադմինիստրատոր):

2. Enter the following command in cmd and hit enter:
Կարեւոր է. Երբ դուք DISM եք անում, դուք պետք է պատրաստ ունենաք Windows Installation Media-ը:
DISM.exe /Առցանց /Cleanup-Image /RestoreHealth /Աղբյուր:C:RepairSourceWindows /LimitAccess
Նշում: Փոխարինեք C:RepairSourceWindows-ը ձեր վերանորոգման աղբյուրի գտնվելու վայրով

3. Press enter to run the above command and wait for the process to complete; usually, it takes 15-20 minutes.
ՆՇՈՒՄ: Եթե վերը նշված հրամանը չի աշխատում, ապա փորձեք ստորև. Dism /Image:C:offline /Cleanup-Image /RestoreHealth /Source:c:testmountwindows Dism /Online /Cleanup-Image /RestoreHealth /Source:c:testmountwindows /LimitAccess:
4. After the DISM process is complete, type the following in the cmd and hit Enter: sfc / scannow
5. Let System File Checker run and once it’s complete, restart your PC.
Մեթոդ 7. Գործարկել CCleaner-ը և Malwarebytes-ը
1. Ներբեռնեք եւ տեղադրել CCleaner & Malwarebytes.
2. Գործարկեք Malwarebytes-ը և թույլ տվեք, որ այն սկանավորի ձեր համակարգը վնասակար ֆայլերի համար: Եթե հայտնաբերվի չարամիտ ծրագիր, այն ավտոմատ կերպով կհեռացնի դրանք:

3. Այժմ գործարկեք CCleaner-ը և ընտրեք Պատվերով մաքուր.
4. Պատվերով մաքրման տակ ընտրեք Windows ներդիր և նշեք կանխադրվածները և սեղմեք Վերլուծել.

5. Վերլուծության ավարտից հետո համոզվեք, որ ջնջվող ֆայլերը կհեռացնեք:

6. Ի վերջո, սեղմեք Գործարկել Cleaner-ը կոճակը և թույլ տվեք CCleaner-ին գործարկել իր ընթացքը:
7. Ձեր համակարգը հետագայում մաքրելու համար, ընտրեք Ռեեստրի ներդիրըև համոզվեք, որ ստուգված են հետևյալը.

8. Սեղմեք Սկանավորեք խնդիրների համար կոճակը և թույլ տվեք CCleaner-ին սկանավորել, այնուհետև կտտացրեք կոճակին Ուղղել ընտրված խնդիրները կոճակը:

9. Երբ CCleaner-ը հարցնում է.Ցանկանու՞մ եք ռեեստրի կրկնօրինակ փոփոխություններ:" ընտրել Այո.
10. Երբ ձեր կրկնօրինակումն ավարտվի, սեղմեք կոճակի վրա Ուղղել բոլոր ընտրված խնդիրները կոճակը:
11. Վերագործարկեք ձեր համակարգիչը՝ փոփոխությունները պահպանելու համար:
Մեթոդ 8. Մաքրել Windows Store-ի քեշը
1. Սեղմեք Windows Key + R, ապա մուտքագրեք wsreset.exe եւ հարվածեց:
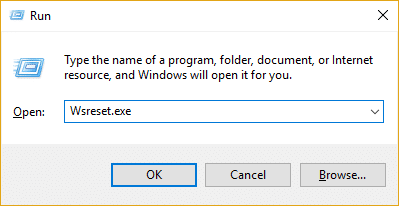
2. Երբ գործընթացը ավարտված է, վերագործարկեք ձեր համակարգիչը:
Method 9: Run Windows Update and Windows Store Apps troubleshooter
1. Տիպ անսարքություն Windows-ի որոնման տողում և սեղմեք Troubleshooter.
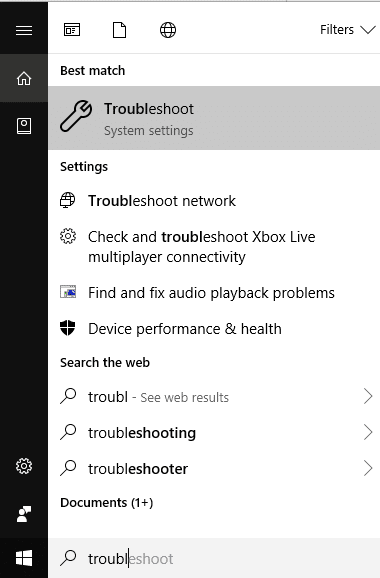
2. Հաջորդը, ձախ պատուհանից ընտրեք պատուհանը Դիտել բոլորը
3. Այնուհետև Համակարգչի խնդիրների վերացման ցանկից ընտրեք Windows Update- ը:

4. Follow on-screen instruction and let the Windows Update Troubleshoot run.

5. Now again go back to the View all window but this time select Windows Store- ի հավելվածները. Run the troubleshooter and follow on-screen instructions.
6. Վերագործարկեք ձեր համակարգիչը և նորից փորձեք տեղադրել հավելվածներ Windows Store-ից:
Խորհուրդ է տրվում:
Դա այն է, ինչ դուք հաջողությամբ ունեք Fix Windows 10 Store Error 0x80073cf9 բայց եթե դեռևս ունեք հարցեր այս գրառման հետ կապված, ազատ զգալ հարցրեք նրանց մեկնաբանությունների բաժնում:

