VLC is undoubtedly the most popular media player for Windows & macOS users. It is also, one of the first applications that people install on a brand new computer system. While we can go on and on about the list of features and what makes VLC the G.O.A.T among other media players, in this article, we will be talking about a rather not-so-well-known feature instead. It is its ability to cut or trim videos. Very few are aware of the advanced media controls in VLC that allow users to trim out smaller sections from videos and save them as completely new video files. Read below to find out how to trim video in VLC Media Player in Windows 10 PCs.

How to Cut/Trim Video in Windows 10 using VLC Media Player
The feature to trim video in VLC can come in extremely handy
- to isolate certain bits of a family or personal video to post on social media platforms with time constraints,
- to clip out a particularly exquisite background score from a movie, or
- է փրկել any GIF-able/meme-able moments from a video.
In all honesty, trimming or cutting videos in VLC is also fairly easy as it involves clicking on a button twice, once at the start of the recording and then, at the end. Having said that, if you wish to perform advanced video editing operations, we suggest specialized programs such as Adobe Premiere Pro- ն.
Follow the given steps to cut or trim video in Windows 10 using VLC:
Step I: Launch VLC Media Player
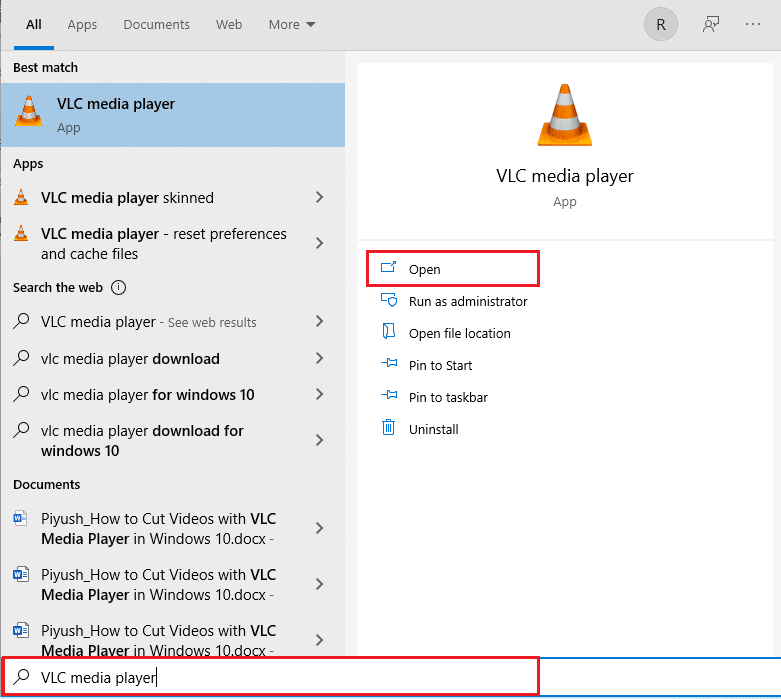
1. Սեղմեք Windows + Q ստեղները միաժամանակ բացել Windows- ի որոնում մենյու.
2. Տիպ VLC մեդիա նվագարկիչ եւ սեղմեք բաց, Ինչպես ցույց է տրված.
Step II: Open Desired Video
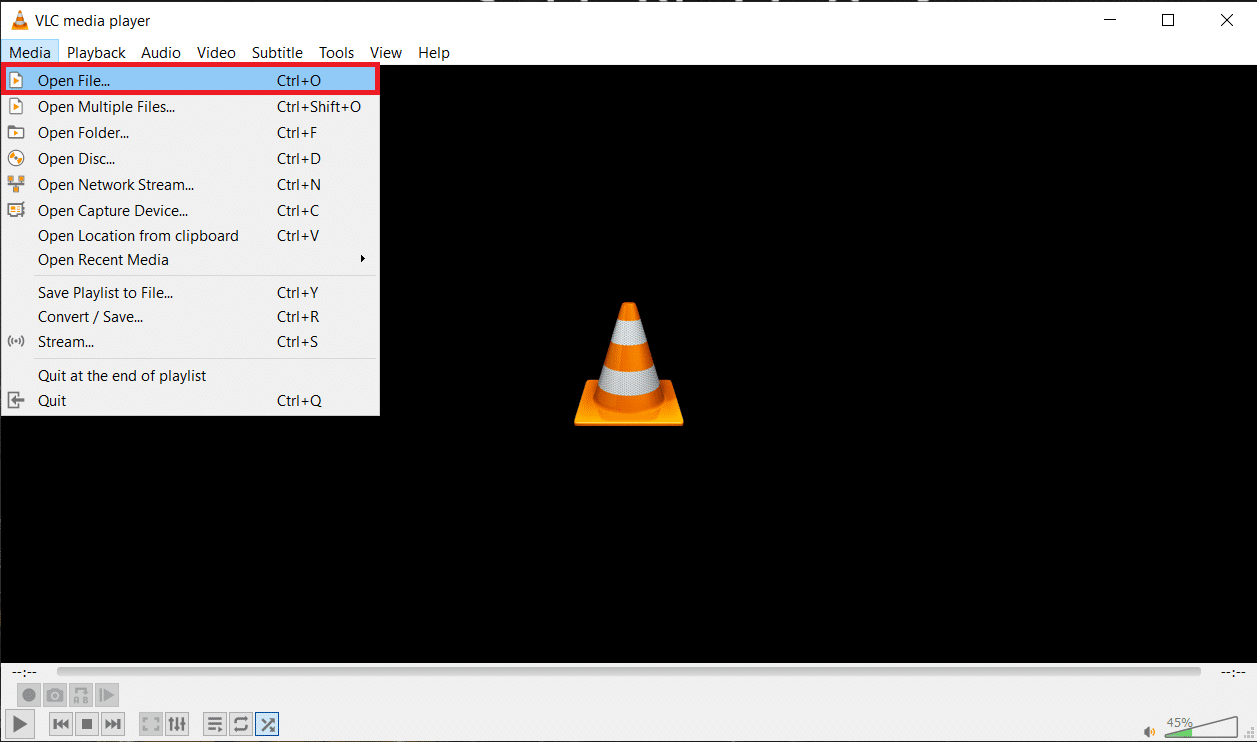
3. Այստեղ սեղմեք ԶԼՄ-ները վերևի ձախ անկյունից և ընտրեք Բացել ֆայլը… ինչպես պատկերված է ստորև:
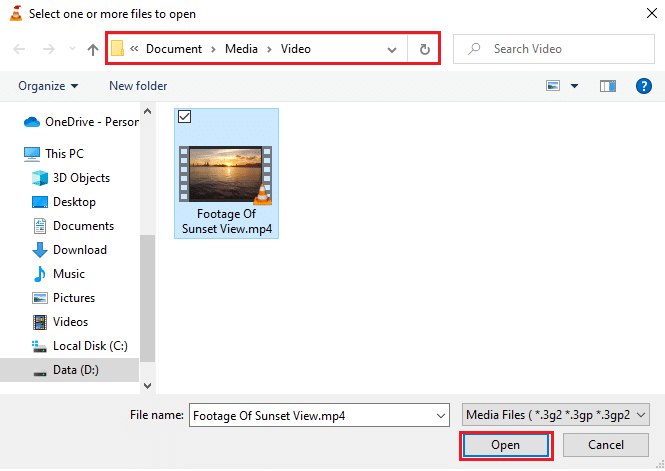
4A. Navigate to Media file in Պատկեր Explorer եւ սեղմեք բաց to launch your video.
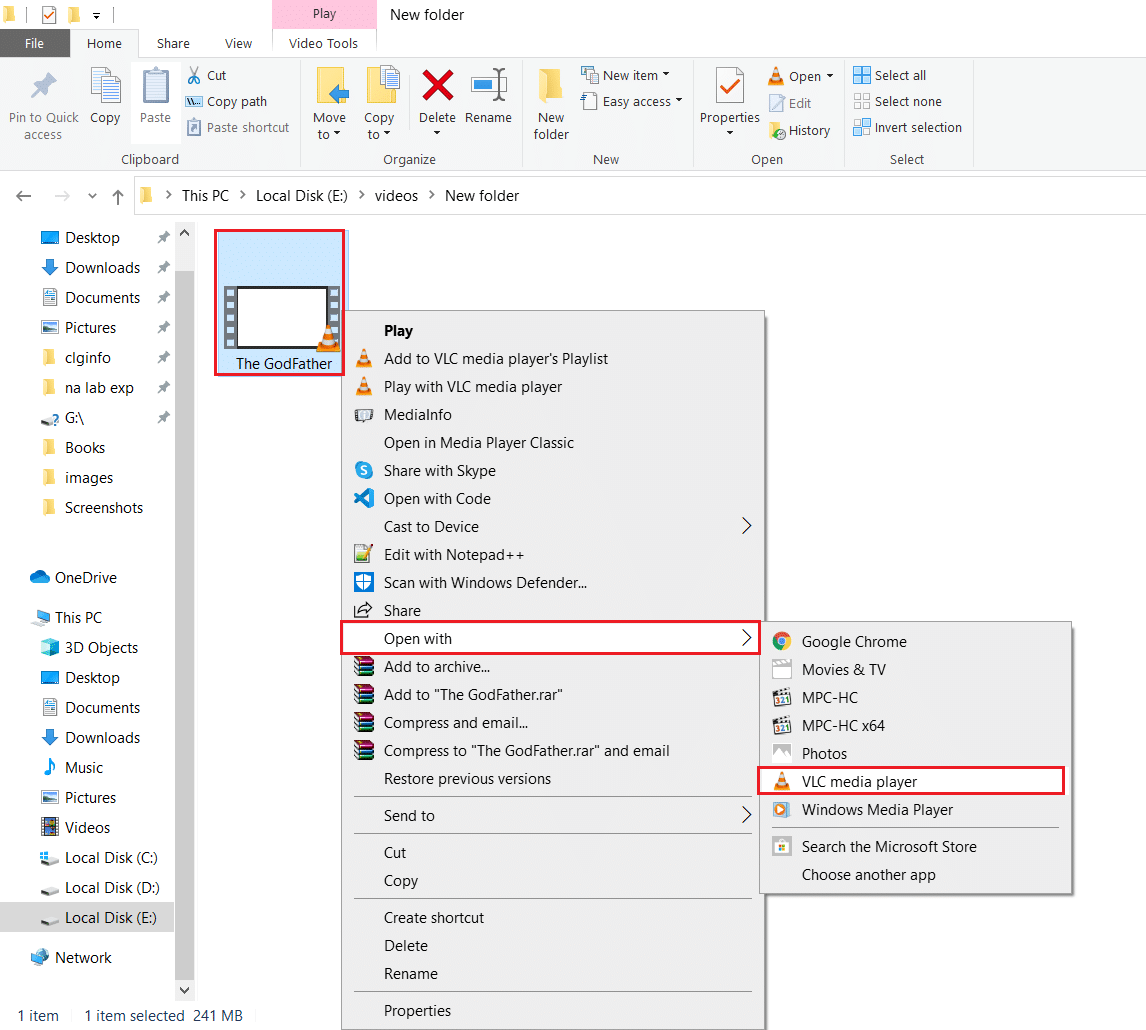
4B. Alternatively, right-click on Տեսանյութ եւ ընտրեք Բացեք հետ > VLC մեդիա նվագարկիչ, ինչպես պատկերված է ստորև:
Նաեւ Կարդալ: How to Convert MP4 to MP3 Using VLC, Windows Media Player, iTunes
Step III: Trim Video in VLC
5. With the video now playing, click on the Դիտել եւ ընտրեք Ընդլայնված հսկողություն, ինչպես ցույց է տրված ընդգծված:
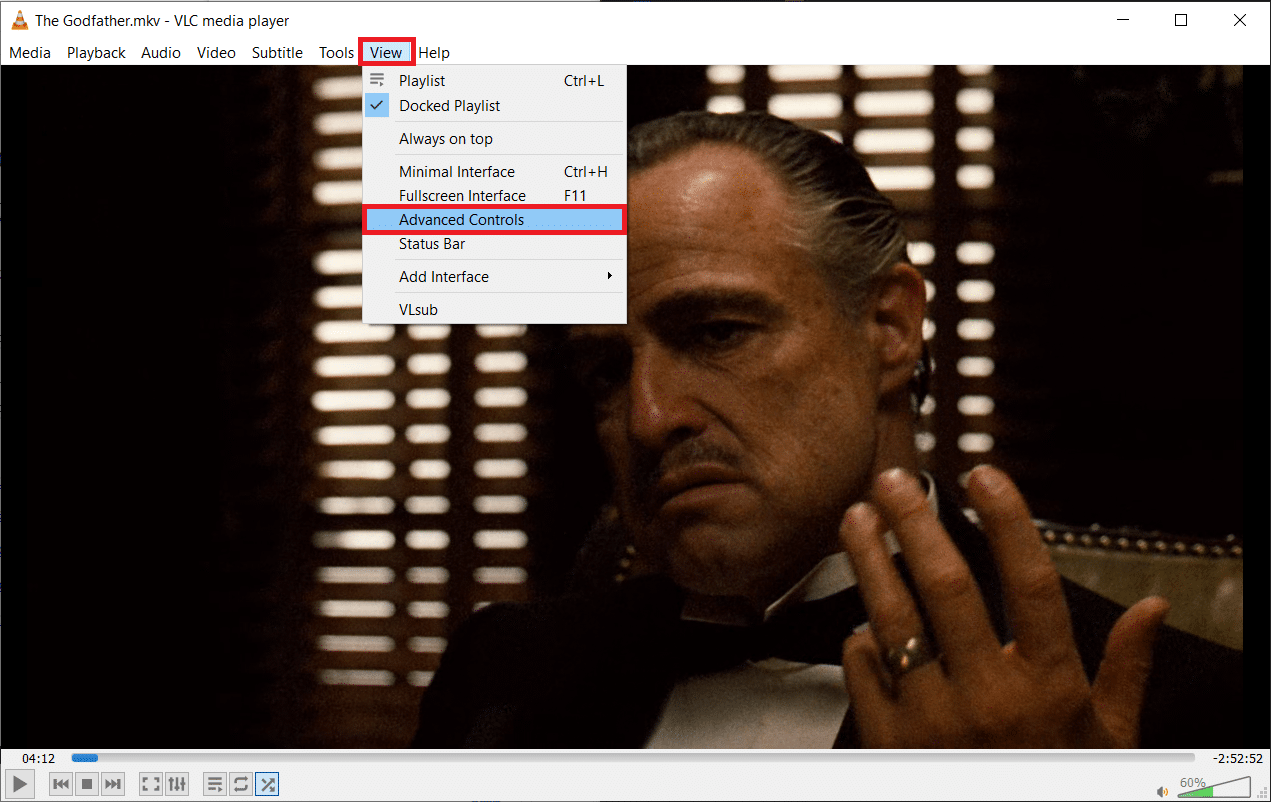
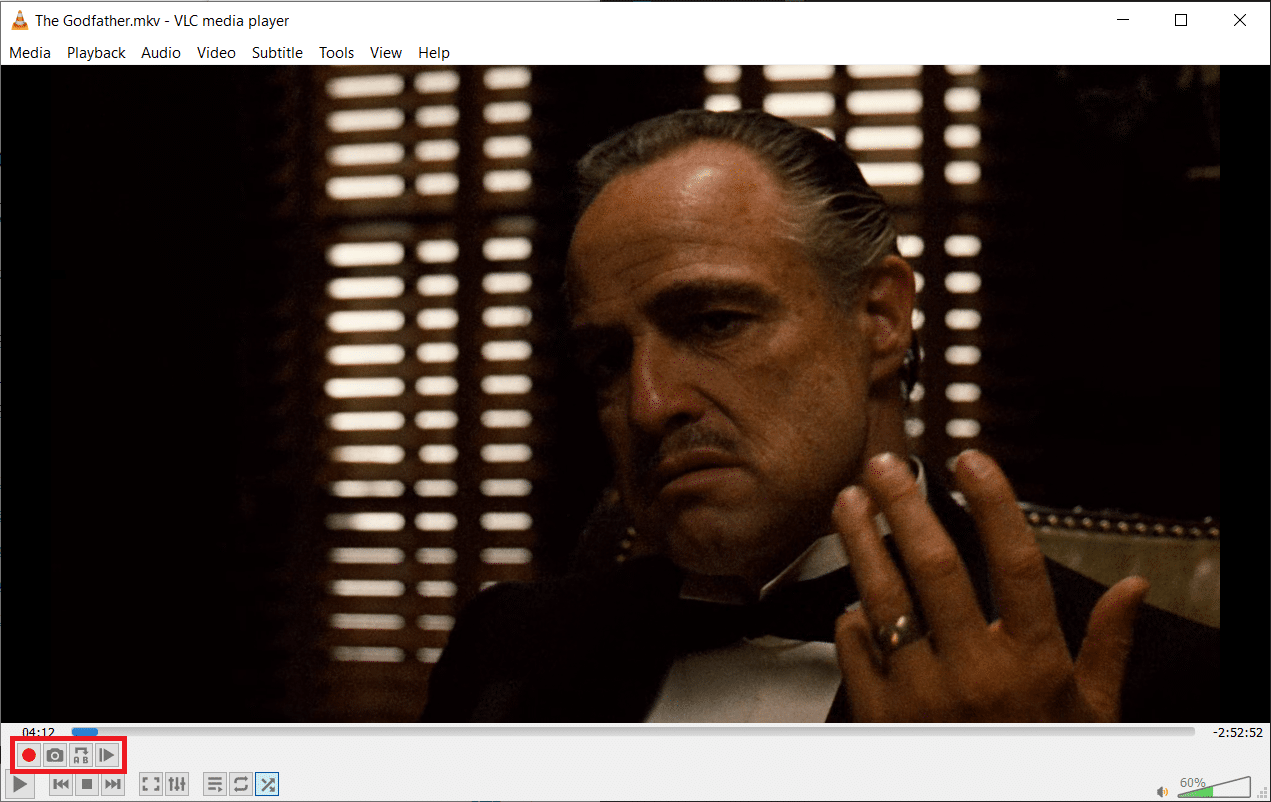
6. Above the standard Play / Pause button & other control icons, four advanced options will appear:
- Գրառում
- Լուսանկարեք
- Loop from point A to point B continuously
- Շրջանակ առ կադր
All of these controls are pretty self-explanatory.
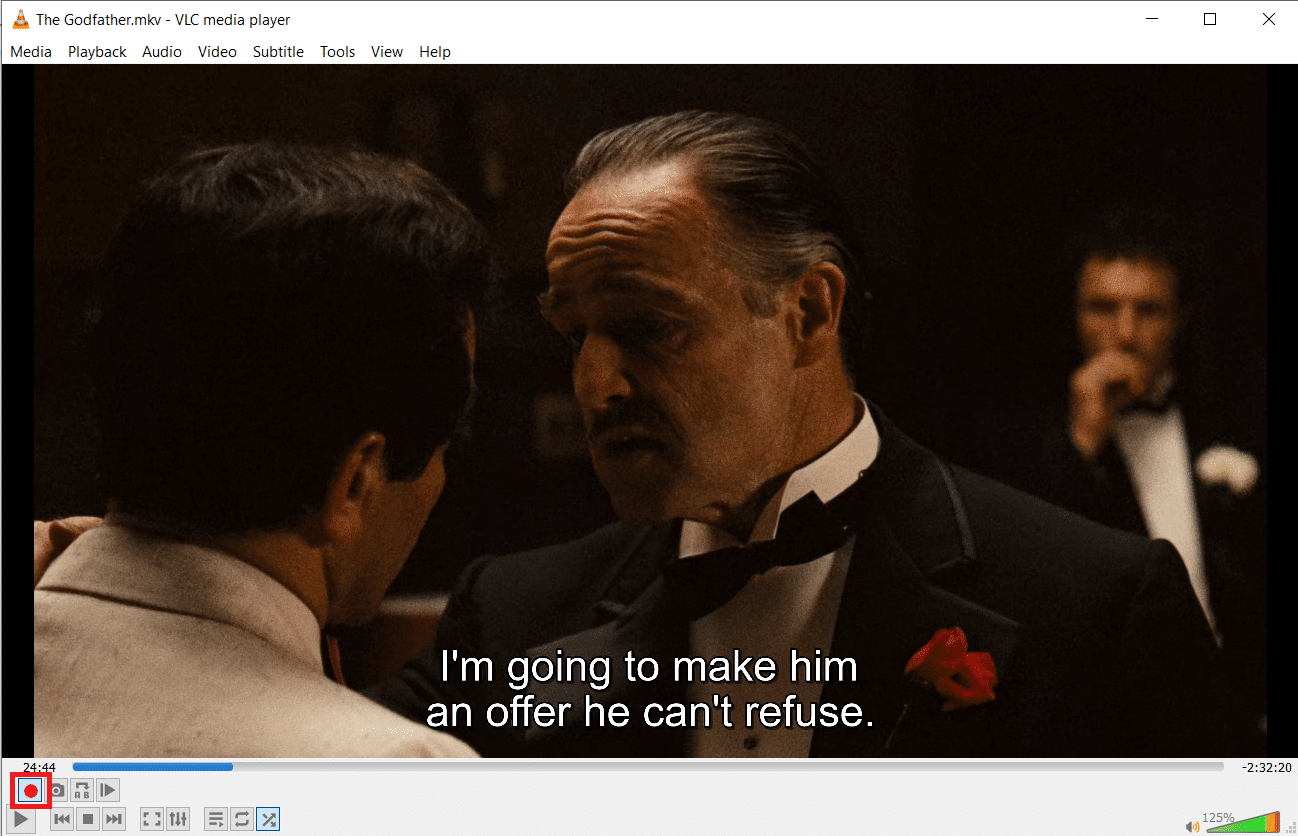
7. Next, drag the playback slider to the exact point where you would like the cut to begin.

Նշում: You can fine-tune (pick a precise frame) the starting point by using the Շրջանակ առ Շրջանակ տարբերակ.

8. Once you have decided on the starting frame, click on the Ձայնագրման կոճակը (այսինքն, կարմիր պատկերակ) to start the recording.
Նշում: A Recording message will appear at the top-right corner of the Window confirming your action. Ձայնագրման կոճակը will carry a կապույտ երանգ when the recording is on.
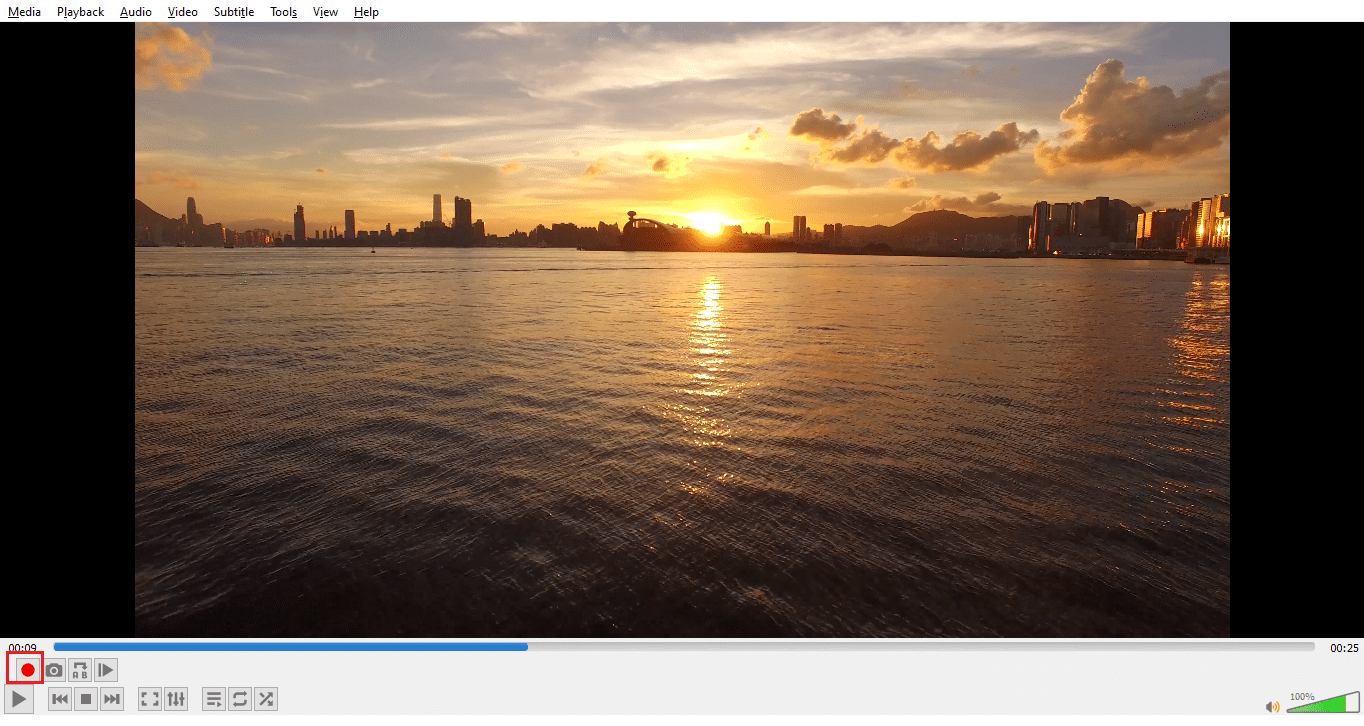
9. Let the Վիդեո խաղալ ցանկալիին End frame.
Նշում: Manually dragging the slider to the end timestamp may not work when the recording is on. Instead, use Շրջանակ առ կադր option to stop at the desired frame.
10. Այնուհետև սեղմեք կոճակի վրա Ձայնագրման կոճակը once again to stop recording. You will know that the Recording is done once you see the blue tint gets disappeared on the Գրառում կոճակը:
11. Ելք VLC Media Player.
Նաեւ Կարդալ: 5 Best Video Editing Software For Windows 10
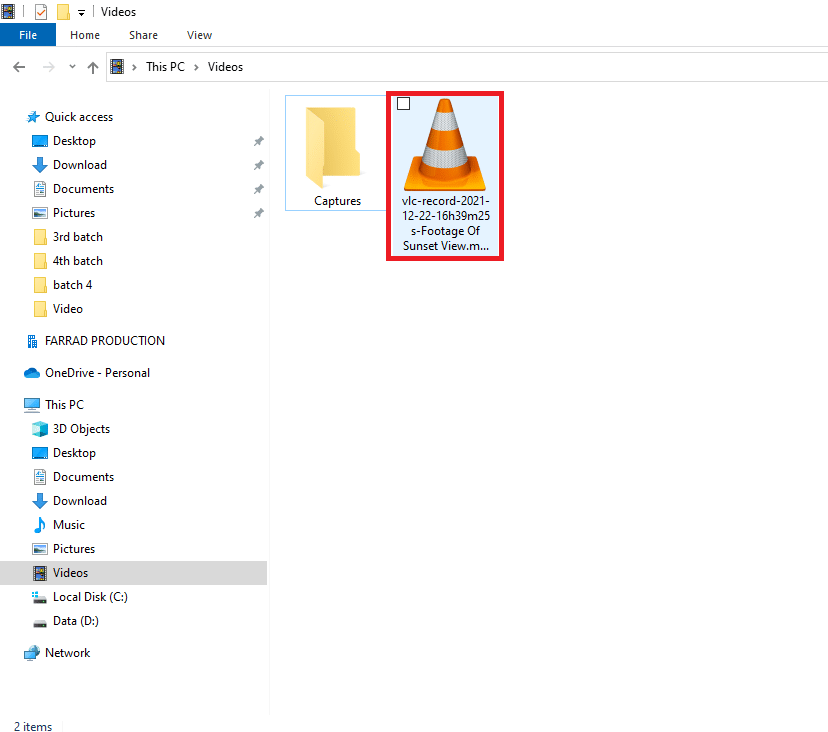
Step IV: Access Trimmed Video in File Explorer
12A. Press Windows ստեղն + E ստեղները միասին բացել Պատկեր Explorer. Գնալ This PC > Videos folder. The cutout video clips will be available here.
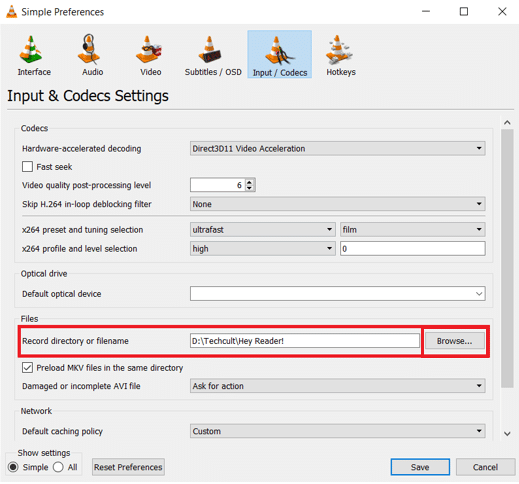
12B. If you do not find the trimmed video inside the Videos folder, it is likely that the default record directory for VLC has been modified. In this case, follow քայլեր 13-15 to confirm and change the directory.
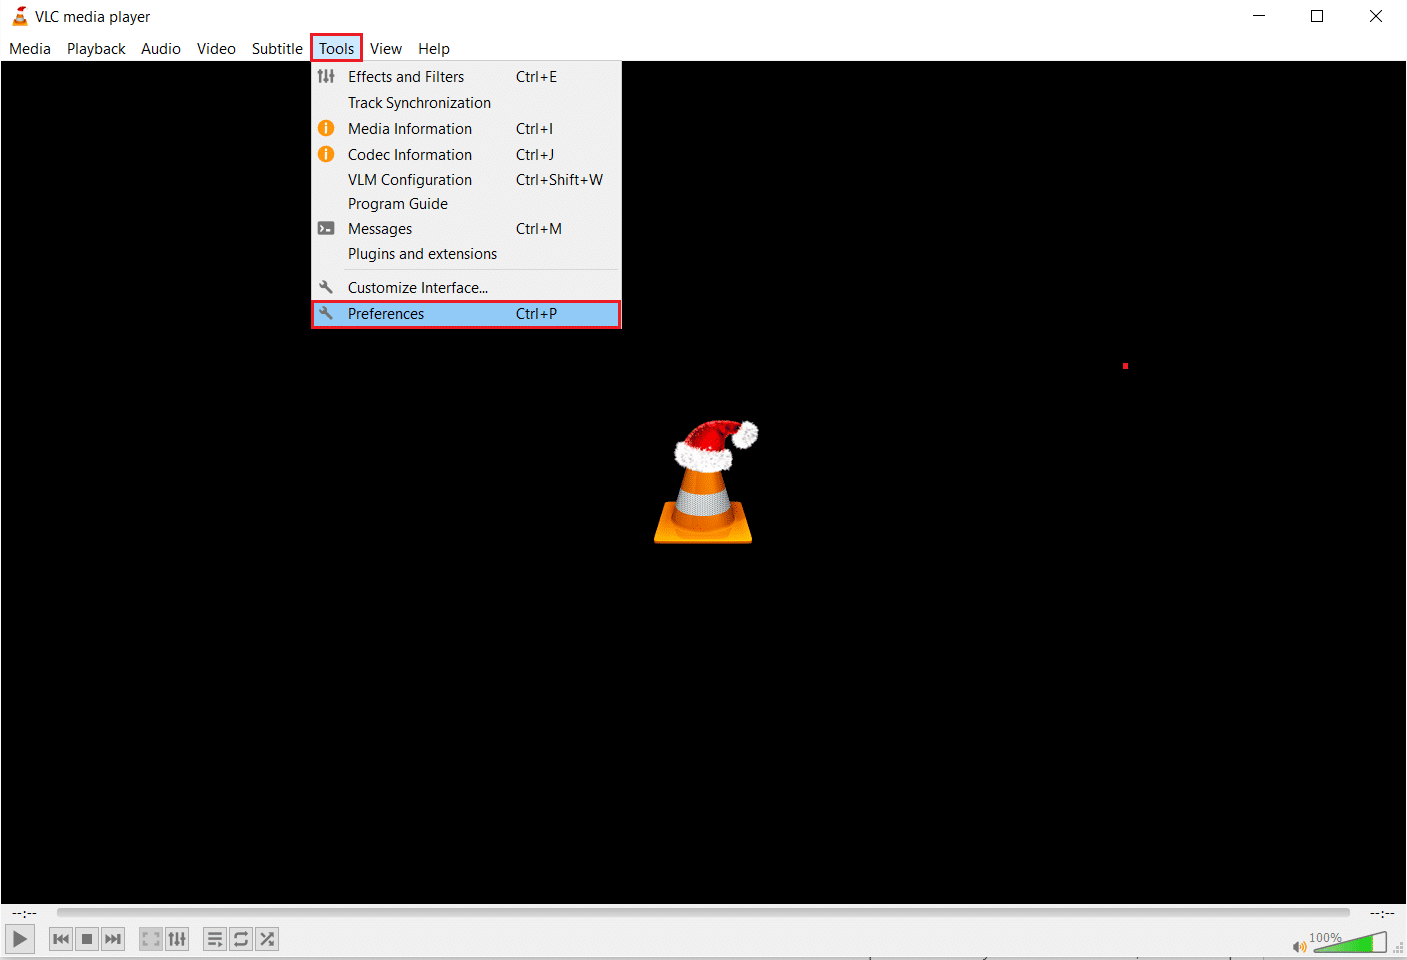
13. Սեղմիր Գործիքներ եւ ընտրեք նախապատվություններ, Ինչպես ցույց է տրված.
14. Այնուհետև անցեք դեպի Մուտքագրման / Codecs էջանշանը և գտնելը Record Directory or filename. The path where all the recorded videos are being stored will be displayed in the text field.
15. To change the record directory, click on Թերթել ... եւ ընտրեք Desired location path, ինչպես պատկերված է ստորև:
If you plan to cut a lot more videos using the VLC media player in the future, consider using the Shift+R shortcut keys combination to Start & stop recording and speed up the process.
Նաեւ Կարդալ: How to Install HEVC Codecs in Windows 11
Pro Tip: Use Native Video Editor on Windows 10 Instead
Trimming videos using VLC media player is a fairly simple task however, the results are not always satisfactory. Some users have reported that:
- the recording only displays a black screen while the audio plays on,
- կամ, որ audio does not get recorded բոլոր.
If such is the case with you too, consider using the native Video Editor on Windows 10. Yep, you read that right! Windows 10 does come with a video editor application built right into the operating system and it is surprisingly powerful. Read our guide on How To Use The Hidden Video Editor In Windows 10 to Trim Videos? here.
Խորհուրդ է տրվում:
We hope that you were able to learn how to cut/trim video in VLC Windows 10-ում. Also, if you have any queries/suggestions regarding this article, then feel free to drop them in the comments section.

![WiFi-ը շարունակում է անջատվել Windows 10-ում [ԼՈՒԾՎԱԾ]](https://lbsite.org/wp-content/uploads/2023/01/Fix-WiFi-keeps-disconnecting-issue-on-Windows-10.png "WiFi-ը շարունակում է անջատվել Windows 10-ում [ԼՈՒԾՎԱԾ]")