Disable Password after Sleep in Windows 10: By default, Windows 10 will ask for a password when your computer wakes up from Sleep or hibernation but a lot of users find this behavior annoying. So today we are going to discuss how to disable this password so that you will be directly logged in when your PC wakes up from sleep. This feature is tidak membantu if you regularly use your computer in public places or take it your office, as by enforcing password it protects your data and also protects your PC from any unauthorized use. But most of us don’t have any use of this feature, as we mostly use our PC at home and that’s why we want to disable this feature.
There are two ways through which you can disable password after your computer wakes up from sleep and we are going to discuss them in this post. So without wasting any time let’s see How to Disable Password after Sleep in Windows 10 with the help of the below-listed guide.
Disable Password after Sleep in Windows 10
Pastikan untuk membuat titik pemulihan untuk berjaga-jaga jika terjadi kesalahan.
Catatan: This method only works post Anniversary Update for Windows 10. Also, this will disable password after hibernation, so make sure you know what you are doing.
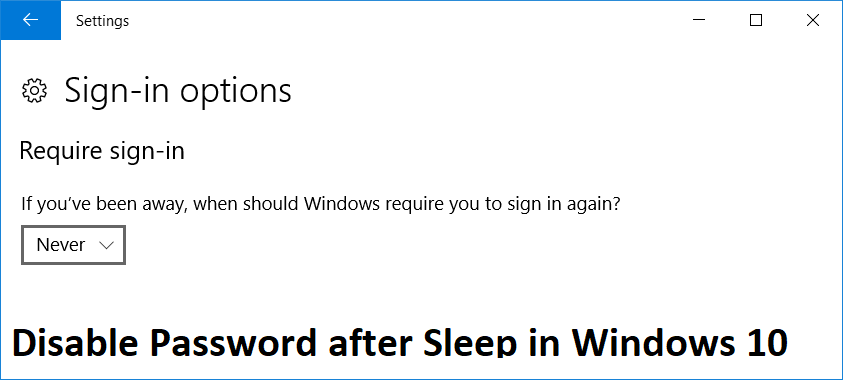
Method 1: Disable Password after Sleep via Windows 10 Settings
1.Tekan Tombol Windows + I untuk membuka Pengaturan lalu klik Akun.

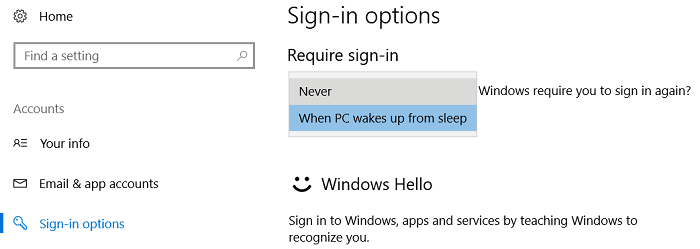
2.Dari menu sebelah kiri pilih Opsi masuk.
3.Under “Perlu masuk" Pilih Tak pernah dari drop-down.
4.Reboot PC Anda untuk menyimpan perubahan.
You could also disable the login screen in Windows 10 so that your computer directly boots to Windows 10 desktop.
Method 2: Disable Password after Sleep via Power Options
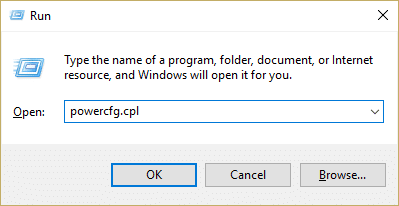
1.Tekan Tombol Windows + R lalu ketik powercfg.cpl dan tekan Enter.
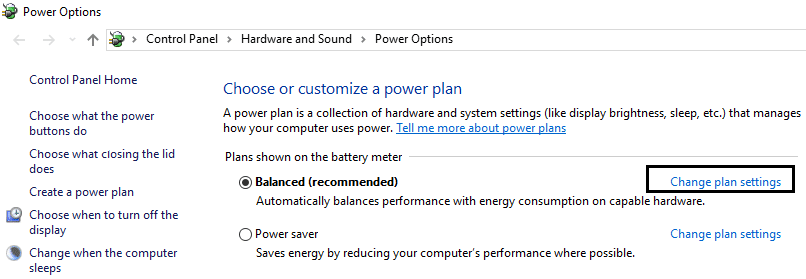
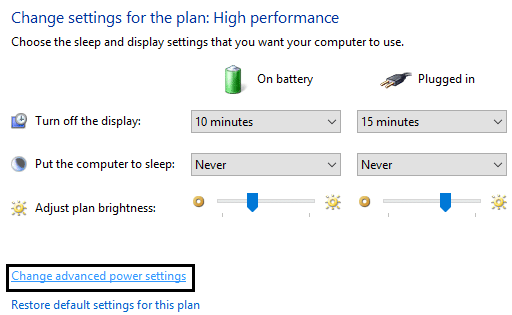
2.Next, to your Power plan click on Ubah pengaturan rencana.
3.Kemudian klik Ubah pengaturan daya lanjutan.
4.Now, look for “Memerlukan password pada wakeup” setting then set it to “Tidak".
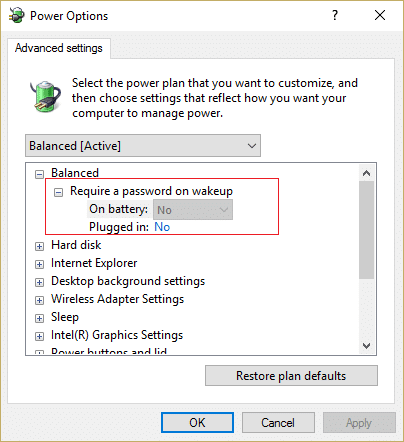
5.Restart PC Anda untuk menyimpan perubahan.
Rekomendasi:
Itu saja Anda telah berhasil Disable Password after Sleep in Windows 10 tetapi jika Anda masih memiliki pertanyaan tentang posting ini, silakan tanyakan di bagian komentar.

