When you buy a new computer or connect a new hard drive to your computer, it usually comes with a single partition. However, it is always a good idea to have at least three partitions on your hard drive for a variety of reasons. The more partitions you have, the larger the capacity of your hard drive. Partisi of a hard drive are referred to as Drive in Windows and typically have a letter associated with it as an indicator. Hard Drive Partitions can be created, shrunk, or resized, among other things. We bring to you a perfect guide that will teach you how to partition hard disk drive in Windows 11. So, continue reading!
How to Partition Hard Disk Drive in Windows 11
Why Create Partitions on the Hard Drive?
membuat skor on a hard drive can be beneficial in a variety of ways.
- It is always best to keep the operating system and system files on a separate drive or partition. If you need to reset your computer, if you have your operating system on a separate drive, you can save all other data by simply formatting the drive where the operating system is installed.
- Aside from the above, installing apps and games on the same drive as your operating system will eventually slow down your computer. Hence, keeping the two separate would be ideal.
- Creating partitions with labels also aids in file organization.
Thus, we recommend you divide hard disk drive into several partitions.
How Many Disk Partitions Should be Made?
The number of partitions you should create on your hard drive is solely determined by the size of the hard drive you have installed on your computer. In general, it is recommended that you create tiga partisi pada hard drive Anda.
- Satu untuk Windows sistem operasi
- The second one for your program such as software and games etc.
- The last partition for your file pribadi such as documents, media, and so on.
Catatan: If you have a small hard drive, such as 128GB atau 256GB, you should not create any additional partitions. This is because it is recommended that your operating system be installed on a drive with a minimum capacity of 120-150GB.
On the other hand, if you’re working with a 500GB to 2TB hard drive, you can create as many hard drive partitions as you need.
To utilize space on your Windows PC, you can choose to use an external drive to store most of your data instead. Read our list of Best External Hard Drive for PC Gaming here.
How to Create & Modify Hard Disk Drive Partitions
The process of creating partitions on a hard drive is both, systematic and straightforward. It makes use of the built-in Disk Management tool. If your computer has two partitions, the File Explorer window will show two drives indicated by a letter and so on.
Step 1: Shrink Partition Drive to Create Unallocated Space
To successfully create a new drive or partition, you must first shrink an existing one to free up unallocated space. Your Hard Drive’s unallocated space cannot be used. To create partitions, they must be assigned as a new drive.
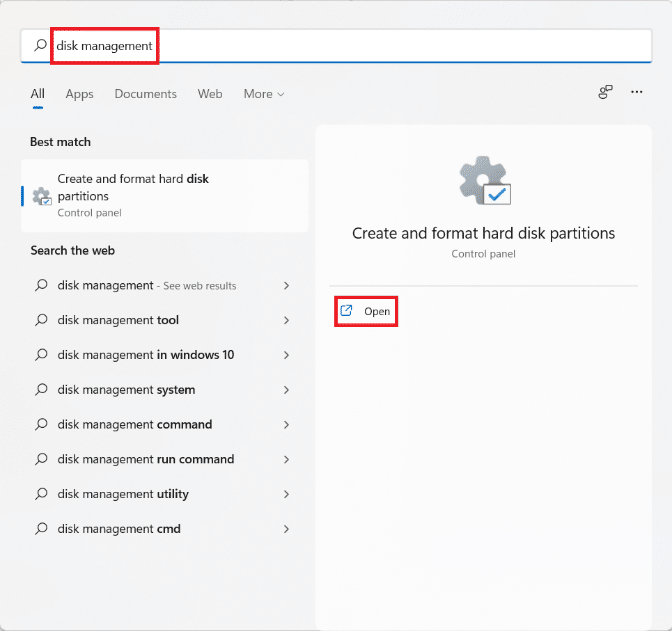
1. Klik pada Ikon pencarian dan jenis Disk Management.
2. Kemudian, klik Open untuk Membuat dan memformat partisi hard disk, seperti yang ditunjukkan.
3. Dalam Disk Management window, you will find information regarding existing disk partitions and drives installed on your PC named Disk 1, Disk 2, and so on. Click on the box representing the Drive you want to shrink.
Catatan: The selected drive will have garis diagonal highlighting the selection.
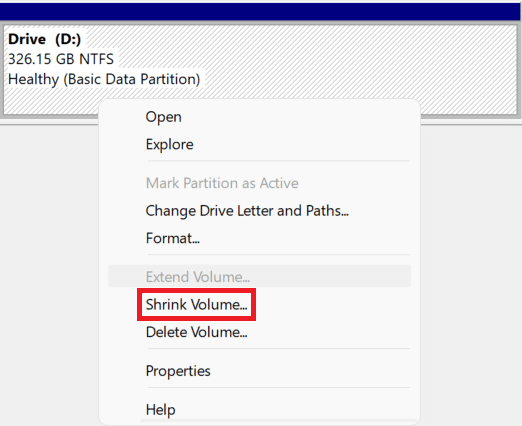
4. Klik kanan pada file Selected drive (misalnya Drive (D:)) and select Kecilkan Volume… from the context menu, as illustrated below.
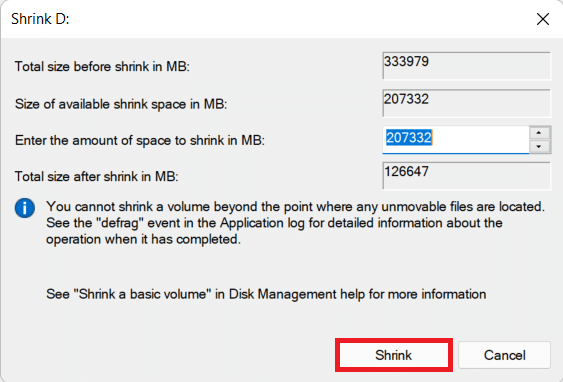
5. Dalam Kecilkan D: kotak dialog, masukkan Ukuran you want to separate from the existing drive in Megabytes (MB) dan klik Menyusut.
6. After shrinking, you will see a newly created space on the disk labeled as Tidak dialokasikan dari Ukuran you chose in Step 5.
Baca Juga: Fix: New Hard Drive not showing up in Disk Management
Step 2: Create New Drive Partition From Unallocated Space
Here’s how to partition hard disk drive in Windows 11 by creating a new drive partition using unallocated space:
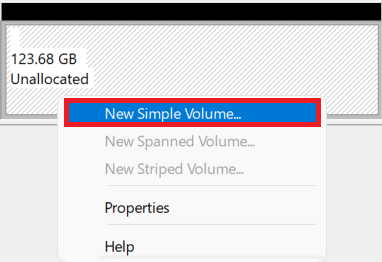
1. Right-click on the box labeled Tidak dialokasikan.
Catatan: The selected drive will have garis diagonal highlighting the selection.
2. Klik Volume Sederhana Baru ... from the context menu, as shown.
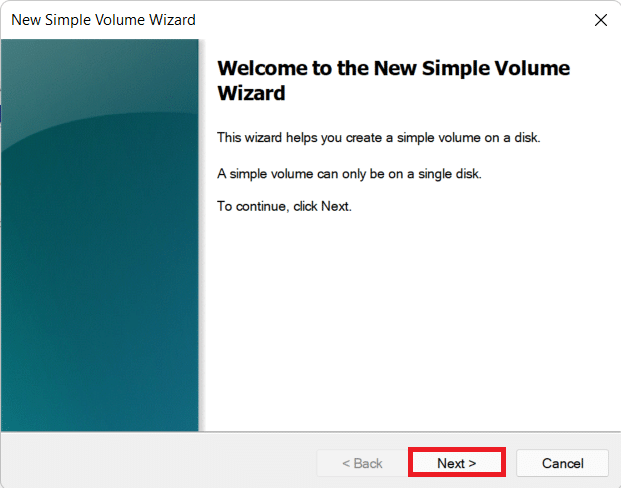
3. Dalam New Simple Volume Wisaya, klik Selanjutnya.
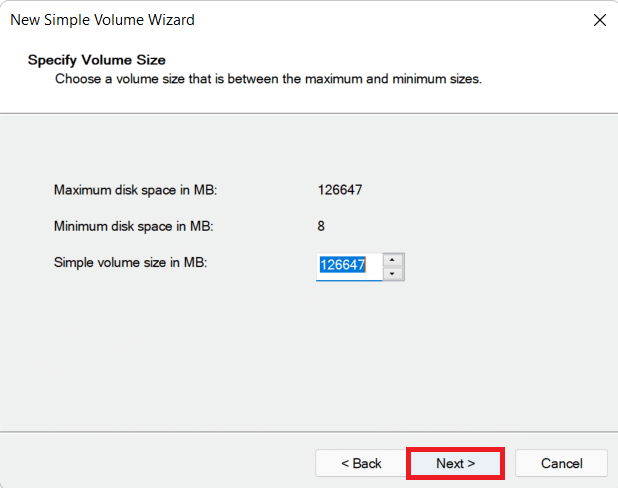
4. Dalam Ukuran Volume Sederhana window, enter the desired volume ukuran in MB, dan klik Selanjutnya.
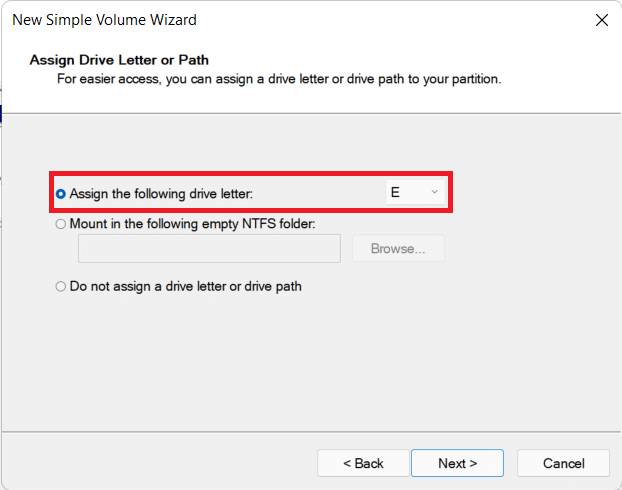
5. Pada Tetapkan Surat atau Jalur Drive screen, choose a Surat dari Assign the following drive surat drop-down menu. Then, click Selanjutnya, seperti yang ditunjukkan.
6A. Now, you can format the partition by selecting Format buku ini dengan pengaturan GMT Pilihan.
- File System
- Ukuran unit alokasi
- Volume label
6B. If you do not want to format partition, then select Do not format this volume .
7. Terakhir, klik Finish, seperti yang digambarkan.
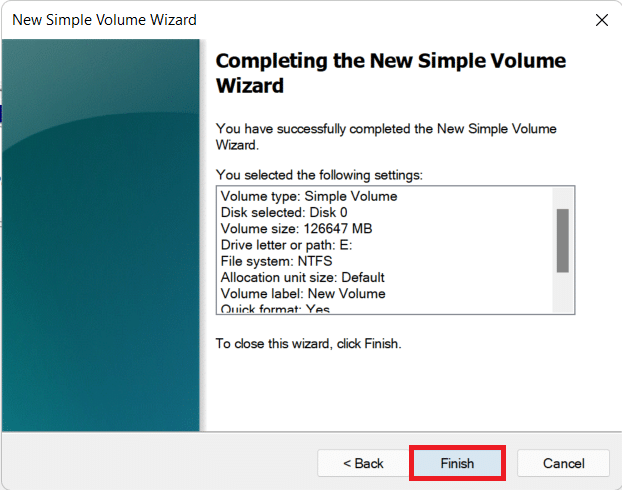
You can see the newly added partition indicated by the assigned letter and space as chosen.
Baca Juga: 3 Ways to Check if a Disk Uses MBR or GPT Partition in Windows 10
How to Delete Drive to Increase the Size of Another Drive
In case, you feel system performance has slowed down or that you do not require any additional partition, you can choose to delete the partition as well. Here’s how to modify disk partition in Windows 11:
1. Klik pada Ikon pencarian dan jenis Disk Management.
2. Kemudian, pilih Open pilihan untuk Membuat dan memformat partisi hard disk, seperti yang ditunjukkan.

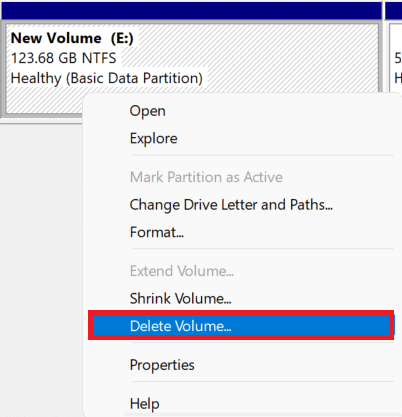
3. Pilih Drive Anda ingin menghapus.
Note: Make sure you have prepared a cadangan data for the drive you want to delete on a different drive.
4. Right-click on the selected drive and select Delete Volume… dari menu konteks
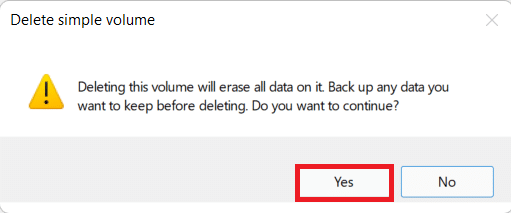
5. Klik Yes dalam Hapus volume sederhana confirmation prompt, as depicted.
6. Anda akan melihat ruang yang tidak terisi with the size of the drive you deleted.
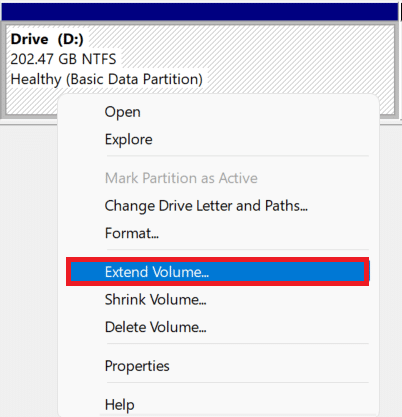
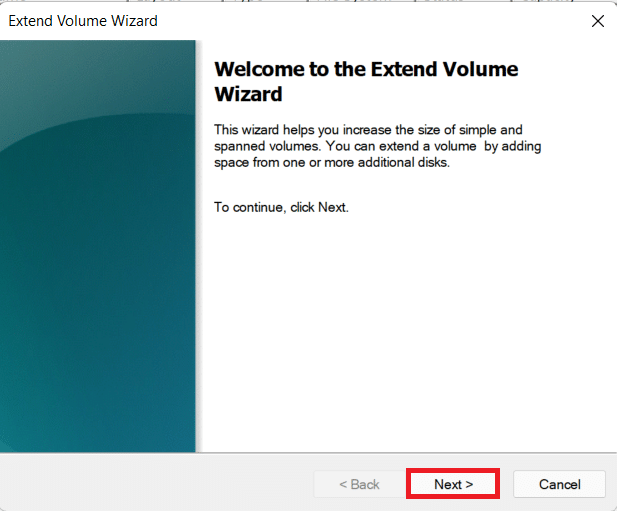
7. Klik kanan pada file Drive you want to expand in size and select Perpanjang Volume ... seperti yang diilustrasikan di bawah ini.
8. Klik Selanjutnya dalam Memperpanjang Volume Wisaya.
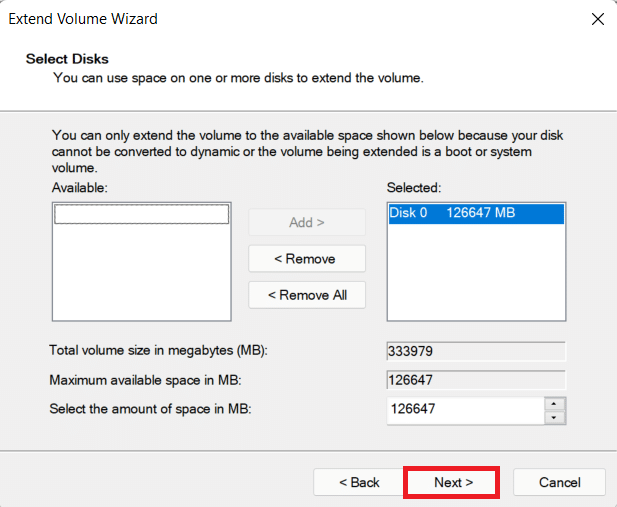
9. Sekarang, klik Selanjutnya di layar berikutnya.
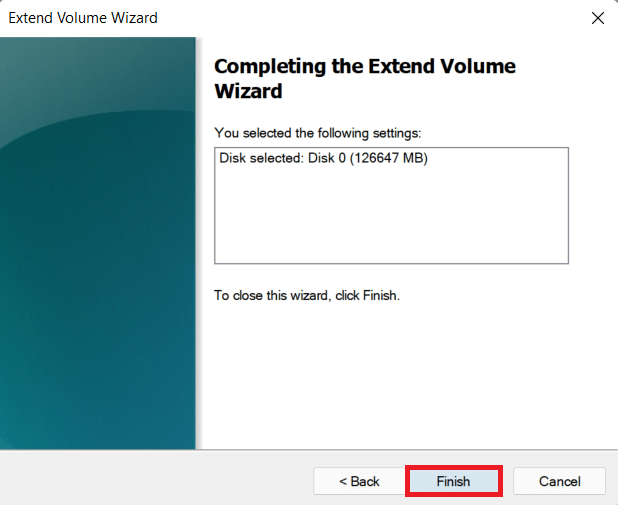
10. Terakhir, klik Finish.
Rekomendasi:
We hope you found this article interesting and helpful about how to partition hard disk in Windows 11. You can send your suggestions and queries in the comment section below. We would love to gear from you!

![[SOLVED] 0xc000000e: The selected entry could not be loaded](https://lbsite.org/wp-content/uploads/2023/01/Fix-Boot-Error-0xc000000e-The-selected-entry-could-not-be-loaded.jpg "[SOLVED] 0xc000000e: The selected entry could not be loaded")