OneDrive is one of the best cloud storage service which comes bundled as part of Windows 10. One Drive is available on most major platforms such as desktop, mobile, Xbox etc. and that’s why Windows users prefer it over any other service. But for most of the Windows users, OneDrive is merely a distraction, and it just bugs users with an unnecessary prompt for Sign in and whatnot. The most notable issue is the OneDrive icon in the File Explorer which the users want to somehow hide or remove completely from their system.
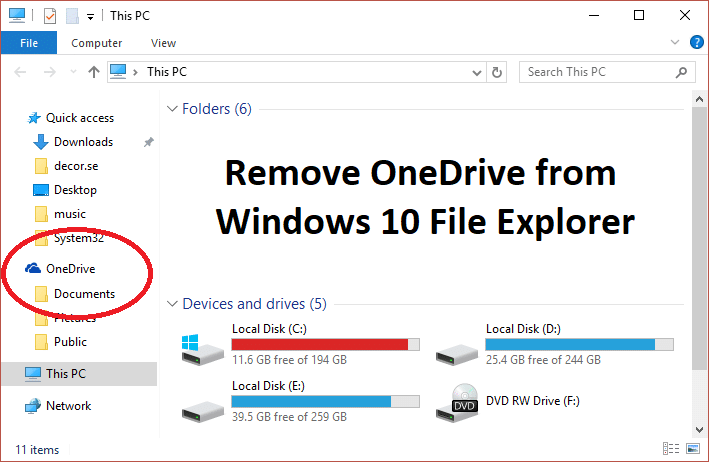
Now the problem is Windows 10 doesn’t include an option to hide or remove OneDrive from your system, and that’s why we have put together this article which will show you how to remove, hide or uninstall OneDrive completely from your PC. So without wasting any time let’s see How to Remove OneDrive from Windows 10 File Explorer with the help of below-listed steps.
How to Remove OneDrive from Windows 10 File Explorer
Make sure to create a restore point and backup registry, just in case something goes wrong.
Method 1: Hide OneDrive From Windows 10 File Explorer
1. Pịa Windows Key + R wee pịnye regedit wee kụọ Tinye ka imepe ndekọ Editor.

2. Gaa na igodo ndekọ aha:
HKEY_CLASSES_ROOTCLSID{018D5C66-4533-4307-9B53-224DE2ED1FE6}
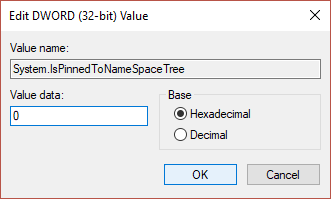
3. Ugbu a họrọ nke {018D5C66-4533-4307-9B53-224DE2ED1FE6} key and then from the right window pane double click on Sistemụ Na -SonyereToNameSpaceTree DWORD.

4. Gbanwee ihe DWORD value data from 1 to 0 wee pịa OK.
5. Close the Registry Editor and Reboot your PC to save changes.
Cheta na: In future, if you want to access the OneDrive and need to revert the changes, then follow the above steps and change the value System.IsPinnedToNameSpaceTree DWORD from 0 to 1 again.
Method 2: Uninstall or Remove OneDrive from Windows 10 File Explorer
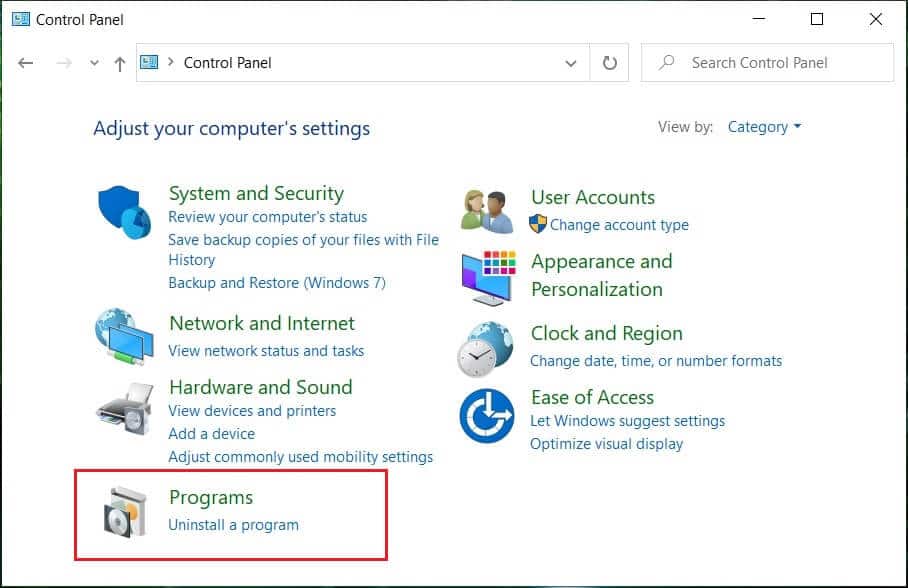
1. Ụdị ogwe njikwa in Windows Search and then click on it to open Control Panel.

2. Wee pịa Iwepụ mmemme ma chọta Microsoft OneDrive na ndepụta.
3. Right-click on Microsoft OneDrive and select Wepụ.
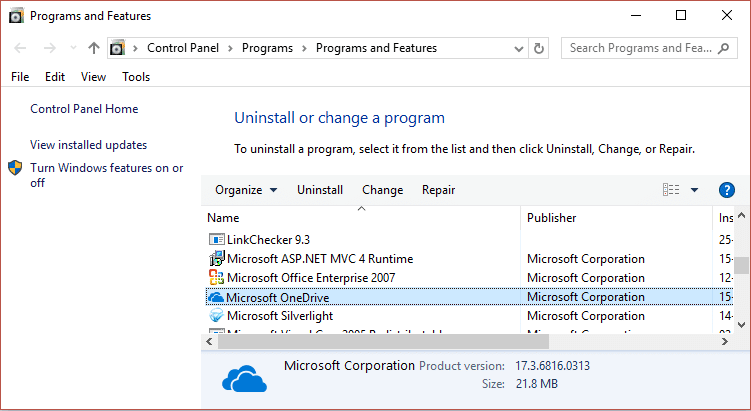
4. Follow the on-screen instruction to uninstall OneDrive from your system completely
5. Reboot your PC to save changes, and this would Remove OneDrive from Windows 10 File Explorer completely.
Cheta na: If you want to reinstall OneDrive in future navigate to the following folder according to the architecture of your PC:
For 64-bit PC: C:WindowsSysWOW64
For 32-bit PC: C:WindowsSystem32
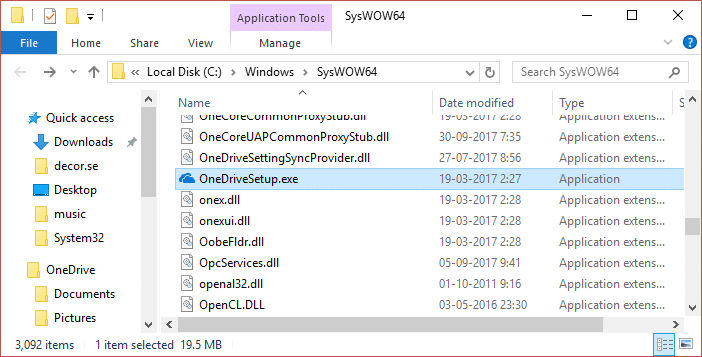
Ugbu a, chọọ OneDriveSetup.exe, then double-click on it to run the setup. Follow the on-screen instruction to re-install OneDrive.
Method 3: Hide OneDrive from File Explorer using Group Policy Editor
Cheta na: This method won’t work in Windows Home Edition version.
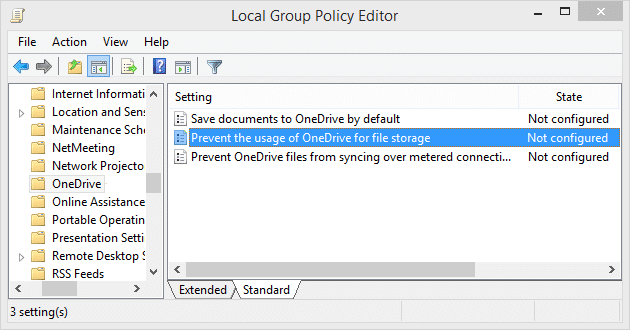
1. Pịa Windows Key + R wee pịnye gpedit.msc and hit Enter to open Group Policy Editor.

2. Now navigate to the following path in the gpedit window:
Computer Configuration > Administrative Templates > Windows Components > OneDrive
3. Make sure to select OneDrive from the left window pane and then in the right window pane double click on “Gbochie ojiji OneDrive maka nchekwa faịlụ” policy.
4. Now from the policy setting window select Kwadoro checkbox and click OK.
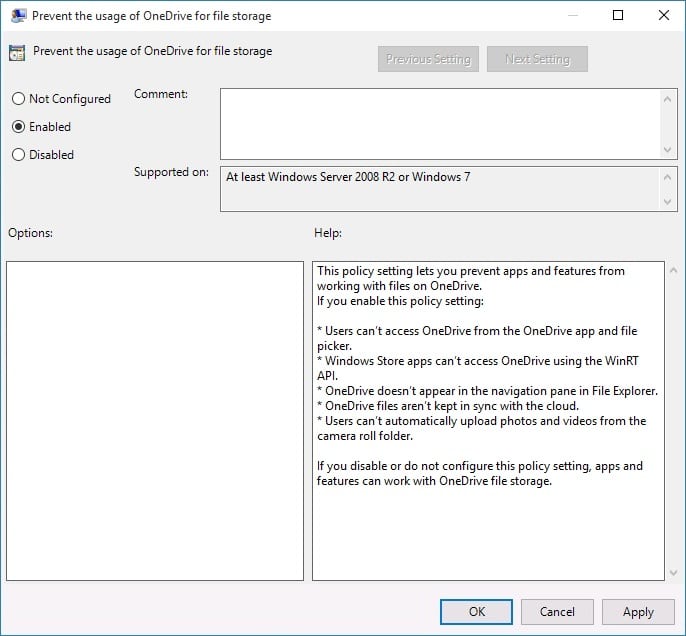
5. This will completely hide OneDrive from File Explorer and users won’t be able to access it anymore.
6. Malitegharịa ekwentị gị PC iji chekwaa mgbanwe.
-atụ aro:
Nke ahụ bụ ihe ị mụtara nke ọma How to Remove OneDrive from Windows 10 File Explorer ma ọ bụrụ na ị ka nwere ajụjụ ọ bụla gbasara post a, nweere onwe gị ịjụ ha na ngalaba nkọwa.

