If you don’t see Wireless Adapter under Network Connections neither there is a Network adapter tab under device manager then it seems like your Network Adapter is missing or not detected on your Windows 10 which is a serious issue because you won’t be able to access the Internet until the issue is resolved. In short, when you click on the Wireless icon on the system tray there won’t be any device listed in order to connect to the Internet and if you open Device Manager then you won’t see the Network Adapter tab.
These are the reasons behind the Network Adapter missing issue:
- Network adapter missing in Device manager
- No Network Adapters showing in Device Manager
- Network Adapter Not Detected
- Network Adapter Not Found Windows 10
- No Network Adapter In Device Manager
The main cause of this issue seems to be outdated, incompatible or corrupted Network Adapter drivers. If you have recently upgraded from previous versions of Windows then it’s possible that the old drivers will not work with the new Windows and hence the issue. So without wasting any time let’s see how to actually Fix Network Adapter Missing in Windows 10 issue with the below-listed troubleshooting steps.
Note: Just make sure to uninstall any VPN software on your PC before continuing.
Idozi ihe nkwụnye netwọkụ na-efu na Windows 10
Jide n'aka na ịmepụta ebe weghachi naanị ma ọ bụrụ na ihe adịghị mma.
Method 1: Reboot your Computer
Most of us know about this very basic trick. Rebooting your computer can sometimes fix any software conflict by giving it a fresh start. So if you are someone who would rather put their computer on sleep, restarting your computer is a good idea.
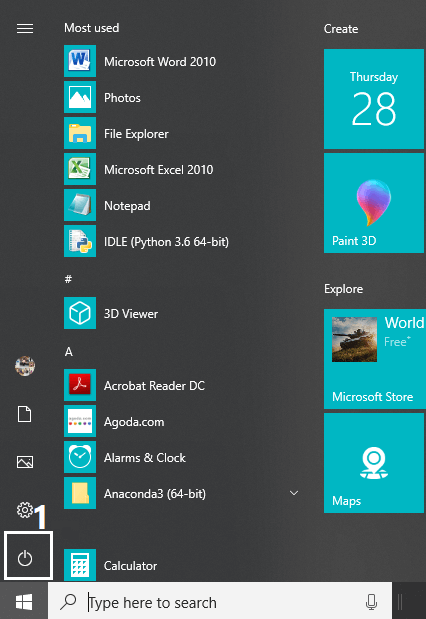
1. Pịa na Malite menu wee pịa na Mgbaị ọkụ dị na ala aka ekpe.
2. Ọzọ, pịa na Malitegharịa ekwentị nhọrọ na kọmputa gị ga-amaliteghachi onwe ya.
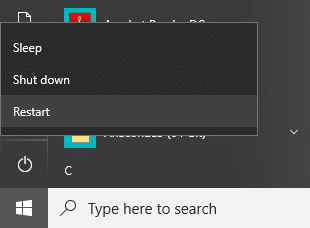
Mgbe kọmputa maliteghachiri, lelee ma nsogbu gị edozila ma ọ bụ na edozighị ya.
Method 2: Flush DNS and Reset Winsock Components
1. Open elevated Command Prompt.
2. Now type the following command and press Enter after each one:
ipconfig / ntọhapụ
ipconfig / flushdns
ipconfig / megharia

3. Again open Command Prompt and type the following command one by one and hit enter after each one:
ipconfig /flushdns
nbtstat –r
netsh int ip reset
netsh winsock reset
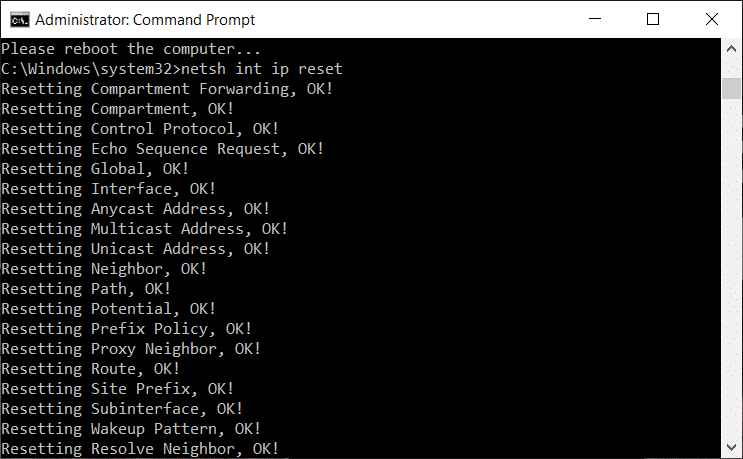
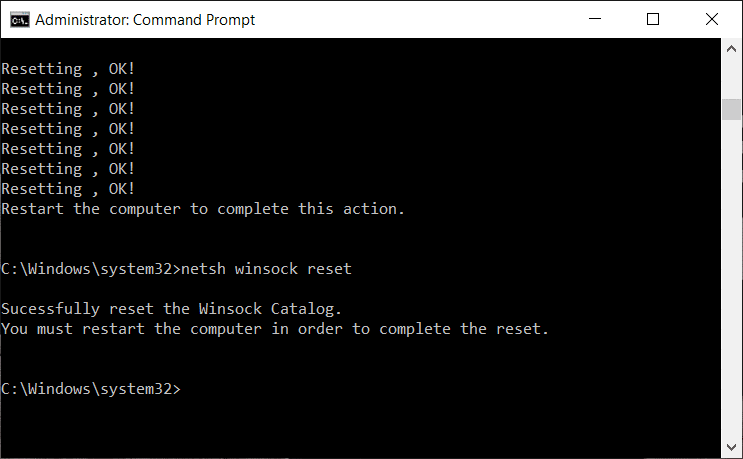
4. Reboot to apply changes. Flushing DNS seems to Fix Network Adapter Driver Issues on Windows 10.
Method 3: Run WWAN AutoConfig Service
1. Pịa Windows Key + R wee pịnye ọrụ.msc ma kụọ Tinye.

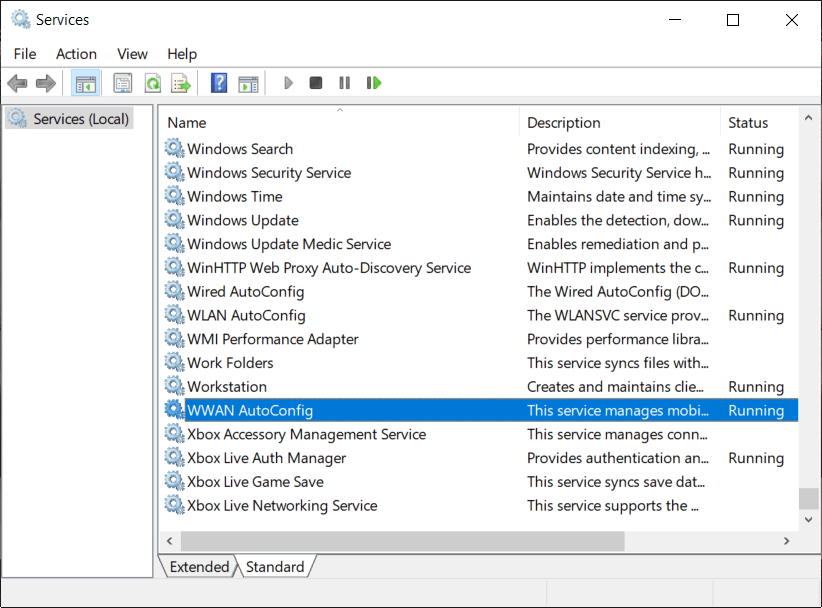
2. Chọta WWAN AutoConfig Service in the list (press W to reach to the end of the list quickly).
3. Pịa ugboro abụọ WWAN AutoConfig Service.
4. If the service is already running then click on Stop, then from the Startup type drop-down select Akpaaka.
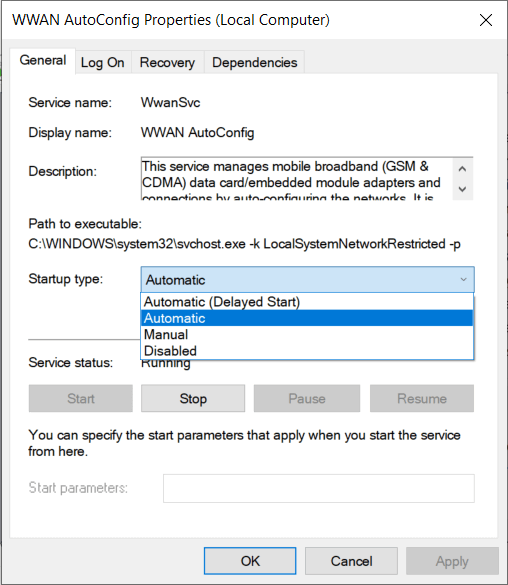
5. Click Apply followed by OK.
6. Pịa aka nri na WWAN AutoConfig Service ma họrọ Malite.
Usoro 4: Melite ndị ọkwọ ụgbọala ihe nkwụnye netwọkụ
1. Press Windows key + R and type “devmgmt.msc” in Run dialogue box to open ihe Njikwa Ngwaọrụ.

2. gbasaa Nkwụnye netwọk, wee pịa aka nri na gị Onye njikwa Wi-Fi (dịka ọmụmaatụ Broadcom ma ọ bụ Intel) wee họrọ Melite ọkwọ ụgbọala Software.

3. Ugbu a họrọ "Search for automatically for updated driver software".
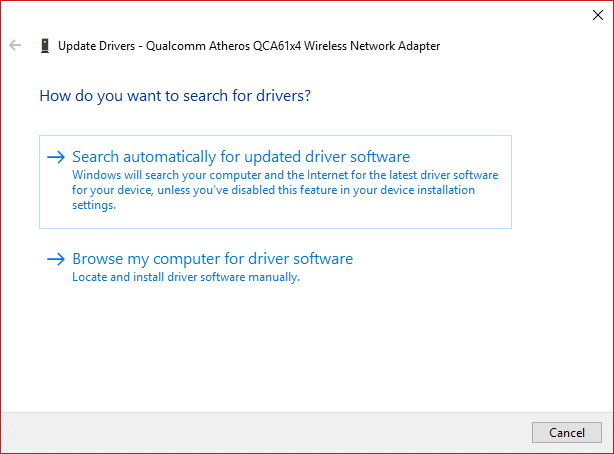
4. Ugbu a Windows will automatically search for the Network driver update and if new update is found, it will automatically download and install it.
5. Once finished, close everything and reboot your PC.
6. If you’re still facing the Network Adapter Missing in Windows 10 issue, then again right-click on your WiFi controller and select Na-akwanye ọkwọ ụgbọala na Njikwa ngwaọrụ.
7. Now, in the Update Driver Software Windows, select “Chọgharịa kọmputa m maka ngwa ọkwọ ụgbọala."

8. Ugbu a họrọ "Ka m were na ndepụta ndị ọkwọ ụgbọala dị na kọmpụta m."

9. Gbalịa ime update drivers from the listed versions (make sure to checkmark compatible hardware).
10. If the above didn’t work then go to webụsaịtị onye nrụpụta imelite ọkwọ ụgbọala.

11. Download and install the latest driver from the manufacturer’s website then restart your PC.
Method 5: Uninstall Network Adapter Drivers
1. Pịa Windows Key + R wee pịnye “devmgmt.msc” wee kụọ Tinye ka imepe njikwa ngwaọrụ.
2. Gbasaa ihe nkwụnye netwọkụ wee chọta aha nkwụnye netwọk gị.
3. Gbaa mbọ hụ na ị deba aha nkwụnye ahụ ọ bụrụ na ihe agahie.
4. Right-click on your network adapter and uninstall it.

5. It will ask for confirmation họrọ Ee.
6. Restart your PC and Windows will automatically install the network adapter drivers again.
7. If the drivers are not installed automatically then again open the Device Manager.
8. From the Device Manager menu, click on Action wee pịa "Nyocha maka mgbanwe ngwaike".

Usoro 6: Gbaa mbọ hụ na Windows emelitere
1. Pịa Igodo Windows + M imeghe Settings wee pịa Mmelite & Nche.
![]()
2. From the left-hand side, menu click on Mmelite Windows.
3. Ugbu a pịa na "Lelee maka mmelite” bọtịnụ ka ịlele maka mmelite ọ bụla dị.

4. If any updates are pending then click on Budata & Wụnye mmelite.

5. Once the updates are downloaded, install them and your Windows will become up-to-date.
6. After the updates are installed reboot your PC to save changes.
Method 7: Run Network Adapter Troubleshooter
1. Pịa Windows Key + I imeghe Settings wee pịa Mmelite & Nche.
![]()
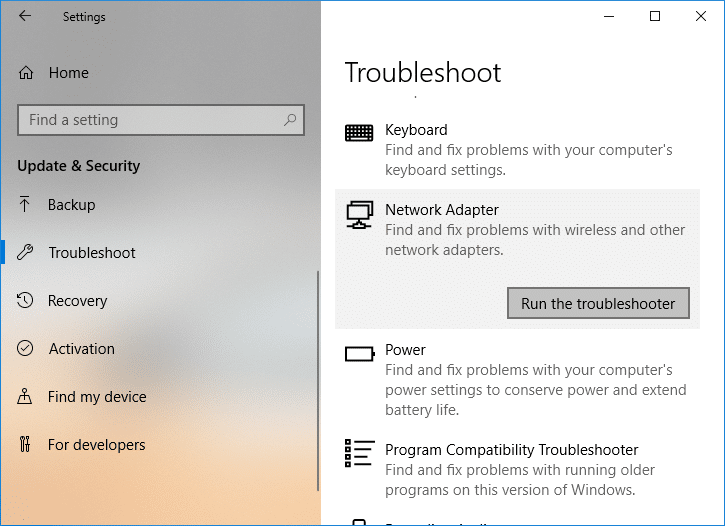
2. From the left-hand menu select Nsogbu nsogbu.
3. Under Troubleshoot click on Njikọ Ịntanetị wee pịa Gbaa onye choro nsogbu.

4. Soro ntuziaka ọzọ na ihuenyo iji mee ihe nhụsianya.
5. If the above didn’t fix the issue then from the Troubleshoot window, click on Ihe ngbakwunye network wee pịa Gbaa onye choro nsogbu.
5. Reboot gị PC na-azọpụta mgbanwe na-ahụ ma ọ bụrụ na ị na-enwe ike fix the Network Adapter Missing issue.
Usoro 8: Wụnye Intel PROSet/Wireless Software
Mgbe ụfọdụ a na-akpata nsogbu ahụ n'ihi sọftụwia Intel PROSet emechiela, yabụ na-emelite ọ dị ka fix Network Adapter Missing in Windows 10 issue. Ya mere, aga ebe a wee budata sọftụwia PROSet/ikuku kachasị ọhụrụ wee wụnye ya. Nke a bụ sọftụwia nke atọ nke na-ejikwa njikọ WiFi gị kama Windows ma ọ bụrụ na PROset/Wireless Software bụ ihe ochie nwere ike ime ka ndị ọkwọ ụgbọala nwee nsogbu. Ihe nkwụnye netwọk ikuku. Hence, read How to Update Network Adapter Drivers on Windows 10.
Usoro 9: Tọgharia Njikọ netwọkụ
1. Pịa Windows Key + I imeghe Settings wee pịa Ntanetị & Internetntanetị.

2. From the left-hand menu select Ọkwa.
3. Now scroll down and click on Ntọala netwọk na ala.

4. Ọzọ pịa "Tọgharia ugbu a” under Network reset section.

5. This will successfully reset your network adapter and once it is complete the system will be restarted.
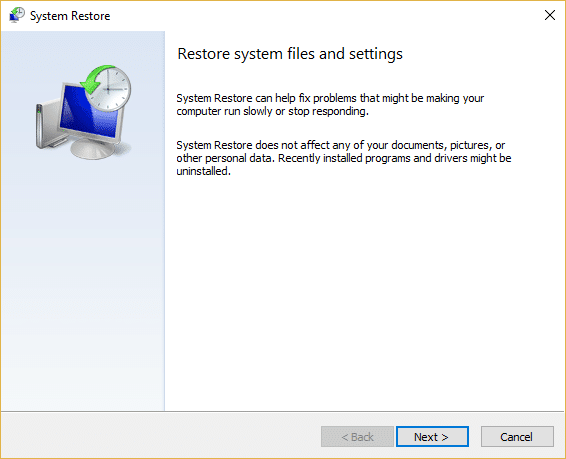
Usoro 10: Mepụtaghachi System
System Restore always works in resolving the error, therefore System Restore can definitely help you in fixing this error. So without wasting any time run system restore in order to resolve Network Adapter Missing issue.
Method 11: Using elevated Command Prompt
1. Pịa Windows Key + X wee họrọ Iwu Kwadoro (Admin).

2. Pịnye iwu a n'ime cmd wee pịa Tinye:
netcfg –s n
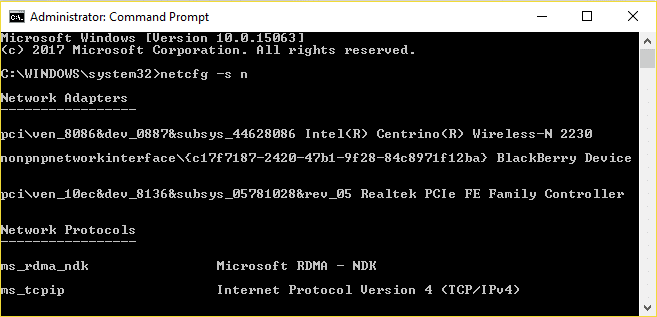
3. This will display a list of networking protocols and in that list find DNI_DNE.
4. If DNI_DNE is listed then type the following command into cmd:
regye HKCRCLSID {988248f3-a1ad-49bf-9170-676cbbc36ba3} / va / f
netcfg -v -u ụbọchị
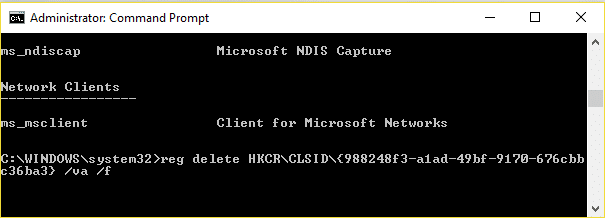
5. If you don’t see DNI_DNE listed then only run the command netcfg -v -u dni_dne.
6. Now if you receive the error 0x80004002 after trying to run the above command then you need to delete the above key manually.
7. Pịa Windows Key + R wee pịnye regedit ma kụọ Tinye.

8. Navigate to the following Registry Key:
HKEY_CLASSES_ROOTCLSID{988248f3-a1ad-49bf-9170-676cbbc36ba3}
9. Delete this key and then again type netcfg -v -u ụbọchị command in cmd.
10. Malitegharịa ekwentị gị PC iji chekwaa mgbanwe.
Akwadoro gị:
Nke ahụ bụ nke ị nwetara nke ọma Idozi ihe nkwụnye netwọkụ na-efu na Windows 10 ma ọ bụrụ na ị ka nwere ajụjụ ọ bụla gbasara post a, nweere onwe gị ịjụ ha na ngalaba nkọwa.

