Accessing a few web pages in your favorite browser might seem difficult due to some errors. If you are using the Microsoft Edge browser, you might have faced Microsoft Edge ERR NETWORK CHANGED error while surfing through any web pages. Nevertheless, this guide will help you fix a network change was detected Windows 10 error with effective troubleshooting steps. The methods in this article also apply to your Android device and other browsers too. So, what are you waiting for? Continue reading the article.
How to Fix Microsoft Edge ERR NETWORK CHANGED in Windows 10
Apart from network conflicts in your Windows 10 PC, a few other reasons cause a network change was detected Windows 10 error. They are listed below.
- Change in IP address.
- Router conflicts.
- Corrupt cache in browser.
- Conflicts from third-party extensions.
- Outdated Operating System.
- Ósamhæfðar vafrastillingar.
- Malware/virus attack.
- Interference from VPN/proxy servers.
- Gamaldags vafri.
- Incompatible Network Adapters.
- Corrupt data in WLAN profiles.
- Restrictions from VPN, ISP, website owners, and proxy servers.
Although there is a huge list of reasons that cause your connection was interrupted a network change was detected an error in Microsoft Edge, you can easily resolve them all by following the below-discussed methods.
We have compiled a list of methods that will help you fix this error in the Edge in this article. Follow the below-mentioned methods in the same order to attain perfect results.
Grunnúrræðaleitaraðferðir
Before trying any advanced troubleshooting methods, try the following basic troubleshooting methods. A basic and easy troubleshooting method may help in resolving the issue quickly.
- endurhlaða the page by pressing the F5 lykill or Fn + F5 lyklar saman.
- Endurræstu vafrann by closing all the browser windows and opening them.
- Endurræstu þinn kerfið because a simple restarting might help in fixing the issue.
- Prófaðu að nota different Internet browsers such as Google Chrome, Opera, and Firefox.
Aðferð 1: Keyrðu netúrræðaleit
To analyze and fix all the connection problems, the in-built network troubleshooter will help you. All the network problems will be fixed, and the network operations will be improvised by running a network troubleshooter. Here are a few instructions to run the network troubleshooter on Windows 10 PC.
1. Sláðu á Windows lykill. Gerð Úrræðaleit stillinga í leitarstikunni og opnaðu hana.

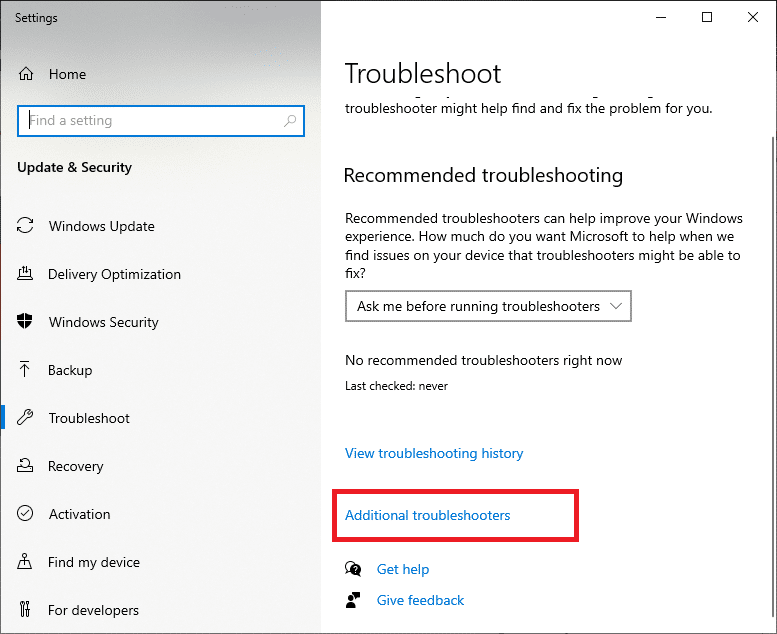
2. Nú, click on Additional troubleshooters as depicted below.
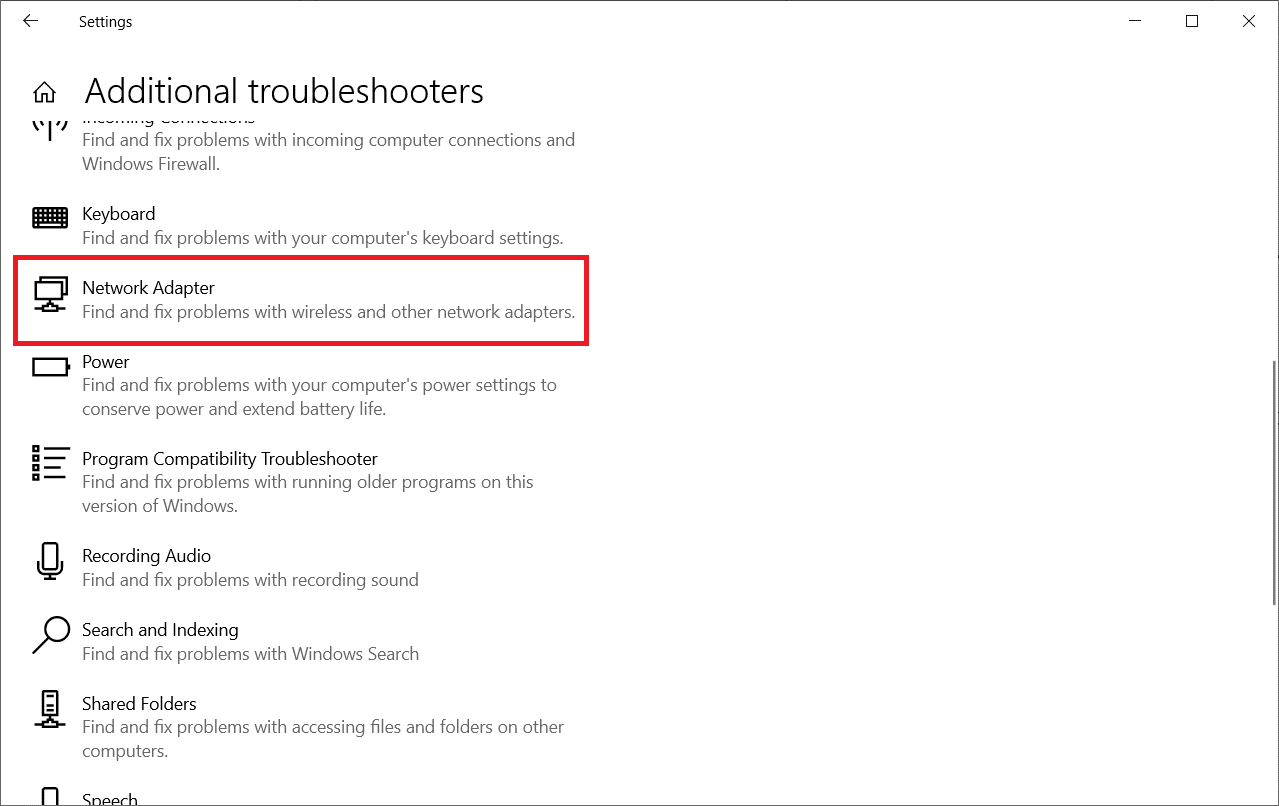
3. Veldu núna Network Adapter, which is displayed under Find, and fix other problems.
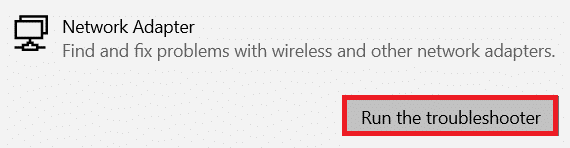
4. Veldu Run the troubleshooter, and the Network Adapter troubleshooter will be launched now.
5. Veldu All network adapters og smelltu Næstu.
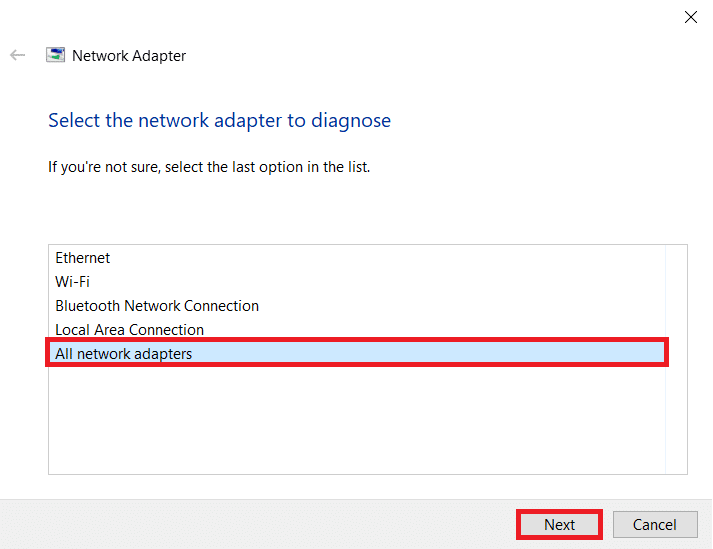
6. If there is an issue, click on Sækja um þessa lagfæringu and follow the instructions given in the successive prompts.
Method 2: Disable Proxy
Using proxy servers will divert the internet connection to a different tunnel. This will trigger ERR NETWORK CHANGED Windows 10 error message. There are so many error messages to disable proxy servers on your computer. Yet, the simplest method is explained below.
Athugaðu: Exit from Microsoft Edge and make sure you close all the applications related to Edge from Task Manager.
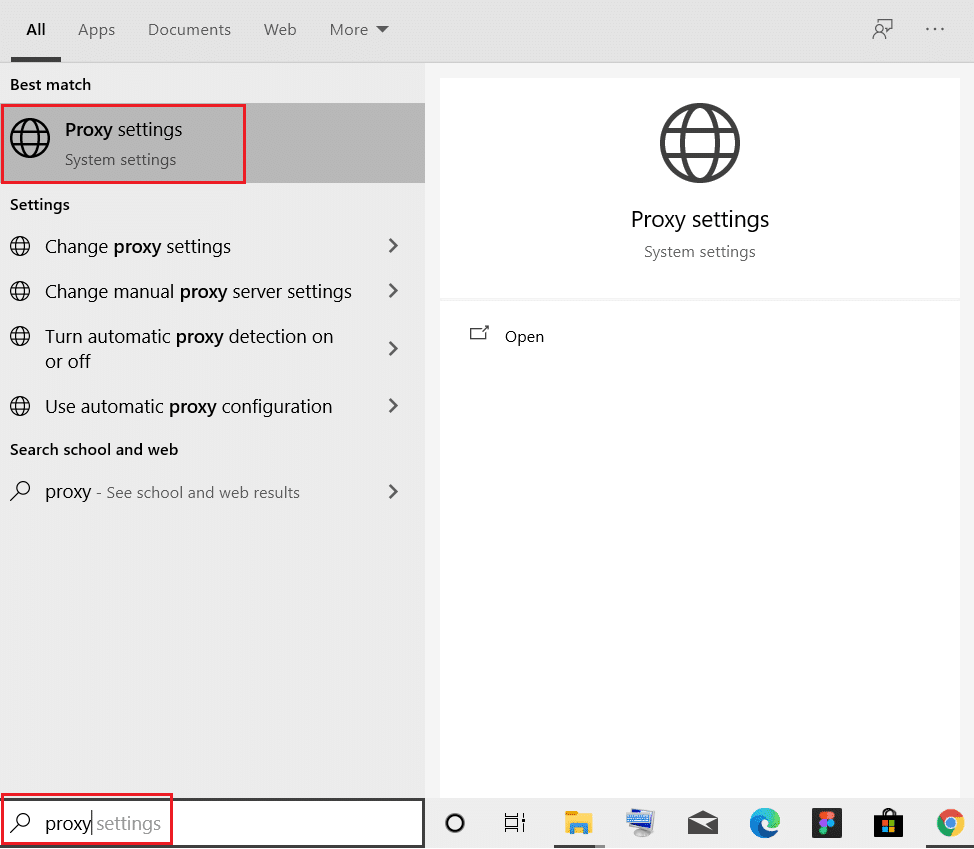
1. Now, hit the Windows button. Type Proxy and open as highlighted below.
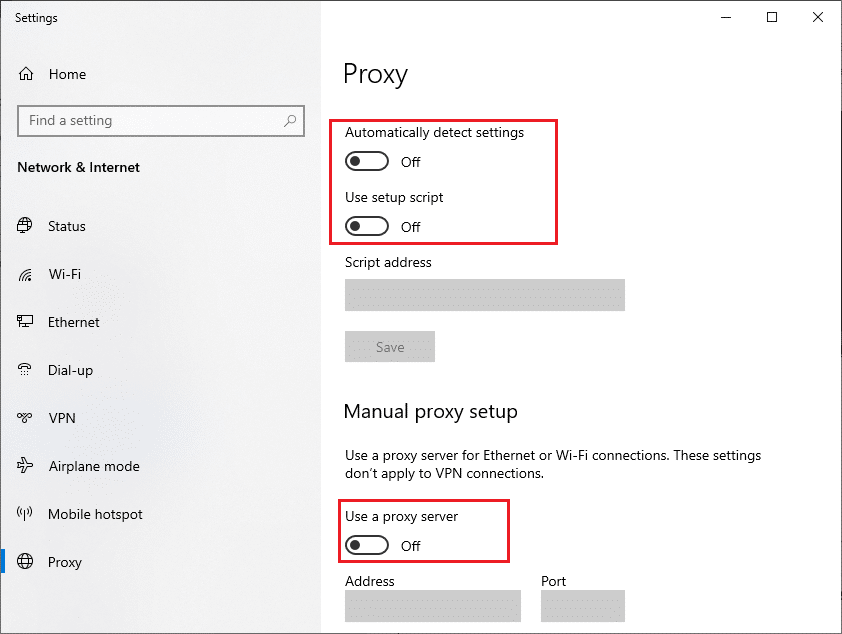
2. Here, toggle OFF the following settings.
- Finna sjálfkrafa stillingar
- Use setup script
- Notaðu proxy-miðlara
3. Now, relaunch the Edge vafranum and try if you can visit web pages.
4. If not, use a VPN client and check if your problem is fixed. If not, try connecting your PC to another network like Wi-Fi eða farsíma netkerfi.
Einnig lesið: How to set up a VPN on Windows 10
Aðferð 3: Slökktu á VPN
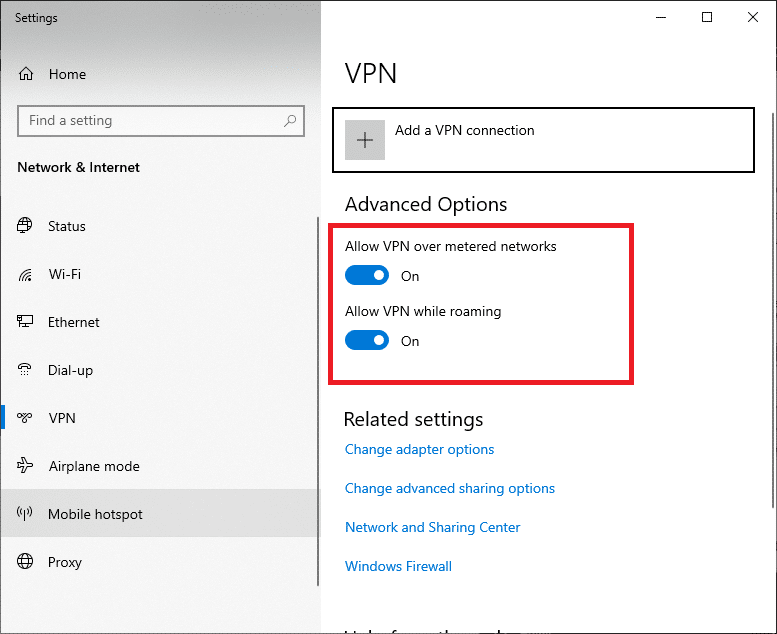
When your PC is disconnected from VPN, the original location of your computer will be mapped with the browser, leading to a network change was detected Windows 10 error. Hence, in this case, you are advised to disable your VPN client as instructed below.
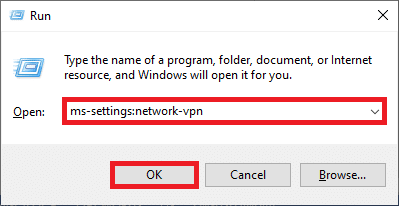
1. To use the Hlaupa dialog box, press the Windows +R keys.
2. Gerð ms-stillingar: net-vpn and click the OK hnappinn.
3. Í Stillingar window, disconnect the active VPN service and toggle off the VPN valkostir undir Ítarlegir valkostir.
Method 4: Clear Edge Browser History
More often, corrupt browser cache leads to several browser errors rather than ERR NETWORK CHANGED Windows 10. A bulk of cookies and cache will slow down your internet experience and affects the loading responses. You can clear them all in a single shot by following the below-mentioned steps.
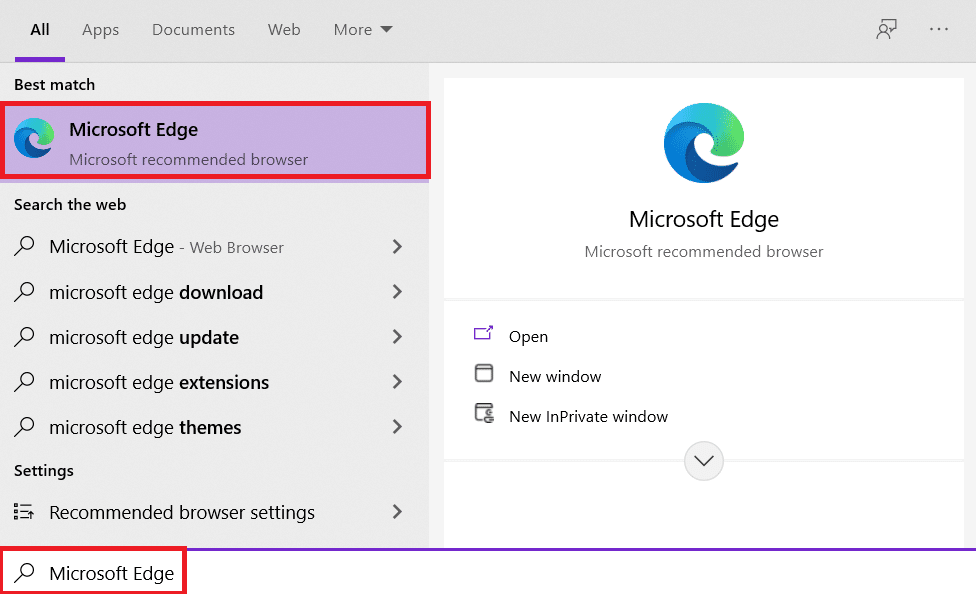
1. Ýttu á Windows lykill. Gerð Edge og opnaðu það.
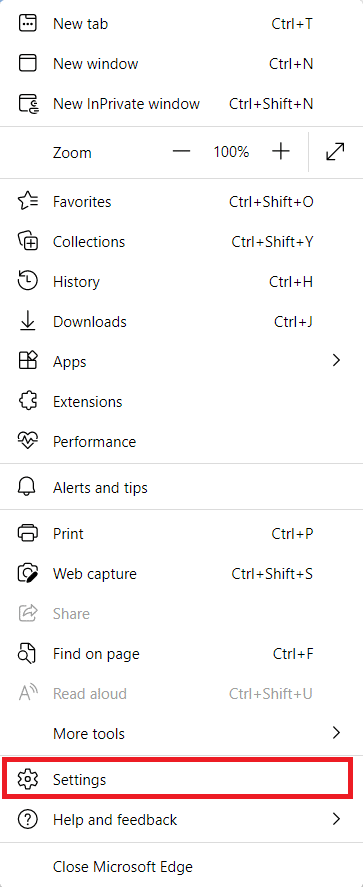
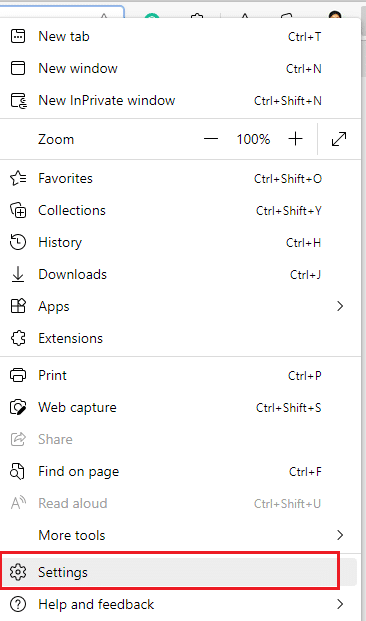
2. Smelltu á þriggja punkta táknmynd near your profile image as you did earlier.
![]()
3. smellur Stillingar.
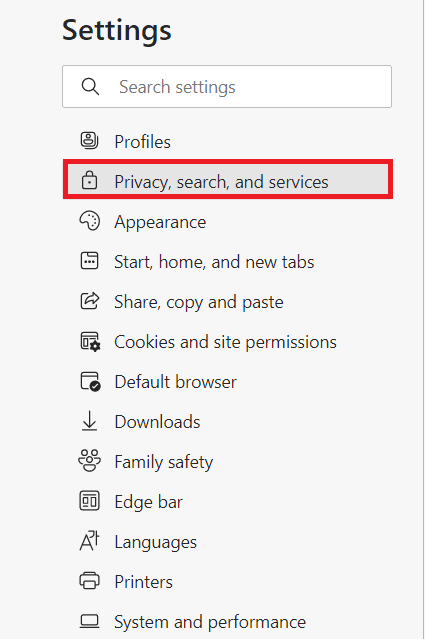
4. Farðu nú að Persónuvernd, leit og þjónusta option in the left pane as shown.
5. Then, scroll down the right screen and click on Veldu hvað á að hreinsa valkostur undir Hreinsa netspor eins og sýnt er.
Athugaðu: You can directly navigate the page to delete browsing history in the Edge by typing brún: // settings / clearBrowserData í leitarreitnum.
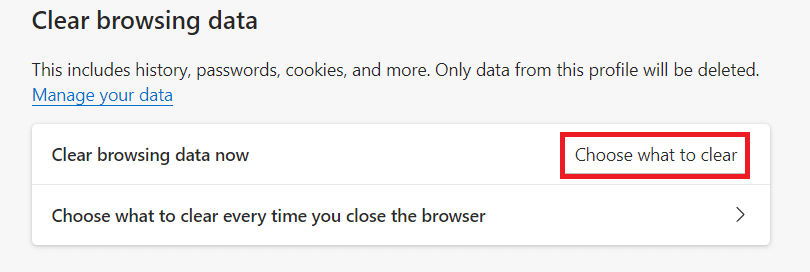
6. In the next window, select the boxes according to your preferences like Browsing history, Cookies, and other site dataog Cached myndir og skrár, og smelltu á Hreinsa núna eins og fram kemur hér að neðan.
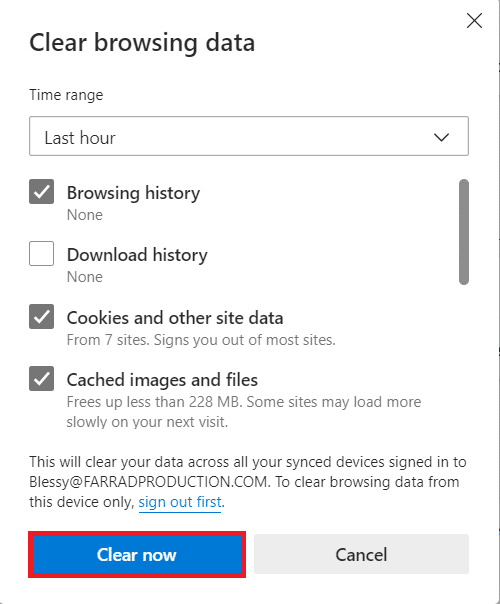
Finally, all your browsing data will be cleared now.
Einnig lesið: How to Fix Firefox Not Loading Pages
Method 5: Disable Extensions (If Applicable)
If you have installed any third-party extensions in your browser, you may face a network change was detected Windows 10 error. You can try closing all the unnecessary tabs and restarting your system. If you have closed all the tabs and still face the issue, try to disable all the extensions.
1. Sjósetja Edge vafranum og smelltu á þriggja punkta táknmynd efst í hægra horninu.
![]()
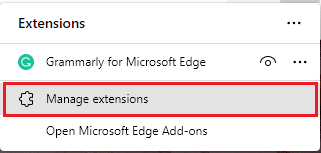
2. Nú skaltu smella á Eftirnafn eins og fram kemur hér að neðan.
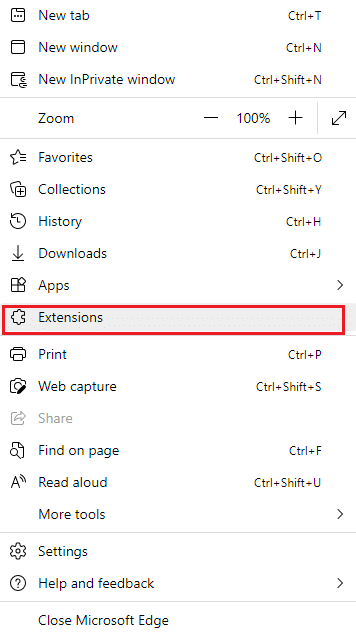
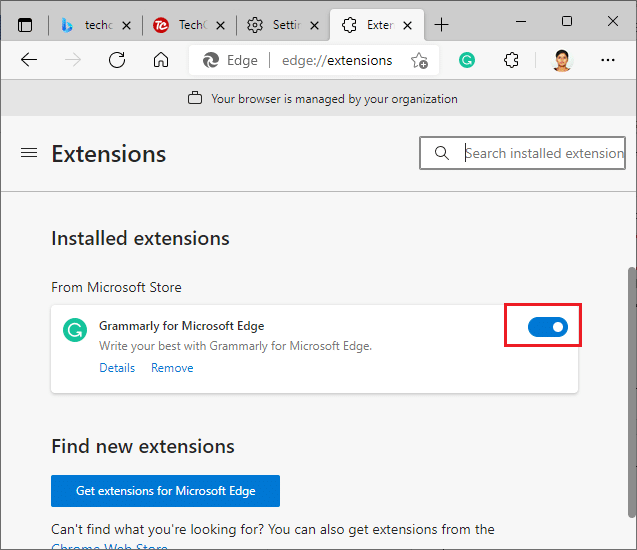
3. Now, all of your added extensions will pop up on the screen. Click on Hafa umsjón með viðbótum eins og sýnt er.
4. Now, toggle off the extension and check if you face the error again.
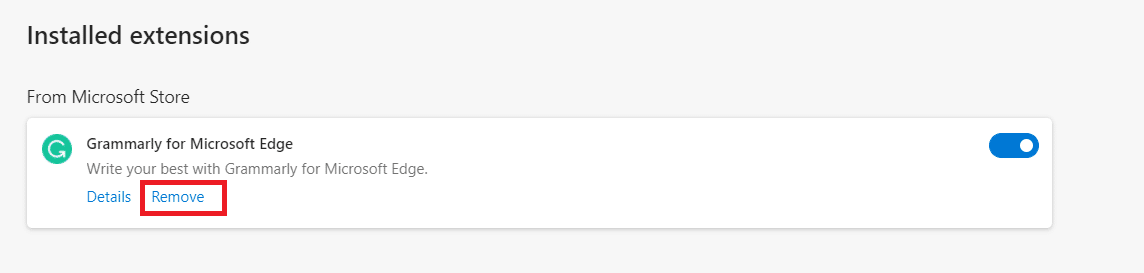
5. If you find the error does not pop up after removing any particular extension, then uninstall it completely from your browser. Then, select Fjarlægja.
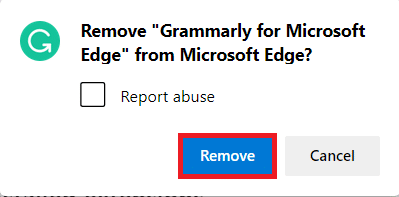
6. Nú skaltu staðfesta hvetja með því að smella á Fjarlægja eins og sýnt er.
Athugaðu: If you face the again, hit F12 eða haltu inni Ctrl + Shift + I keys together on your webpage. This will open verktaki verkfæri on the right side. Now, reload the page.
Method 6: Update Microsoft Edge
Outdated browser is always a problem. Updates are released to fix the bugs and errors, and if you fail to update them, you may face several errors. Follow the below instructions to update the Microsoft Edge browser.
1. As you did earlier, launch the Edge vafra og smelltu á þriggja punkta táknmynd.
![]()
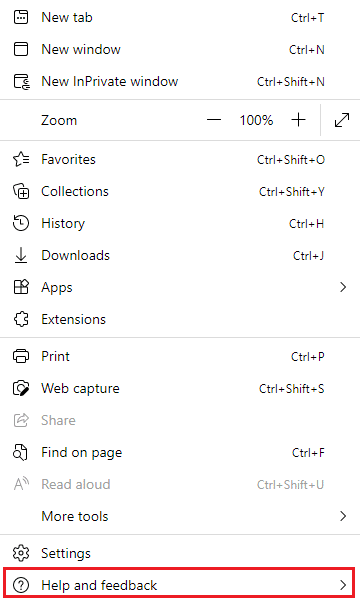
2. Nú, smelltu á Hjálp og endurgjöf valkostur eins og auðkenndur er.
3. Smelltu svo á Um Microsoft Edge eins og sýnt er.
Athugaðu: Þú getur líka slegið inn brún: // stillingar / hjálp ráðast á About Microsoft Edge page beint.
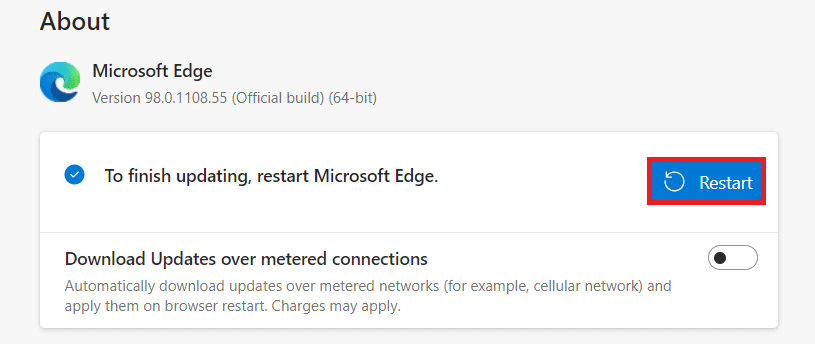
4A. If a new update is available, the browser will automatically update the browser to the latest version. Click Endurræsa to update and restart the browser.
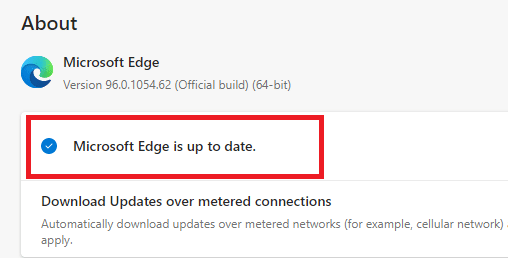
4B. If the browser is up-to-date, it will show that Microsoft Edge is up to date.
5. Finally, launch your webpage in the latest version of your browser and check if Microsoft Edge ERR NETWORK CHANGED Windows 10 issue recurs.
Einnig lesið: Fix Google Chrome Not Updating
Method 7: Update or Reinstall Drivers
You cannot access your web pages properly if you have incompatible or outdated USB drivers on your PC. Follow the instructions to update your drivers and check if a network change was detected Windows 10 problem is resolved. If not, you can try reinstalling them.
Option I: Update Network Drivers
Installing the latest version of drivers helps your computer to fix the driver conflicts, thereby improving the stability of the PC. By following the below-mentioned steps, you can solve all network-related issues concerning ERR NETWORK CHANGED error.
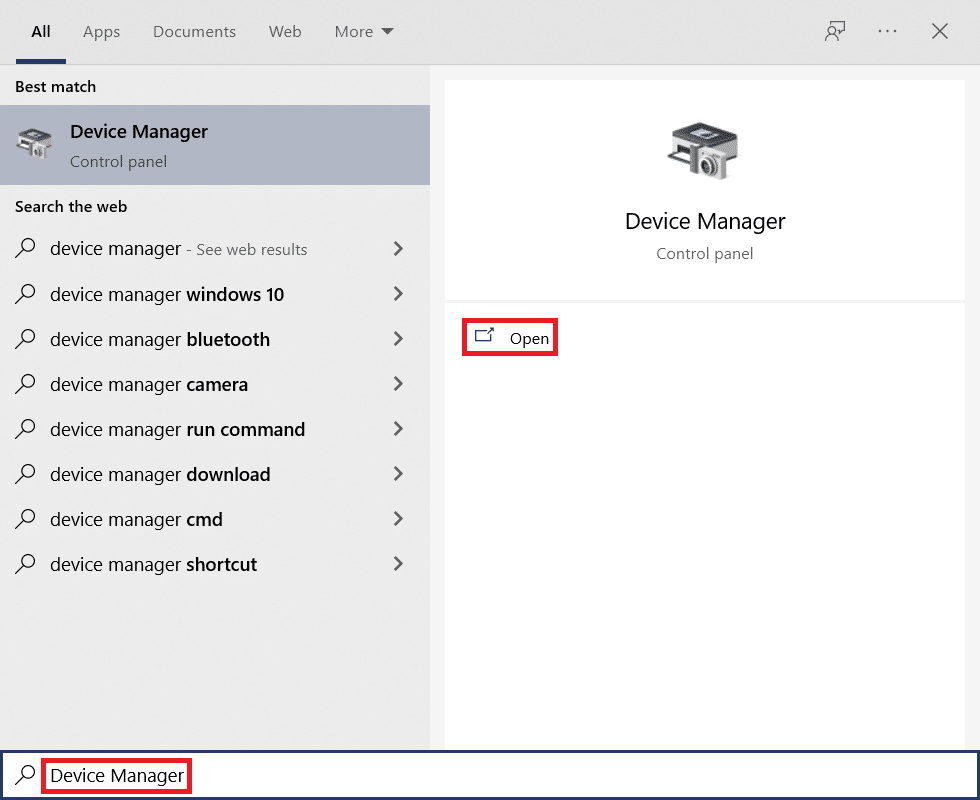
1. Sláðu á Windows lykill og tegund Tækjastjórnun, Smelltu á Opna.
2. Þú munt sjá Net millistykki on the main panel; double-click on it to expand it.
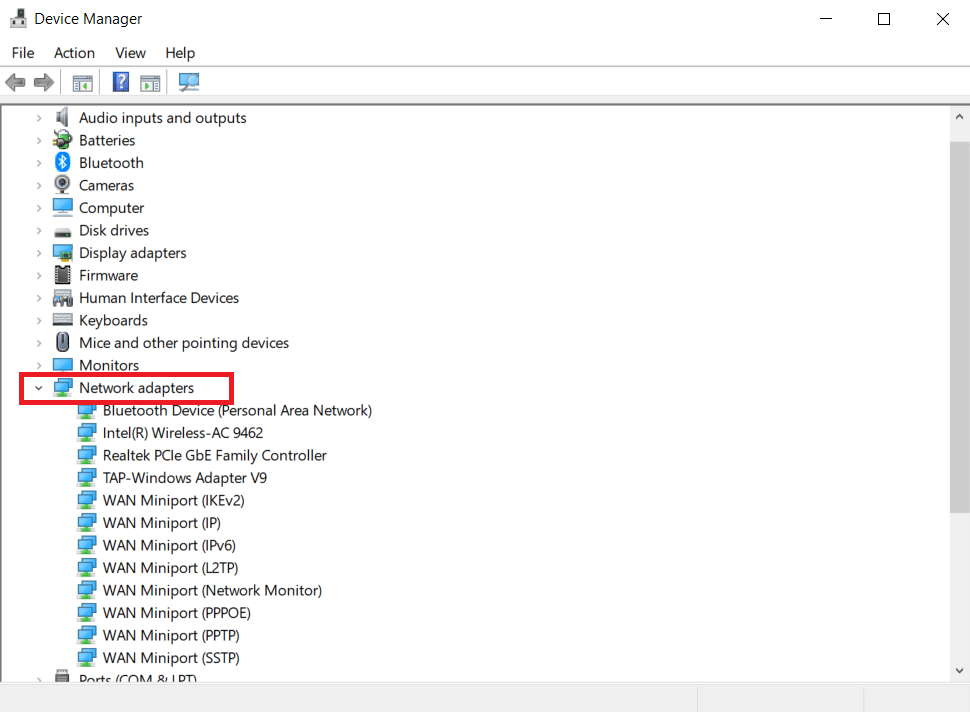
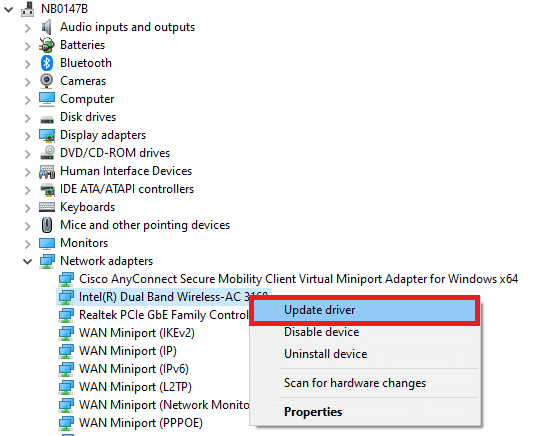
3. Nú, hægrismelltu á net bílstjóri (td Intel (R) Dual Band Wireless-AC 3168) og smelltu á Uppfærðu bílstjóri.
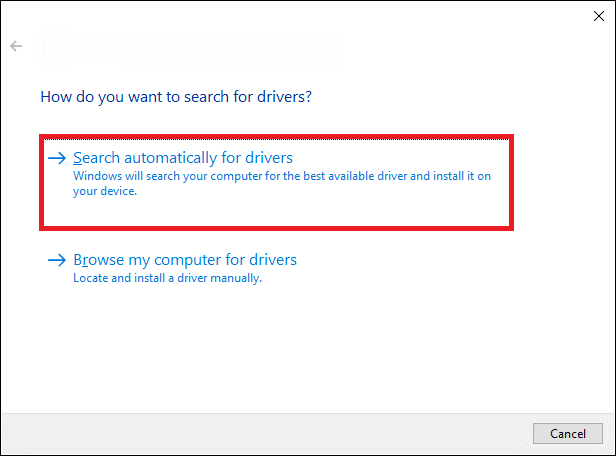
4. Nú skaltu smella á Leitaðu sjálfkrafa að ökumönnum options to locate and install a driver automatically.
5A. Now, the drivers will be updated to the latest version if they are not updated.
5B. If they are already in an updated stage, the screen displays the following message, The best drivers for your device are already installed.
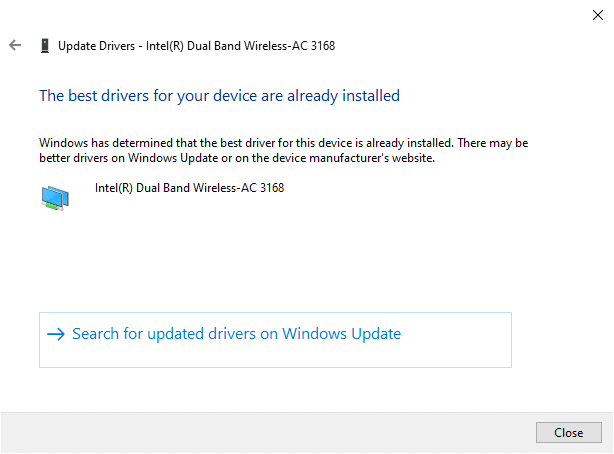
6. Smelltu á Loka að ganga út um gluggann.
Option II: Reinstall Drivers
If you did not attain any fix to a network change was detected Windows 10 error by updating the drivers, then you can try reinstalling them as instructed below.
1. Sjósetja Tækjastjórnun using the steps mentioned above.
2. Stækkaðu Net millistykki með því að tvísmella á þær.
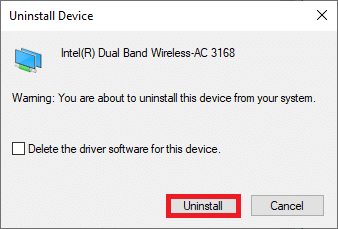
3. Nú, hægrismelltu á bílstjóri og velja Uninstall tæki.
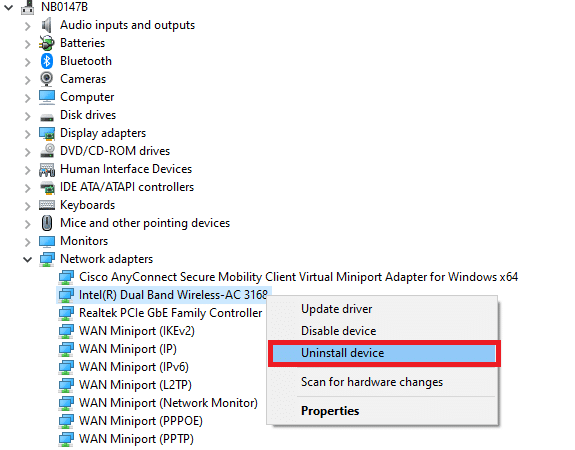
4. Nú mun viðvörunarbeiðni birtast á skjánum. Hakaðu í reitinn Eyða ökumannsforritinu fyrir þetta tæki og staðfestu vísunina með því að smella Uninstall.
5. Visit the manufacturer’s website (e.g. Intel) to download the driver manually.
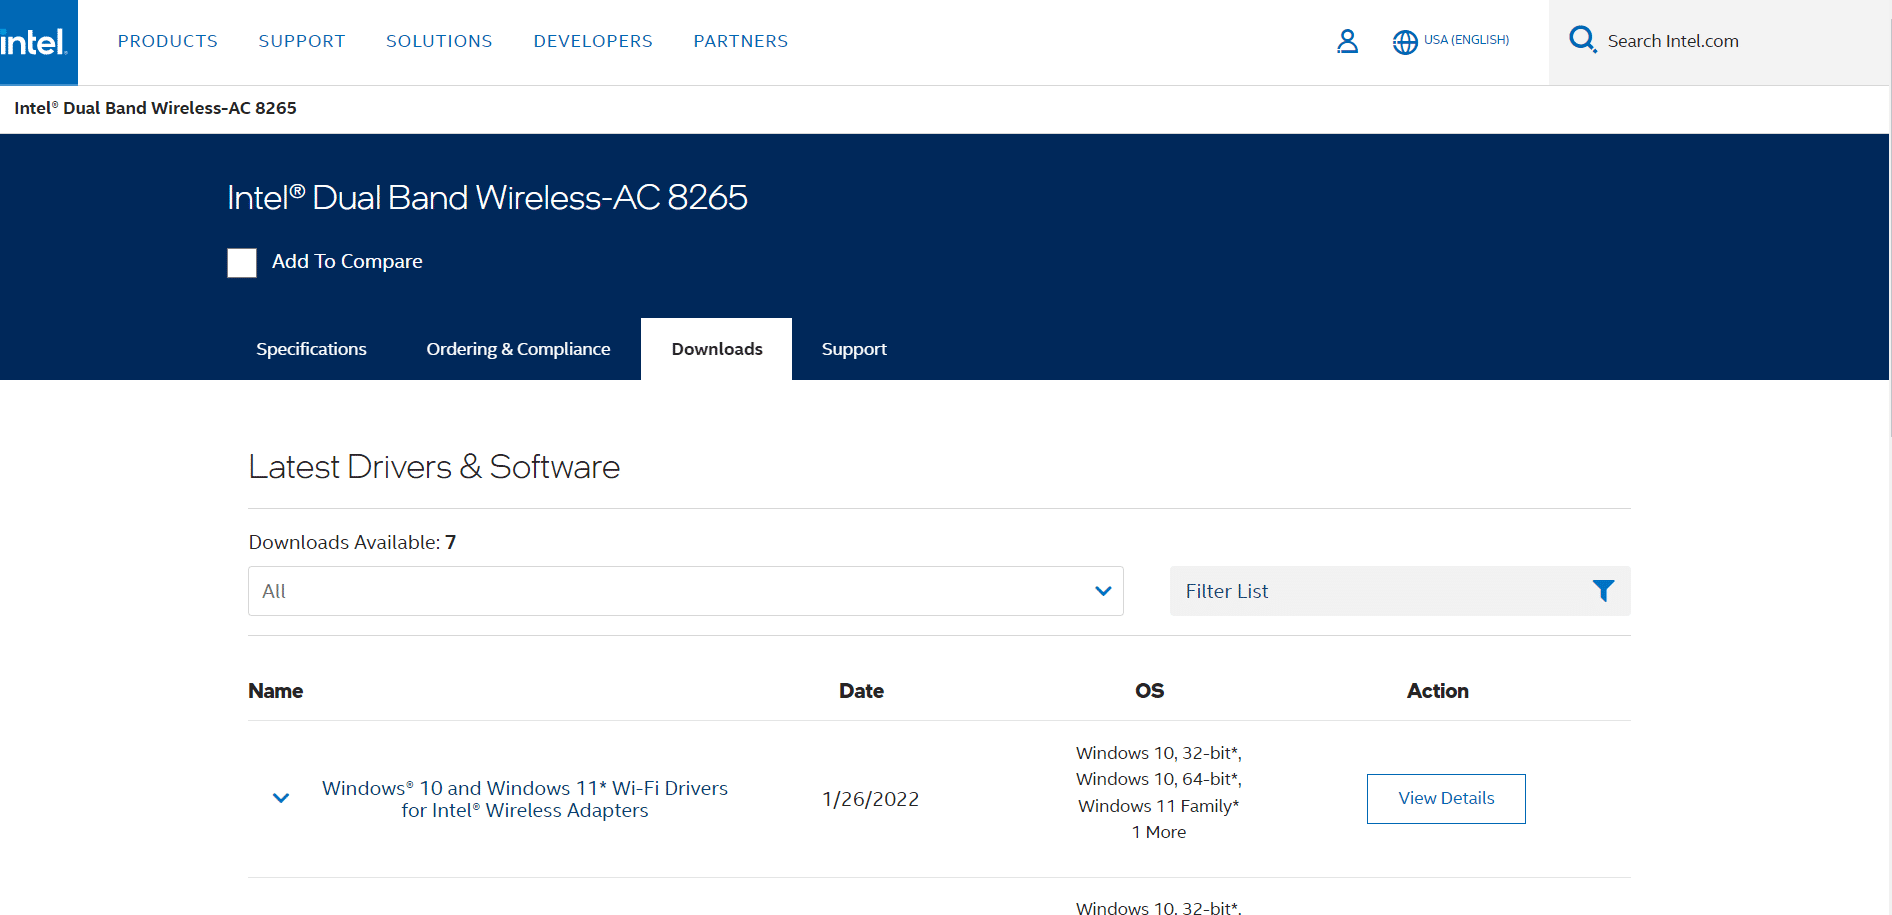
6. Once downloaded, double-click on the niðurhalaða skrá and follow the given instructions to install it.
Aðferð 8: Uppfærðu Windows
Regular updates are not only necessary for your browsers but also for your operating systems too. You can fix the bugs and update problems in your Windows 10 computer by updating it periodically. Follow the below-mentioned steps to update your Windows PC.
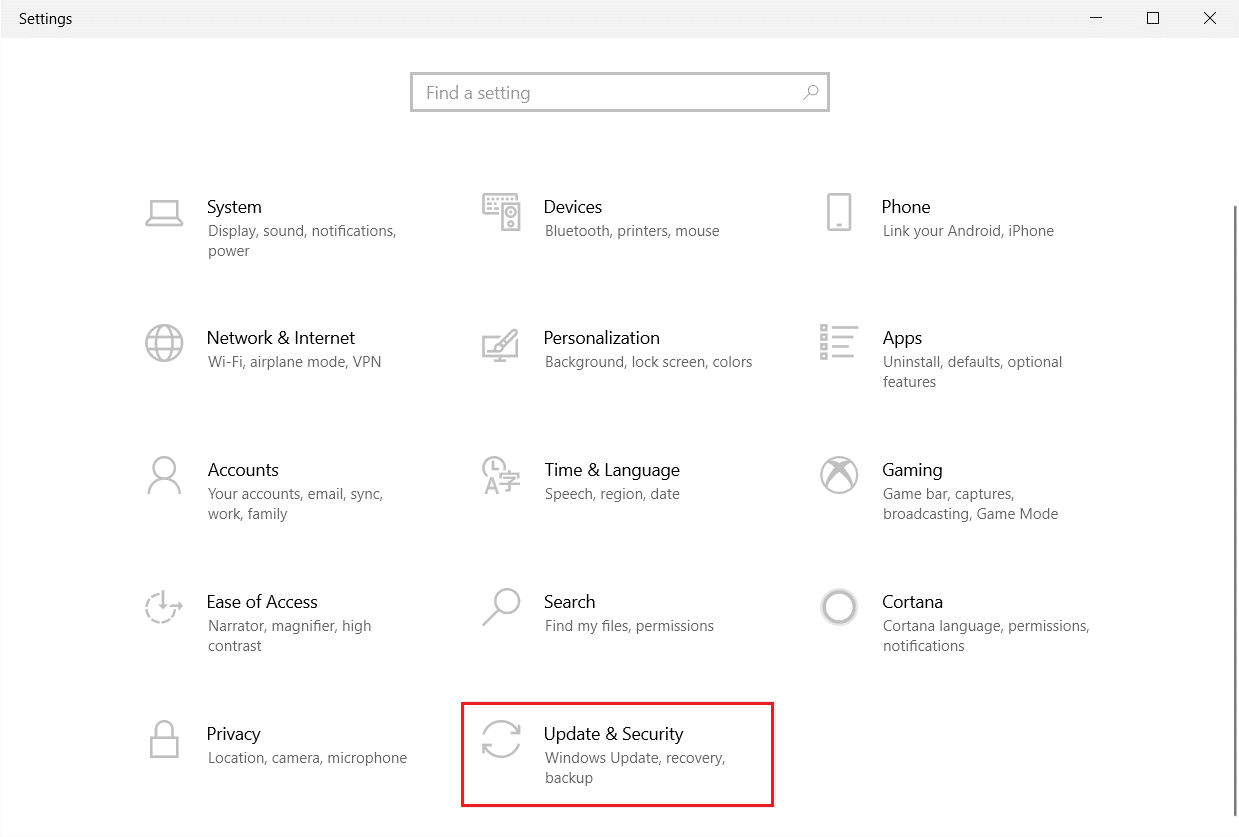
1. Ýttu á Windows + I lyklar samtímis að hefjast handa Stillingar.
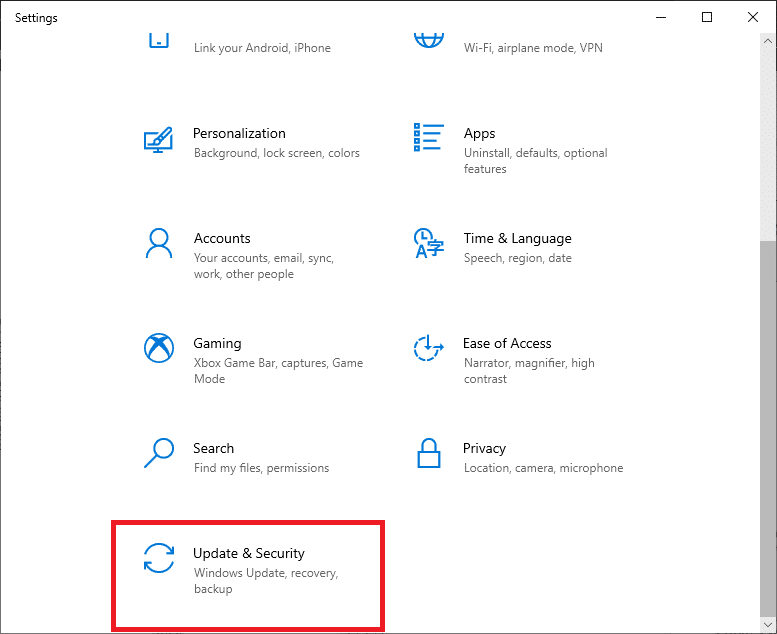
2. Smelltu á Uppfærsla og öryggi flísar, eins og sýnt er.
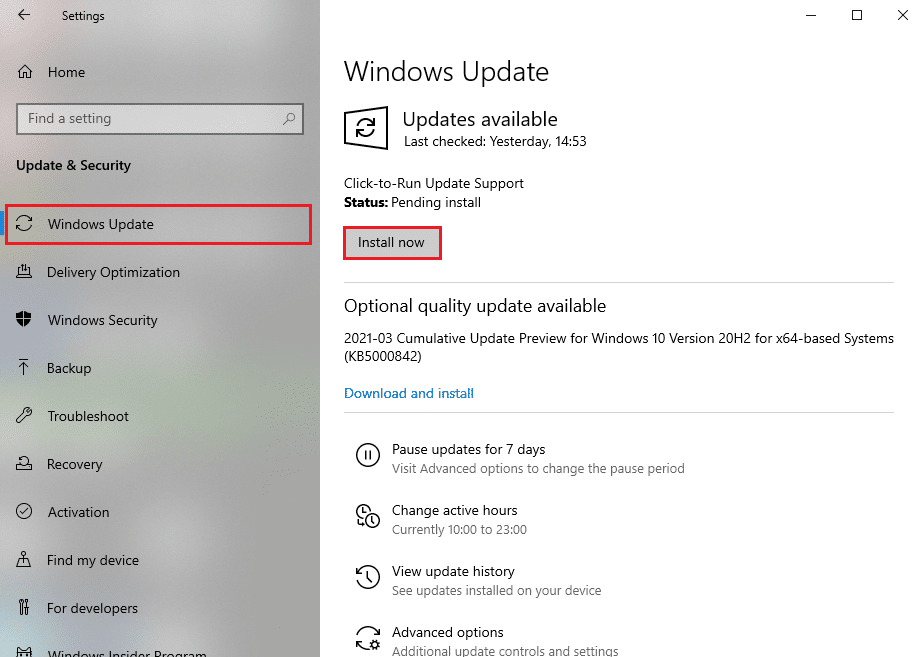
3. Í Windows Update flipann, smelltu á Athugaðu með uppfærslur hnappinn.
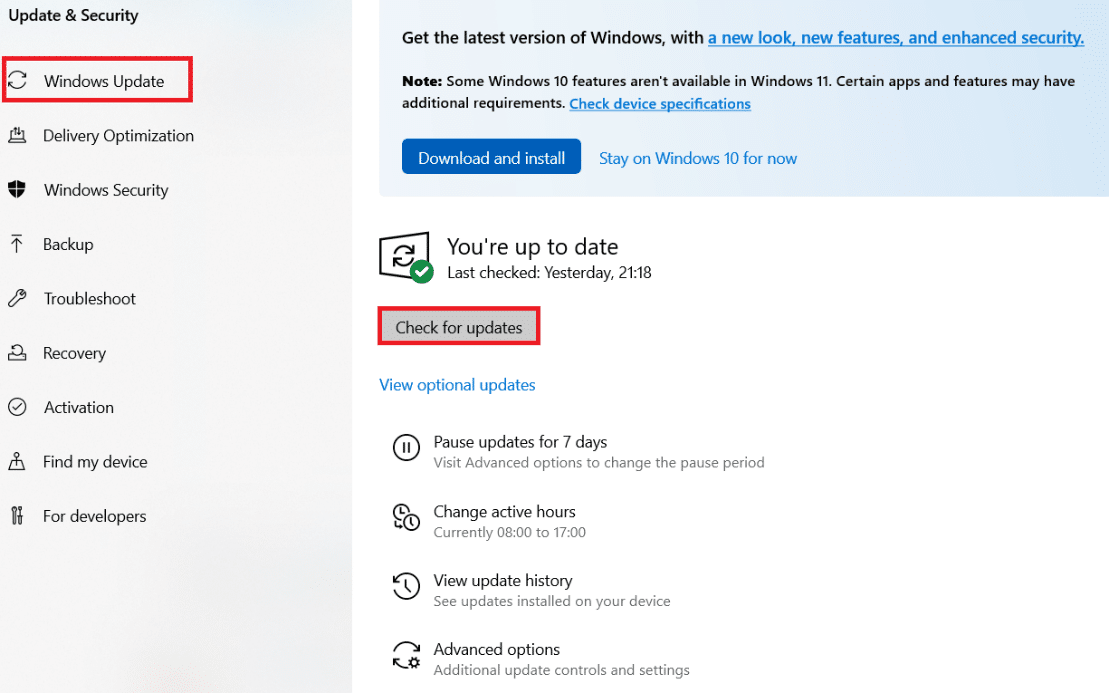
4A. Ef ný uppfærsla er tiltæk skaltu smella á Setja nú and follow the on-screen instructions. Restart your PC when done.
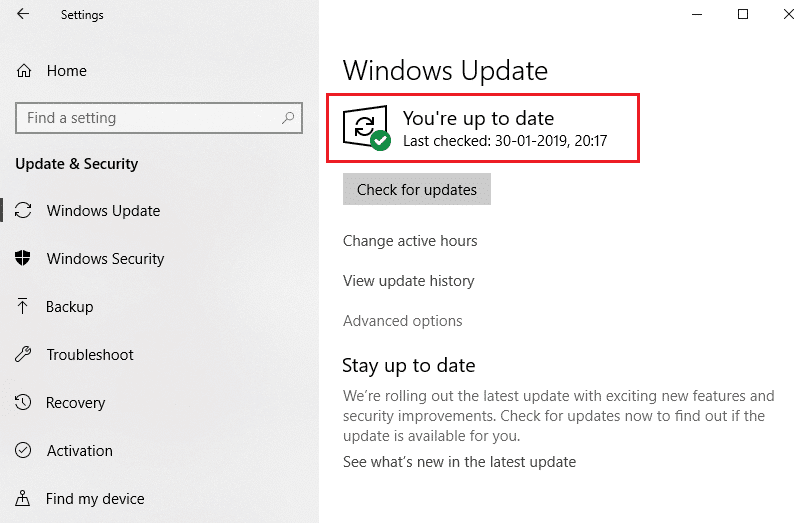
4B. Otherwise, it will show Þú ert uppfærður message as shown.
Einnig lesið: 14 Ways to Fix Chrome Profile Error
Method 9: Run Antivirus Scan
If you are getting your connection was interrupted a network change was detected an error, there may be some chances that your PC has a malware infection. Follow the below-mentioned steps to run a full system scan that offers incredible protection to fix all of your problems.
1. Haltu inni Windows + I lyklar saman til að opna Stillingar.
2. Hér, smelltu á Uppfærsla og öryggi, eins og sýnt er.
3. Veldu síðan Windows Öryggi valmöguleika í vinstri glugganum.
4. Næst skaltu velja Veira og ógnunarvörn valkostur undir Verndarsvæði.
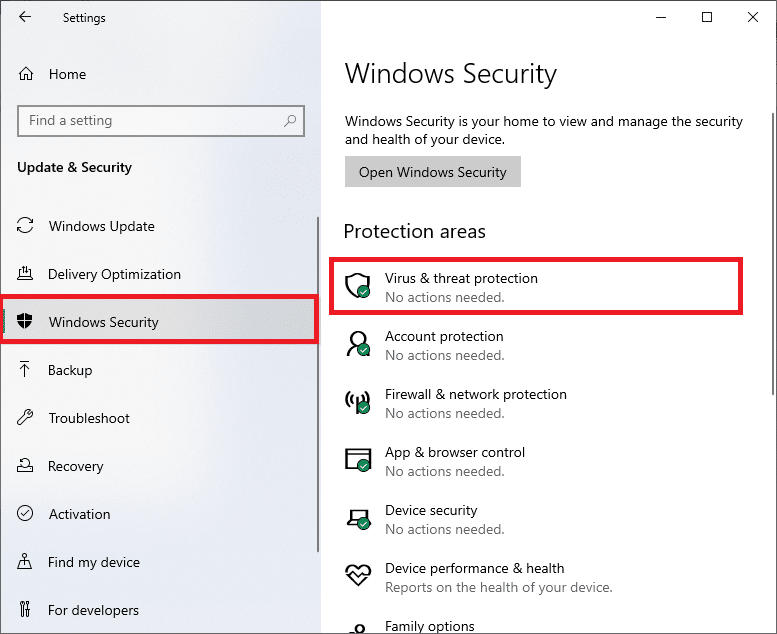
5. Smelltu á Valkostir skanna, eins og sýnt er.
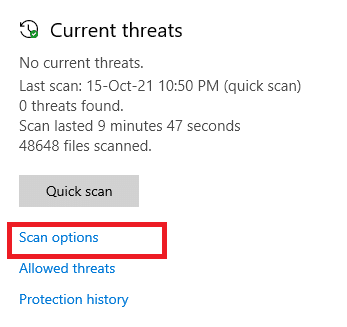
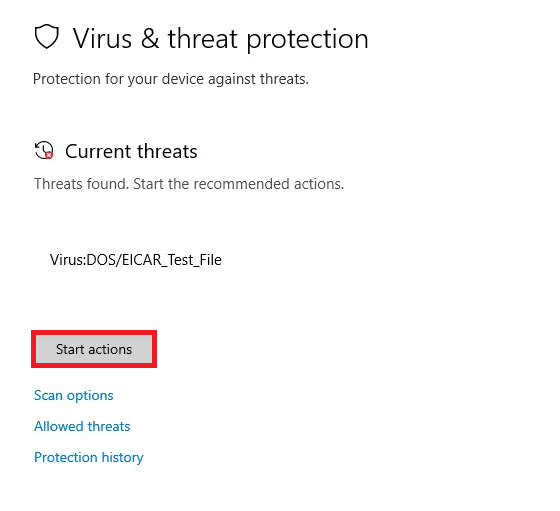
6. Choose a scan option as per your preference and click on Skannaðu núna.
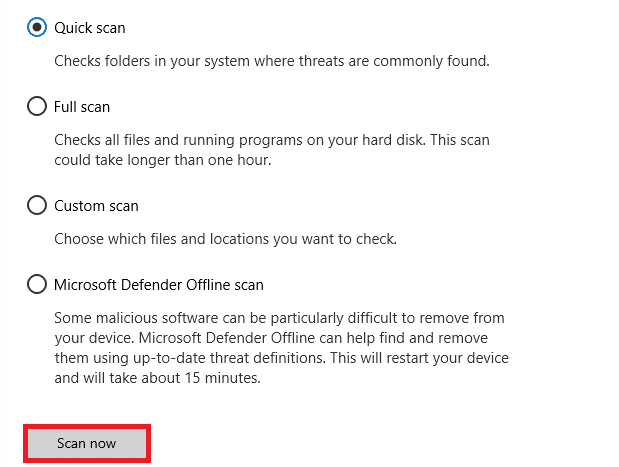
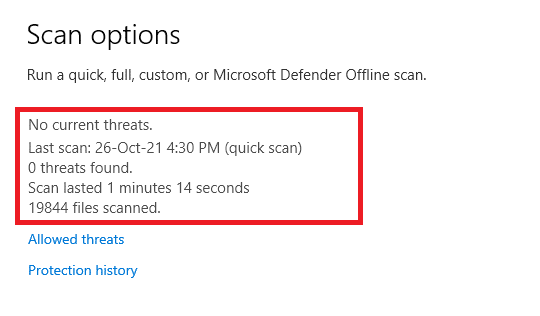
7A. If there are threats, have a glance at all the threats listed in the window. Here, click on Start Actions undir Núverandi hótanir.
7B. If you do not have any threats in your system, the system will show the No actions needed alert as highlighted below.
Method 10: Whitelist URL or Disable Antivirus Temporarily
If you face this error in Edge even after your computer is malware-free and Windows is up to date, then there are some chances that the super-security suite might prevent you from accessing any content-specific URL. Here are some instructions to whitelist URLs in the antivirus program.
Athugaðu: Hér Avast Free Antivirus is taken as an example. Do follow the steps according to your Antivirus program.
Option I: Whitelist the URL
If you do not want Avast to block any particular website, you can also whitelist the URL by following the below-mentioned steps and fix A network change was detected Windows 10 error.
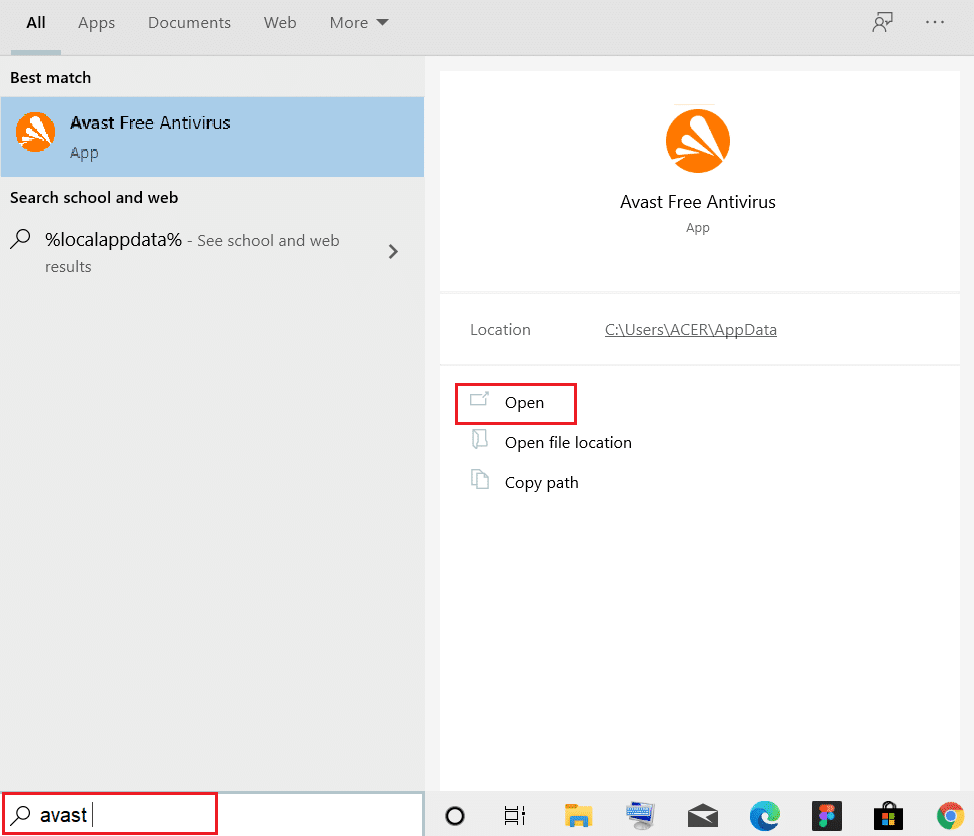
1. Navigate to the search menu, type Avast og smelltu á Opna.
2. Nú, smelltu á valmynd option at the top right corner, as shown below.

3. Nú skaltu smella á Stillingar úr fellilistanum.

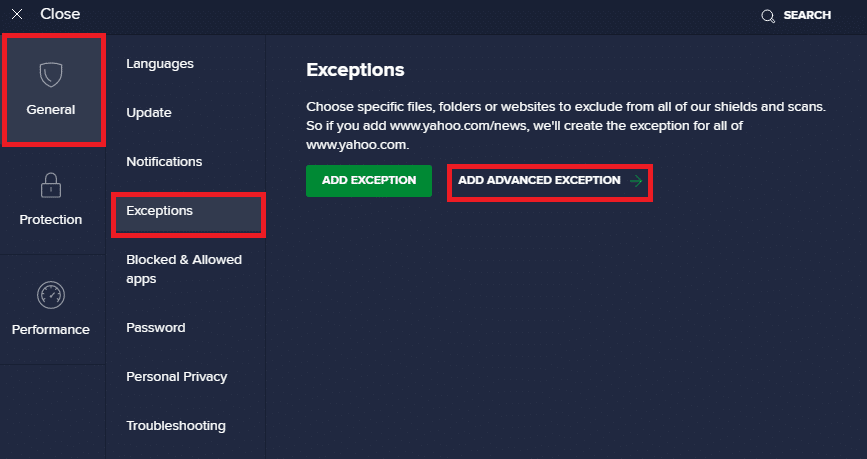
4. Í General tab, skiptu yfir í undantekningar flipann og smelltu á ADD ADVANCED EXCEPTION undir undantekningar reit.
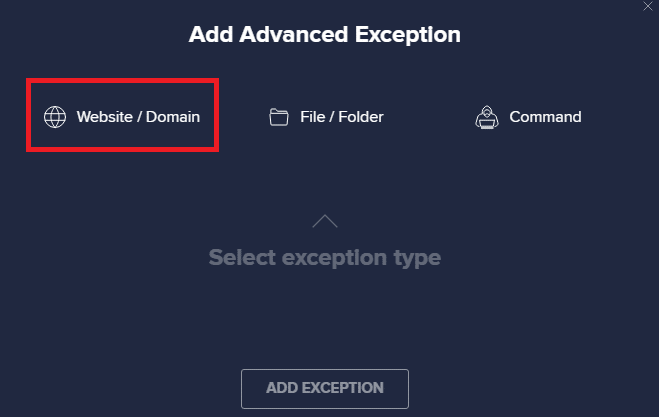
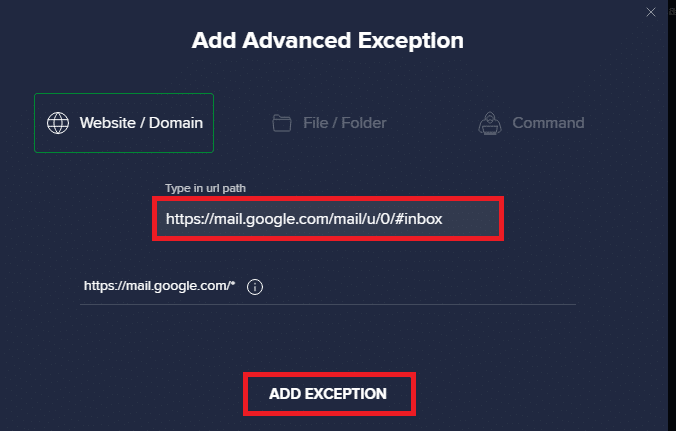
5. Nú skaltu smella á Website/Domain í nýja glugganum.
6. Now, paste the URL in the Type in url path. Smelltu næst á ADD EXCEPTION valkostur.
Athugaðu: If you want to remove the URL from the Avast whitelist, hover over your URL in the main Settings window and click on the Trash icon as depicted below.
![]()
Option II: Disable Antivirus Temporarily
If you did not fix it by adding an exception to the URL in your antivirus program, you could disable them by implementing the steps as instructed below.
1. Flettu að Vírusvarnar tákn in the Taskbar and hægri-smella á það.
![]()
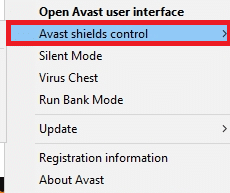
2. Nú skaltu velja Avast skjöldur stjórna valkostur.
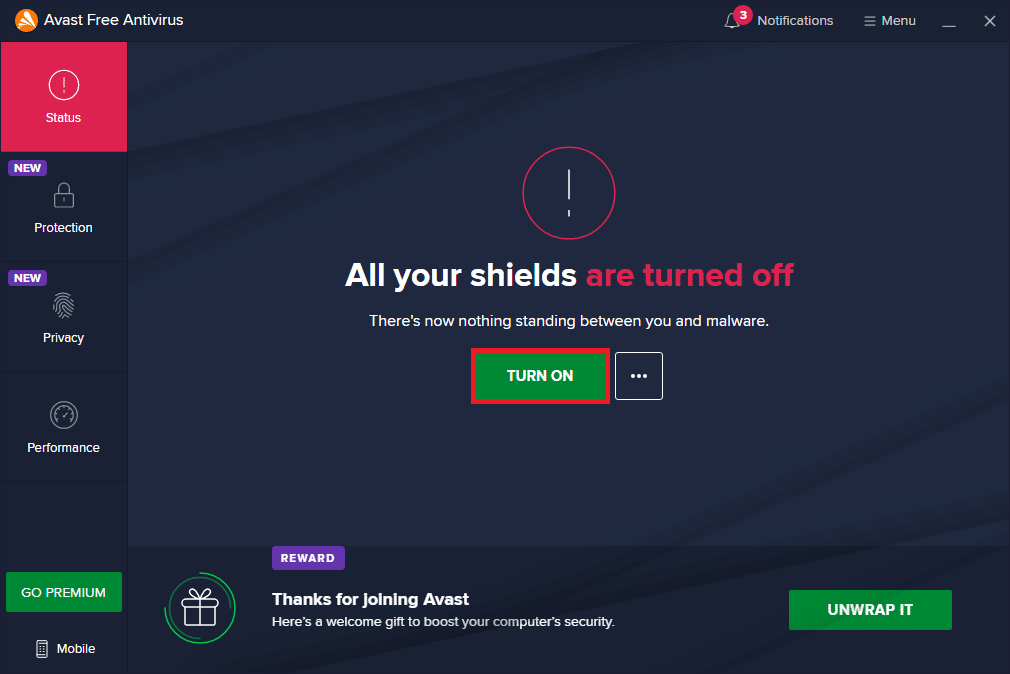
3. Choose the option according to your convenience and confirm the prompt displayed on the screen.
- Slökktu á í 10 mínútur
- Slökktu í 1 klst
- Slökktu þar til tölvan er endurræst
- Slökkva varanlega

Athugaðu: Now, go back to the main window. Here, you have turned off all shields from Avast. To activate the settings, click on KVEIKJA Á.
Einnig lesið: Fix Chrome Blocking Download Issue
Method 11: Reset Browser Settings
If you are not satisfied with the above fixes, then try resetting your browser to its default settings. First, follow the below-mentioned steps to reset Microsoft Edge, then check if a network change was detected Windows 10 problem is resolved.
1. Sjósetja Edge vafranum og sigla til Stillingar.
2. Nú, í vinstri glugganum, smelltu á Núllstilla stillingar eins og sýnt er.
Athugaðu: Þú getur líka slegið inn edge://settings/reset að hleypa af stokkunum Reset Edge page beint.
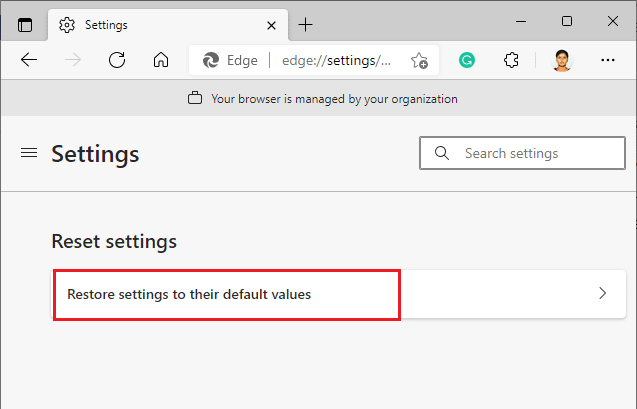
3. Nú skaltu smella á Endurheimta stillingar sjálfgefið gildi valmöguleika eins og sýnt er.
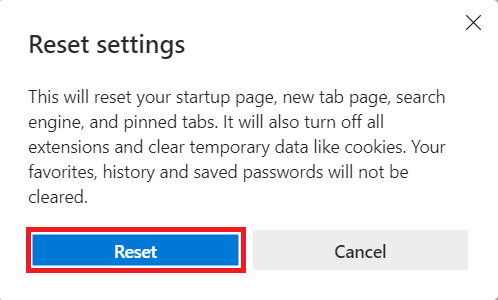
4. Nú skaltu staðfesta hvetja með því að smella á Endurstilla eins og sýnt er.
Einnig lesið: How to Enable DNS over HTTPS in Chrome
Method 12: Repair Microsoft Edge
If none of those mentioned above methods has helped you fix a network change was detected Windows 10 error, try repairing Microsoft Edge. Doing this will fix all the relevant issues with the search engine, updates, or other related problems triggering this ERR NETWORK CHANGED Windows 10 error.
Athugaðu: Close Microsoft Edge browser if it is opened.
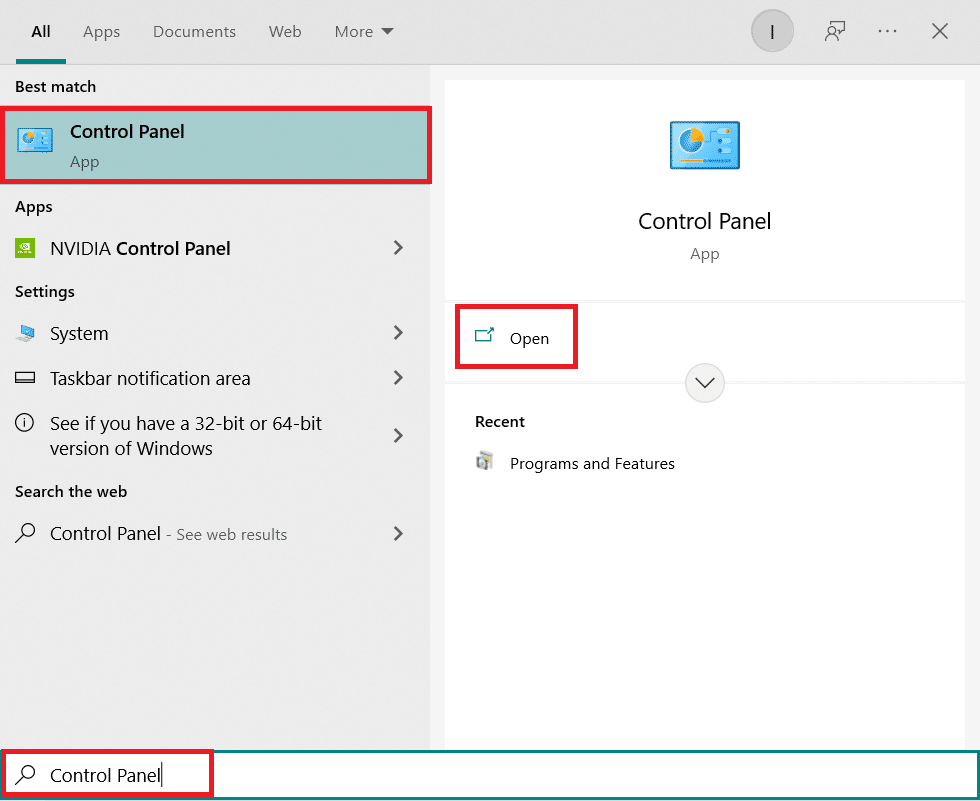
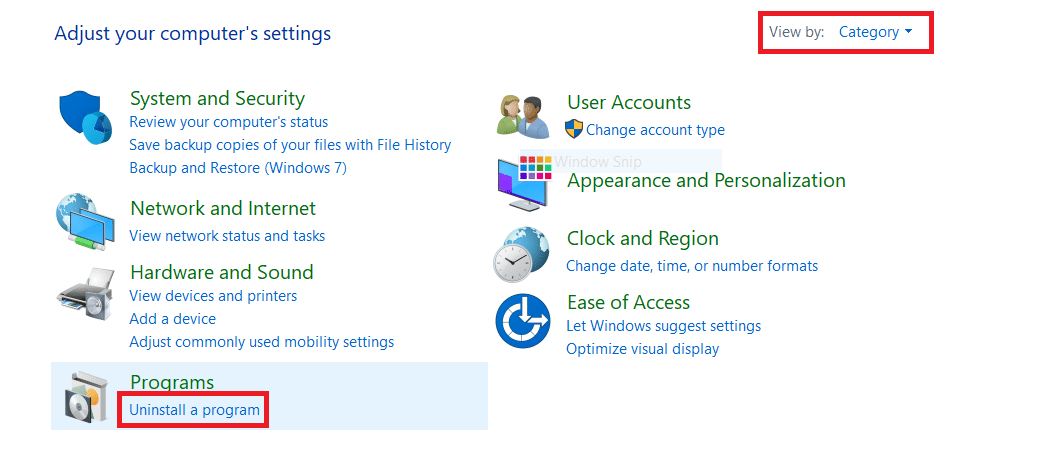
1. Ýttu á Windows lykill, gerð Stjórnborð og smelltu á Opna.
2. Stilltu Skoða eftir as Flokkur og smelltu Uninstall forrit.
3. Search and click on Microsoft Edge Og veldu Breyta option as depicted in the below picture.
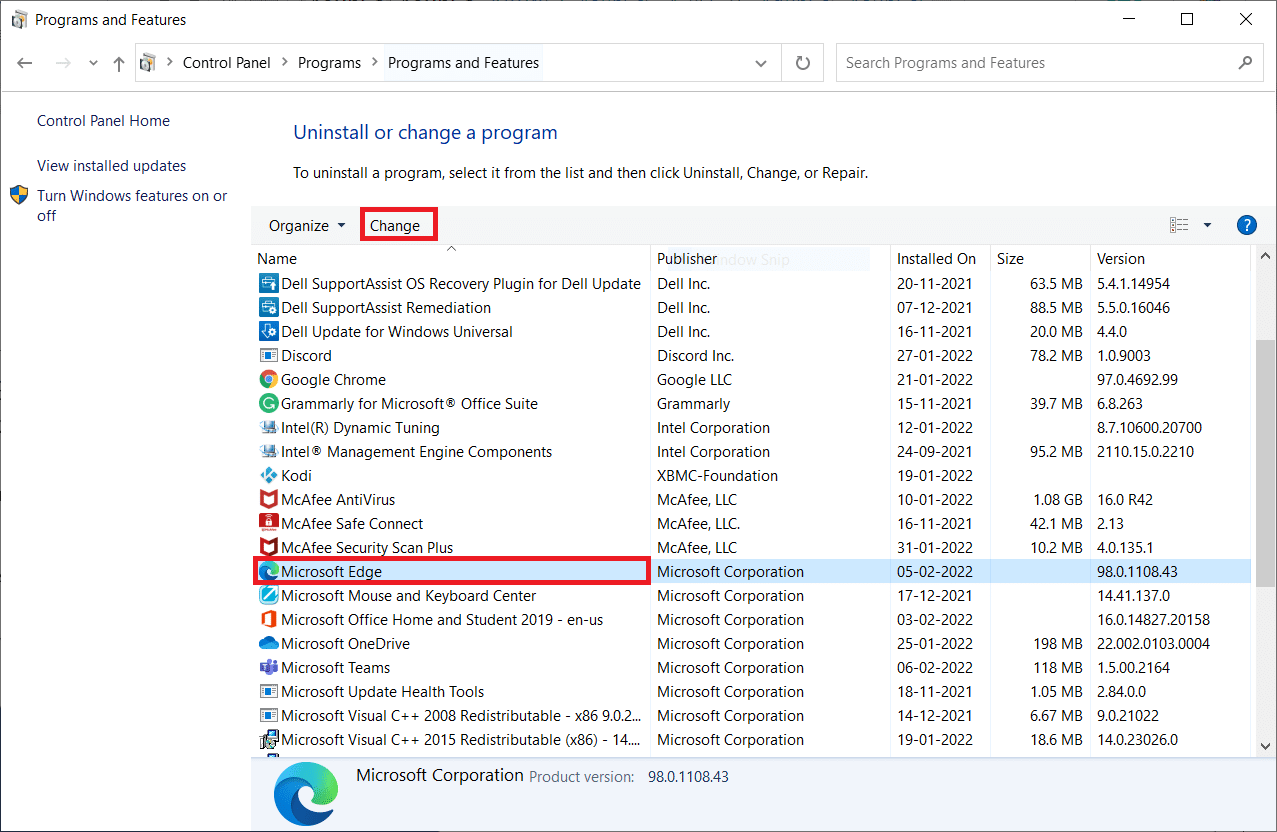
4. smellur Já í tilvitnuninni.
5. Nú skaltu staðfesta hvetja með því að smella á viðgerðir.
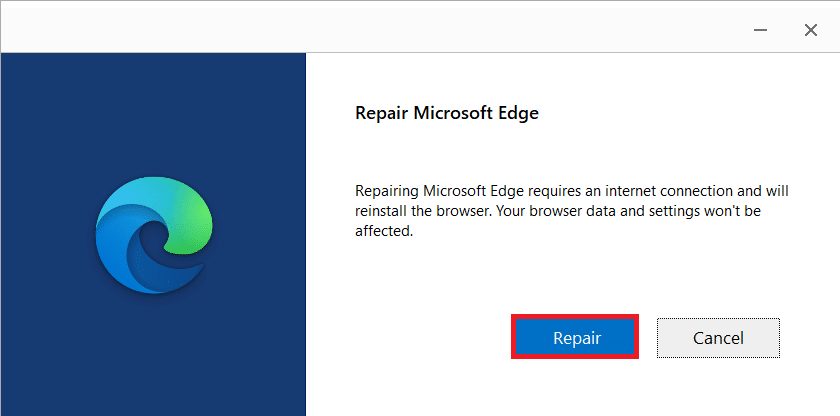
6. Endurræsa the computer once you complete all the steps mentioned above.
7. Now, the new version of Microsoft Edge will be installed on your PC. Launch a site and check if Your connection was interrupted error is fixed now.
Einnig lesið: Fix Microsoft Edge Not Working in Windows 10
Aðferð 13: Framkvæmdu Clean Boot
If all of these methods fail to give you a fix to a network change was detected Windows 10 error, then you can try resetting your PC or restoring it to the previous version. This helps you resolve any software incompatibility issues, thereby fixing your connection was interrupted a network change was detected an error in the Edge browser. Here are a few steps to clean boot your Windows 10 PC to fix Microsoft Edge ERR NETWORK CHANGED Windows 10 issue.
Athugaðu: Make sure you log in as an administrator to clean boot your PC.
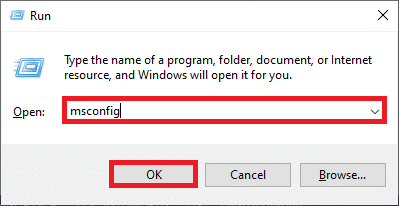
1. To launch the Hlaupa valmynd, ýttu á Windows + R lyklar saman.
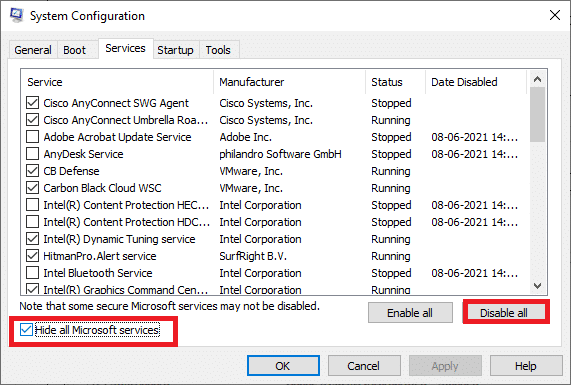
2. Gerð msconfig og smelltu á OK button to open System Configuration.
3. Skiptu nú yfir í Þjónusta flipi í Kerfisstilling gluggi.
4. Merktu við reitinn við hliðina á Fela alla Microsoft þjónustur, og smelltu á Afvirkja allt button as shown highlighted.
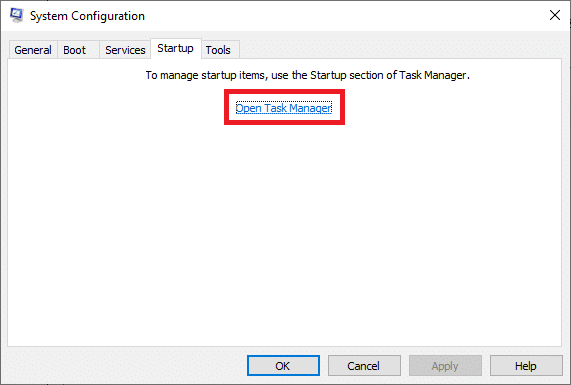
5. Skiptu nú yfir í Startup flipi and click the link to Opna Verkefnisstjóri eins og sýnt er hér að neðan.
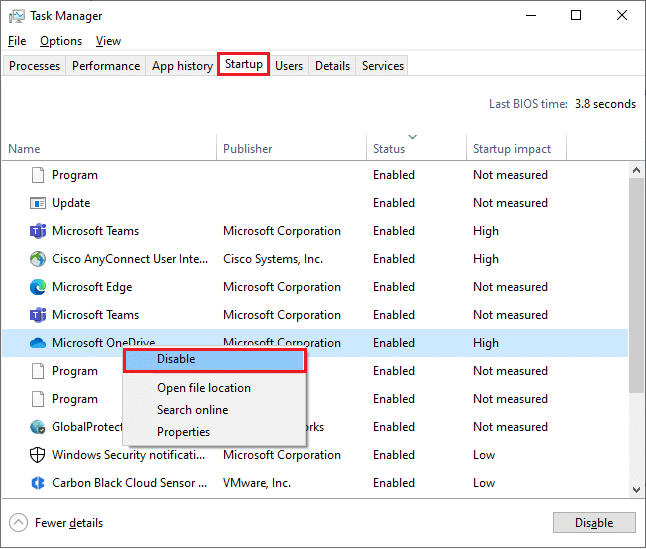
6. Next, right-click on the startup tasks which are not required and click on Slökkva valmöguleika eins og sýnt er.
7. Lokaðu Verkefnisstjóri og Kerfisstilling Windows.
8. Að lokum, endurræstu tölvuna.
Mælt með:
We hope that this guide was helpful and you could fix ERR NETWORK CHANGED error in your device. Let us know which method worked for you the best. Also, if you have any queries or suggestions regarding this article, then feel free to drop them in the comments section.

