If you have 2 in 1 Windows device such as Tablets, you would be familiar with the importance of the screen rotation feature. Users report that the screen rotation feature has stopped working & the Screen Rotation Lock option is greyed out. If you’re facing this issue, then don’t worry as this is just a setting issue which means it can be easily fixed. This guide will walk you through the steps to fix rotation lock greyed out in Windows 10.
Here are issues which can be resolved using this guide:
- Rotation lock missing
- Auto Rotate not working
- Rotation lock greyed out.
- Screen rotation not working
Fix Rotation Lock greyed out in Windows 10
Assicurati di creare un punto di ripristino nel caso in cui qualcosa vada storto.
Method – 1: Enable Portrait Mode
One of the methods to fix this problem is to rotate your screen in portrait mode. Once you rotate it to portrait mode, most probably your rotation lock would start working, i.e. clickable again. In case your device is not rotating into portrait mode automatically, try to do it manually.
1. Stampa Tasto Windows + I to open Settings then click on the Sistema icona.

2. Assicurati di selezionare Dsiplay dal menu a sinistra.
3. Individua il file Orientation section where you need to choose Ritratto Dal menu a discesa.
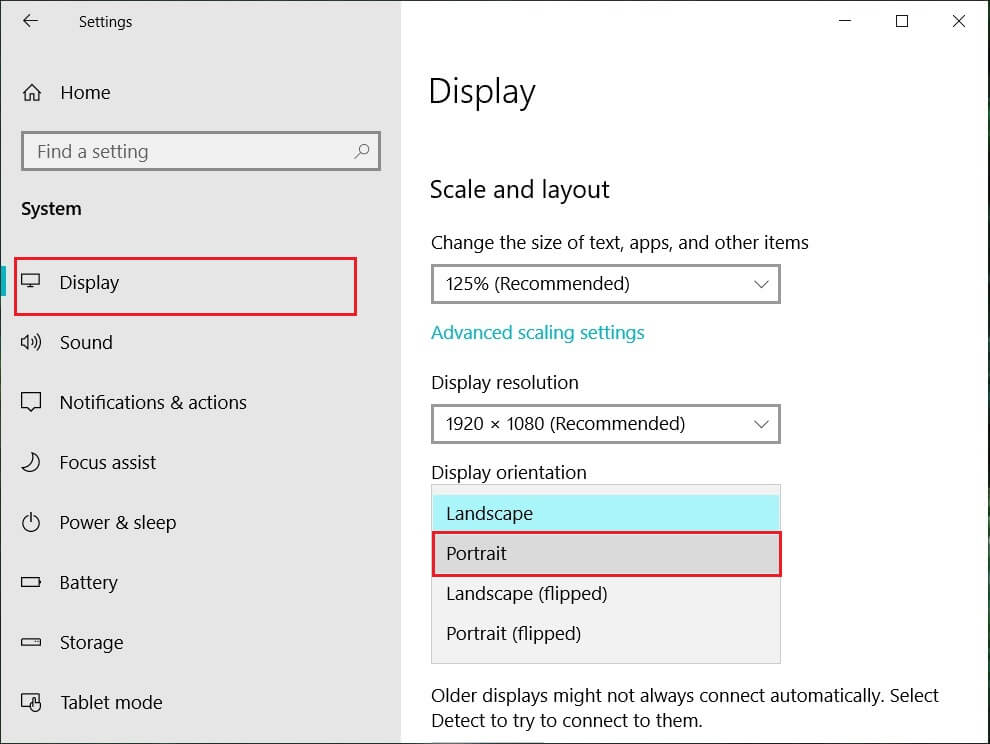
4. Your device will automatically turn into portrait mode.
Method – 2: Use your device in tent mode
Some users, particularly Dell Inspiron, experienced that when their rotation lock is greyed out, the only way to solve this problem is to put your device in Tent Mode.
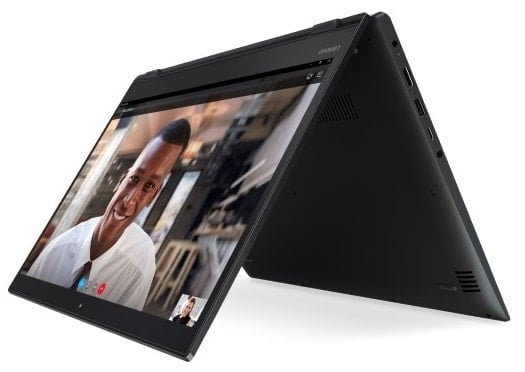
Immagine di credito: Microsoft
1. You need to put your device in Tent Mode. If your display is upside down, you need not worry.
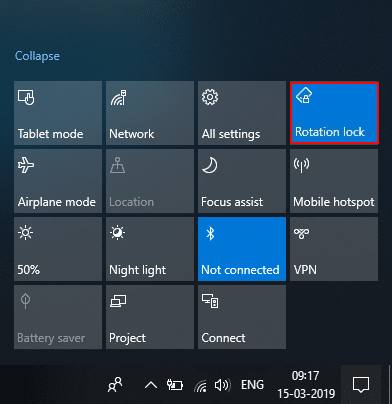
2. Ora fai clic su Centro operativo Windows, Blocco rotazione will be working. Here you need to turn it off if you want so that your device rotate properly.
Method – 3: Disconnect your keyboard
If rotation lock is greyed in your Dell XPS and Surface Pro 3 (2-in-1 device), you need to disconnect your keyboard, and many users reported that disconnecting the keyboard solves the rotation lock problem. If you own different devices, you can still use this method to fix rotation lock greyed out in Windows 10 issue.
Method – 4: Switch to Tablet Mode
Many users experienced that this rotation greyed out the problem by switching their device into Tablet Mode. If it is switched automatically, it is good; otherwise, you can do it manually.
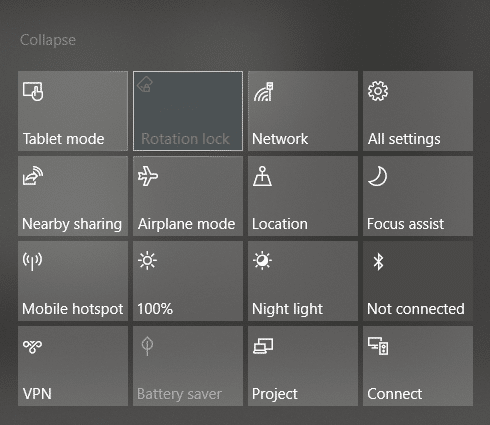
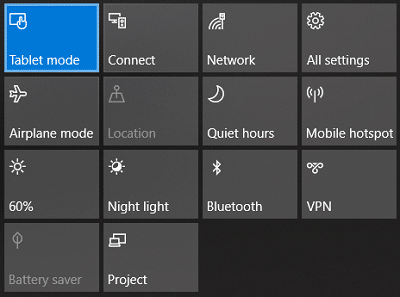
1. Clicca sul Centro operativo Windows.
2. Here, you will find Modalità tablet option, Click on It.
OR
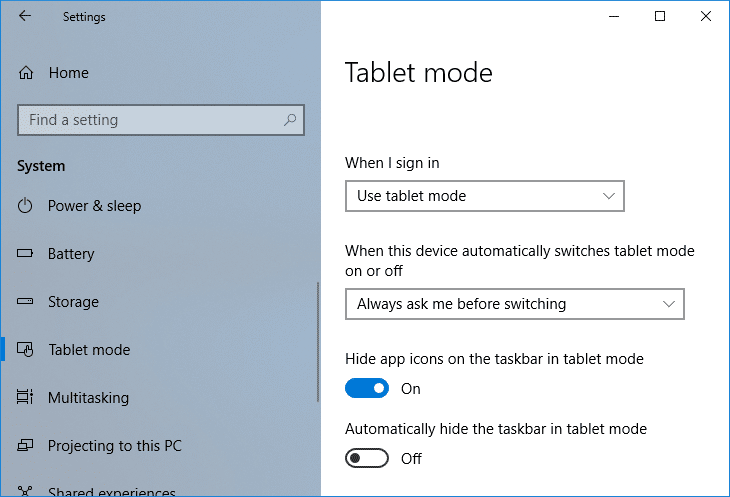
1. Premi il tasto Windows + I per aprire Impostazioni profilo quindi fare clic su Sistema icona.
2. Here it would help if you located Modalità tablet option under the left window pane.
3. Ora dal “When I sign in” drop-down, select “Usa la modalità tablet".
Method – 5: Change LastOrientation Registry Value
If you still experience a problem, you can solve it by changing some registry values.
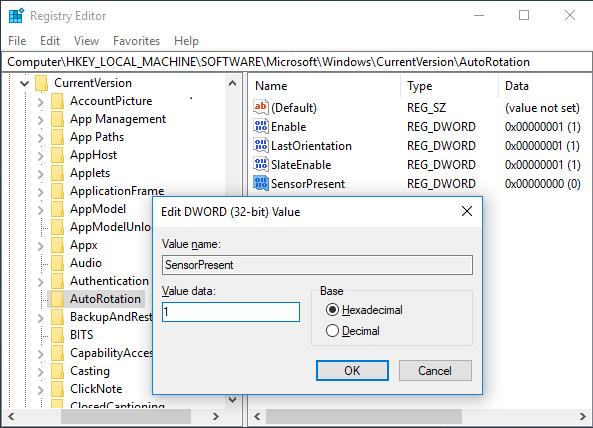
1. Press Windows +R and enter regedit quindi premi Invio.

2. Once registry editor opens, you need to navigate to the below path:
HKEY_LOCAL_MACHINESOFTWAREMicrosoftWindowsCurrentVersionAutoRotation
Nota: Follow the above folders one by one to locate Auto Rotation.
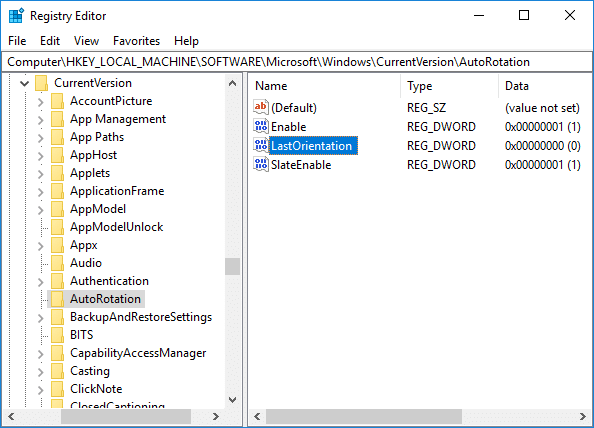
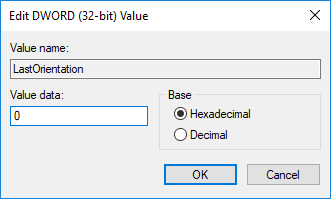
3. Assicurati che select AutoRotation quindi nel riquadro destro della finestra fare doppio clic su Last Orientation DWORD.
4. Now enter 0 under Value data field e fare clic su OK.
5. Se c'è SensorPresent DWORD, double-click on it and set its valore per 1.
Method – 6: Check Sensor Monitoring Service
Sometimes services of your device can cause a rotation lock problem. Therefore, we can get it sorted with Windows Monitoring services feature.
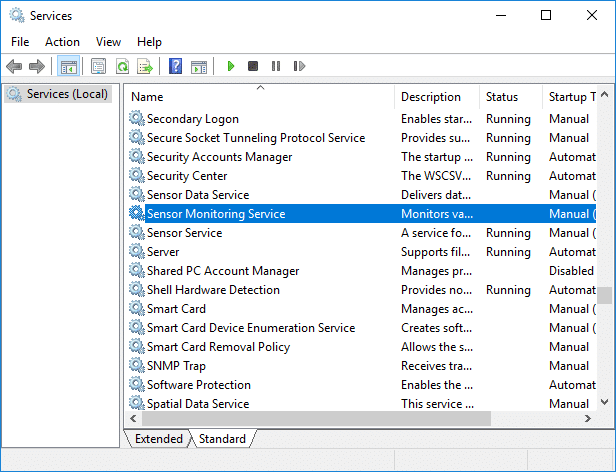
1. Premi Windows + R e digita services.msc e premi Invio.

2. Once the services window opens, find the Sensor Monitoring services option e fare doppio clic su di esso.
3. Now, from the Startup type drop-down select Automatico e poi clicca sul Pulsante Start per avviare il servizio.
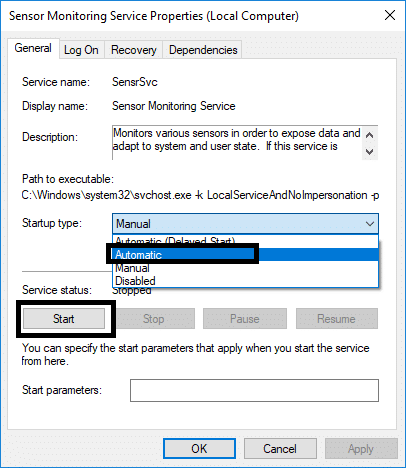
4. Finally, click Apply followed by OK to save the settings, and you can reboot the system to apply the changes.
Method – 7: Disable YMC service
If you are using a Lenovo Yoga device and experiencing this problem, you can fix rotation lock grayed out in the Windows 10 issue by disabling YMC service.
1. Windows + R type services.msc e premi Invio.
2. Individua YMC services e fai doppio clic su di esso.
3. Impostare il Tipo di avvio su disabile and click Apply, followed by OK.
Method – 8: Update Display Drivers
One reason for this problem could be the driver update. If your respective driver for the monitor is not updated, it can cause the Rotation Lock greyed out in Windows 10 Issue.
Aggiorna manualmente i driver grafici utilizzando Gestione dispositivi
1. Premi il tasto Windows + R quindi digita devmgmt.msc e premi invio per aprire Gestore dispositivi.

2. Successivamente, espandi Visualizza gli adattatori e fai clic con il pulsante destro del mouse sulla scheda grafica e seleziona Abilitare.

3. Dopo averlo fatto nuovamente, fai clic con il pulsante destro del mouse sulla scheda grafica e seleziona "Aggiorna driver".

4. selezionare "Cerca automaticamente il software del driver aggiornato"e lascia che finisca il processo.

5. If the above steps helped fix the issue then very good, if not then continue.
6. Ancora una volta fai clic con il pulsante destro del mouse sulla scheda grafica e seleziona "Aggiorna driver" ma questa volta nella schermata successiva seleziona "Sfoglia il mio computer per il software del driver."

7. Ora seleziona "Lasciami scegliere da un elenco di driver disponibili sul mio computer. "

8. Infine, seleziona il driver più recente dalla lista e clicca Avanti.
9. Lascia che il processo precedente finisca e riavvia il PC per salvare le modifiche.
Segui gli stessi passaggi per la scheda grafica integrata (Intel in questo caso) per aggiornare i suoi driver. Vedi se puoi Fix Rotation Lock greyed out Issue, in caso contrario, continuare con il passaggio successivo.
Aggiorna automaticamente i driver grafici dal sito Web del produttore
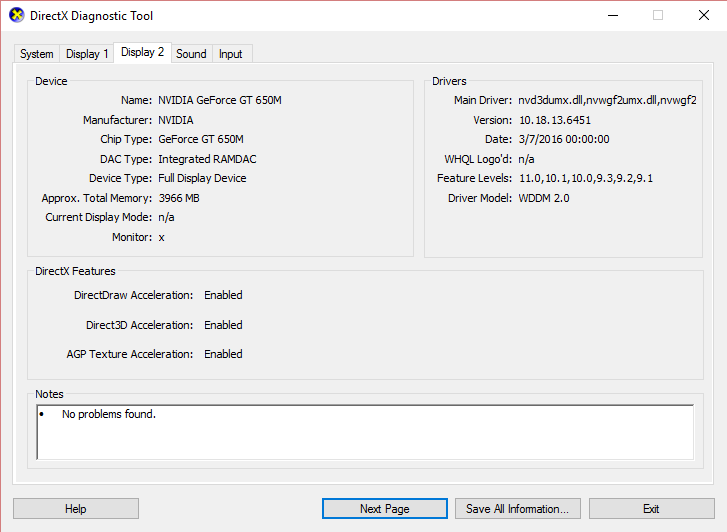
1. Premi il tasto Windows + R e nella finestra di dialogo digita "dXDiag” e premi invio.

2. Dopo aver cercato la scheda Display (ci saranno due schede display, una per la scheda grafica integrata e un'altra sarà di Nvidia), fai clic sulla scheda Display e scopri la tua scheda grafica.
3. Ora vai al driver Nvidia scarica il sito web e inserisci i dettagli del prodotto che scopriamo.
4. Cerca i tuoi driver dopo aver inserito le informazioni, fai clic su Accetto e scarica i driver.

5. Dopo aver scaricato con successo, installa il driver e avrai aggiornato correttamente i driver Nvidia manualmente.
Method – 9: Remove Intel Virtual Buttons Driver
Some users reported that Intel Virtual button drivers cause rotation lock problem on your device. To solve this problem, you can uninstall the driver.
1. Open Device manager on your device by pressing Windows + R and type devmgmt.msc and hit Enter or press Windows X and choose Gestione periferiche dall'elenco delle opzioni.
2. Once Device manager box is opened locate Intel virtual buttons driver.
3. Fare clic con il tasto destro su di esso e scegliere Disinstallare.
Consigliato:
Spero che questo articolo ti sia stato utile e ora puoi farlo facilmente Fix Rotation Lock greyed out in Windows 10, ma se hai ancora domande riguardo a questo tutorial, sentiti libero di farle nella sezione commenti.
")
