Enable or Disable Secure Login in Windows 10: Secure Login is a security feature of Windows 10 which when enabled requires users to press Ctrl + Alt + delete on the lock screen before they can sign in using their username and password in Windows 10. Secure Sign just adds an extra layer of security to your sign-in screen which is always a good thing to make your PC is more secure. The main problem occurs when a virus or malware programs mimic a sign-in screen in order to retrieve username & password information from users. In such cases, Ctrl + Alt + delete ensures that you are seeing the authentic sign-in screen.
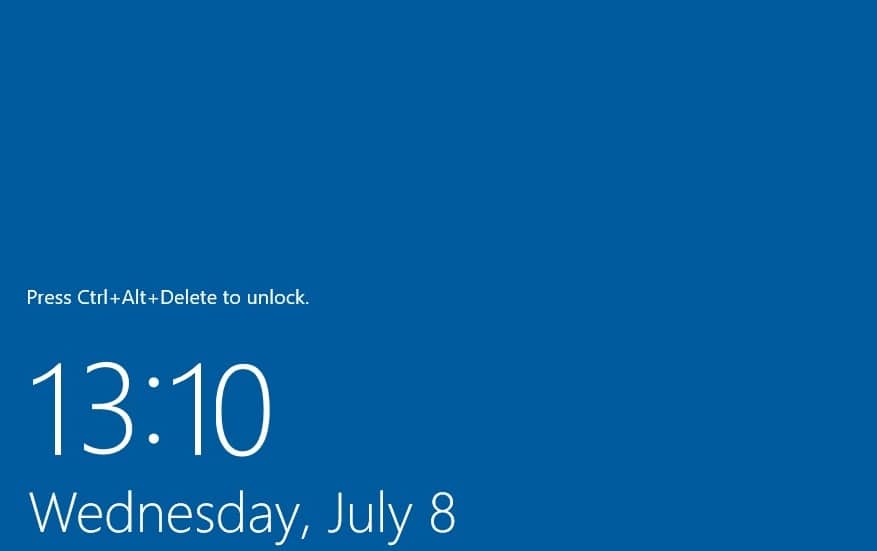
This security setting is disabled by default and thus you need to follow this tutorial in order to enable the secure logon. There are many additionals benefit of using secure logon so it’s recommended you enable it. So without wasting any time let’s see How to Enable or Disable Secure Login in Windows 10 which requires the user to press Ctrl+Alt+Delete on the lock screen before signing in to Windows 10.
Enable or Disable Secure Login in Windows 10
הקפד ליצור נקודת שחזור למקרה שמשהו ישתבש.
Method 1: Enable or Disable Secure Sign-in in Netplwiz
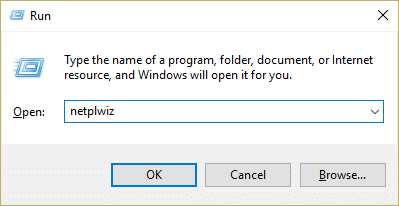
1. הקש על מקש Windows + R ואז הקלד netplwiz ולחץ על Enter כדי לפתוח חשבונות משתמשים.
2. עבור אל כרטיסייה מתקדמת ו checkmark “Require users to press Ctrl+Alt+Delete” box at the bottom under the Secure sign-in to enable secure login in Windows 10.
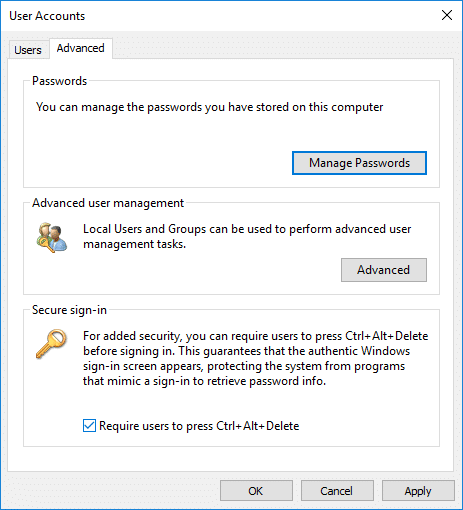
3. לחץ על החל ולאחר מכן על OK.
4.If in future you need to disable secure login then simply בטל "Require users to press Ctrl+Alt+Delete" קופסא.
Method 2: Enable or Disable Secure Login in Local Security Policy
הערה: This method will only work for Windows Pro, Education and Enterprise edition. For Windows 10 Home users, you can follow skip tis method inseatd follow method 3.
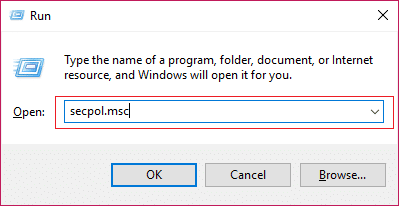
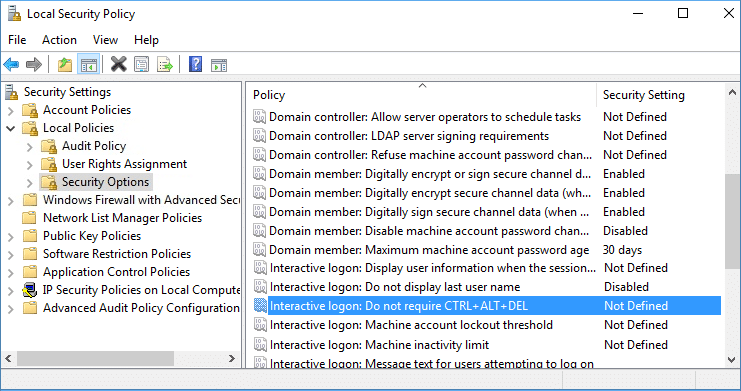
1. הקש על מקש Windows + R ואז הקלד secpol.msc ולחץ על Enter.
2.Navigate to the following policy:
מדיניות מקומית> אפשרויות אבטחה
3. הקפד לבחור אפשרויות אבטחה then in the right window pane double-click on “Interactive Logon: Do not require CTRL+ALT+DEL” to open its properties.
4.Now to enable secure login in Windows 10, בחר נכה ולאחר מכן לחץ על החל ולאחר מכן על אישור.
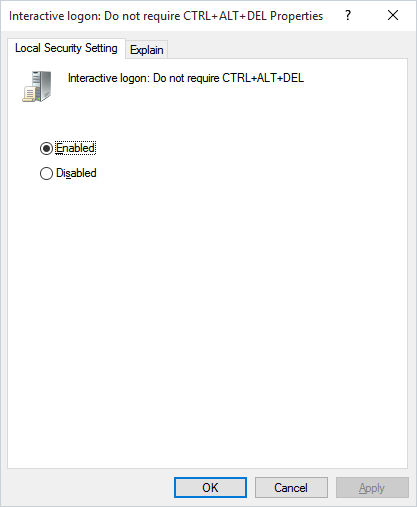
5.If you need to disable secure login then select Enabled and click OK.
6.Close Local Security Policy window and restart your PC.
Method 3: Enable or Disable Secure Login in Windows 10 using Registry Editor
1. הקש על מקש Windows + R ואז הקלד regedit ולחץ על Enter.

2. נווט אל מפתח הרישום הבא:
HKEY_LOCAL_MACHINESOFTWAREMicrosoft חלונות NTCurrent גרסאות ווינלוגון
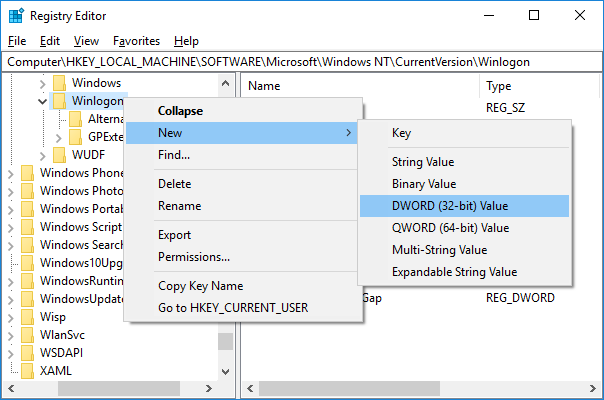
3. הקפד לבחור Winlogon ואז בחלונית החלון הימנית לחץ פעמיים על DisableCAD.

הערה: If you can’t find the DisableCAD then right-click on Winlogon then select חדש> ערך DWORD (32 סיביות) and name this DWORD as DisableCAD.
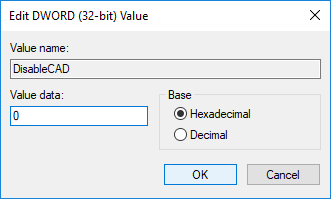
4.Now in the value data field type the following and click OK:
To Disable Secure Logon: 1
To Enable Secure Logon: 0
5.Next, navigate to the following registry key and follow the steps 3 & 4 here:
HKEY_LOCAL_MACHINESOFTWAREMicrosoftWindowsCurrentVersionPoliciesSystem
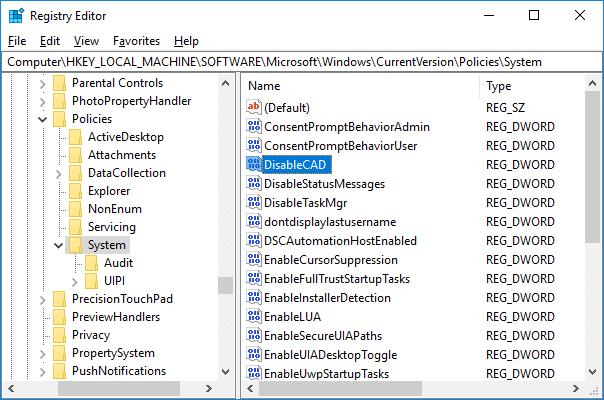
6.Close Registry Editor then restart your PC to save changes.
מומלץ:
זהו זה שלמדת בהצלחה How to Enable or Disable Secure Login in Windows 10 אבל אם עדיין יש לך שאלות כלשהן בנוגע למדריך זה, אל תהסס לשאול אותם בקטע של התגובה.

![Add a Printer in Windows 10 [GUIDE]](https://lbsite.org/wp-content/uploads/2023/02/Add-a-Printer-in-Windows-10.png "Add a Printer in Windows 10 [GUIDE]")